Why Borodinsky Bread?
I've been wanting to make a rye bread but was a little shy due to my concerns about heaviness and bitterness. I first encountered deli style rye probably at a diner when I was a teen. I wanted something darker, like pumpernickel I've had (although I realize it was probably a cheater pumpernickel using cocoa, coffee and molasses). For the past month, I've been incorporating some helpful scalding, sprouting and malting techniques into my ugly baguettes to develop those skills.
A week ago I decided to commit to a Borodinsky bread, a 100% rye from Eastern Europe. I've never eaten anything like that but mentions of the bread here and on The Rye Baker site piqued my interest. I liked the fact that it used scalds and malts (which I had enjoyed playing with in my baguettes) and was supposed to be sweet and floral. I followed the recipe on the Rye Baker with some tweaks of my own.
http://theryebaker.com/auerman-borodinskyborodinskiy-khleb-russia/
Sprouting Rye and Milling Flour
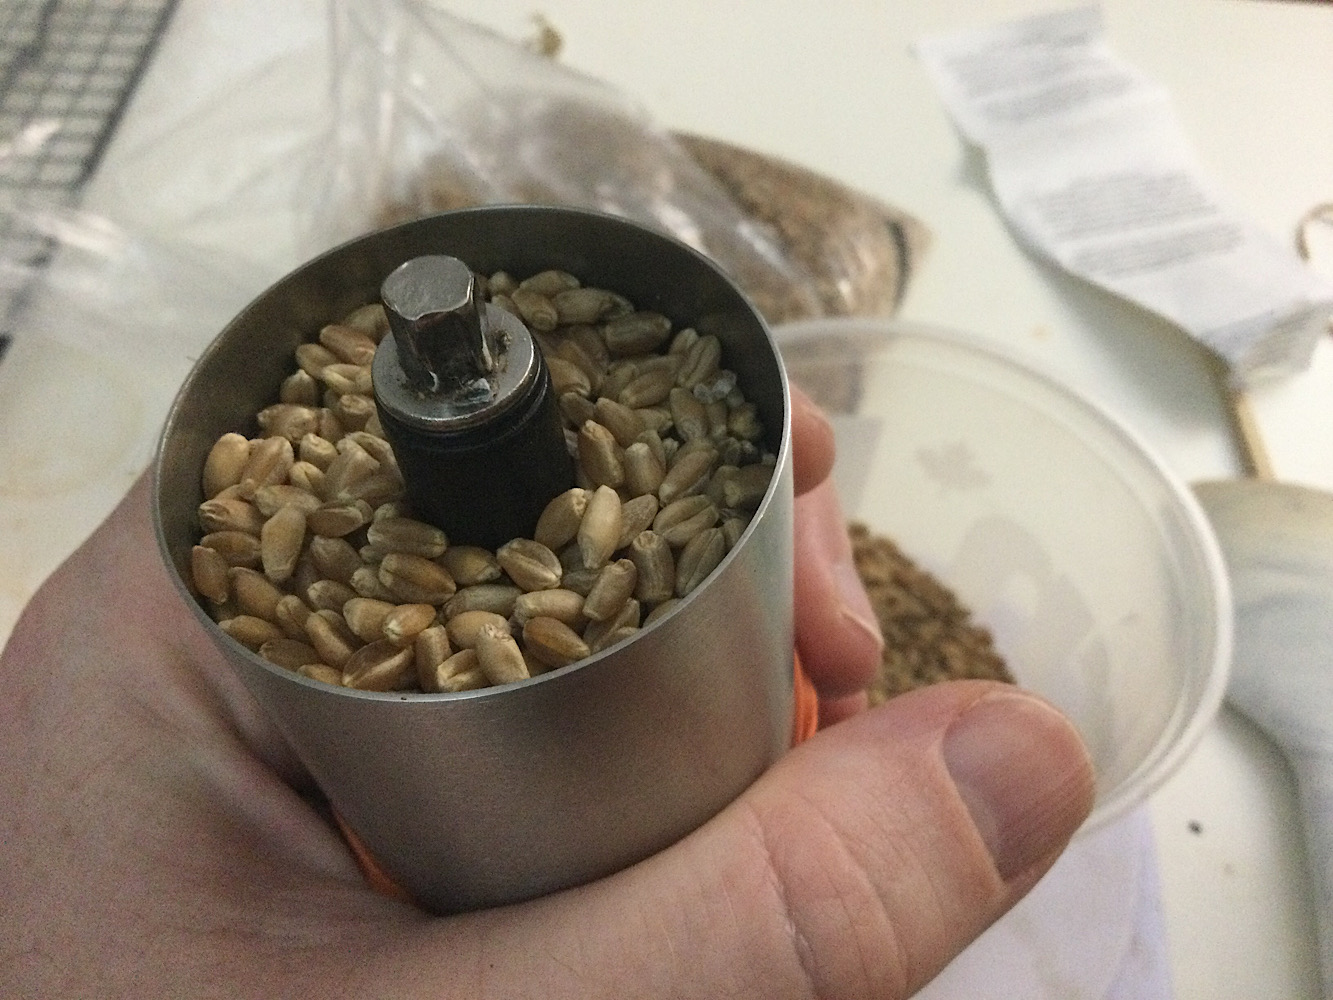
My first "tweak" was to use sprouted rye. I bought YuPik kernels and soaked and sprouted a kilo using old cashew containers. Sprouting took about a day and then I had to dry out the sprouted grain using my dehydrator. I then had to mill the sprouted grains. I used my handheld Porlex to crack up the grain coarsely, then my food processor to produce flour. I sifted out the bran and used an electric spice mill to turn the bran into powder. This means my flour was whole-grain and fine, which may be different from standard.
Sprouted rye kernels
Dried sprouted rye ready to be milled.
My fresh milled sprouted rye... this was a lot of work and made my wife wonder if I was a little crazy.
Making Quickie Solod
The Rye Baker recipe uses red rye malt for flavour and colour, however another source insisted that fermented red rye malt (solod in Russian) was necessary instead.
It turns out that making a quickie solod is pretty easy. I sprouted and malted rye grain (malting means allowing the sprout to be close to the length of the grain) and then put it in a ziploc and held it at 45 Celsius for 12 hours to encourage fermentation. I then raised the temperature to 55 Celsius for another 12 hours to encourage the enzymes to break down starches into sweetness.
Then I needed to dry out the solod, toast it for a couple hours in the oven, and grind it into a fine powder. During drying and toasting, my apartment filled with a wonderful warm aroma of sweetness, fermentation and rye.
Malted rye kernels... basically letting the sprout continue longer:
Malted rye after 12 hours fermenting and another 12 hours sweetening. Look at that gorgeous red!
My solod after toasting in the oven. Smelled amazing to me... fermented sweet rye:
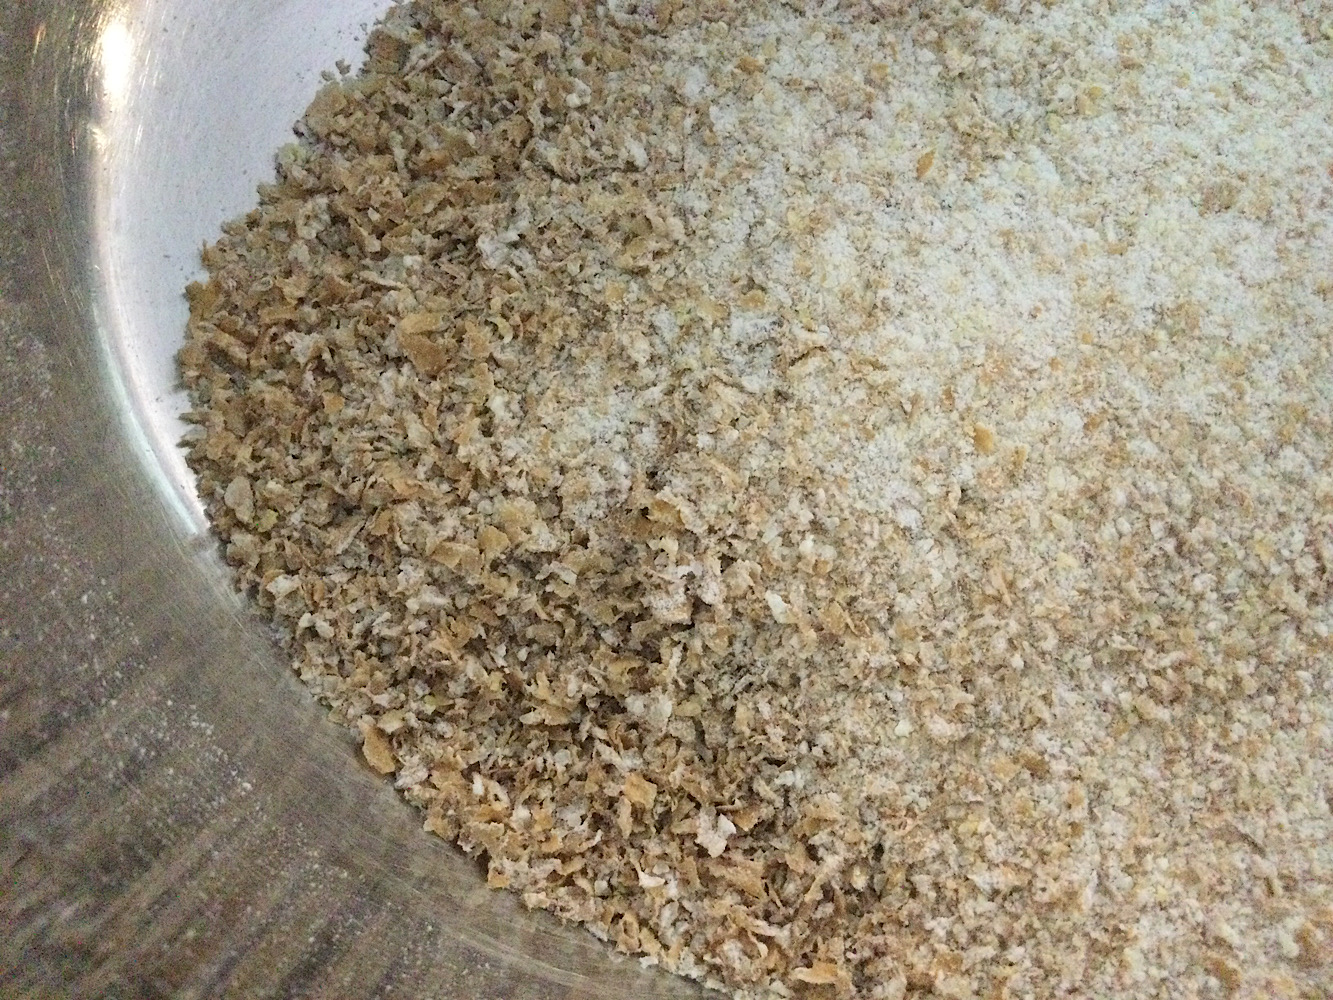
Here are my hand milled solod and milled sprouted rye flour. After toasting in the oven, the solod grains were very hard and brittle. This means I baked out a lot of moisture... and didn't get much solod for the amount of grain I used.
Building the Sponge and Scald
The recipe has multiple stages. Day 1 you build a sponge for leavening and a separate scald that includes flour, solod, and toasted and powdered caraway for florals. You let them ferment 16 hours then on Day 2 combine them. You let that rise a bit, then you add the rest of the flour, salt and mix it into a dough, which ferments again.
Here are the ingredients for my scald... lovely colours:
Here's the scald after 16 hours:
Here's my levain after the same period. I used my trusty rye starter... it's always spongey, not bubbly:
Mixing the Sponge-Scald With Rest
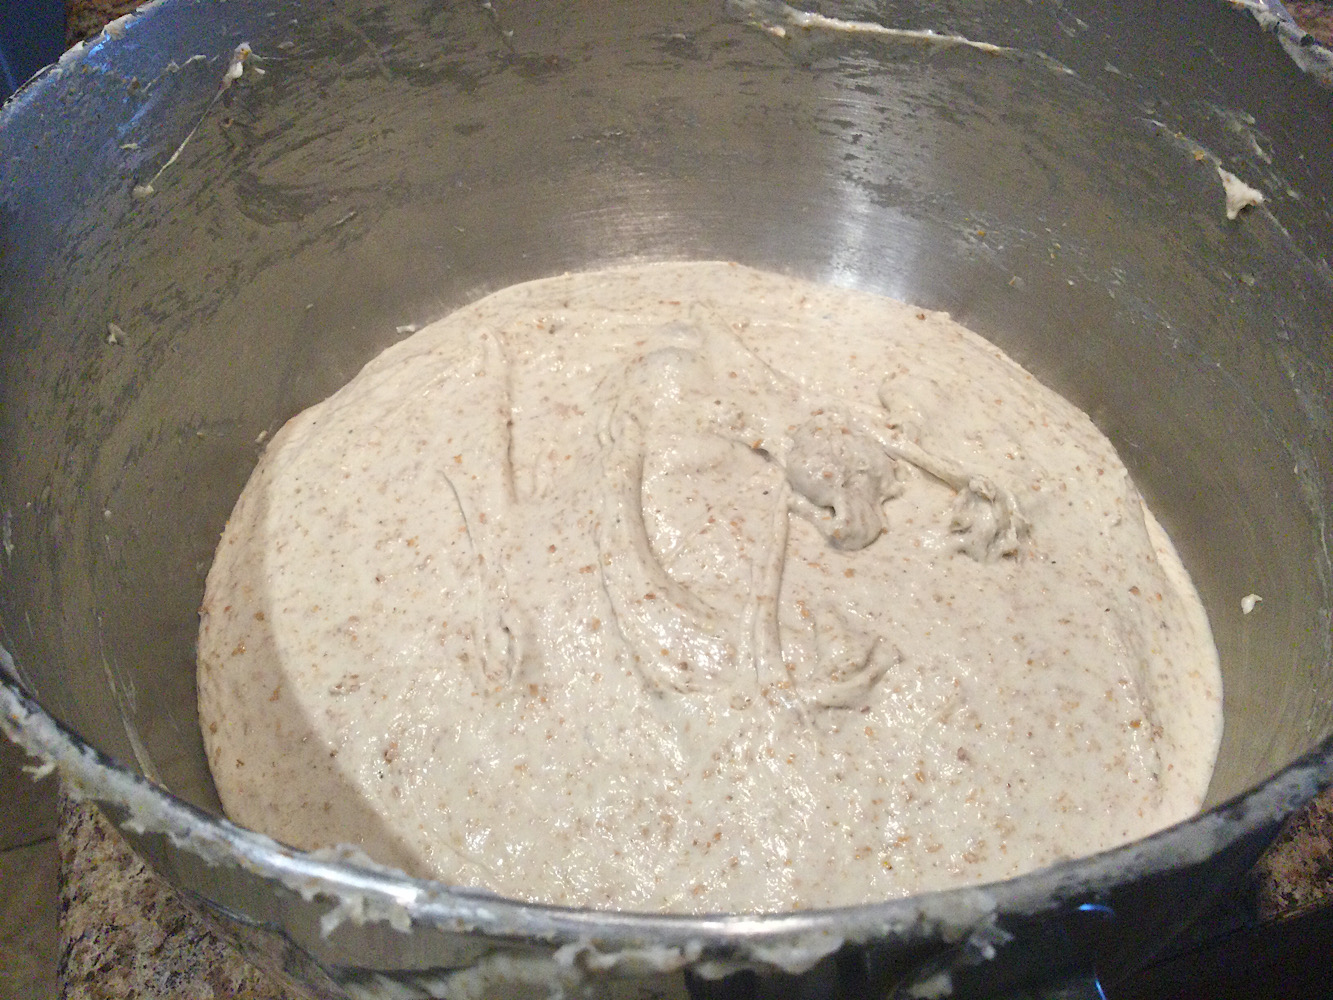
The sponge and scald are mixed and fermented some more. This shot shows after about an hour of fermentation.
Forming and Baking
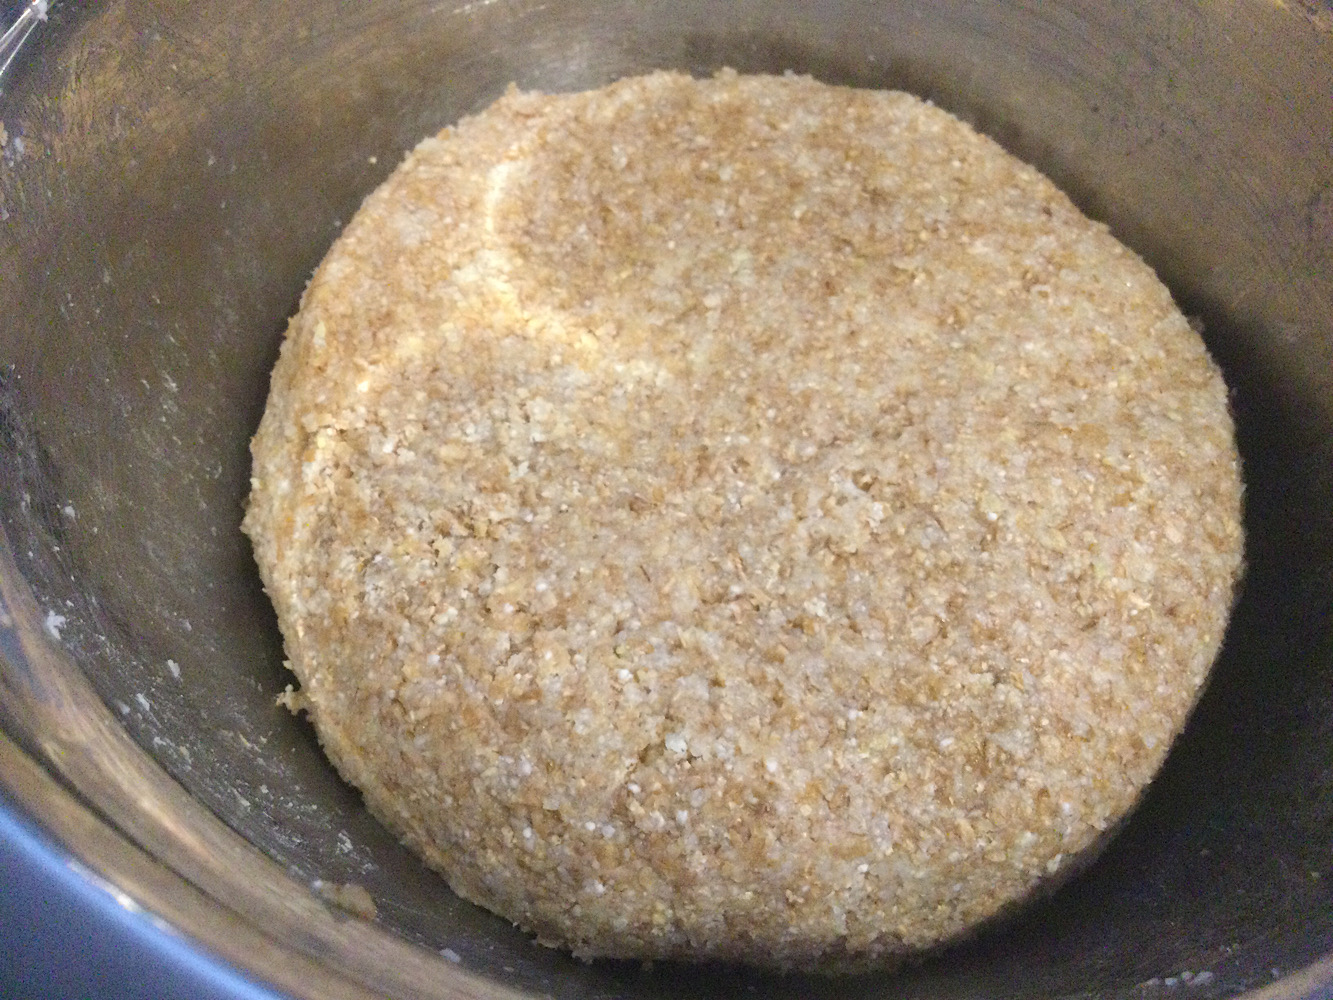
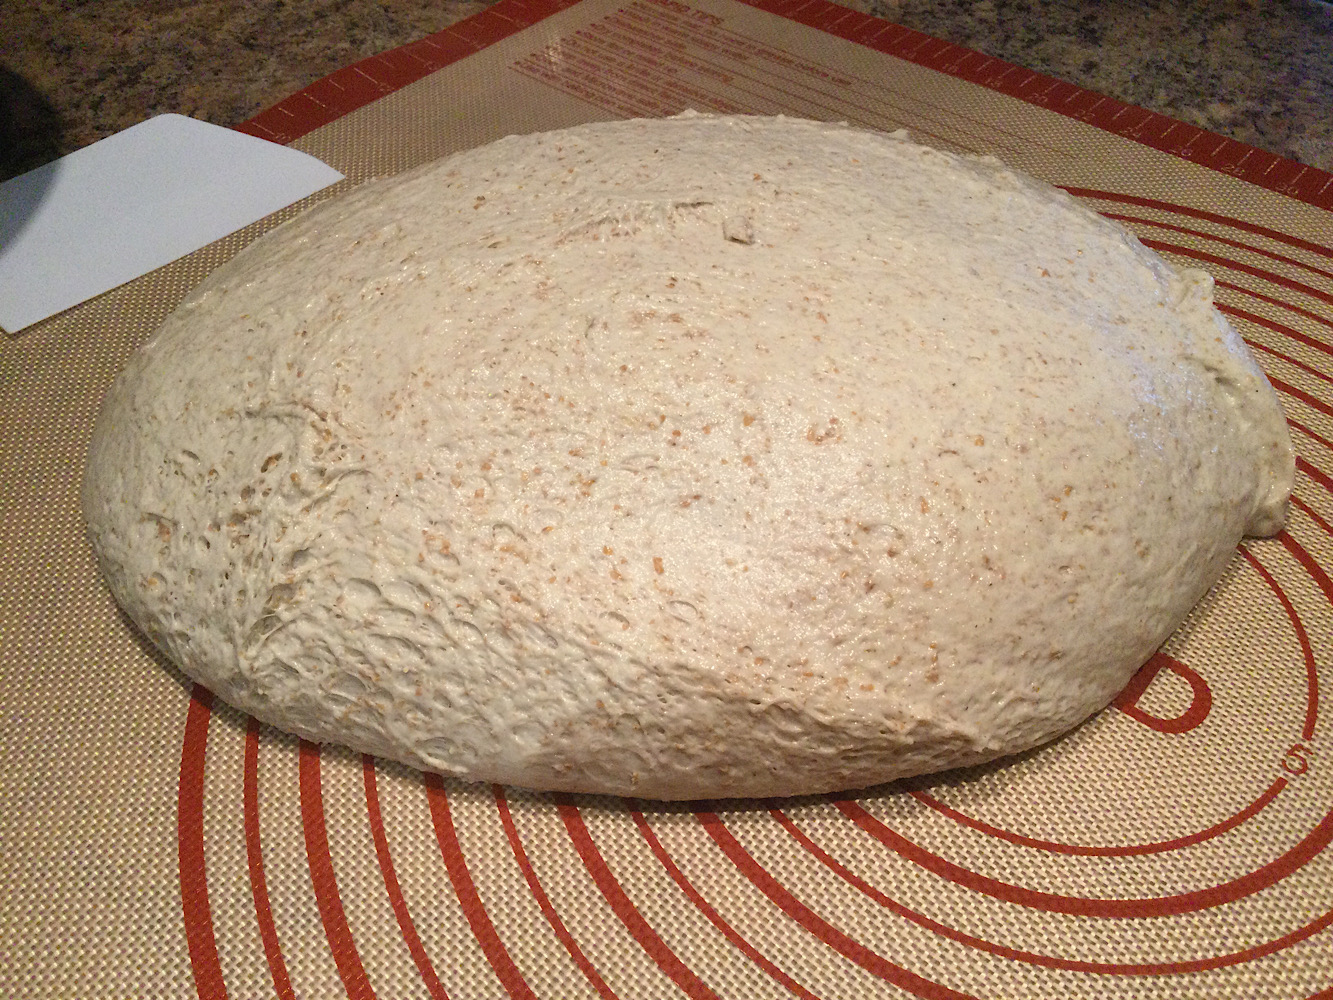
Mixing the dough was difficult... the hook made a fluffy porridge and a paste around the bowl. I kept stirring back together and mixing and even gave it a rest in the middle. However my dough never pulled together like The Rye Baker shows. Next time I may use the cookie batter attachment instead of the dough hook.
Here is my porridgy dough:
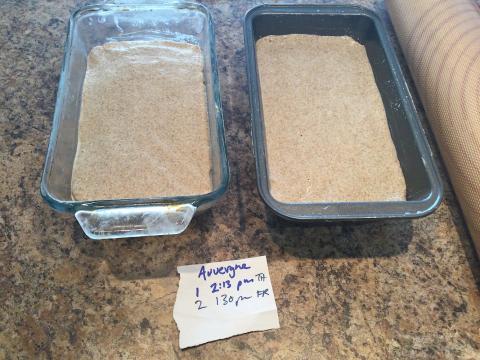
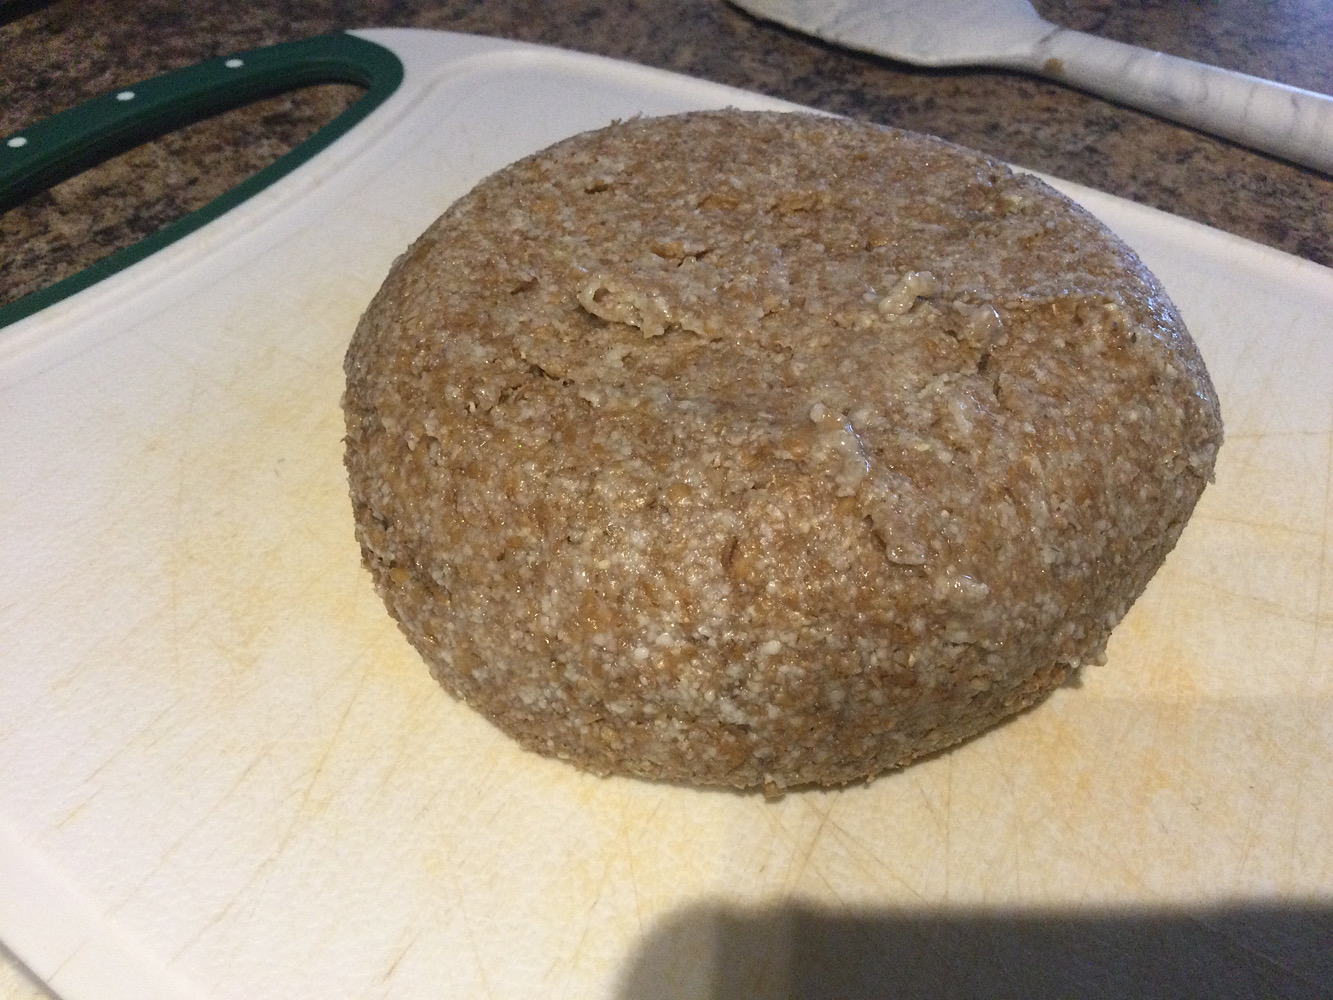
However, using a wet counter and wet hands, I formed the dough and folded it a few times then smoothed it into a buttered metal loaf pan from the dollar store. It almost felt like gingerbread dough when handled wet with wet hands. Certainly little to no gluten.
After an hour or so I was delighted to see the dough rise with the supposedly telltale pinholes in the top!
I brushed the dough gently with water and baked.
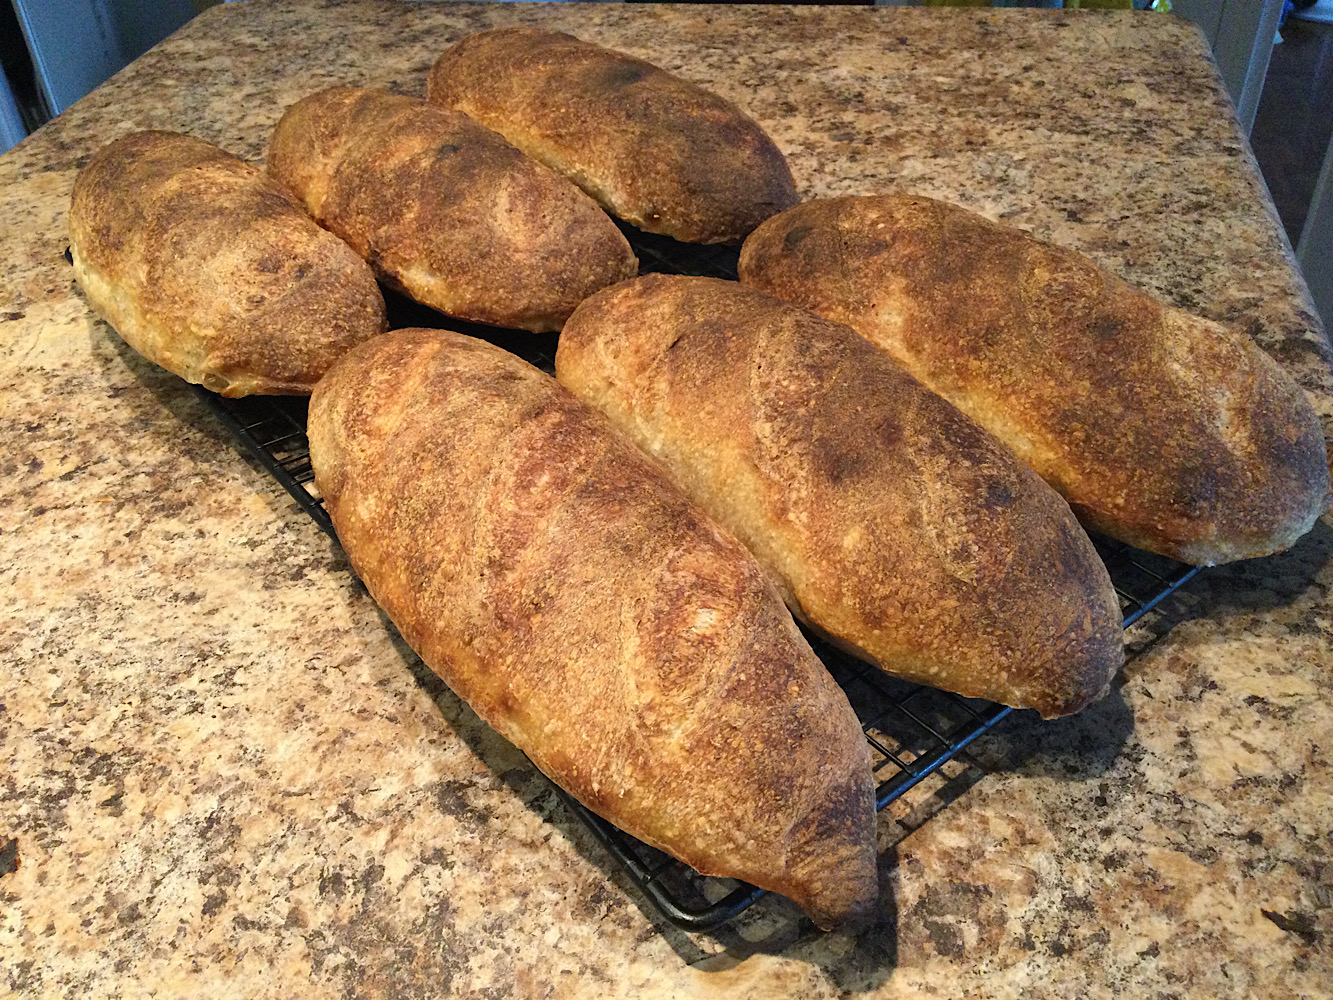
Finished Bread, Crumb and Flavour
The aroma from baking was intoxicating... it came in waves of sweet fermentation, caraway florals, and rye.
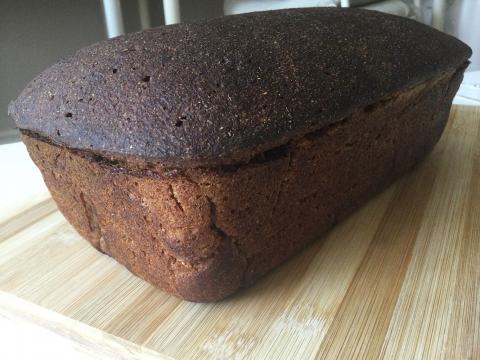
I set the loaf out on a wire rack to cool overnight for 9 hours. I then bagged it until lunch time.
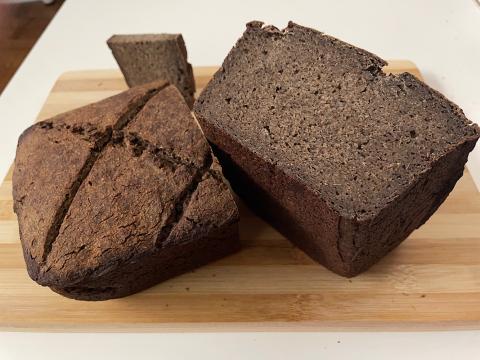
Looks like it tried to pop its crusty top... maybe I need to slash or dock next time.
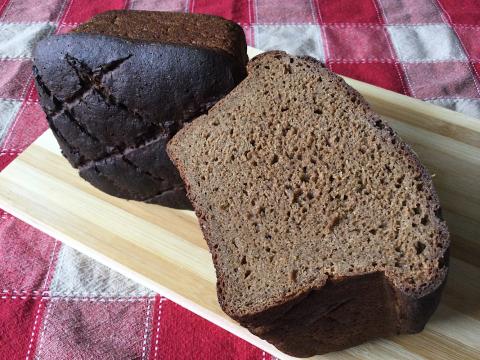
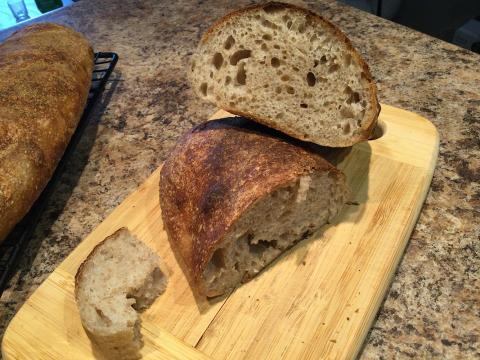
When I sliced through the middle, I was delighted to see the expected cake-like crumb... it wasn't a brick!
Apparently I am supposed to wait way longer to let the flavours develop, so I will not freeze portions until Monday.
We had the bread on its own and toasted with butter.
This bread was amazing. It's a bit creamy, moist, and sweet with a lovely undertone of fermentation and florals from the solod and caraway. Toasted with butter, it was delightful. Extremely satisfying to eat.. we didn't eat much but enjoyed every bite.
At times it reminded me of the flavours I like in a good pumpernickel bread.
Earlier this week my wife seemed a bit worried about all the crazy stuff I was doing to prepare for this bread. There were many steps, particularly as I made my own flour and solod and milled them. But after eating the bread, she decided she wanted me to do it again, next time with coriander instead of caraway :)
Making this bread was quite the project. Along the way, I got to enjoy all kinds of amazing aromas from drying and toasting the solod, and baking the bread. Rye has so much to offer depending on the techniques used. I was very pleased to enjoy a completely different flavour and texture from Eastern Europe.
Despite the marathon, I'd love to do it again. But I need to make way more solod and maybe ferment it longer.