A few months ago I was given some French flour by my sister after her holiday in Brittany. So it was time to have another try at "proper" French pain au levain.
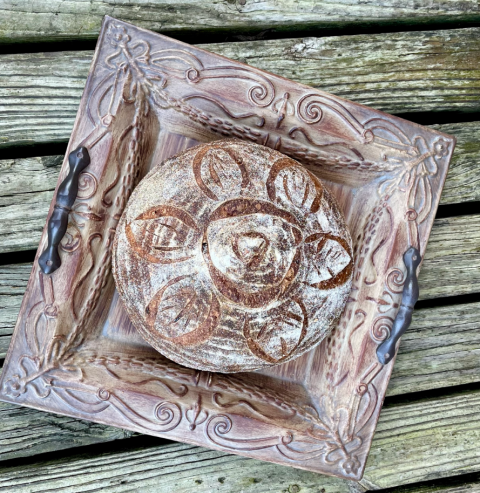
I've tried to make a good pain au levain with proper French flour a few times before, but never had much success, often ending up with a dry, lifeless crumb. The last time I tried, I used the Prof Calvel's recipe from his book le Goût du Pain (the French version - he increased the hydration in the American book, presumably for American flours). I wasn't happy with the result. Also, as an aside, I find his recipes are difficult to follow! This is how the crumb looked:

It was time to look for another recipe. I am a member of BoulangerieNet.fr so I headed over there and looked for a good recipe.
Eventually I came across this one, which looked good to me (translated to English):
"10 kg CRC t85 stoneground flour
7l of water
-autolysis 30 min
5 kg of stiff levain (always half the weight of flour)
360 g of salt
10g fresh yeast
400g water
11min in 1st then 3 in 2nd (fork mixer)
temperature at the end of kneading 27°c and up to 29-30°c when it is cold.
bulk approx. 30min then fold and another 30 min
scale and preshape not too tight then shaping.
blocking in a 4°c room then slow growth at 13°c approximately 11 hours.
possibility of blocking for 2-3 hours at 4°c depending on your availability in the oven."
Note the addition of fresh yeast; French law permits addition of up to 0.2% in pain au levain.
At first I didn't understand the blocage/blocking steps, but it turns out that avoidance of night work in French bakeries has always been a big thing, so a retarder/proofer called a Panem came into being.
This crash cools the shaped loaves to 4c and then it has a ramping set point to increase the loaf temp to 13c ready for baking in the morning.
I don't have a ramping controller, but I do have a small dedicated dough fridge with digital stat.
So I crash cooled the shaped loaves to 4C - as I normally would. Then at 11pm I changed the set point to 9.5C, baking at 9am the following morning.
I think this technique is used because the bulk time is only 1 hour, so the dough is underdeveloped after bulk.
I also did some research on the levain, to keep things authentic. Traditionally the French bakers have used a stiff (50% hydrn) levain (levain dur) and they developed a 3 step build, to ensure a minimum quantity of old levain went into the dough.
This was devised in the 18th century and is known as "Le travail sur 3 levains":

I'm afraid I find the French levain build diagrams over complex and tricky to follow, but eventually I came up with my own version which is shown in my bread log. It includes some initial refreshes to get the levain in tip top condition.
My main levain is already a stiff levain (50%) fed on French T65 flour, so I was good to go with it.
For the main dough, I pretty much followed the recipe from BoulangerieNet, with scaled down quantities. I didn't have any T80 or T85 flour, so I used a mixture of T65 and T110. I kept the mixing action gentle, with 6 min low speed and 1.5 min high speed (spiral mixer).
As expected, I observed NO dough volume rise during the 1 hour bulk.
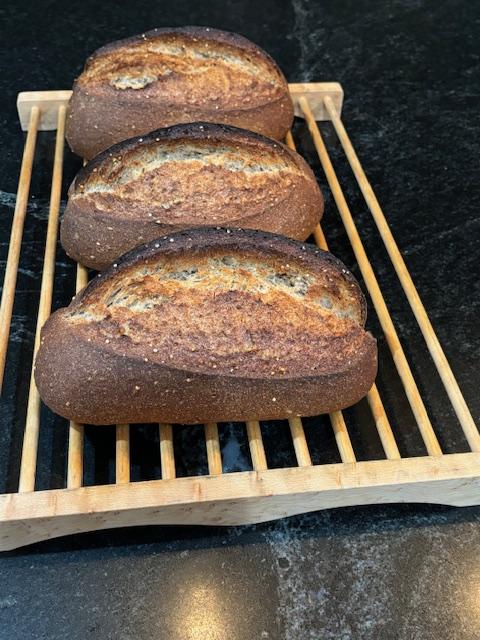
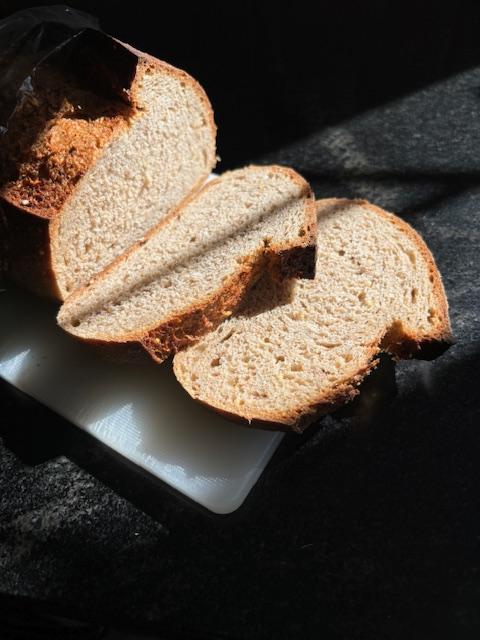
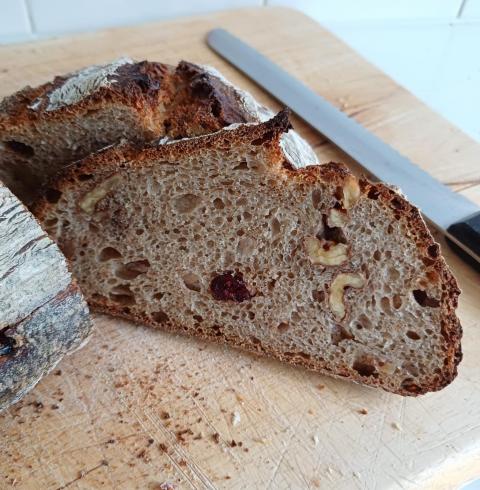
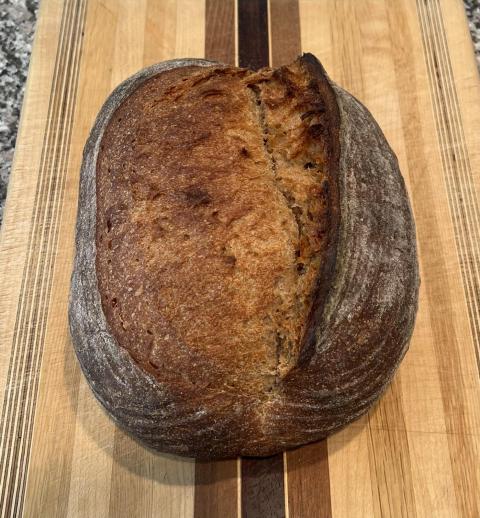
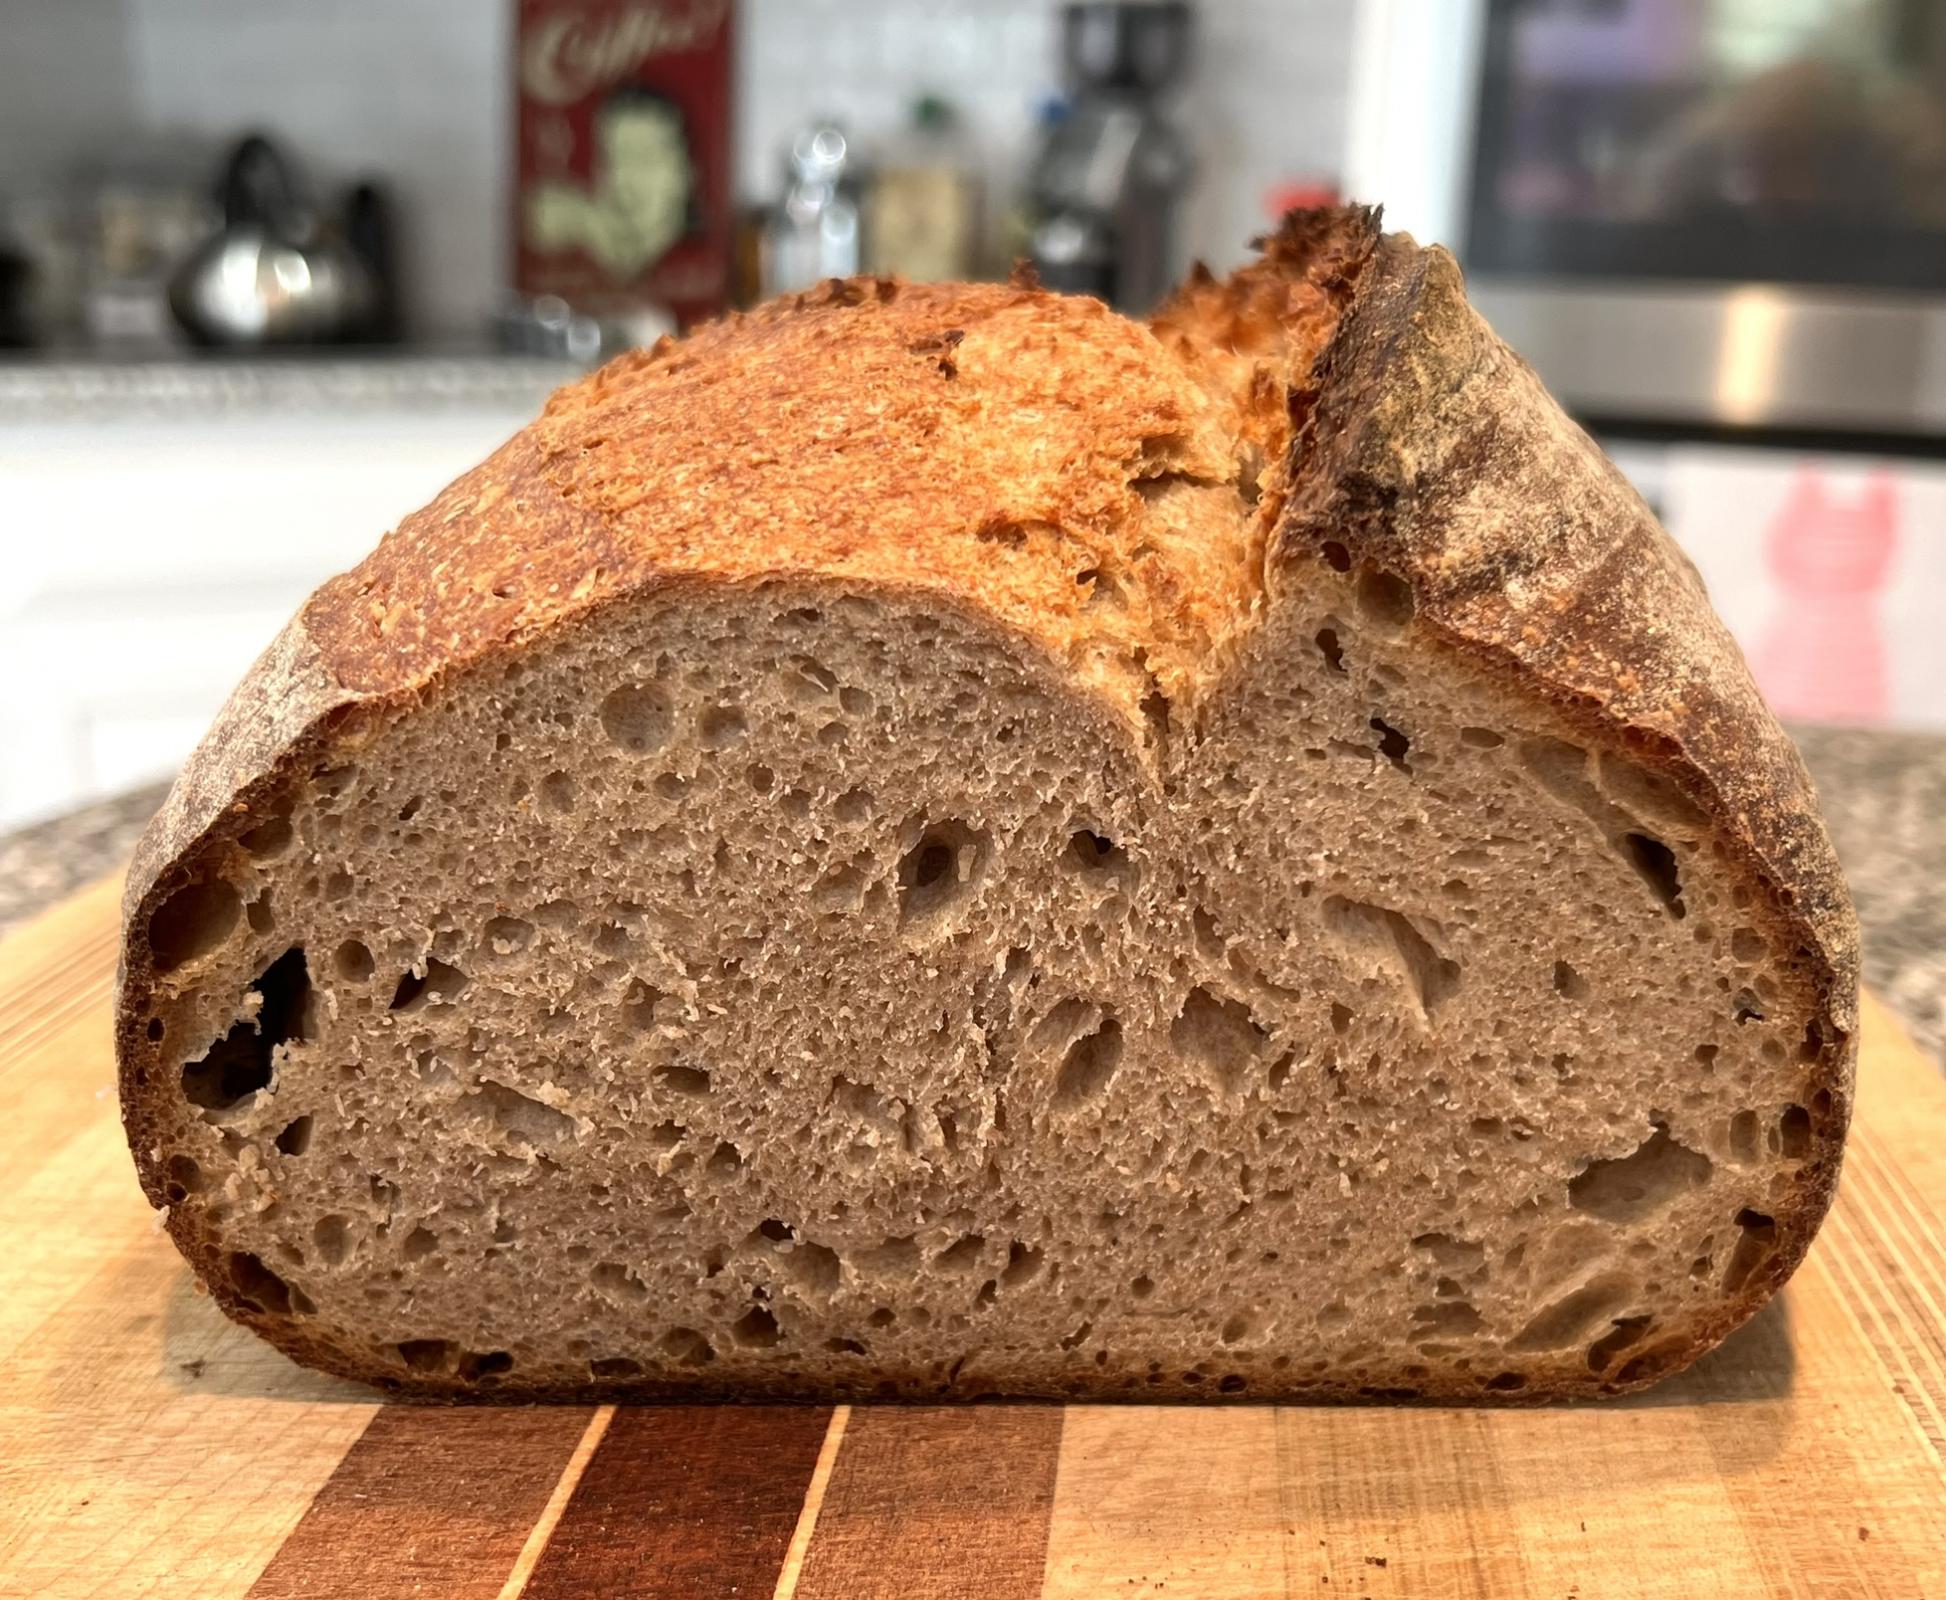
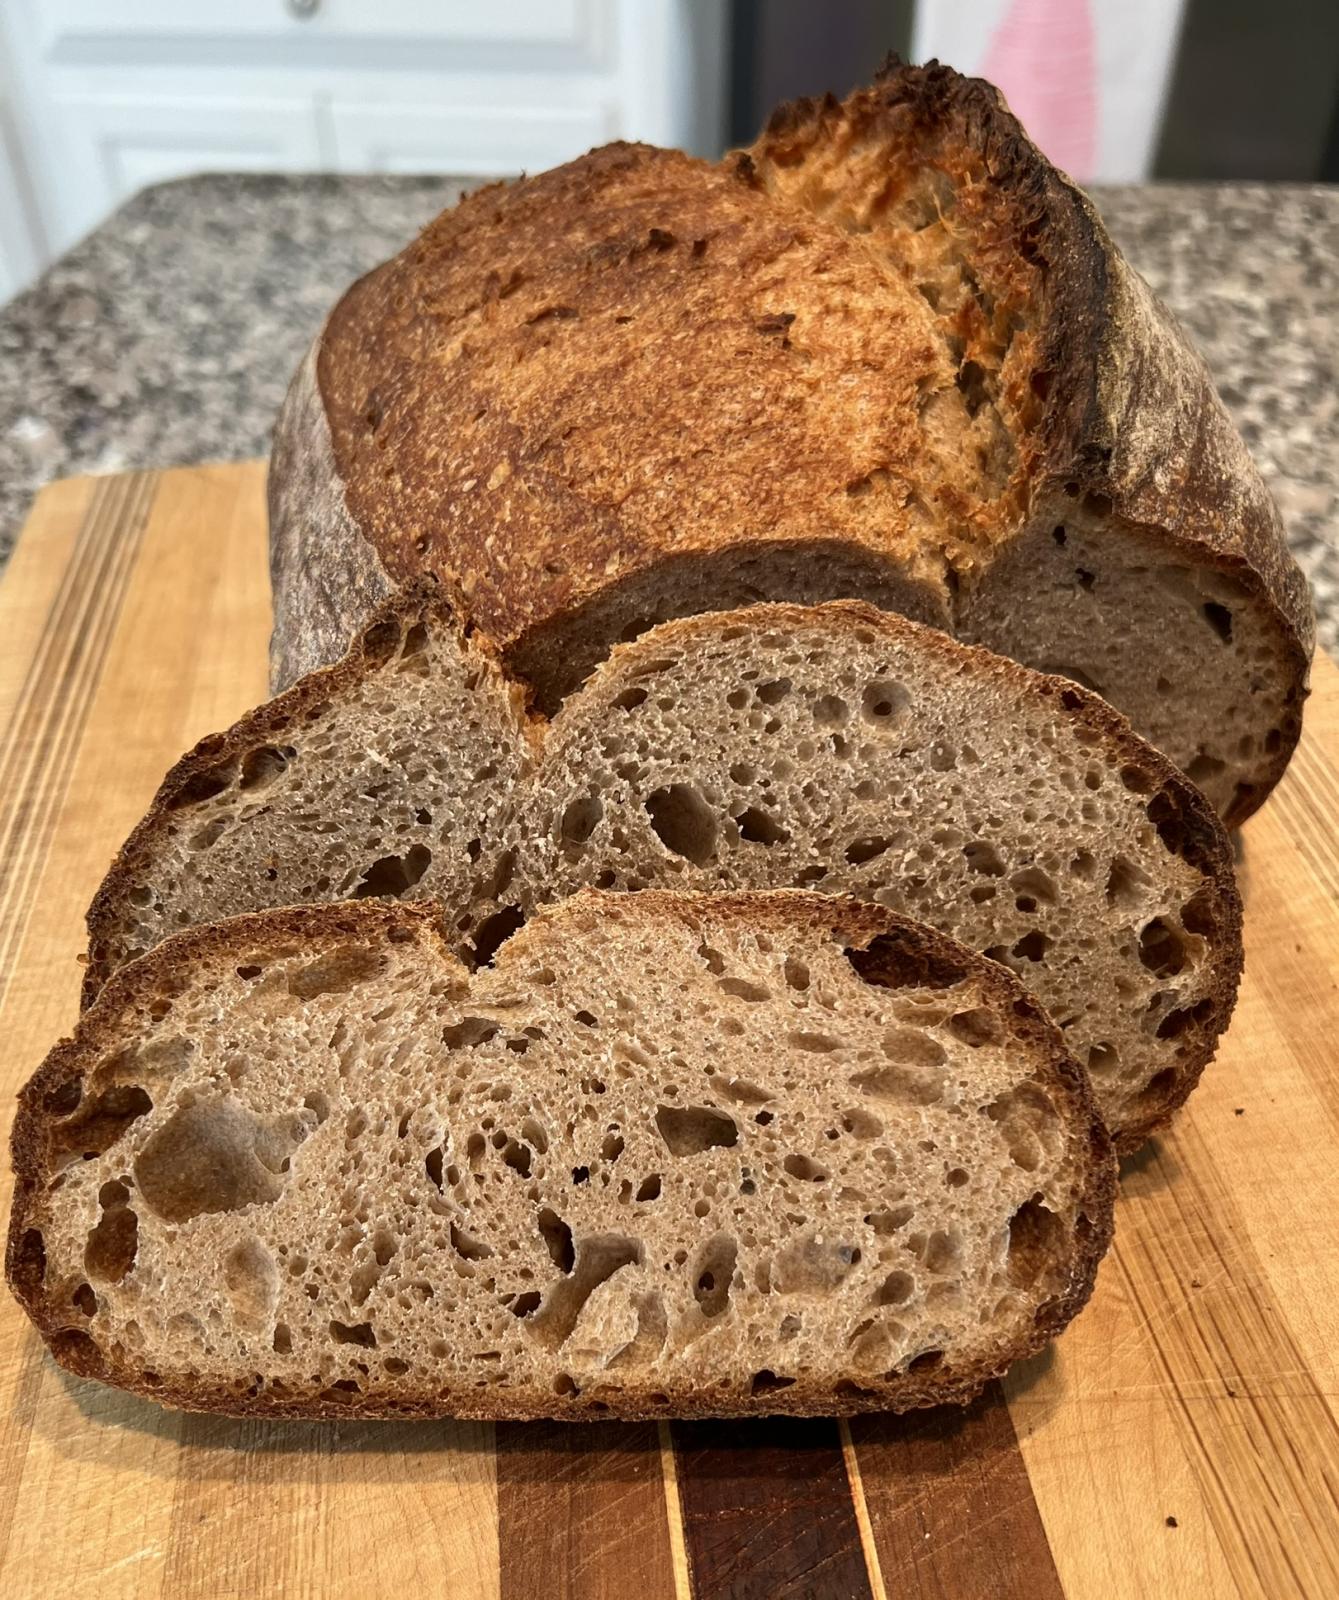
I was quite pleased with how the loaves turned out, with good ears, thin crispy crust and quite open crumb. I was happy with the flavour, but I can't say that it tasted any better than if I had used British flours!


Full recipe and process details in my bread log
I think if you want a true French taste, the only answer is to eat the bread in France!