The Fresh Loaf

A Community of Amateur Bakers and Artisan Bread Enthusiasts.

Recent Blog Entries

mwilson's picture
mwilson

Spontaneous fermentation of water soaked raisins (sultanas). 3rd life cycle (refresh) [pic]

Kept @ 27°C for 3 weeks (once a week remake with water and fruit + previous ferment top-up)

Then used to seed a flour and water dough at a concurrent 27°C, kept in a volume of water.

7 days and 7 refreshes @ 1:1 or thereabouts daily (24hrs).

Next 8hrs, then 4hrs x3.

Typical float time = ~45 mins in all cases.

Looking good for a viable vigorous starter.

Benito's picture
Benito

The last of my einkorn flour was used to make this loaf.  Einkorn hasn’t been easy to find, one of the places I used to go to for interesting flours has changed hands and the new owners are not selling as many varieties of flour anymore.  Since einkorn is a very weak flour I use it in the tangzhong since in its preparation the proteins are denatured so any gluten potentially from the einkorn won’t contribute to the gluten structure of the final bread.  As my usual, I use a stiff sweet levain to leaven this dough in order to avoid any sour tang that I find undesirable for these milk breads.

For one 9x4x4” Pullman pan loaf.


Instructions

Levain

Mix the levain ingredients in a jar or pyrex container with space for at least 300% growth. 

Press down with your knuckles or silicone spatula to create a uniform surface and to push out air.

At a temperature of 76-78ºF, it typically takes up to 10-12 hours for this sweet stiff levain to be at peak.  For my starter I typically see 3-3.5 times increase in size at peak.  The levain will smell sweet with only a mild tang.


Tangzhong 

In a sauce pan set on medium heat, stir the milk and whole wheat flour until blended. Then cook for several minutes until well thickened, stirring regularly with a spoon or heat-resistant spatula. Let cool in the pan or, for faster results, in a new bowl.  Theoretically it should reach 65ºC (149ºF) but I don’t find I need to measure the temperature as the tangzhong gelatinizes at this temperature.  You can prepare this the night before and refrigerate it, ensure that it is covered to prevent it from drying out.


If you plan on using a stand mixer to mix this dough, set up a Bain Marie and use your stand mixer’s bowl to prepare the tangzhong.


Dough

In the bowl of a stand mixer, add the milk (consider holding back 10 g of milk and adding later if this is the first time you’re making this), egg, tangzhong, salt, sugar and levain.  Mix and then break up the levain into many smaller pieces.  Next add the flour.  I like to use my spatula to mix until there aren’t many dry areas.  Allow the flour to hydrate (fermentolyse) for 20-30 minutes.  Mix on low speed and then medium speed until moderate gluten development this may take 5-10 mins.  You may want to scrape the sides of the bowl during the first 5 minutes of mixing.  Next add room temperature butter one pat at a time.  The dough may come apart, be patient, continue to mix until it comes together before adding in more butter.  Again, knead until well incorporated.  You will want to check gluten development by windowpane during this time and stop mixing when you get a good windowpane.  You should be able to pull a good windowpane, not quite as good as a white flour because the bran will interrupt the windowpane somewhat.  Add the seeds, then mix again until they are well distributed.


On the counter, shape the dough into a tight ball, cover in the bowl and ferment for 2 - 4 hours at 82ºF.  There should be some rise visible at this stage.


You can next place the dough into the fridge to chill the dough for about 1.5 hours, this makes rolling the dough easier to shape.  Remember, if you do so the final proof will take longer.  Alternatively, you can do a cold retard in the fridge overnight, however, you may find that this increases the tang in your bread.


Prepare your pans by greasing them with butter or line with parchment paper.  


Lightly oil the top of the dough. Scrape the dough out onto a clean counter top and divide it into four. I like to weigh them to have equal sized lobes. Shape each tightly into a boule, allow to rest 5 mins. Using an oiled rolling pin roll each ball out and then letterfold. Turn 90* and using a rolling pin roll each out to at least 8”. Letterfold again from the sides so you have a long narrow dough. Then using a rolling pin, roll flatter but keeping the dough relatively narrow.  The reason to do this extra letterfold is that the shorter fatter rolls when placed in the pan will not touch the sides of the pan.  This allows the swirled ends to rise during final proof, this is only done for appearance sake and is not necessary.  Next roll each into a tight roll with some tension. Arrange the rolls of dough inside your lined pan alternating the direction of the swirls. This should allow a greater rise during proof and in the oven.


Cover and let proof for  4-6 hours at a warm temperature.  I proof at 82°F.  You will need longer than 4-6 hours if you chilled your dough for shaping. I proof until the top of the dough comes to within 1 cm of the top edge of the pan.


Preheat the oven to 350F and brush the dough with the egg-milk wash.  Just prior to baking brush with the egg-milk wash again.


Bake the loaves for 50 minutes or until the internal temperature is at least 190ºF, rotating as needed to get even browning. Shield your loaf if it gets brown early in the baking process. After 50 mins remove the bread from the pan and bake a further 10 mins by placing the loaf directly in the oven on the rack with the oven turned down to 325ºF

My index of bakes.

Isand66's picture
Isand66


Cherry season is going strong and they are readily available for a good price at the supermarket so I figured it was a good time to bake another version.

I had some leftover grits from a recent brunch so that was added for some extra texture and flavor. These had some cheese and butter added and added quite a bit of extra hydration along with the fresh cherries to the dough. The cherries were pitted and cut into pieces and drained in some paper towels before adding.

I used another one of my new favorites from Barton Springs Mill Big Country wheat berries, milled in my MockMill 200 and sifted, re-milled and sifted again.

The dough was very hydrated with the extra moisture from the cherries and grits but ended up producing a nice moist and flavorful bread. The crumb was not as open as I had hoped but this bread makes great toast and grilled bread with some fresh olive oil and mozzarella.

I love the flavor profile on this bake.  The fresh whole wheat and rye combined with the rice and honey created a moist and flavorful crumb.

Formula

Levain Directions 

Mix all the levain ingredients together for about 1 minute and cover with plastic wrap. I used bottled cherry juice but you could easily substitute it for water. Let it sit at room temperature for around 6-7 hours or until the starter has almost doubled.  I used my proofer set at 76 degrees so it took around 5 hours for me.  Either use in the main dough immediately or refrigerate for up to 1 day before using.

 Main Dough Procedure

Mix the flour and liquids (leave about 50 -70 grams to add after the first mix), together in your mixer or by hand until it just starts to come together, maybe about 1 minute.  Let it rest in your work bowl covered for 20-30 minutes.  After 30 minutes or so  add the salt, starter (cut into about 7-8 pieces), grits and remaining water as needed and mix on low for 5 minutes.  Add the cherries and mix for a minute until they are fully incorporated or you can take the dough out of the mixer and gently spread it out on your work surface and laminate the  Note: If you are using the Ankarsrum mixer like I do, add your water to the bowl first then add in the starter and flours.  After your autolyse add in the salt, rice, honey and remaining water and mix on low to medium low for 15-20 minutes.

Remove the dough from your bowl and place it in a lightly oiled bowl or work surface and do several stretch and folds.  Let it rest covered for 10-15 minutes and then do another stretch and fold.  Let it rest another 10-15 minutes and do one additional stretch and fold.  After a total of 1.5 hours place your covered bowl in the refrigerator and let it rest for 12 to 24 hours.  

When you are ready to bake remove the bowl from the refrigerator and let it set out at room temperature still covered for 1.5 to 2 hours or if using a proofer set at 80 degrees for one hour.  (Note:  this is a very sticky dough, so make sure to add plenty of rice flour to your bannetons if using).  Remove the dough and shape as desired and cover with a moist tea towel or plastic wrap Sprayed with cooking spray and let rise at room temperature for 1 1/2 – 2 hours.  (I use my proofer set at 80 F and it takes about 1 hour to 1.5 hours).

Around 45 minutes before ready to bake, pre-heat your oven to 500 degrees F. and prepare it for steam.  I have a heavy-duty baking pan on the bottom rack of my oven with 1 baking stone on above the pan and one on the top shelf.  I pour 1 cup of boiling water in the pan right after I place the dough in the oven.

After 1 minute lower the temperature to 450 degrees.  Bake for around 35 minutes or until the breads are nice and brown and have an internal temperature around 200-210 F. 

Take the bread(s) out of the oven when done and let them cool on a bakers rack for as long as you can resist. 

CalBeachBaker's picture
CalBeachBaker

Today's bake:  Muscovite Rye/Podmoskovny Rye (Russia)

Source:  theryebaker.com/muscovite-rye/  by Stanley Ginsberg

Note:

  • TDW increased from .811  kg to 1.420 kg.
  • Hydration increased from 68.59% to 73.23% due to using fresh milled flour.
  • Pan size increased from 9″x4″x4″/23x10x10 cm to 15.75"x4"x4"/40x10.16x10.16cm

Substitutions: Organic Rye-Flour-80% Extract-Medium for Russian medium obdirnaya,  rye.

Discussion:  A nice rye bread from Stanley's website. This turned out to be a really easy 1- day bread to make. I'm going to quote Stanley here for the bread's description because it says it all.

"It’s a beautiful bread, with a thin crust, an open crumb – thanks to gentle handling on the bench and a full 25 minutes of steam – and a flavor profile that features the nutty sweetness of the rye, complemented by a clean, delicate sour finish.

I’ve had this bread with everything from unsalted butter and roasted turkey breast to well-aged Stilton cheese and soppressata, and it was a great accompaniment to all of them. This truly is a simply, yet sophisticated Russian rye bread."

The light sour finish lingers and is really quite nice.


Make again? - Yes, definitely.

Changes/Recommendations: I would probably increase the TDW by 50% so that the pan was entirely filled and reduce bake time a little.

Ratings


jkandell's picture
jkandell

Hamelman's mixed grain miche from Bread 3rd ed.  It's 15% buckwheat and 15% rye (the starter). A winner!

Formula

This was baked under an Arizona heat-wave, and the builds, bulk and proof all reflect that. Rather than elaborate the rye starter like Hamelman at 70F, I used the Detmolder 2-step process at 78-83F. (See here for my reasoning.)  It worked great to leven the bread nicely without commercial yeast. But of course feel free to build the rye sour any way you're used to.

This is a really sticky dough, and hard to handle. I'm used to sticky wet wheat doughs--but this one is simply unpleasant. It took a heck of a lot of stretch and folds to build low degrees of strength, and, even with bassinage, it stuck to my fingers like cement. I didn't dare take it out of the container.  Maybe I'll use the bread machine to mix next time. Or leave out the buckwheat till the wheat develops. 

I substituted 50% white all purpose mixed with 50% Golden Buffalo for the T80 high extraction flour called for in Hamelman's recipe. Technically the Golden Buffalo is "high extraction" but it looks and tastes more like an ordinary whole wheat to me. If you want to follow the book literally, use all 578g of high extraction flour, or split it 50/50 white and whole wheat as Hamelman suggests.  

The bread itself is delicious! But not for everyone--you have to like buckwheat. The buckwheat shines through with a sweet, earthy taste that dominates. Unexpectedly, considering it's mostly whole grain, the texture is very soft and chewy and springy, almost like a wonder bread. The rye and wheat are subtle in the background.  Wouldn't want this every week, but a nice change of pace. (My son was less enamored with the buckwheat flavor.)

The 1500g miche is toward the flattish side, but not a pancake. I think it works great in the high-hydration "miche" form-- I didn't really want a higher loaf like I usually make. I think a loaf pan would work as well, since it has the texture of a sandwich loaf. I do recommend sticking to Hamelman's suggestion to go at least 80% hydration, since this bread benefits from the lightness even if it doesn't behave like a white tartine and even if it's not pleasant to mix.


Isand66's picture
Isand66


 I’ve made bread with rice several times before and always love the added flavor and texture it brings to the party.  I used a purple (more black) rice I made with some onion stock which was very tasty.

The flours I used were freshly grounded whole wheat (Rouge de Bordeaux ) and Rye from Barton Spring Mill) sifted twice and milled twice as well as some KAF bread flour.  

The overall hydration is higher than indicated in the formula since the rice added some extra moisture.  The dough was pretty wet but was manageable.

I love the flavor profile on this bake.  The fresh whole wheat and rye combined with the rice and honey created a moist and flavorful crumb.

Formula

Levain Directions 

Mix all the levain ingredients together for about 1 minute and cover with plastic wrap.  Let it sit at room temperature for around 6-7 hours or until the starter has almost doubled.  I used my proofer set at 76 degrees so it took around 5 hours for me.  Either use in the main dough immediately or refrigerate for up to 1 day before using.

 Main Dough Procedure

Mix the flour and liquids (leave about 50 -70 grams to add after the first mix), together in your mixer or by hand until it just starts to come together, maybe about 1 minute.  Let it rest in your work bowl covered for 20-30 minutes.  After 30 minutes or so  add the salt, starter (cut into about 7-8 pieces), rice, honey and remaining water as needed and mix on low for 5 minutes.   Note: If you are using the Ankarsrum mixer like I do, add your water to the bowl first then add in the starter and flours.  After your autolyse add in the salt, rice, honey and remaining water and mix on low to medium low for 15-20 minutes.

Remove the dough from your bowl and place it in a lightly oiled bowl or work surface and do several stretch and folds.  Let it rest covered for 10-15 minutes and then do another stretch and fold.  Let it rest another 10-15 minutes and do one additional stretch and fold.  After a total of 1.5 hours place your covered bowl in the refrigerator and let it rest for 12 to 24 hours.  

When you are ready to bake remove the bowl from the refrigerator and let it set out at room temperature still covered for 1.5 to 2 hours or if using a proofer set at 80 degrees for one hour.  (Note:  this is a very sticky dough, so make sure to add plenty of rice flour to your bannetons if using).  Remove the dough and shape as desired and cover with a moist tea towel or plastic wrap Sprayed with cooking spray and let rise at room temperature for 1 1/2 – 2 hours.  (I use my proofer set at 80 F and it takes about 1 hour to 1.5 hours).

Around 45 minutes before ready to bake, pre-heat your oven to 500 degrees F. and prepare it for steam.  I have a heavy-duty baking pan on the bottom rack of my oven with 1 baking stone on above the pan and one on the top shelf.  I pour 1 cup of boiling water in the pan right after I place the dough in the oven.

After 1 minute lower the temperature to 450 degrees.  Bake for around 35 minutes or until the breads are nice and brown and have an internal temperature around 200-210 F. 

Take the bread(s) out of the oven when done and let them cool on a bakers rack for as long as you can resist. 

 
alfanso's picture
alfanso

Well, as with last time I was already home, but went big anyway.  Several years ago I posted another of this ilk but today's offering is for ciabatta.  Two days prior I had baked a trio of ciabatta to serve to our afternoon guests, and any remainder went out the door with them when they left.  

It was time for more.  And this time I decided to bake two loaves using the same 1500g mix.  But instead of being fair and equitable by dividing as close to 750g each, I went big at 1000g on one and the puny-looking bread is 500g.  This should put the larger loaf in perspective.

79% overall hydration (76% Water, 3% EVOO), 80% PFF biga at 66% hydration.

The Sunday fare...


Today's Brobdingnagian loaf.  Considering the consistency of ciabatta dough, it was a very minor challenge moving it from couche to peel, hence a bit more misshapen than my usual ciabatta barrel loaf.


We have a relatively new and quite active and quite welcomed TFLer, tpassin, who is providing fine detailed support on the site.  But one comment which I did have an exception to was the other day when "t" said that ciabatta was a flat loaf, or something to that effect.  I'm here to testify that this is not always the case.

I rest my couche case.

Benito's picture
Benito

Time for pizza dinner again.  I’ve gone back to all purpose flour and spelt to achieve a more open crumb.  I added a cold retard overnight for convenience, extensibility and more flavor in the crust.

I marinated Kalamata olives, roasted red peppers, onions, artichokes and pickled banana peppers in olive oil, homemade red wine vinegar, salt, pepper and oregano for several hours.  When the dough was stretched and in the pan, Swiss cheese and half of the Parmigiano reggiano was applied first.  This was baked for 10 mins before applying the marinated vegetables and then the remaining Parmigiano reggiano cheese.

For pizza on an 17” x 11” pan


Overnight levain

Duration: 12 hours (overnight) at warm room temperature: 74°–76°F (23°–24°C).


In the morning mix the dough when the levain is at peak.  To the bowl of the stand mixer add water, salt, sugar and diastatic malt, stir to dissolve.  Then add the levain, stir to dissolve.  Finally add the flours.  Mix on low speed until there is no dry flour then increase to medium and mix until the dough is moderately developed.  Then slowly drizzle in the olive oil stopping until each addition is incorporated.  Finally mix until good gluten development.


Remove the dough from the bowl and do a bench letterfold.  Transfer the bowl to an oiled bowl for bulk fermentation.  

Do three sets of coil folds at 30 mins intervals and then allow the dough to rest until it reaches 40-50% rise.


Optional cold retard.  Place the dough in the fridge until the next early afternoon.  This is done primarily for convenience.


Allow the dough to continue to ferment at a warm temperature 80°F or so until it reaches 100% rise then shape.


Shaping 

Oil the pan well and brush the bottom and the sides with the olive oil.


Thoroughly flour the top of the dough in the bowl, release it from the sides of the bowl using a bowl scraper then flip it onto the counter.  Flour the exposed dough well with flour and flour the counter around the sides of the dough well.  Using your bowl scraper push some of that flour under the edges of the dough.

Using your hands, get your fingers well under the dough and stretch it out into a rectangle.  Next using your fingers gently press them into the dough to elongate the dough.  Flip the dough over and repeat aiming to get the dough to about 75% of the area of the pan.  

Transfer the dough to the oiled pan by folding it in half and unfolding it once in the pan.  Gently stretch the dough out to touch the edges of the pan.  If it resists stretching, wait 15 mins and try again after the gluten has relaxed.


Aim to bake the pizza once the total rise is 120-130%.  About 1 hour prior to baking pre-heat the oven to 500°F placing your backing steel on the lowest rack of the oven.


Bake the pizza.

Drizzle olive oil onto the dough.  Then using a large spoon, spread a thin layer of pizza sauce over the dough from edge to edge.  Slide the baking pan into the oven on top of the baking surface. Decrease the oven temperature to 425°F (220°C) and bake for 10 minutes. Transfer the pan to a wire rack and sprinkle on the grated cheese and any other toppings. Lightly drizzle some olive oil over the entire pizza. Slide the sheet pan back into the oven on the baking surface and bake for 20 minutes more. The cheese should be melted and the bottom crust well colored.

My index of bakes.

kqbui1995's picture
kqbui1995

Hey all, here is today's bake. I've recently fallen in love with Addie's (Breadstalker) method and it has taught me lots about how long to extend bulk, and key indicators of a nicely fermented dough. As such, I was searching her instagram for posts about a nice 25%-30% whole wheat loaf that I could try. I couldn't find exactly what I wanted, so I just made up a couple ratios to my liking (learning the meaning of how sourdough isn't really recipe driven- it's a method!). 

It's 30% stoneground whole wheat (bob's red mill), 70% King Arthur Bread Flour, 2% salt, 20% levain, 87% hydration. Autolysed for about 1 hour, then added ripe levain. 30 minutes later, added salt. 30 minutes later, did a lamination, followed by 4 coil folds (separated by 45 minutes, except for the last fold, which occurred 1 hour after third fold). Bulked for about 8 hours 15 minutes at 74-75 F. 

Here's the dough after bulk- poofy, yet surprisingly still a little strong. I felt many air bubbles popping while shaping, which leads to mixed feelings (good since it means nice fermentation, bad since I don't want to pop so many bubbles during shaping!). The strength of the dough made me feel like I could have pushed bulk a little longer, but I wanted to go to sleep. 


11 hours in the fridge, then I baked at 500 degrees for 20 minutes with lid on with challenger breadware, and a couple ice cubes. Lid off at 450 for 20 minutes. Foiled the bottom and sides halfway 10 minutes in at 450. After 20 minutes at 450, I then reduced to 380 and baked an additional 5 minutes to help dry out the loaf and create a thicker crust. The result was a very light loaf with nice color and shine. The crumb was creamy, tender, and had a slight chew. It was a sour- but not overbearingly so. However, I think I prefer white bread (or at least einkorn)- this tasted just a *bit* too healthy. And the ferment slice by slice was not perfectly even, and I actually think it could have been more proofed (maybe 20-40 minutes). 


Benito's picture
Benito

I love sour cherries and I love chocolate, so when I came across this cake recipe I knew I had to make it.

For a 13x9-inch metal baking pan

Active Time

45 minutes

Total Time

4 hours

This chocolate cherry cake recipe delivers the flavors of Black Forest cakebut requires a fraction of the commitment. There’s no days-long prep time or (let’s be honest) fussy icing, and you can use either your fresh summer cherry haul or that stash of frozen cherries you’ve had your eye on. Just promise us one thing: You’ll use sour or tart cherries, not sweet, as their tang will offset the rich chocolaty crumb. And by all means, avoid canned cherries, Technicolor maraschino cherries, and packaged cherry pie filling, all of which may contain sweeteners that could make the cake cloying.

To start you’ll toss those cherries with sugar and almond extract, then set them aside at room temperature until their juices form a flavorful syrup. You’ll only need ½ cup of this syrup for the cake batter, but save any extra to add to seltzer or use in cocktails.

For the chocolate, spring for good-quality cocoa powder since it’s the main flavoring in the cake batter. Pouring hot water over the cocoa may seem strange, but this action blooms the powder, unlocking its bold chocolate flavor. For the mix-ins, use chopped dark chocolate (bittersweet or semisweet) if you prefer it over chocolate chips.

To serve, simply dust the top of the cake with powdered sugar. Or if you want to get a little extra, add a scoop of vanilla ice cream along with chocolate fudge sauce and a dollop of whipped cream to each slice. For birthday cake vibes, decorate with swoops of cream cheese–chocolate frosting or a chocolate ganache glaze.


Ingredients

12 servings

1 lb. fresh or frozen (not thawed) pitted sour cherries (about 3 cups)

⅔ cup (134 g) granulated sugar

1 tsp. almond extract

1 cup boiling water

¾ cup unsweetened cocoa powder (not Dutch-process)

1 tsp. vanilla extract

2 cups (240-250 g) all-purpose flour

1¼ tsp. baking soda

½ tsp. Diamond Crystal or ¼ tsp. Morton kosher salt

2 sticks (1 cup) unsalted butter, softened

1¼ cups (250 g) packed dark brown sugar

4 large eggs

1 cup (7 oz.) semisweet or dark chocolate chips

Powdered sugar and whipped cream to garnish (optional)


Instructions

Step 1
Toss 1 lb. fresh or frozen pitted sour cherries (about 3 cups) with ⅔ cup (134 g) sugar and 1 tsp. almond extract in a small mixing bowl and let stand at least 2 hours. Drain cherries, reserving ½ cup cherry juices.
Step 2
Preheat oven to 350°F. Butter and flour a 13x9-inch metal baking pan, knocking out excess flour. Whisk together 1 cup boiling water and ¾ cup unsweetened cocoa powder (not Dutch-process) in a small bowl until smooth, then whisk in reserved cherry juices and 1 tsp. vanilla extract.
Step 3
Whisk 2 cups (25 g) all-purpose flour, 1¼ tsp. baking soda, and ½ tsp. Diamond Crystal or ¼ tsp. Morton kosher salt in another small bowl.
Step 4
Beat 2 sticks (1 cup) unsalted butter, softened with 1¼ cups (250 g) packed dark brown sugar in a large bowl with an electric mixer at medium speed until pale and fluffy, about 3 minutes. Add 4 large eggs, one egg at a time, beating well after each addition. Add flour mixture and cocoa mixture alternately in batches, beginning and ending with flour mixture and mixing at low speed until blended (batter may look curdled).
Step 5
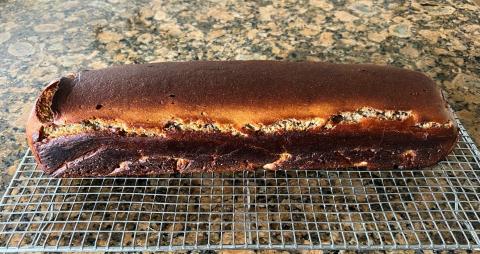
Pour batter into pan, smoothing top, and scatter the reserved cherries and 1 cup (7 oz.) semisweet chocolate chips evenly over the batter (they’ll sink as it bakes). Bake in middle of oven until a toothpick or tester inserted in center comes out clean, 35 to 40 minutes. Cool cake completely in pan on a rack, then cut into squares. If using, dust with powdered sugar and serve with whipped cream.
Do ahead: The chocolate-covered cherry flavor of this cake becomes more pronounced after a day or two. Cake can be made up to 3 days ahead and kept in an airtight container at room temperature. 


This cake took 48 mins to be fully baked in the center reaching 205°F.  Although the recipe said that the cherries and chocolate chips would fall into the batter as the cake baked, that wasn’t my experience.  When I make this again I will press them into the batter a bit.


Everyone who had this cake loved it.  It is very decadent and very chocolately.  The cake did improve over the 3 days and was even better on day 3.  Make sure you use sour cherries as sweet cherries would just be too sweet for this cake.  I used dark chocolate chips and I think milk chocolate chips would be far too sweet.  I will definitely make this again, the combination of the sour cherries and chocolate are just wonderful.


Make sure your cocoa powder isn’t alkalinized (Dutch Process) as the acidity of the cocoa is needed in order to leaven the batter when it reacts with the baking soda.
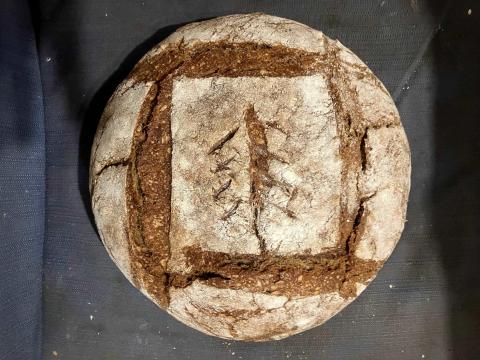
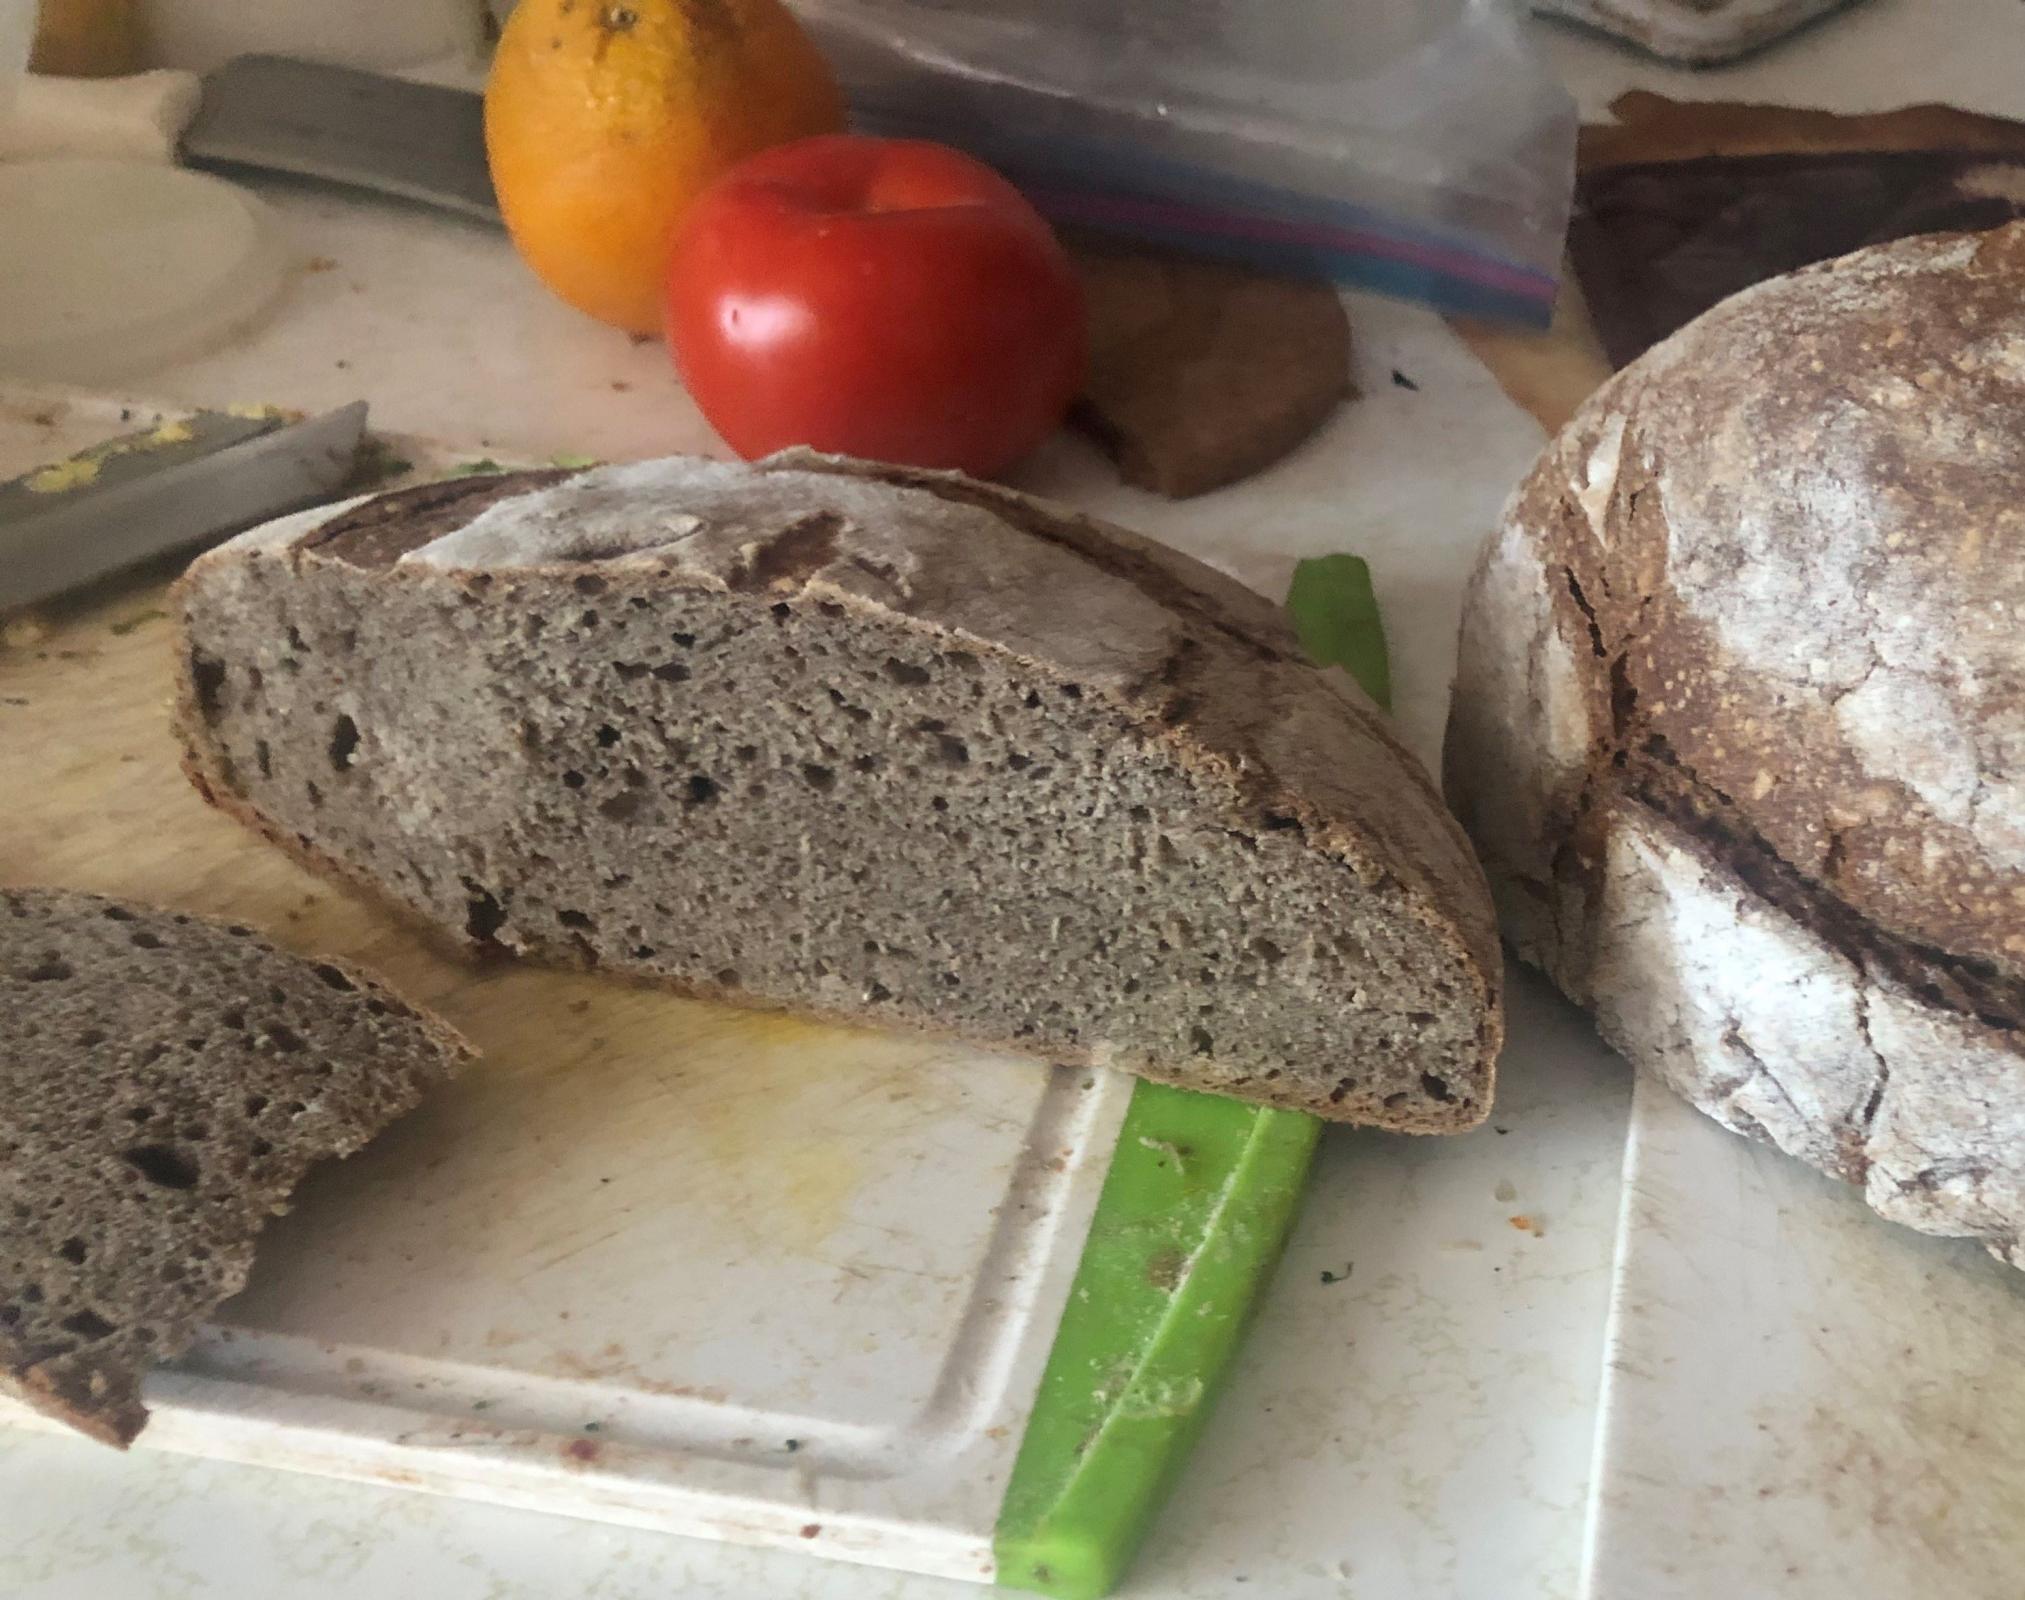
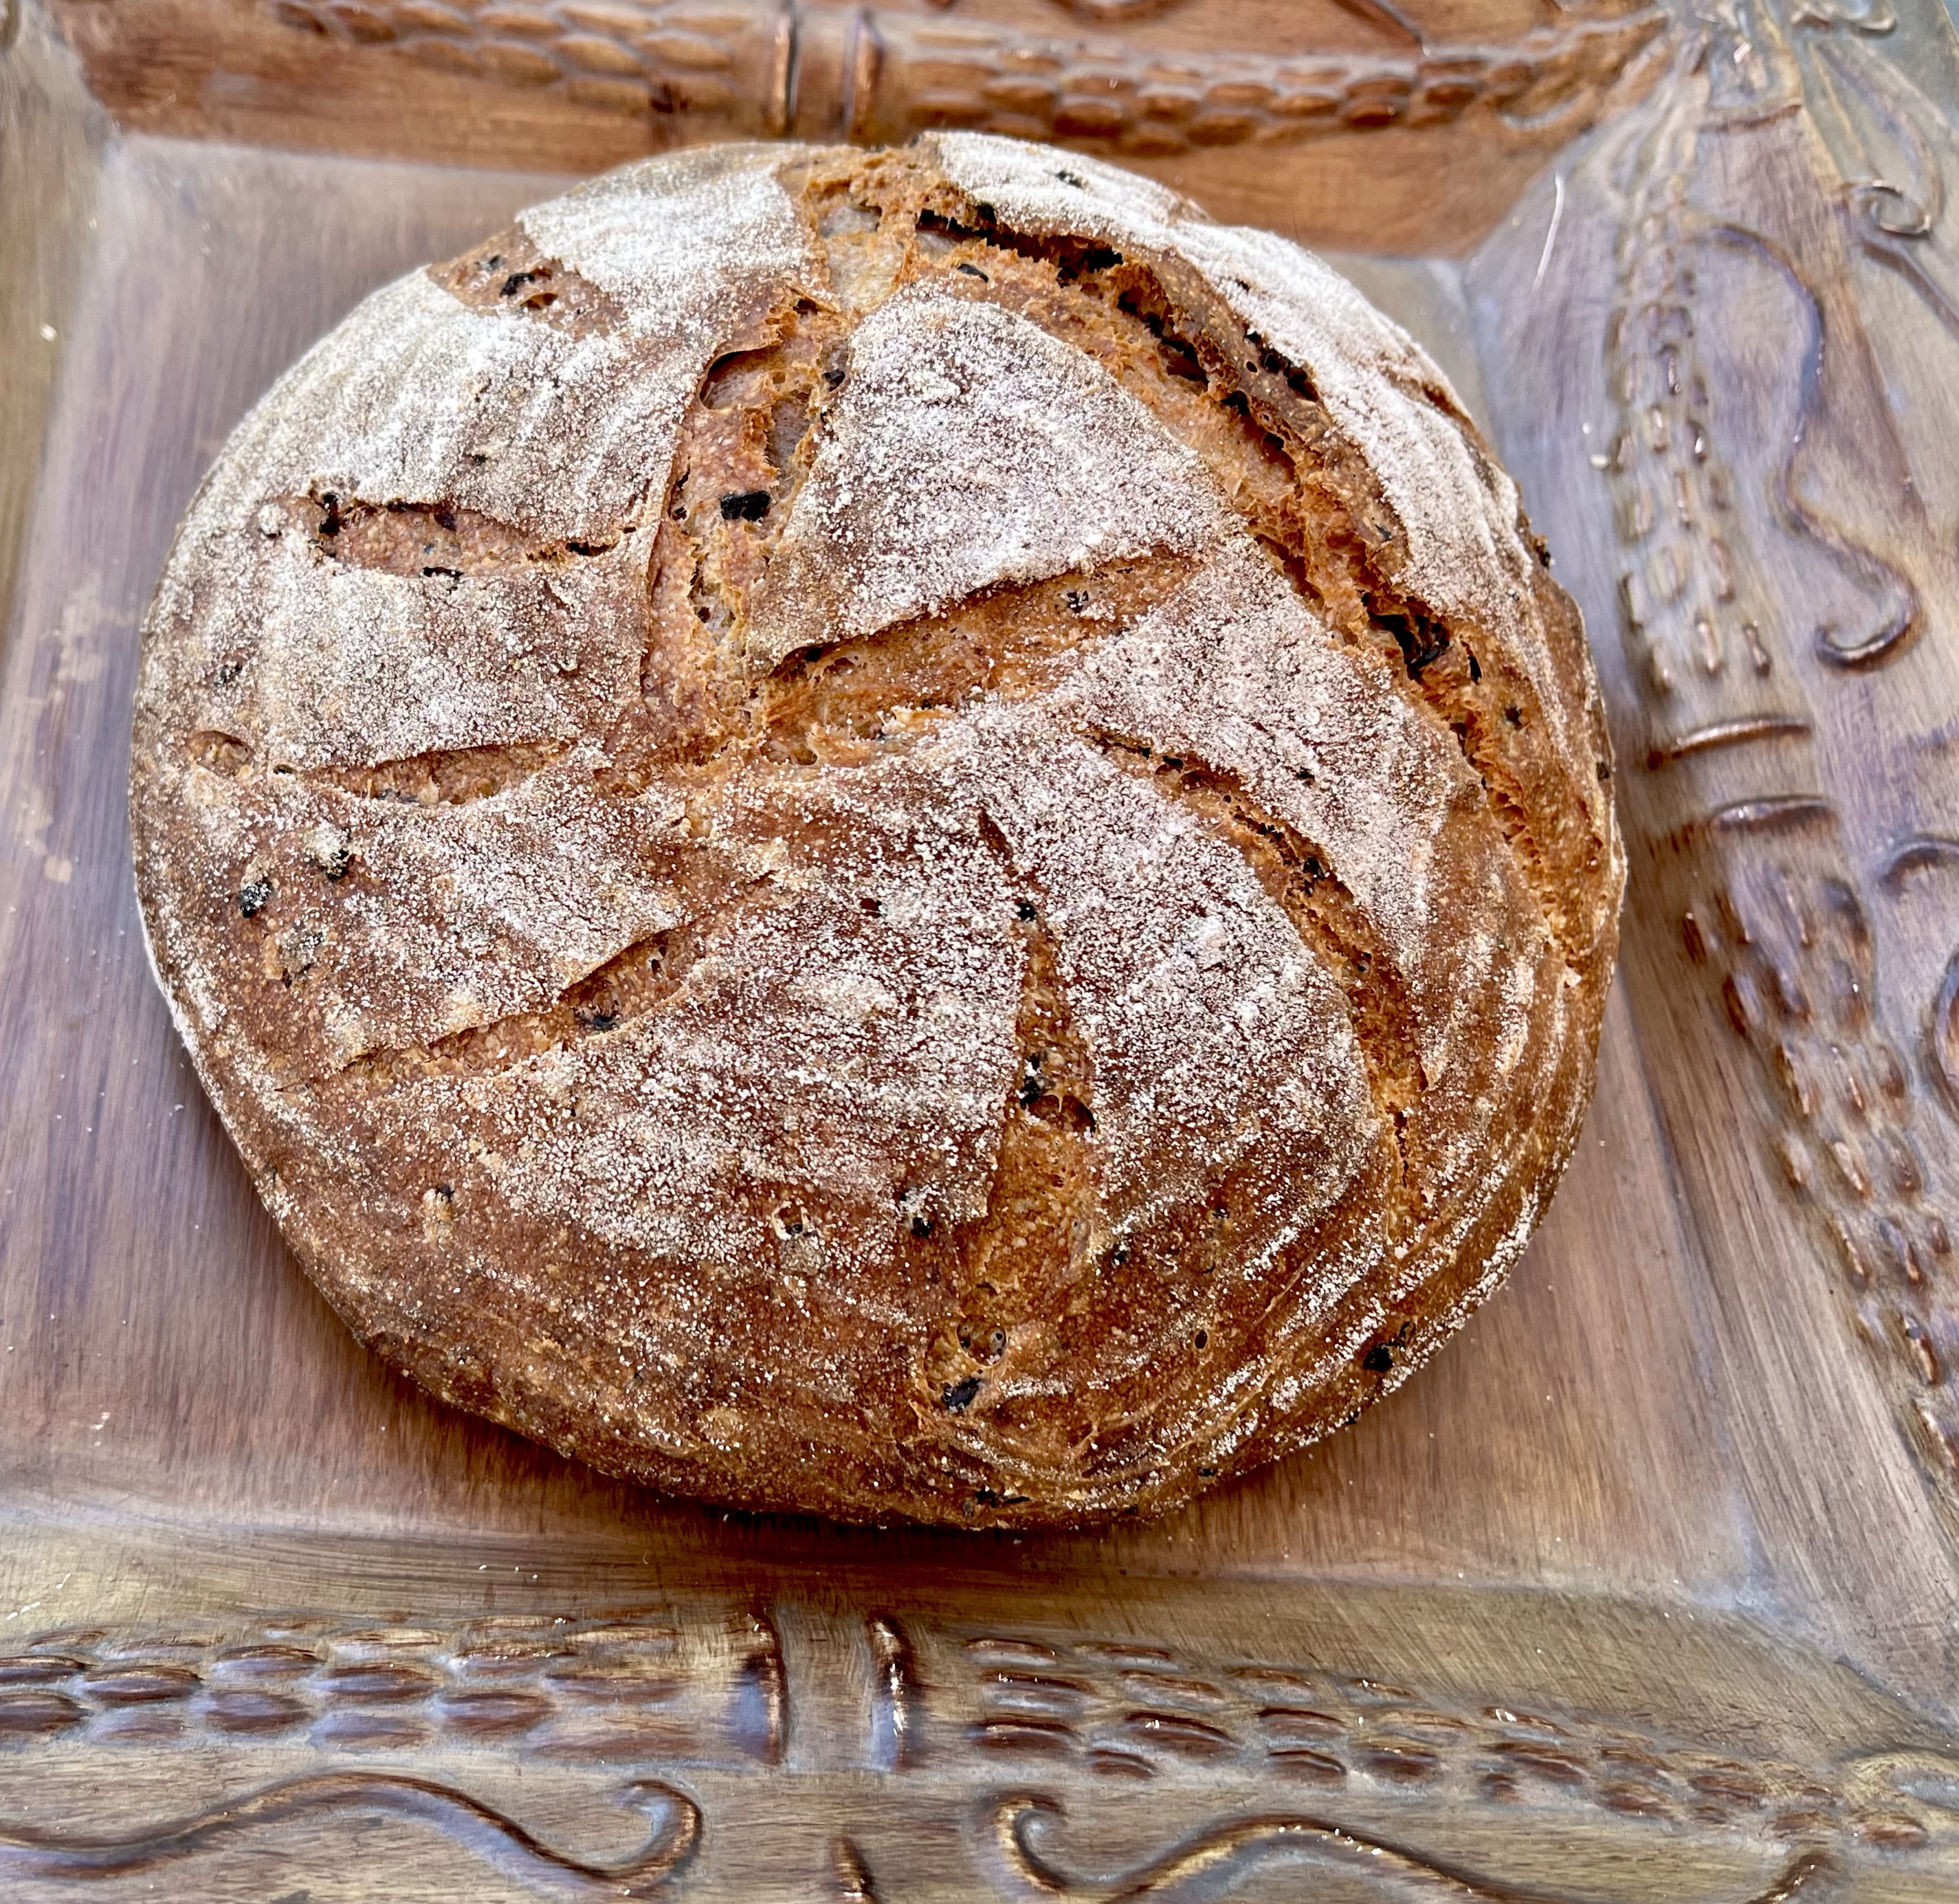
My index of bakes.

Pages

Subscribe to Recent Blog Entries