I've been interested in making nice airy-ish, free-form loaves with all or substantially whole wheat flour for a few years, but I kind of put that on the back burner for a while. I've gotten a lot better sense of gauging fermentation as well as experimenting with cooked or soaked grain or porridge add-ins the past two years. I think it's time now to return to whole wheat loaves. I think my baking goal for this year will be to 1. Learn to make an airy, well-shaped 100% whole wheat loaf 2. Work with locally or regionally sourced flours, hopefully encompassing a wide range of vatietals.
~~~~~~~
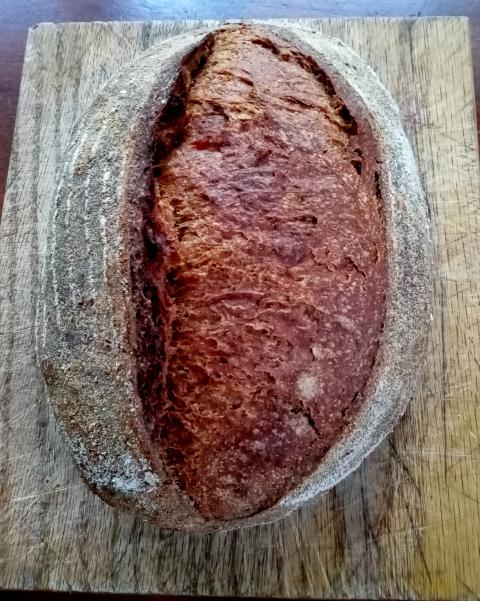
Here's my 2nd go at the 100% w.w. loaf. The first I think I gave too long of an autolyse and maybe too much water and the gluten seemed to break down, so I just plopped it in a loaf pan to get something out of it.
450g KAF ww flour (100%)
380g water (85%)
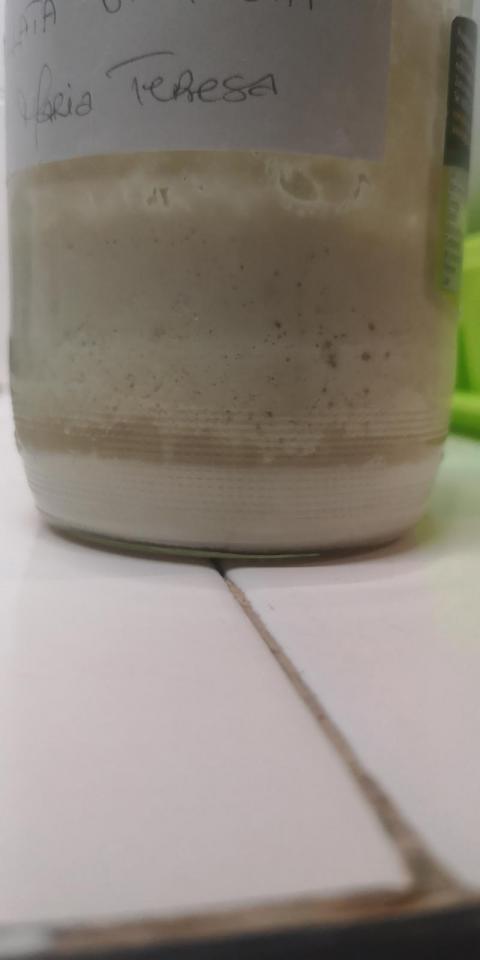
50g starter (11%)
-------
~3 tsp salt
-mix water, starter, and flour. Rest 1.25 hr. Pinch in salt. Stretch and fold over 5 hrs. (Room temp. ~65°)
-continue bulk fermentation overnight ~10 hrs., slightly lower room temp.
-preshape, 30min. Shape. Retard 10 hrs.
-bake 475 covered 20 min. Uncovered 10 min. Lower to 425 20 min.
I'm decently satisfied with how this turned out. It did well enough to give me confidence to continue on but also leaves plenty of room for improvement to push me further. The flavor was pretty banal for whole wheat, which could be due to 1. KAF being a not particularly flavorful flour or 2. The flour likely being pretty old.
The dough came together slowly, sticky and prone to tearing fir the first few stretch and fold cycles but eventually becoming quite manageable.
I think it would be better to have more of a true autolyse period. As for improving the crumb, I'm not sure whether I should try pushing the hydration a bit more or the bulk fermentation. It felt nice and airy when I shaped it, but it didn't expand as much as I hoped when it baked.
~Edit 3/12~
2nd go-round
Basically same process as above except I extended the autolyse from 1 hr to 3 hrs.
Similar end results. Perhaps a little more consistent, less open crumb. The dough developed strength quicker (presumably due to the longer autolyse) and was easier to shape. I think I need to try increasing hydration a little bit next time.
3/22
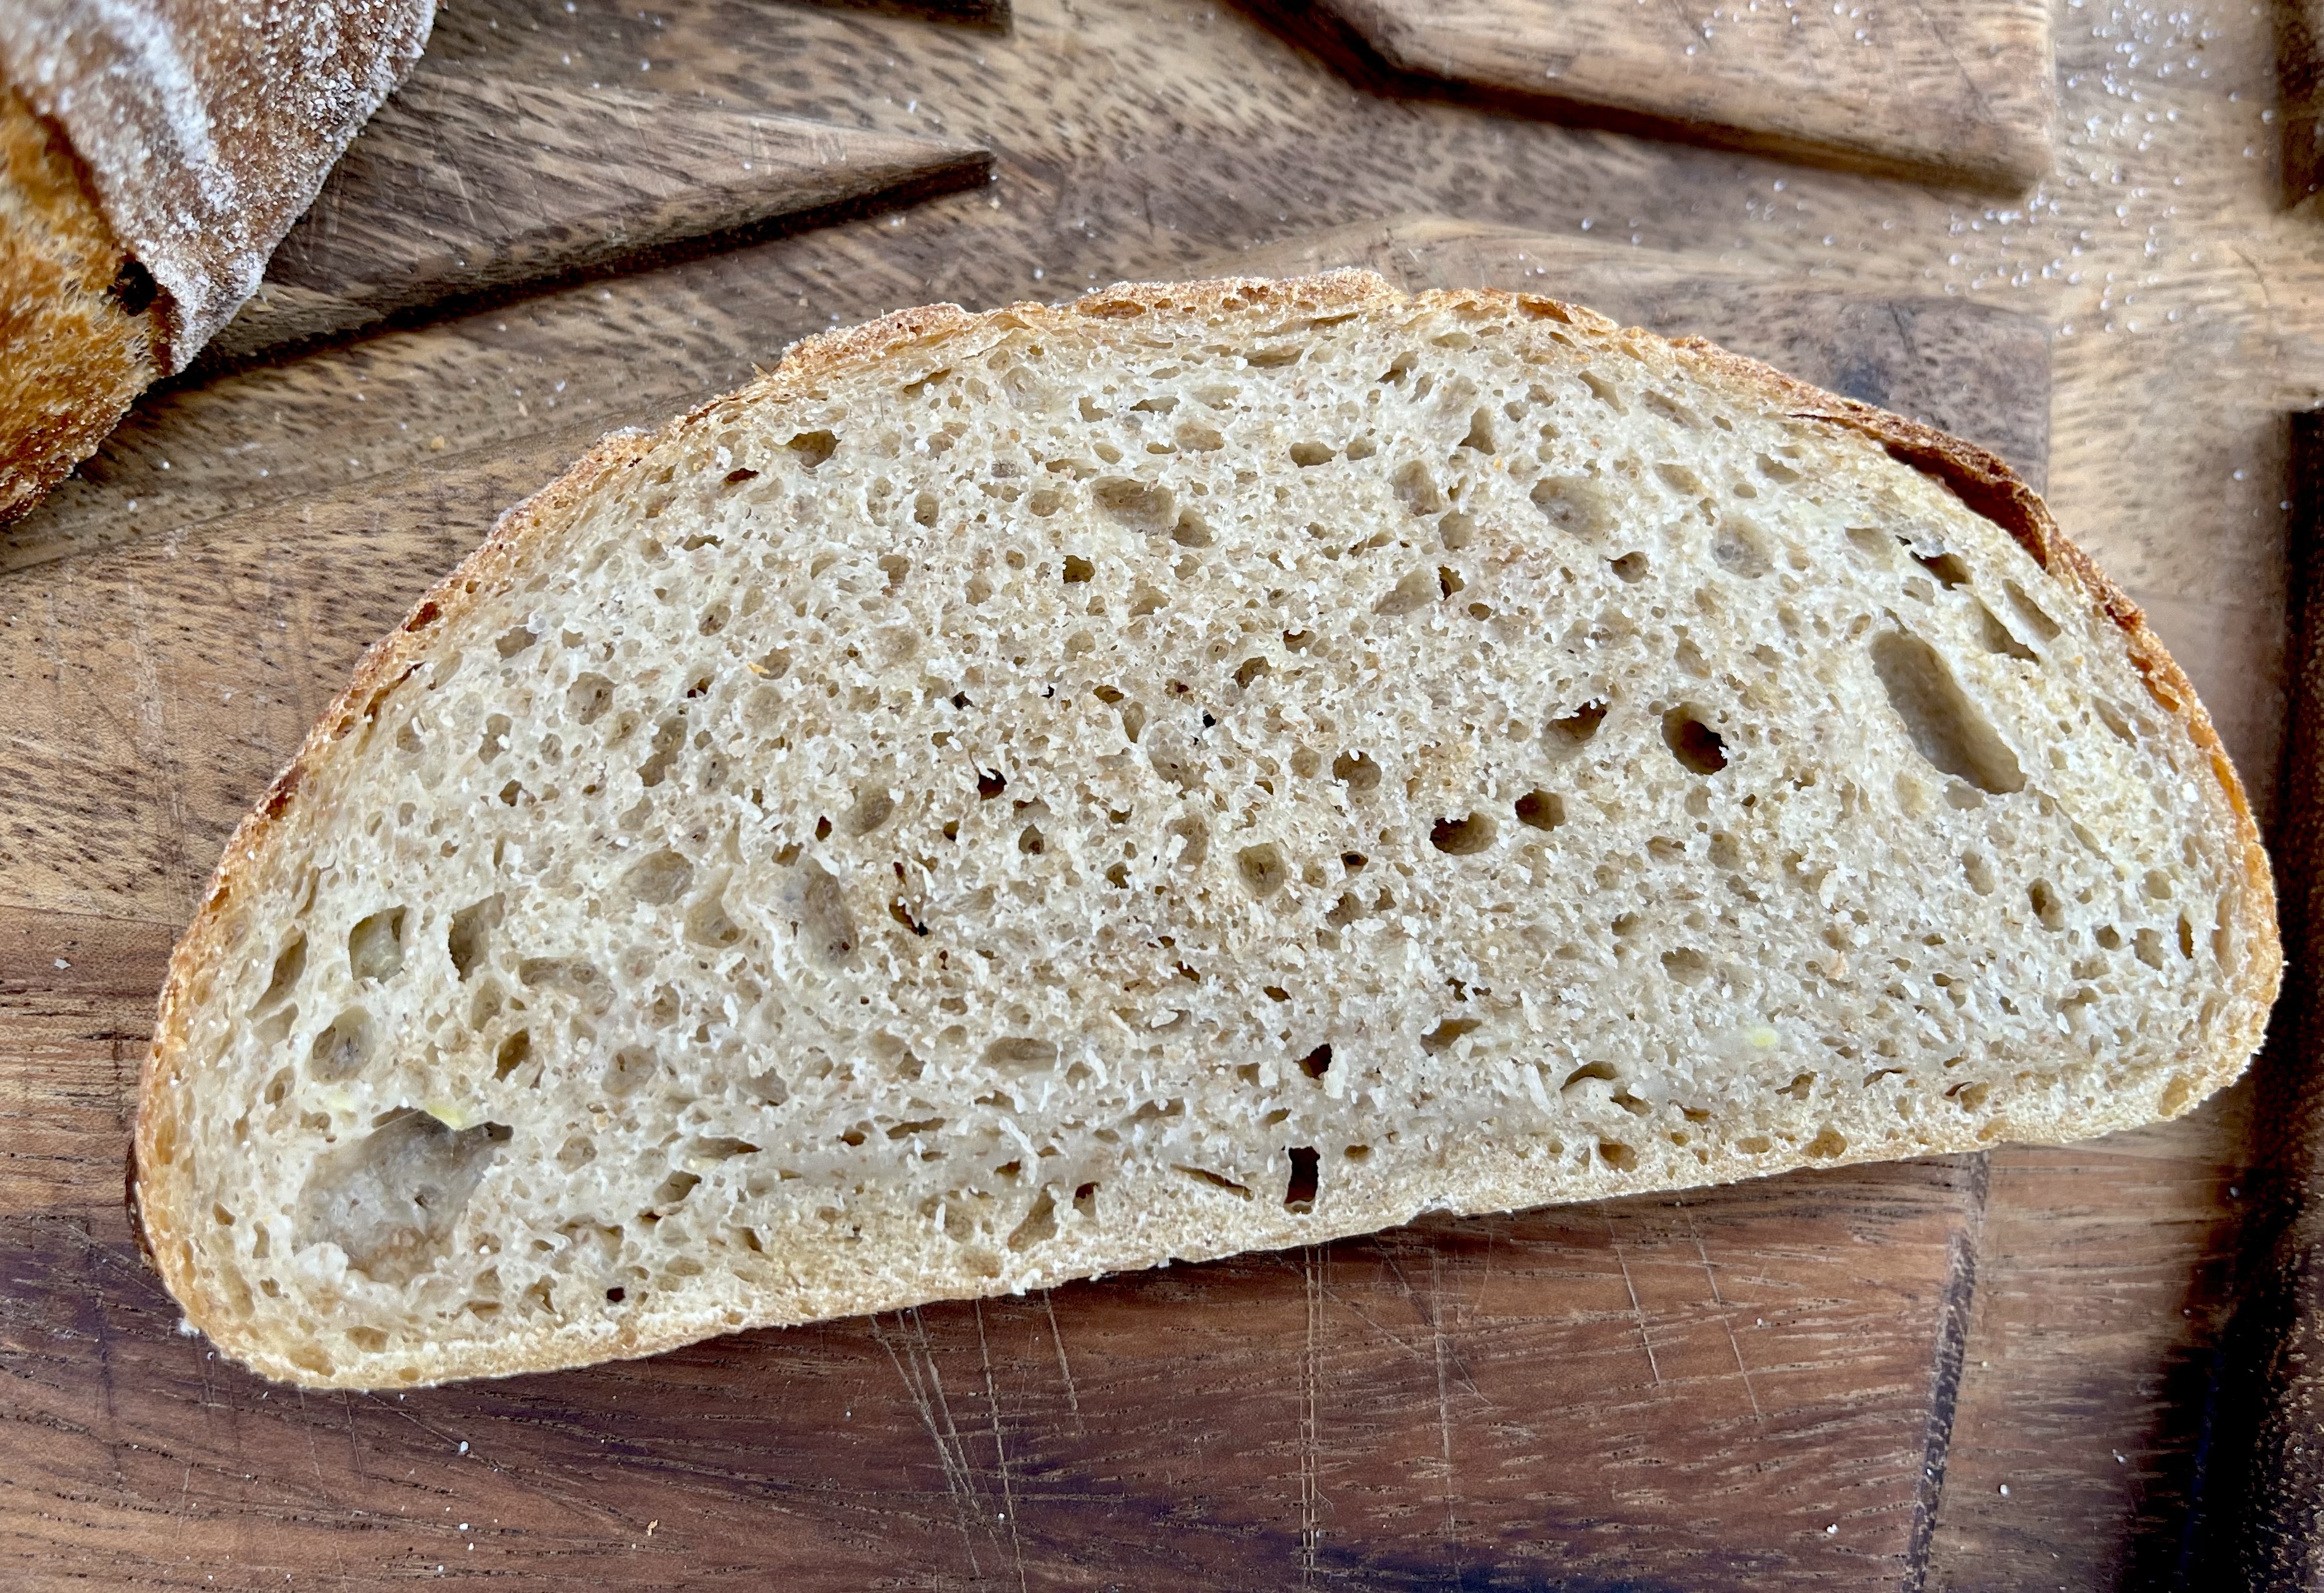
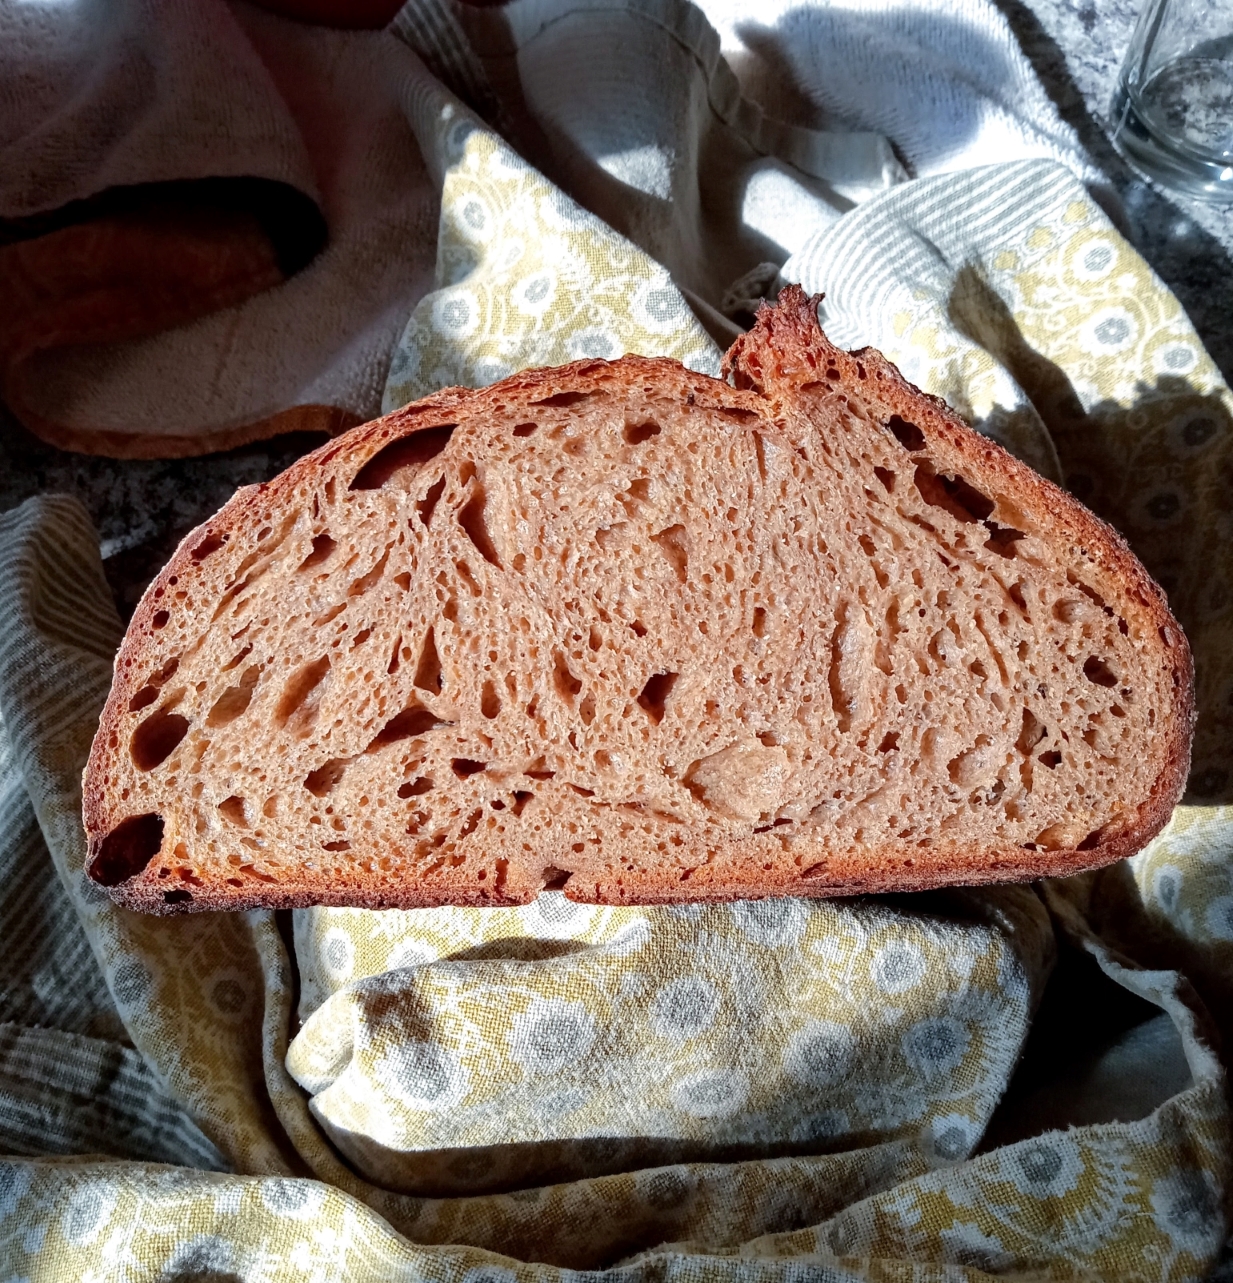
Further iteration on above concept . With this version, I increased the initial hydration percent to 90 and then used water more liberally during stretching and folding, so maybe increased hydration up to 92-3%.
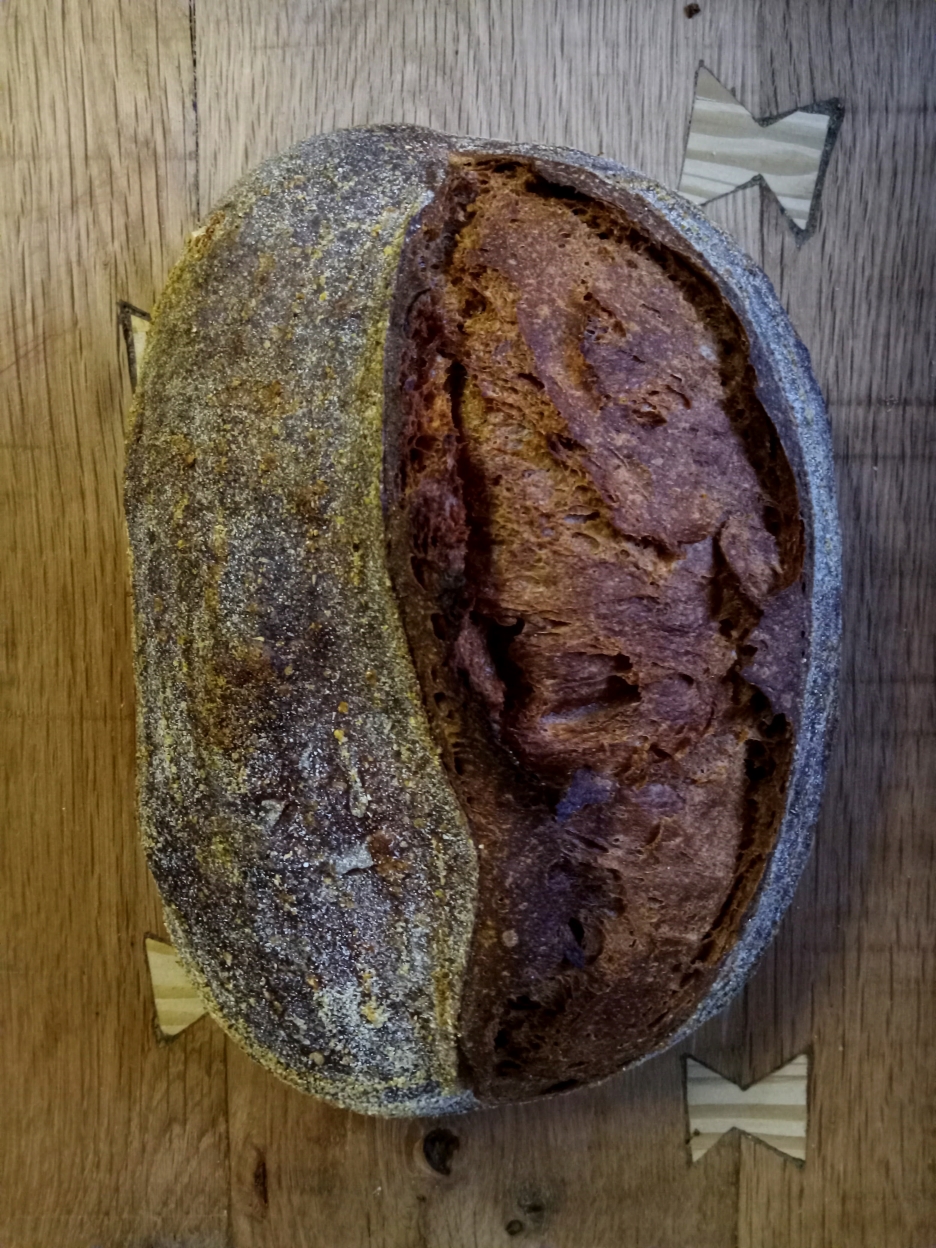
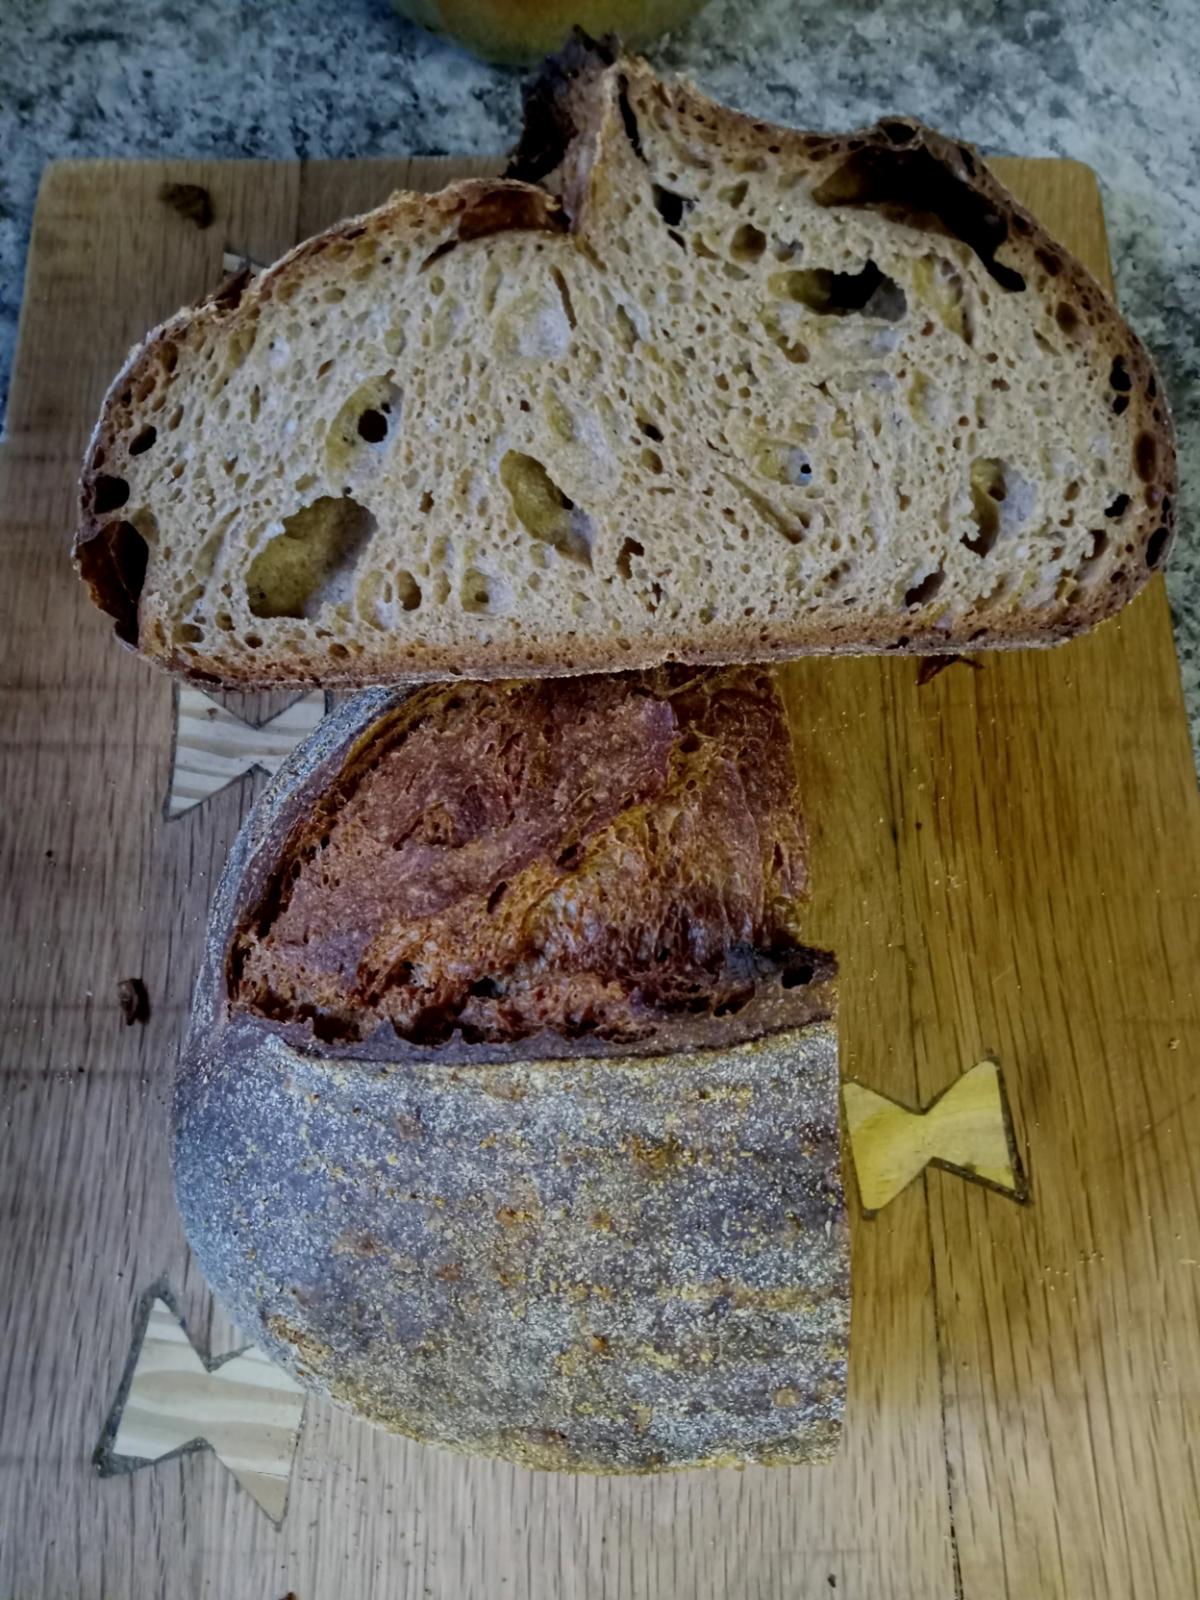
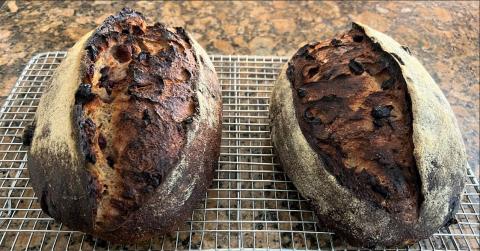
This shape of this loaf coming out of the oven didn't excite me so much, but when I cut into it and saw the crumb, I was happy. This one feels like a distinctive step forward towards a really nice whole wheat loaf.
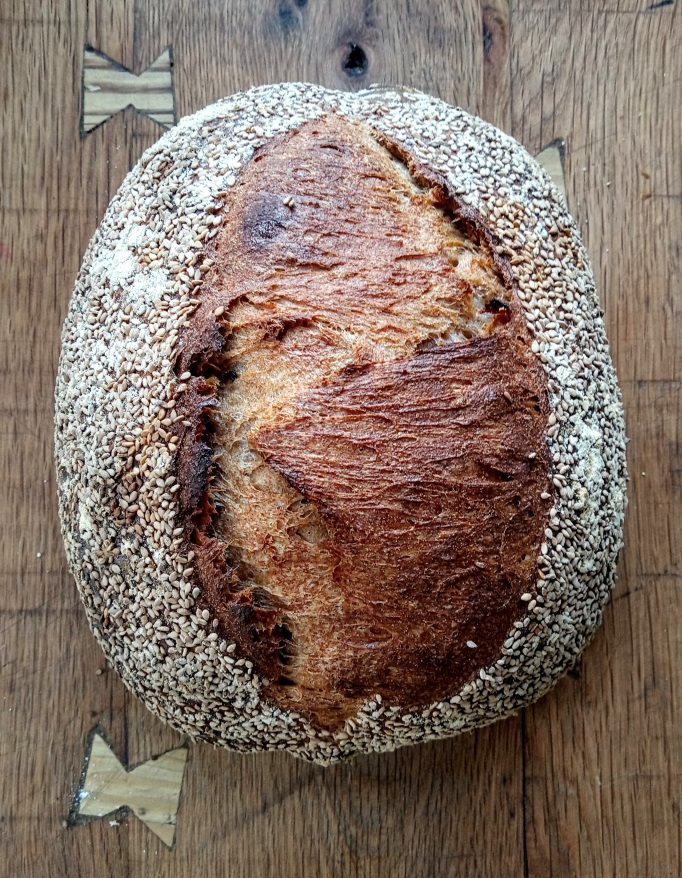
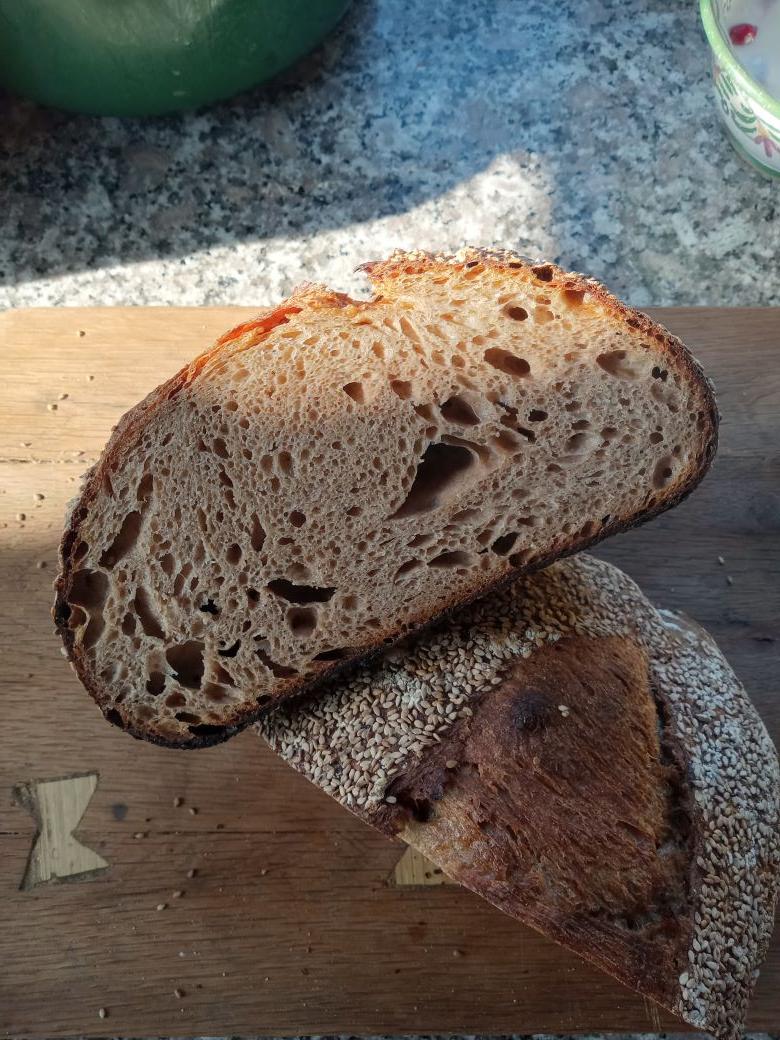
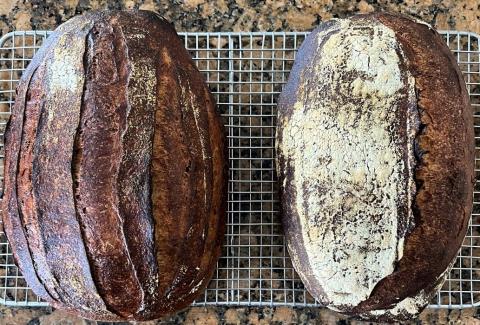
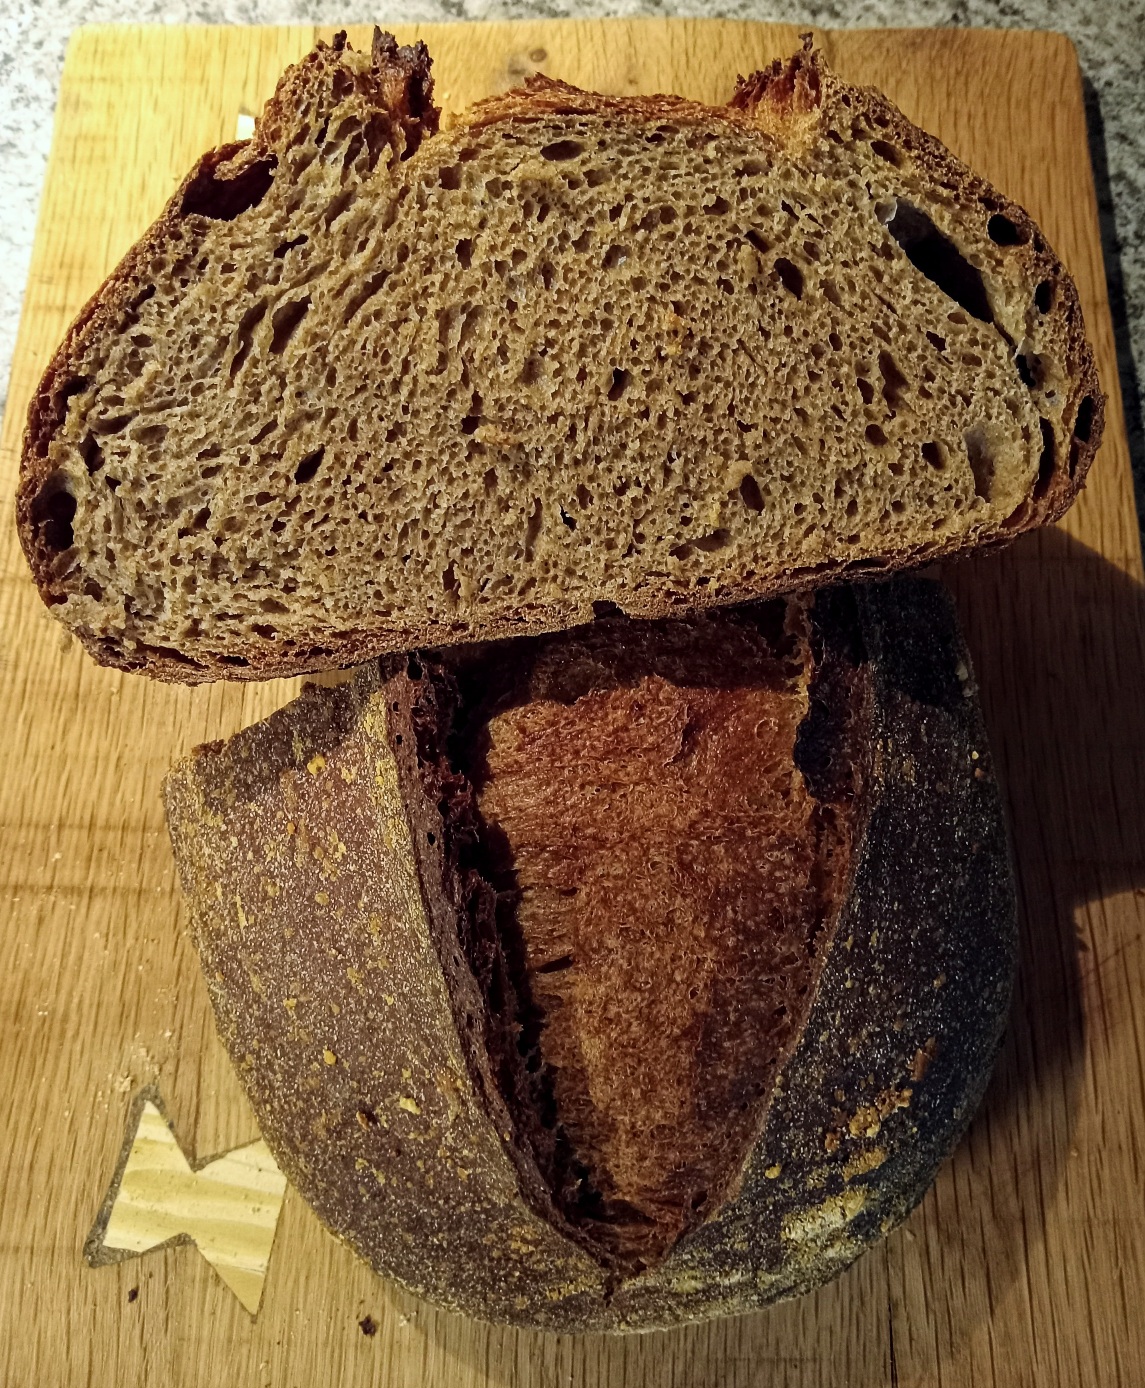
edit 5/15
Another go-round with the 100% whole wheat loaf. This one again with Maine Grains but crusted in sesame seeds. Pretty much same approach I think as others. The main thing with this loaf is that I was a little constricted on my baking schedule, and I decided to go ahead and shape it in the morning before work even though it probably could have used another 1-2 hrs. of bulk fermentation time. Also did the final proof for ~2hrs at room temp. rather then the usual cold retard. Crumb was a bit worse; shape was really nice; sesame outside is a really nice flavor.