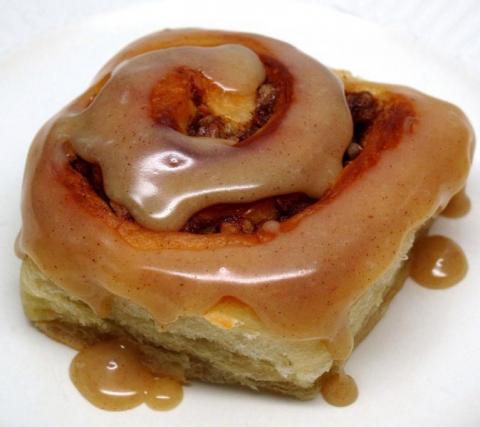
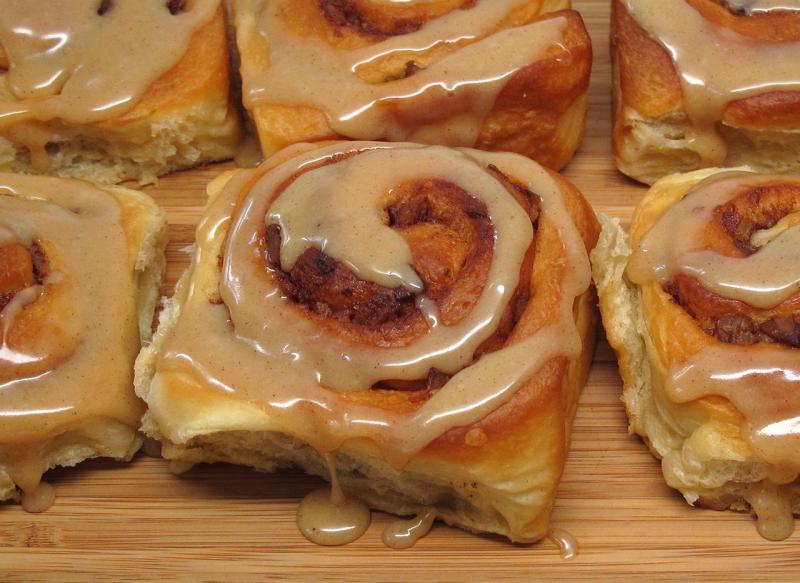
Work has kept me busy and away from posting as often as I'd like, but I'm happy to be able to share this recipe. These are completely amazing cinnamon rolls. They've conquered my heart, and I don't even really like cinnamon rolls. Except these.

Tang Zhong Milk & Honey Sweet Dough
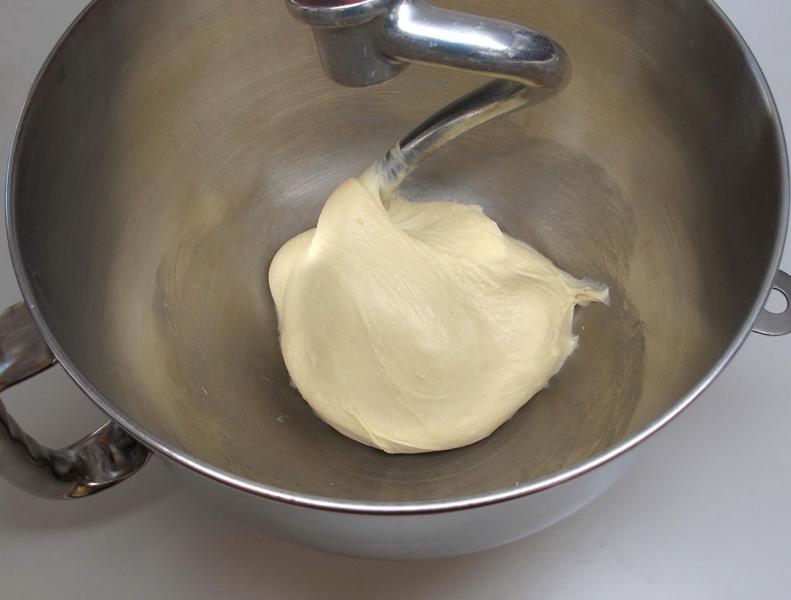
The cornerstone of this recipe is the soft, moist and tender sweet dough. It uses honey and a roux to tenderize and hold in moisture. And the long kneading time yields a wonderfully light, ethereal texture.
Crazy Good Cinnamon Glaze
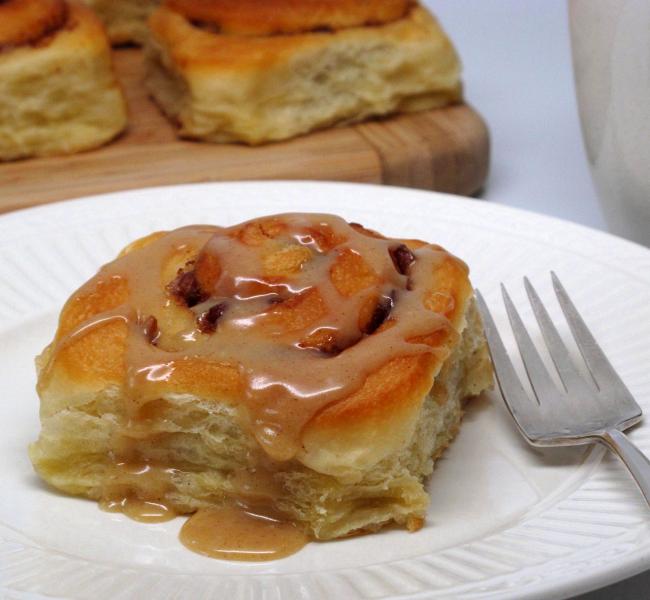
Instead of the traditional plain powdered sugar frosting, these have a richly flavored, creamy glaze that rounds out the cinnamon with butter, vanilla, cocoa butter and coffee. While testing this recipe, my office mates repeatedly offered to lick the bowls, whisks, serving plates, you name it.
This was a recipe I developed for Brod & Taylor for the roll-out of their new shelf kit. (If you haven't seen the shelf kit yet and would like to, it is here.) It includes directions for the Folding Proofer with a shelf kit, but can also be made using a warm-ish (85F) proofing spot.
Yield: 12 Cinnamon Rolls (double the recipe to make 24 rolls). Make 12 rolls in two 9” (23cm) round cake pans or one 9x13" pan. Make a double recipe in two 9x13” (23x33cm) rectangular pans.
Timing: On day 1 the dough can be made, chilled, rolled and cut, then the rolls are refrigerated overnight. On day 2, pull the rolls out of the fridge about 2¼ hours before serving time, then proof and bake.
Milk & Honey Sweet Dough
| | Volume | Grams | Ounces |
| Unbleached flour, 12% protein | 2 c spooned | 250 | 8.8 |
| Milk | ¾ cup (180 ml) | 182 | 6.4 |
| Instant yeast | 1½ tsp | 4.8 | 0.17 |
| Salt | ¾ tsp | 4.5 | 0.16 |
| Honey | 3 Tbs | 60 | 2.1 |
| Egg yolk | 1 yolk | 15 | 0.5 |
| Water | 1 Tbs | 15 | 0.5 |
| Butter, very soft | 4 Tbs | 57 | 2.0 |
Make the Roux. Measure the flour into the bowl of a stand mixer. Add the milk to a small saucepan and whisk in 3 Tbs of the flour from the mixer bowl. (If you are weighing ingredients, put 30g/1.1oz of bread flour into the milk and 220g/7.8oz into the mixer bowl.) Heat over medium-high heat, whisking constantly, until uniformly thickened and bubbling, about 20-30 seconds after the mixture first begins to boil. Cover and chill until cool to the touch.
The butter will incorporate more easily with the dough if it is so soft that it’s gone all melty at the edges. If you have a Folding Proofer, the butter can be warmed at 85F/29C. To prepare for rising the dough, lightly oil a container and mark it at the 4-cup/1 liter level (8-cup/2 liters if making a double recipe).
Mix the Dough. Add the instant yeast and salt to the flour in the mixer bowl and stir to combine. Add the water, cooled roux, honey and egg yolk. Mix on low speed until flour is moistened. Once the dough comes together it should stick to the sides of the bowl. If necessary, add 1 more tablespoon water to achieve the right consistency.
Knead Intensively for an Ethereal Texture. Raise mixer to medium-low and knead for 5 minutes. The dough should still be sticking to the sides of the bowl. Add the butter in four parts, kneading until each piece is incorporated before adding the next. Scrape down the sides of the bowl as necessary. Once all the butter is incorporated, knead for 10 more minutes on medium-low. The dough should pull away from the sides of the bowl, although it may still stick on the bottom.
Ferment the Dough. Scrape the dough into the oiled container, place in the Proofer if you are using one and allow to rise until doubled, about 75-80 minutes at 85F/29C.
Fold and Chill. Turn the dough out onto a lightly oiled surface and stretch and fold all four sides to the middle, creating a square package. Wrap loosely and chill (a relaxed, cool dough will be less sticky and easier to roll out without adding too much flour). After 30 minutes, deflate the dough and re-wrap. Chill 30 more minutes or until it’s convenient to roll the dough, up to 24 hrs.
Cinnamon Pecan Filling
| | Volume | Grams | Ounces |
| Butter, melted and cooled | 4 Tb | 57 | 2.0 |
| Light brown sugar | 2 Tb | 27 | 1.0 |
| Cinnamon | 2 tsp | 2 tsp | 2 tsp |
| Vanilla | ½ tsp | ½ tsp | ½ tsp |
| Egg white, cold | 1 white | 32 | 1.1 |
| Pecans, chopped | ¾ cup | 85 | 3.0 |
While the Dough is Chilling, Make the Filling. Butter the bottom and sides of the pans and chop the pecans finely. Whisk together the melted butter, brown sugar, cinnamon and vanilla until well combined. Quickly whisk in the cold egg white to thicken and emulsify the mixture.

Roll and Fill the Dough. Lightly flour the top and bottom of the dough, then roll out to a 12 x 14” (30 x 36 cm) rectangle. Spread the filling over the dough, extending all the way to the edges on the short sides and leaving a small bare border on both long sides. Sprinkle the nuts over the filling. Starting from a long side, roll the dough into a log and press lightly to seal the seam. Use plain dental floss to cut the roll into 12 pieces. If using a knife to slice rolls, it may be easier if the log is chilled first. Arrange the rolls in the pan with smaller rolls in the middle. Cover and chill overnight.
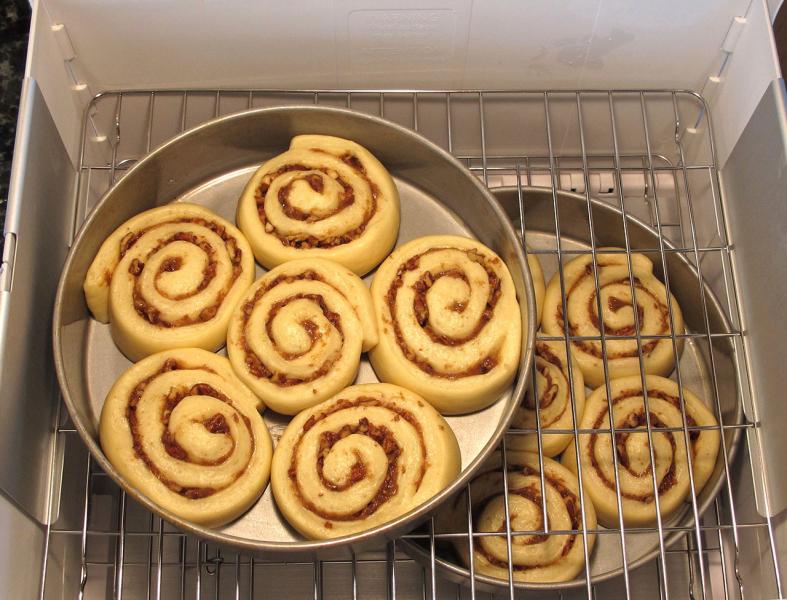
Proof the Cinnamon Rolls. Set up the Proofer, if using, with plenty of water in the tray. Use the rack with the fold-out legs on the lower level to raise the pan off the warming element so that the lower level and upper level proof at the same rate. Set the thermostat to 90F/32C. Place one pan of rolls on the lower rack, off to one side. Then add the shelf supports and shelf and place the second pan on the upper level, off to the opposite side. Close the lid and allow the rolls to proof until the dough springs back slowly when the side of a roll is dented with a finger, about 90 minutes. Half way through proofing, rotate the pans 180 degrees.
Cinnamon Mocha Topping
| | Volume | Grams | Ounces |
| Fine quality white chocolate bar | one 3oz bar or
⅔ of 4.5oz bar | 85 | 3.0 |
| Butter | 2 Tbs | 28 | 1.0 |
| Cinnamon | ¼ tsp | ¼ tsp | ¼ tsp |
| Coffee or Espresso (brewed) | 1 Tbs | 15 | 0.5 |
| Powdered sugar | 2 Tbs | 14 | 0.5 |
Preheat the Oven. Place racks in the upper and lower thirds of the oven and preheat to 375F / 190C.
Make the Glaze. Break or chop the white chocolate into pieces and put in a small bowl along with the coffee, cinnamon and butter. When the cinnamon rolls are fully proofed, remove them from the Proofer, then turn the thermostat up to 120F (49C). Remove the upper rack and fold up the legs on the lower rack so that it rests close to the warming element. Place the topping mixture in the center of the rack and close the lid. (Because the white chocolate is being melted with coffee and butter, it’s OK to leave the water tray in the Proofer - a little steam won’t hurt it.) If you're not using a Proofer, melt the glaze over a double boiler or with short bursts in the microwave.
Bake the Cinnamon Rolls. Cover each pan of rolls with aluminum foil (to seal in moisture and encourage the fullest oven spring possible) and place in the oven on the lower rack. Bake for 10 minutes, then remove the foil, rotate pans 180 degrees and place on upper rack to encourage browning. Bake 15-20 more minutes, until nicely browned and the rolls reach an internal temperature of 190F (88C).
Cool and Top the Rolls. When the cinnamon rolls are done, remove from the oven and cool in the pan for 10 minutes. While the rolls are cooling, whisk the melted glaze ingredients until they emulsify and are thick and smooth. Add the powdered sugar and whisk until smooth. Unmold the rolls onto a serving plate and drizzle the glaze over the warm rolls.
Alternative Timing: The rolls can be made all in one day. After the first rise/bulk ferment, chill the dough only for the minimum time of 1 hour. Then roll, fill and cut the rolls. Skip the overnight time in the refrigerator and shorten the final proof to 70-75 minutes (the dough will be warm and will take less time than refrigerated dough). All in, start these rolls 5½-6 hours before serving time.


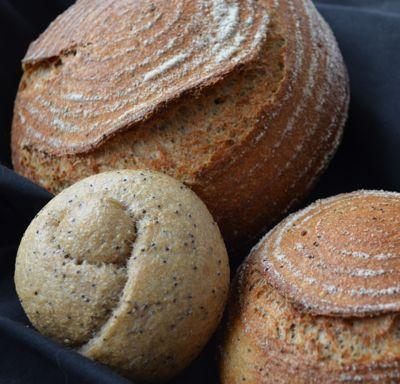
 rye flour sprinkled over the surface.")


 A Hamburger Bun