The Fresh Loaf

A Community of Amateur Bakers and Artisan Bread Enthusiasts.

Recent Blog Entries

qrkid's picture
qrkid

Looking for a tasty bread that would be good for sandwiches. Tried out dmsnyder's recipe https://www.thefreshloaf.com/node/42511/sourdough-italian-baguettes

I made a few changes, some intentional, some by mistake. I used honey instead of sugar. I spaced the night before and just fed my starter and didn't make a levain so i just used 100g of that in final dough so no rye of WW in my levain.

Was not going to divide dough so I shaped after bulk fermentation and retarded overnight in banneton.


Final Dough


Ingredient

Amount (gms)

AP flour

300

Fine Durum flour

200

Water

350

Salt

10

Honey

14

Active liquid levain

100

EVOO                                                                                             14


Procedures

  1. Autolyse. Mixed the flours and water and let it sit for 45min. dmsnyder recipe added levain to autolyse

  2. Add levain,honey and EVOO and mix in KA for 6min on #2 speed. Dough was not totally pulling away from bowl so I added 2 tsp AP flour

  3. Transfer the dough to a lightly oiled bowl, and cover the bowl.

  4. After 30 minutes, did coil folds. Did 3 sets at 30 minute intervals.

  5. Bulk fermented for another 90 minutes, 

  6. For me I was keeping the whole amount as a single loaf so I went ahead and pre shaped and bench rested for 25min

  7. Shaped the dough. Sprayed top with water and rolled in sesame seed and put in oblong banneton seam side up.

  8. Covered and put in fridge for 18hrs

  9. Removed from fridge and left on counter while I pre heated oven

  10. Pre-heat the oven and my clay oblong cloche to 475ºF 

  11. Transfer the loaf, on the parchment, to a peel. Score. Transfer into cloche and cover

  12. Cooked covered in cloche for 18 minutes. Turned oven temp down to 430deg on convection and removed cover of cloche. Cooked for another 23min tuning after 15min

  13. Transfer the loaf to a cooling rack. 


I think this turned out great. Super tasty with a great nuttiness from the sesame seeds. Very tender crumb.

HeiHei29er's picture
HeiHei29er

This is my second bake from the book.  They refer to the recipe as White French Pullman aka Pain de Mie.

I'm enjoying the book so far.  A good read, and the author does a good job with telling the history of the bakers and the bakery and how they have developed and grown.  Likewise, they do a pretty good job of explaining their methods and how their methods are used in each of the bread and pastry recipes in the book.  What I do like is that while their methods are familiar, they're different enough from what I do that I've learned from both recipes (first was a banana bread).

Three facets of this bake were new to me...  a long, refrigerated fermentation for the poolish, no folding or gluten development (only punching down the dough), and a really strong bake for a dark, flavorful crust (and I didn't go as long or as hot as called for).  The result...  Not my prettiest work.  My shaping for pan loaves is out of practice and was a lumpy mess to begin with.  And...  Learned that I either need a new razor or need to lubricate it with a little oil before trying to score a warm, fragile dough.  It stuck and pulled more than it sliced and my diamond pattern turned into...  well....   something not diamond shaped.  :-)

All the good news though...  The dark crust did smell great out of the oven.  Not sure I could have gone for 40 minutes at 500 deg, but I will push it a little harder next time.  The crumb is custardy and creamy.  It's tender, but not at all shreddable.  I would say the exact opposite.  It's firm.  I've made toast and a grilled sandwich with it.  The exterior becomes nice and crunchy but the interior stays "creamy".  A fun bake for something with only white flour, water, salt, and ADY.

Poolish
43.2g    All Purpose Flour
43.2g    Bread Flour
86.4g    Water
0.3g      Active Dry Yeast
1)  Disperse yeast in the water.  Mix in flour until completely mixed with no dry flour clumps.  Target temp = 75 deg F
2)  Ferment at 75 deg F for 2 hours.  Refrigerate for 13-14 hours.
** Poolish should be at least double in size, have some bubbles on surface, and pass the float test.**

Final Dough
156.8g   All Purpose Flour
156.8g   Bread Flour
173.7g   Water
9.4g       Salt
0.7g       Active Dry Yeast
1)   Disperse yeast in the water.
2)   When yeast is completely dispersed, mix in poolish until completely and evenly mixed
3)   Add flour and gently mix until all flours are fully wetted.  Shouldn't take more than 3-4 minutes.
4)   Fermentolyse for 30 minutes
5)   Add salt slowly and mix in using pinch and squeeze until completely and evenly mixed.
6)   Bulk ferment at 75 deg F for 4 hours.  Thoroughly punch down dough to degas after 2 hours and then again after 3 hours.
7)  Preshape into a round using a bench scraper
8)  Bench rest 20 minutes
9)  Final shape for a Pullman pan.  Gently pat down to evenly distribute the dough.
10)  Final proof at 75 deg F for 3-5 hours.
11)  Preheat oven to 500 deg F.  Quickly score the dough and place in the oven.  Throw 4 ice cubes in the oven for steam (one in each corner) and bake for 40 minutes. 
11a) I was too chicken to go that hot for that long.  I went with 450 deg F for 20 minutes with steam, vented oven, 10 minutes at 350 deg F; remove loaf from pan; 350 deg F for 5 minutes to fully set the crust (not sure this was needed though)

Next time, I will go for the full 500 deg F for 40 minutes with just a few ice cubes instead of my full steam set up.


Sugarowl's picture
Sugarowl

I recently baked the Vermont Whole Wheat Oatmeal Honey Bread by King Arthur. It was a delicious flop. It tore horribly during kneading even with lots of resting time. I subbed oat flour for the rolled oats, so I essentially lowered the gluten and possibly the water as well. It also didn't call for an autolyse for the whole wheat portion. I had previously used Floyd's Honey Whole Wheat on here and didn't have those issues. But my kids don't like that much whole wheat (as I found out when I made the Approachable Loaf). So the first pictures are of my failed Vermont Honey Oatmeal loaf that looks like it exploded in slow motion and if it hadn't cooked it might have ended up all over my oven.


Tonight I made Floyd's Honey Whole Wheat Loaf, I changed it a little bit to match my kid's preferences. I halved the ingredients to make one loaf. So instead of 8oz of whole wheat and 4oz of bread flour, I used 4 oz of whole wheat, 4 oz of bread flour, and 4oz of all purpose flour. I and my kids like the softness of an all purpose flour, the bread flour is too chewey. I used half-half creamer instead of the evaporated milk and added 1 tablespoon of olive oil. for the Honey, I  used half honey and half maple syrup (I had a some left in a jug) Other than that I pretty much made the recipe like it was. It came out much nicer than the Vermont loaf. It was easier to work with and no tearing!


It's probably weird to say that I like the shine on the loaf. It's like a tiny victory. I brushed some my of half-half creamer on top. My husband is not as enthusiastic as I am about there being a shine, but he did bring back pictures of what the recent rocket launch did to the launch pad. It's pretty entertaining seeing all the stuff that got blown off this time around. :D

Edit: I was going to go buy store bread but asked my kid if he wanted me to buy a loaf or make one. He said he would rather me make this again! (happy dance time!). So I made two more loaves tonight (11/19) since we had two slices left. Now to figure out why it's crumbly compared to the store bought. The crumbly part was my husband's complaint, other than it not being pre-sliced.

Hotbake's picture
Hotbake


Fermentolyse overlapse with levain building, save time and allow flour to hydrate. Bulk ferment was proof to maximum before cold retard. Dough was handled while cold with no need for further proofing. All it takes after shaping was to relax them for 1 hour for maximum oven spring. I still hate scoring baguette because I'm pretty bad at it. Do you use a curved lame or just the blade?

Formula:

Levain:
67g ww starter @peak
160g water
80g kamut
80g rye
1.5 hour at a very warm spot

Mix in:
300g water(use 280g and reserve 20g as needed)
13g salt
150g ap flour
260 bread flour
7g diastatic malt
7g vital wheat gluten
total bulk 8 hours(the 1.5 hour above included)

Fermentolyse 1 hour> s/f +slap and fold 50 times, add reserved water as you go> rest 30 mins letter fold> transfer to a lightly greased pyrex> 4 sets of coil foil over the next 2.5 hours> last 2 hours untouched, dough should be doubled >straight to the fridge for 16 hours


Next day:
Tip dough on a floured surface> rest 10 mins> divide dough and preshape into 4 cylinders>rest 30mins> shape 4 baguettes> rest 1 hour on a couche > tip baguettes onto parchment > score and bake@500f for 12 mins with steam> remove parchment and steam tray and bake @450 for 18mins 


earl turnipseed's picture
earl turnipseed

How can I increase tge sourness in my bread?

CalBeachBaker's picture
CalBeachBaker

Today's Bake

Rouge de Bourdeaux & White Whole Wheat Sourdough

Based on: Tartine - Book No. 3 by Chad Robertson - White-Wheat Blend (Ode to Bourdon)

I've become interested in milling my own flour but before I took the plunge I purchased some Rouge de Bourdeaux freshly ground flour from Barton Spring Mill (https://bartonspringsmill.com/products/copy-of-rouge-de-bordeaux) to check it out.

This is a dense mostly whole wheat bread that I am quite happy with and will put into my regular rotation.

Tasting Notes

Crumb - sour dairy with notes of plain yogurt

Crust - toasty with notes of nuts and malt

Grain Character - moderate with a slight taste of cooked oatmeal

Recipe and Process are below for those that are interested.

Benito's picture
Benito

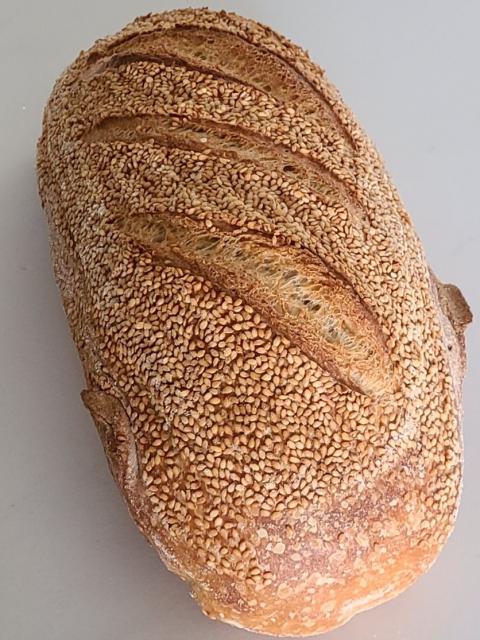
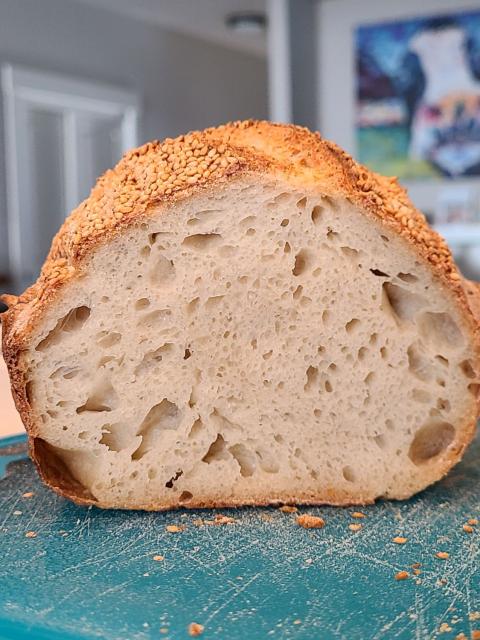
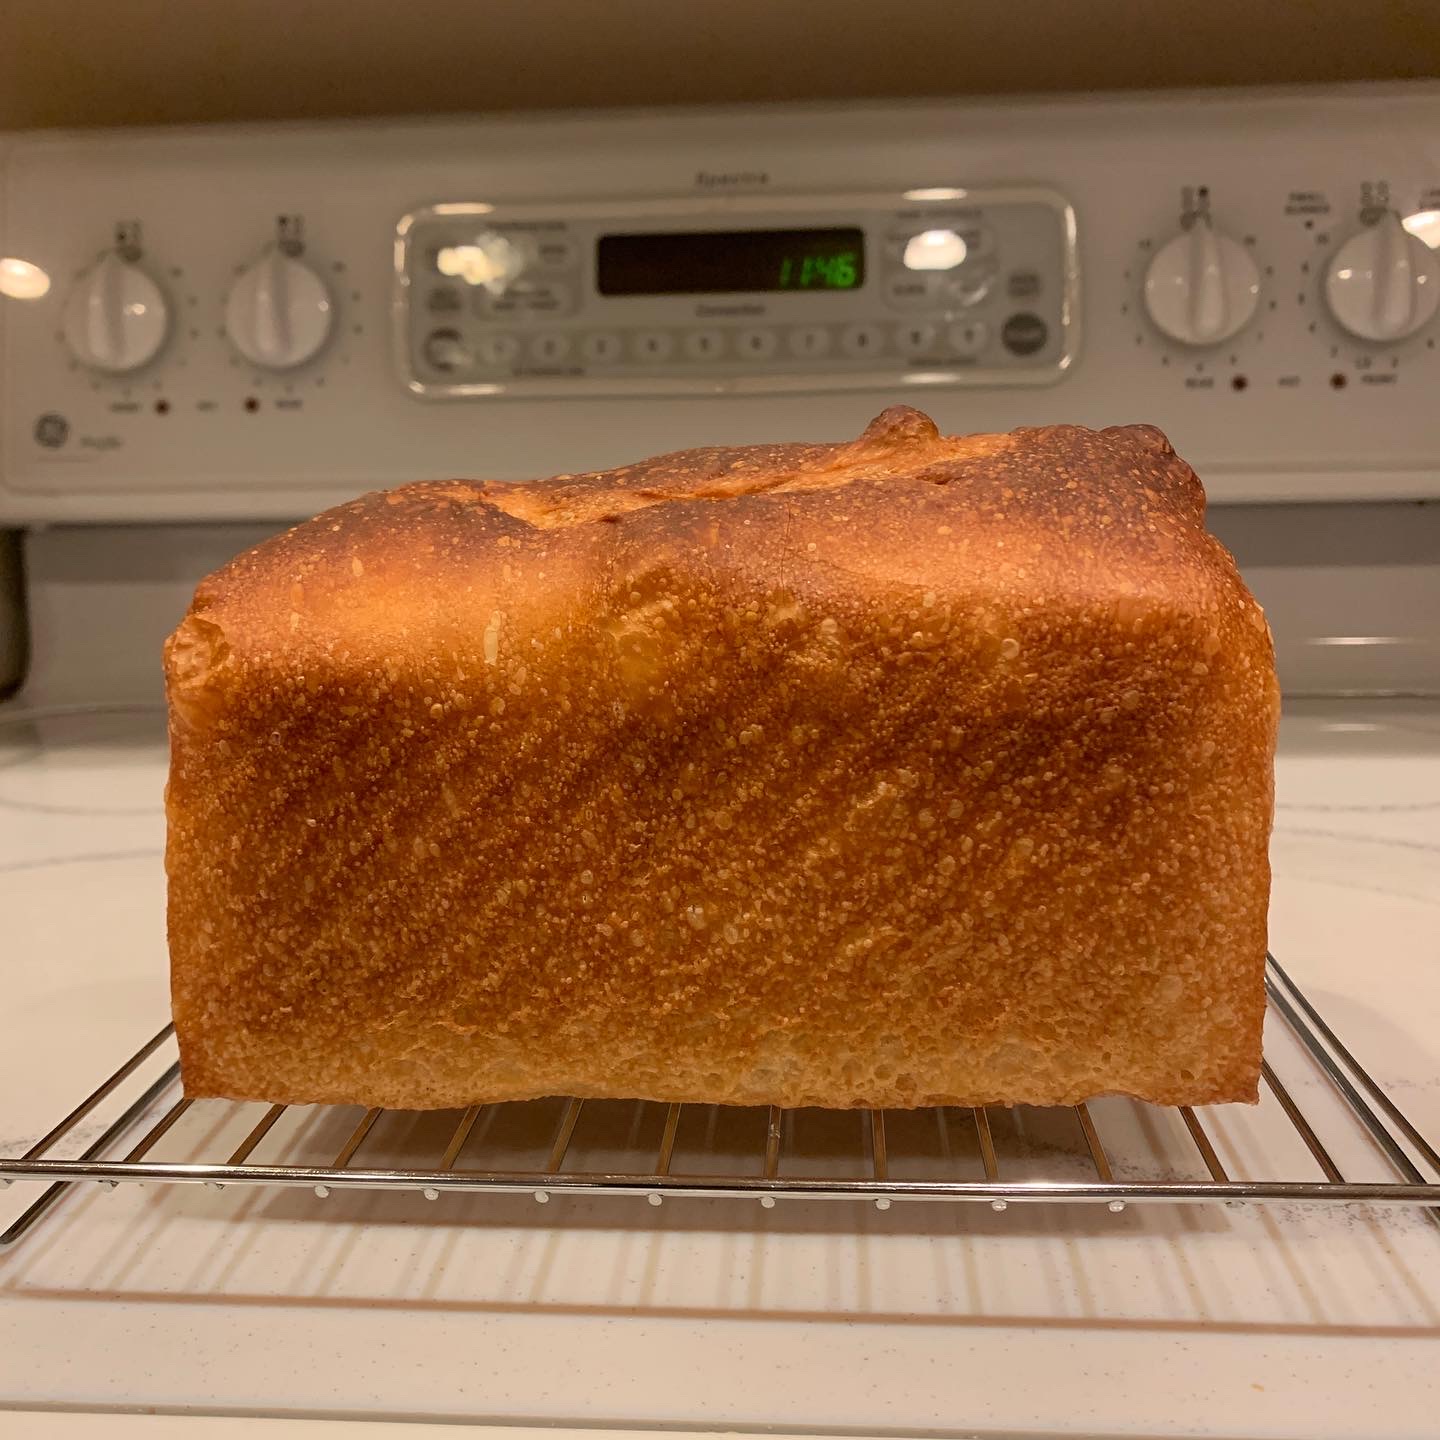
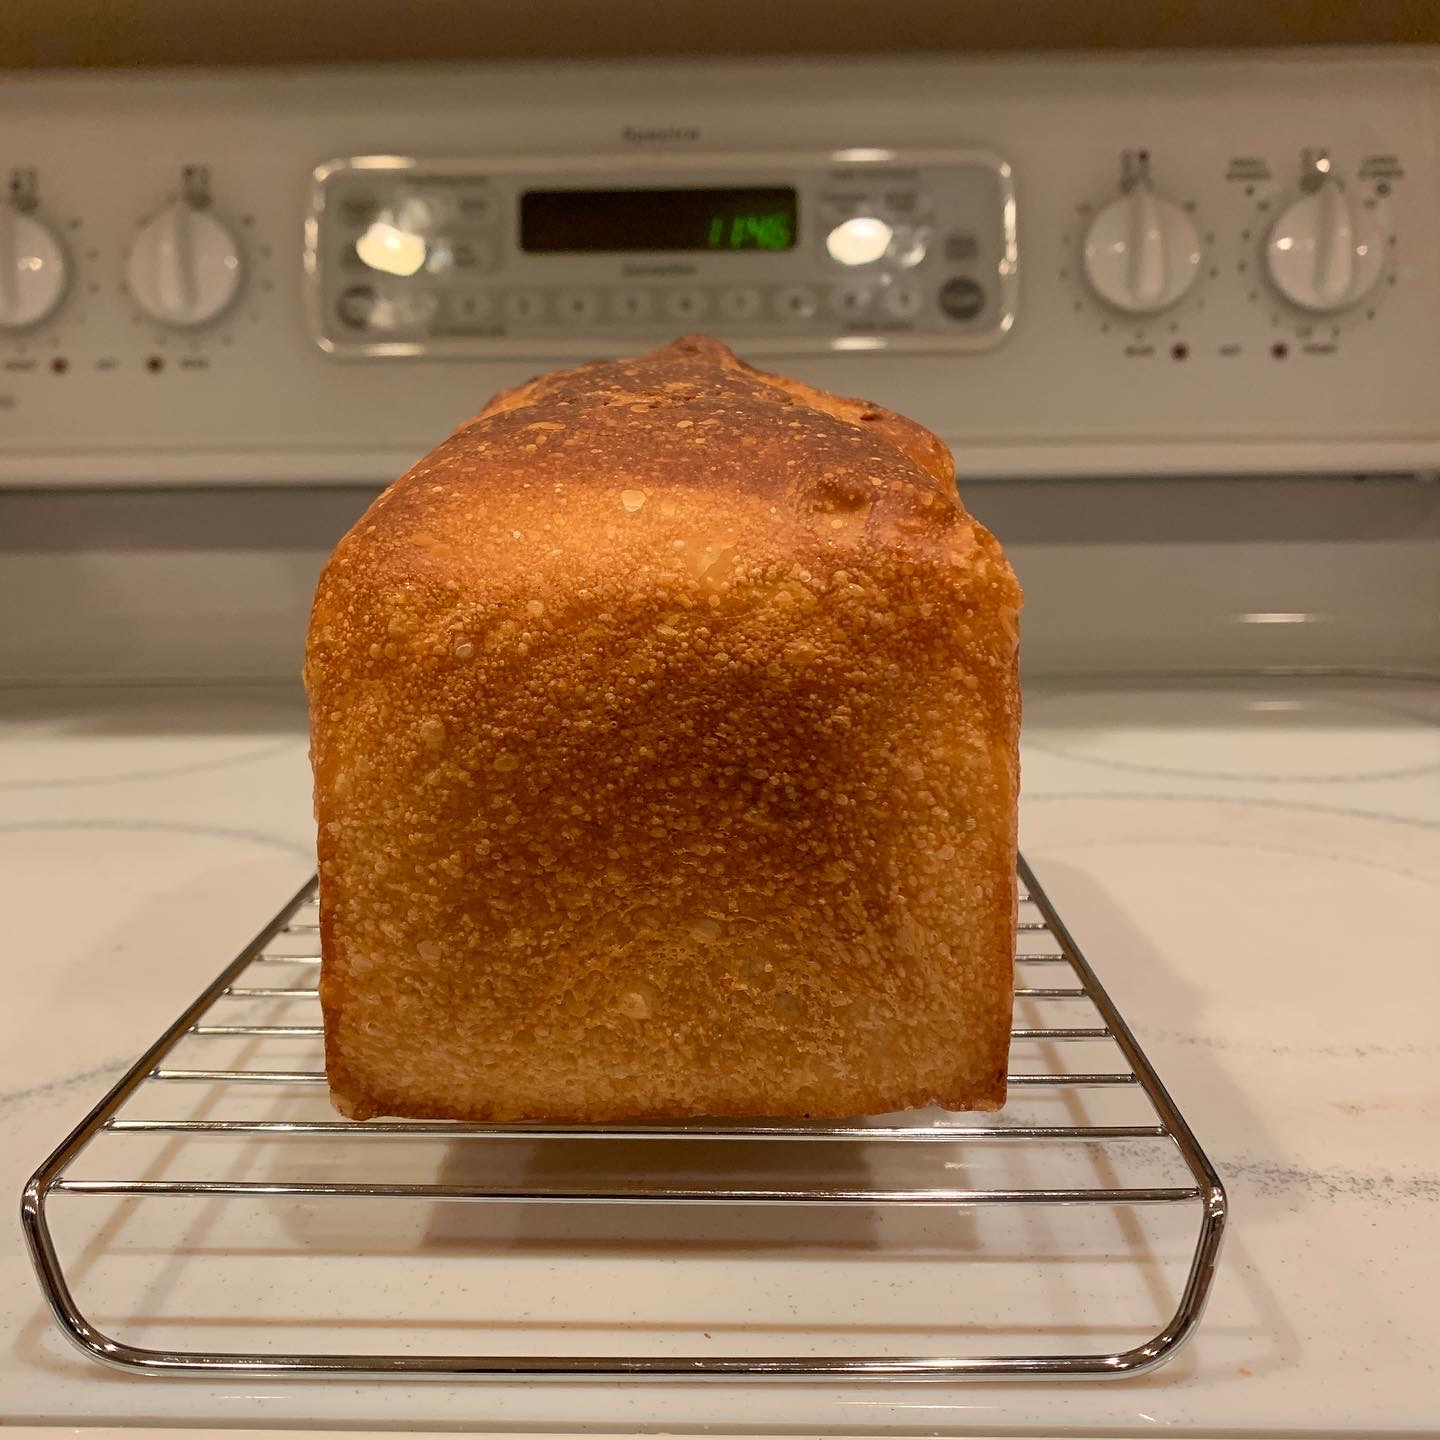
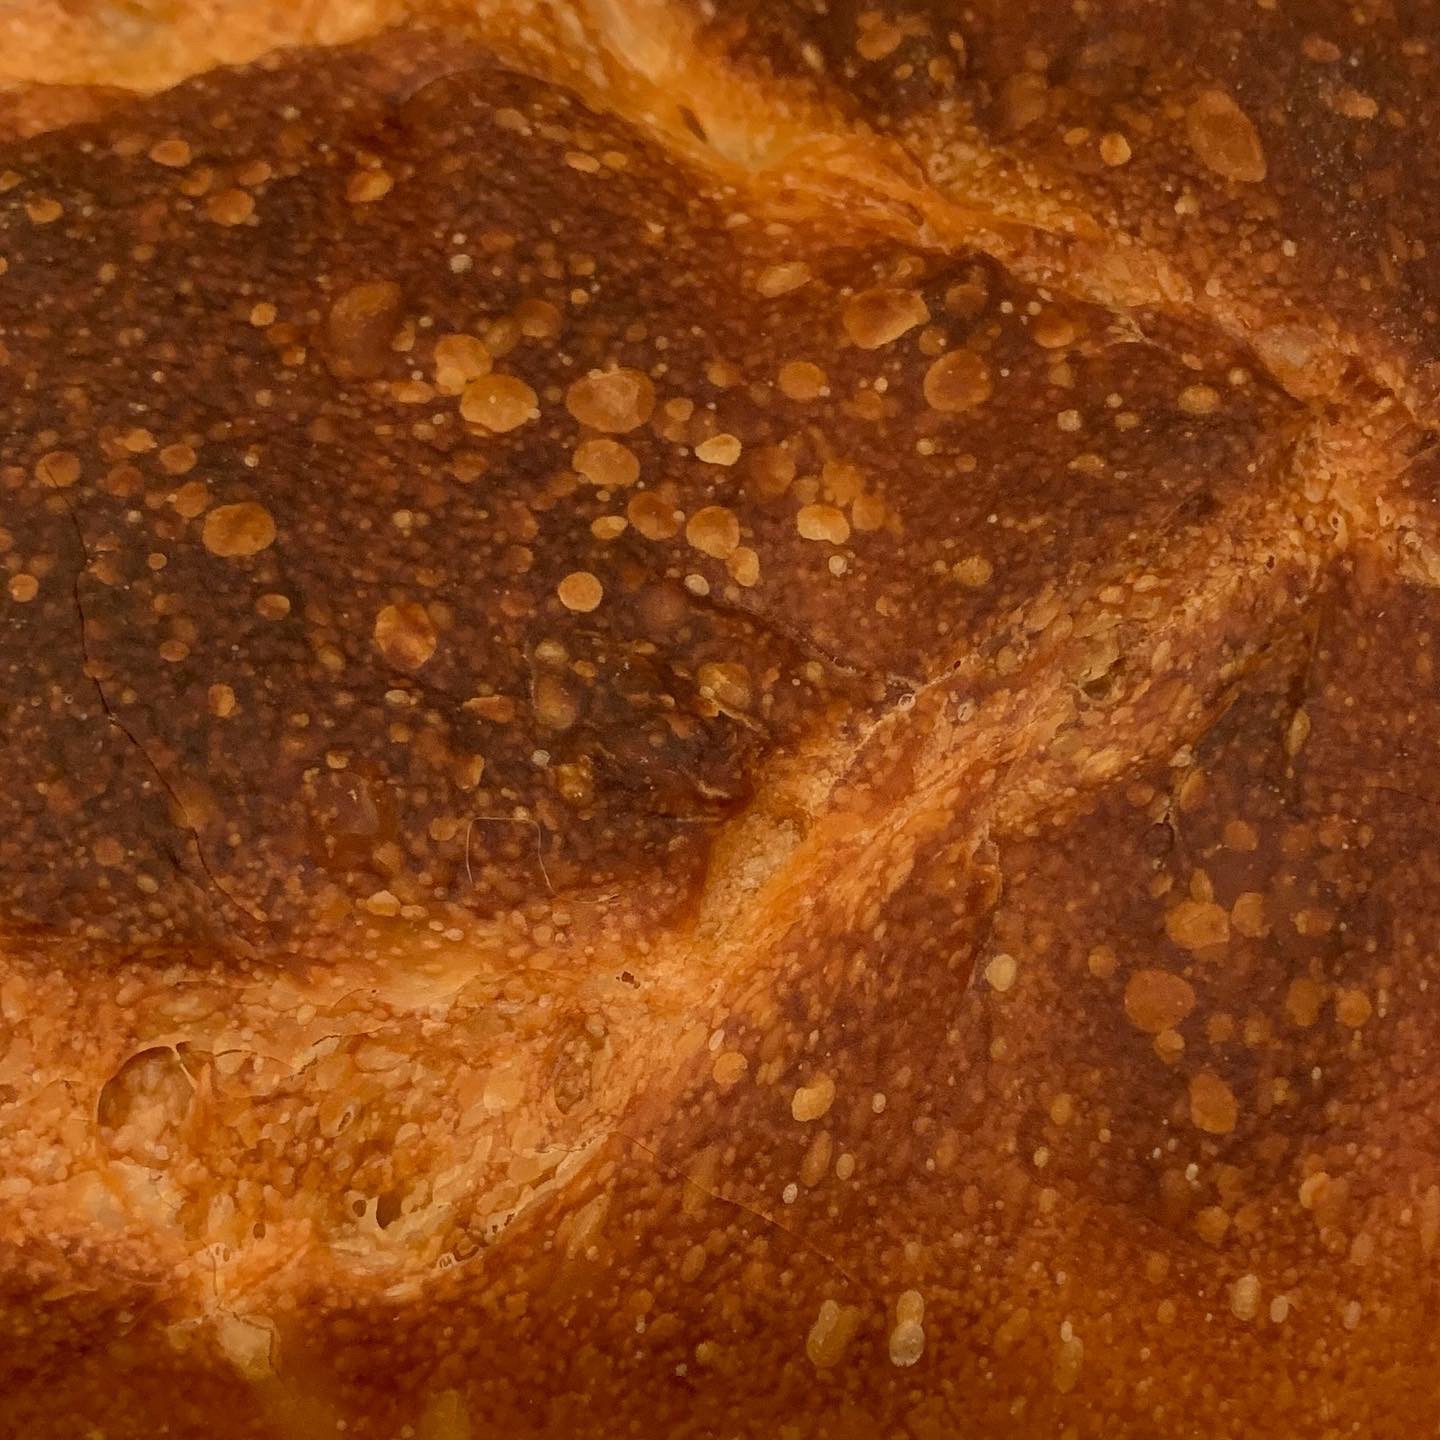
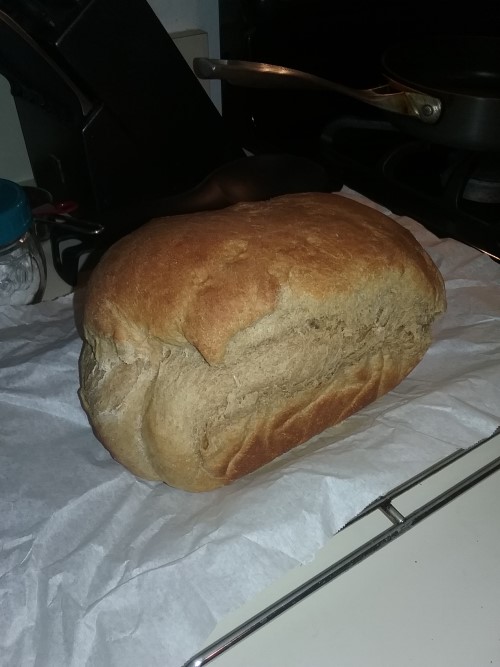
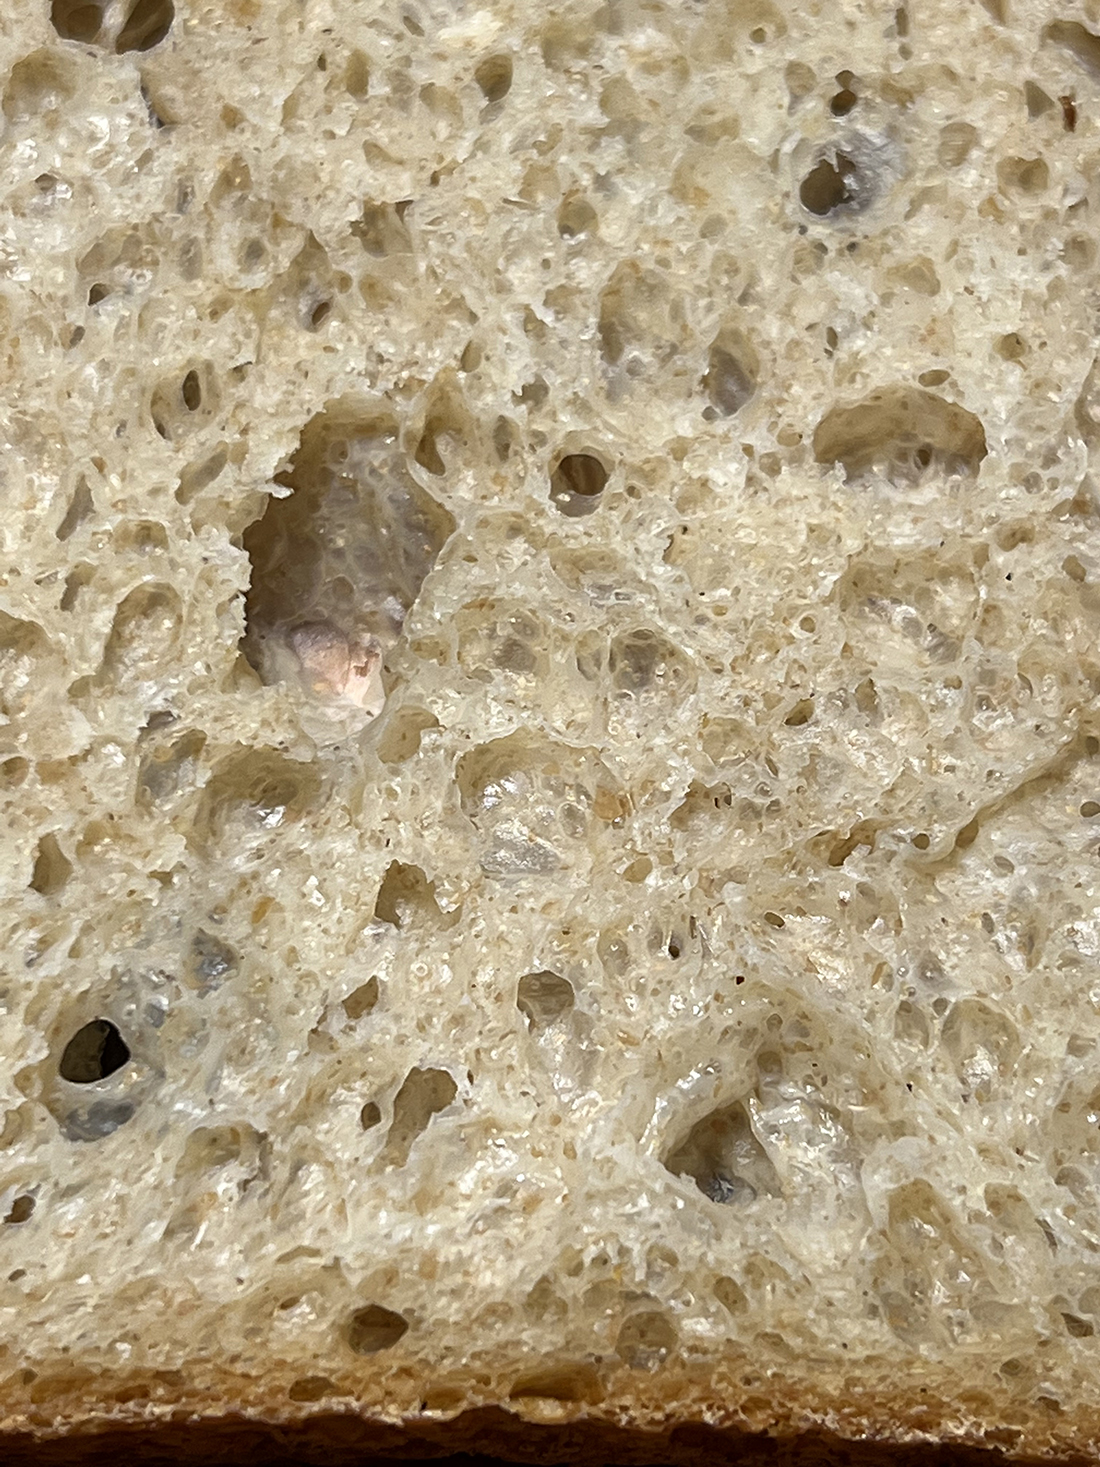
I did not bring my starter with me to Florida.  Instead, I have decided that I would bake using preferments using tiny amounts of IDY.  Today I baked a loaf using a biga.  The main reason I chose a biga is that I want milk to be the main hydrating liquid for this bread rather than water, it is a milk bread after all.  I didn’t do a good job accounting for the humidity of Fort Lauderdale and the formula I wrote up ended up with a dough that was too wet.  I gradually added little bits of flour until it wasn’t so wet.  That isn’t ideal of course but next time I’ll start with milk at 5-10% less and bassinage more in if I need to.  I also do not have a mixer down here in Fort Lauderdale so did this enriched dough all by hand.  I probably didn’t develop the gluten quite enough, although in the end it looks fine.

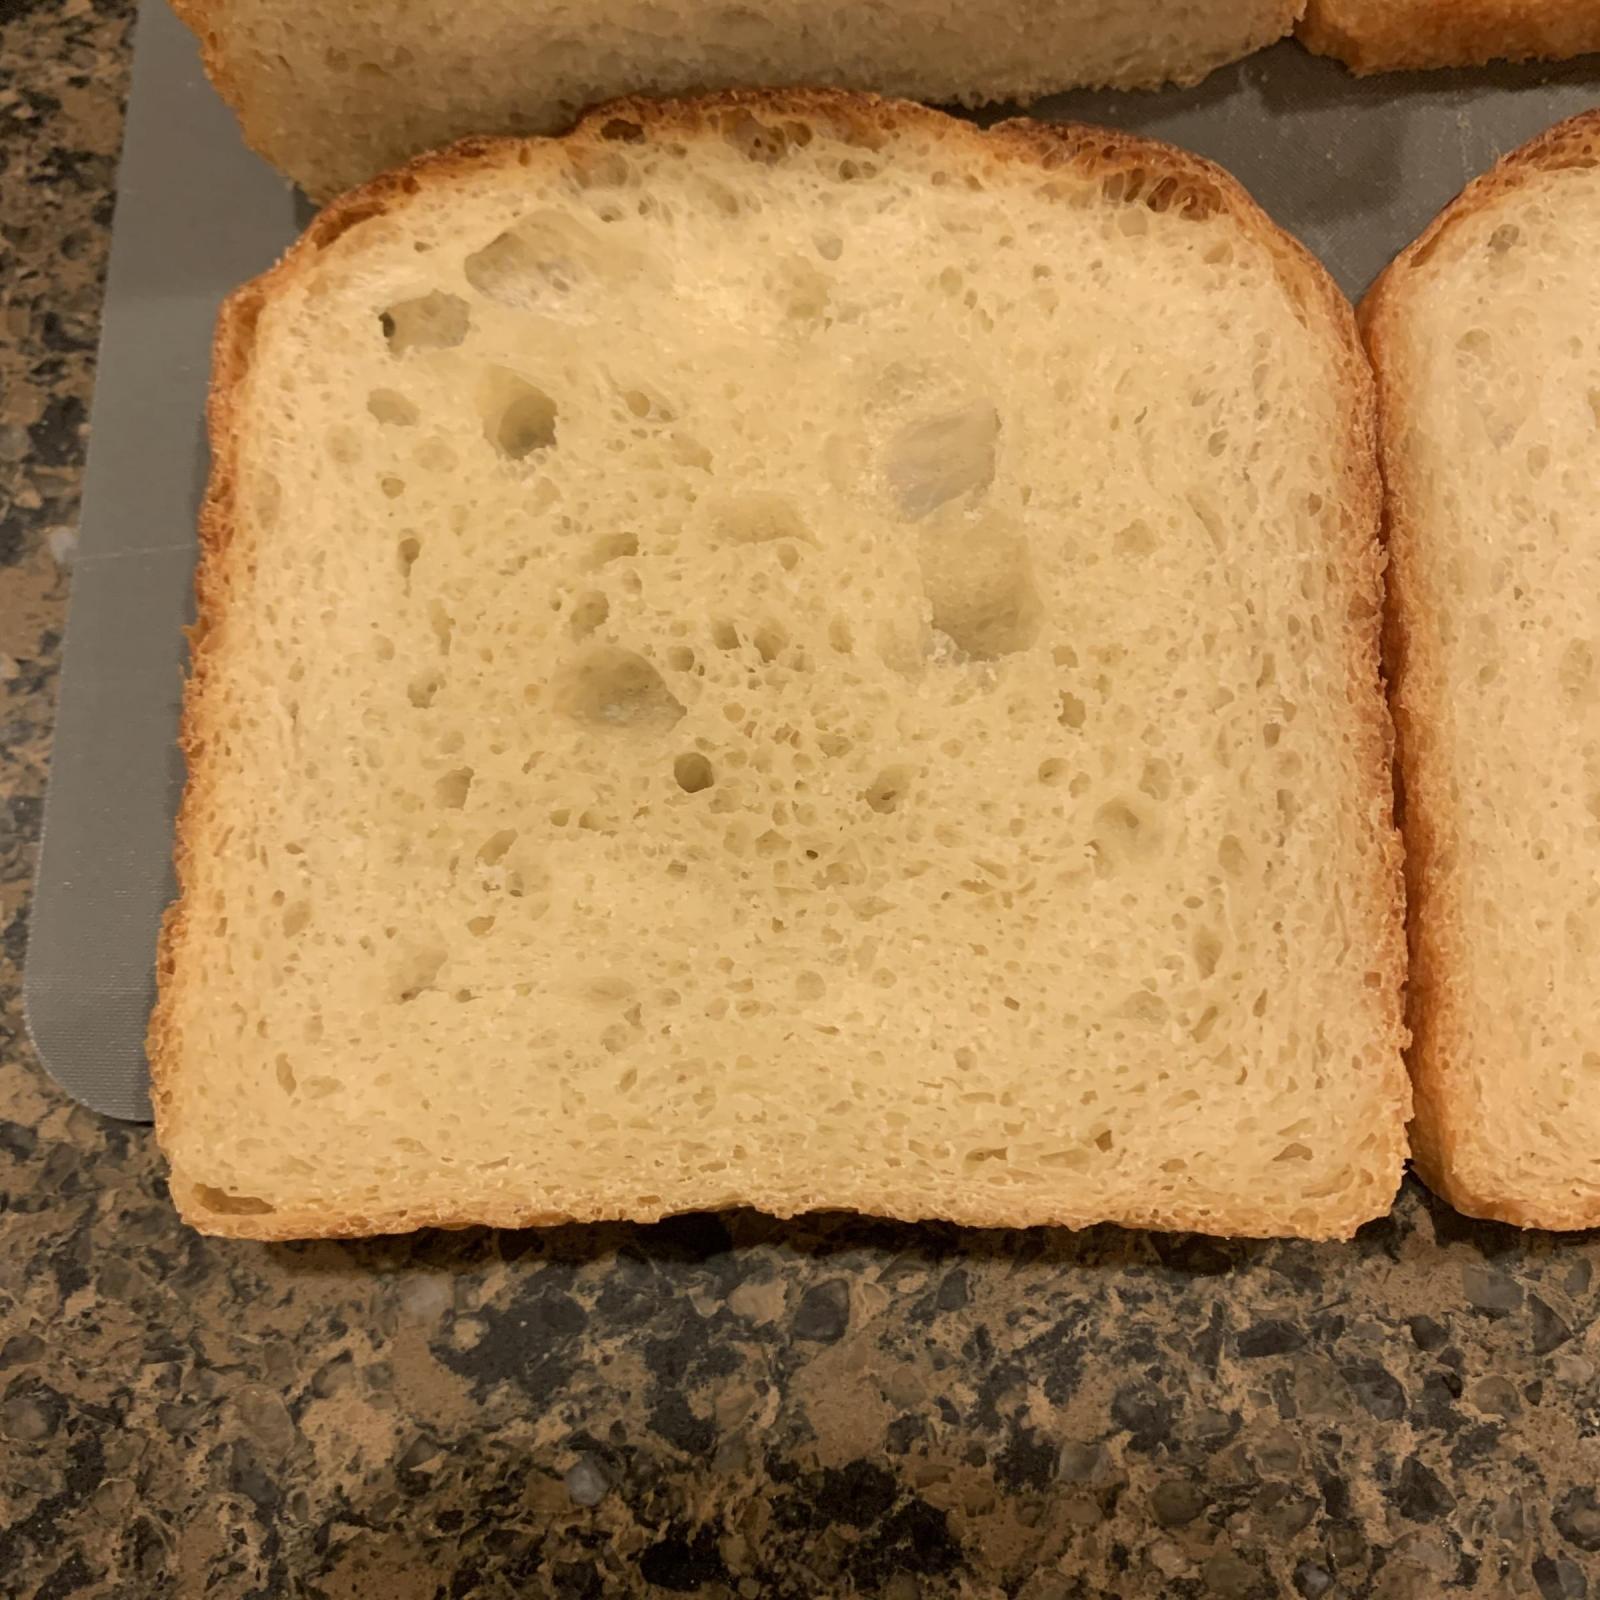
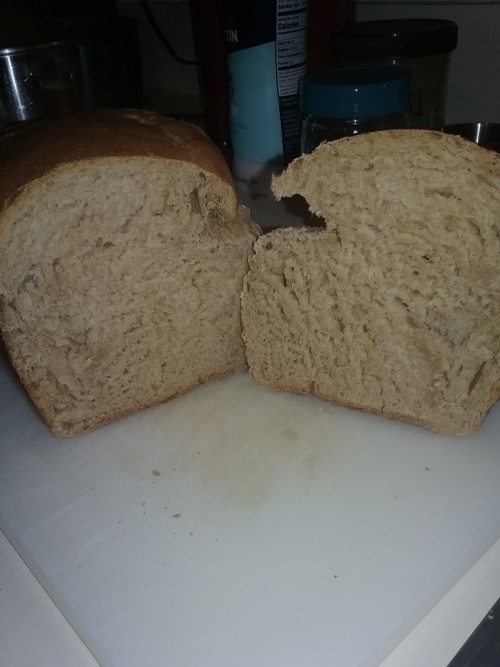
For this loaf I wanted to incorporate some holiday flavours since we’ve decorated our apartment for Christmas already and felt in the mood.  I love cranberry and orange together and since we’re in the south, pecans of course.

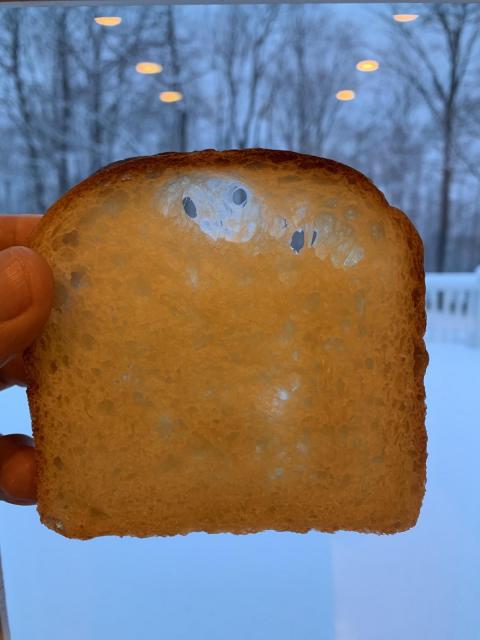
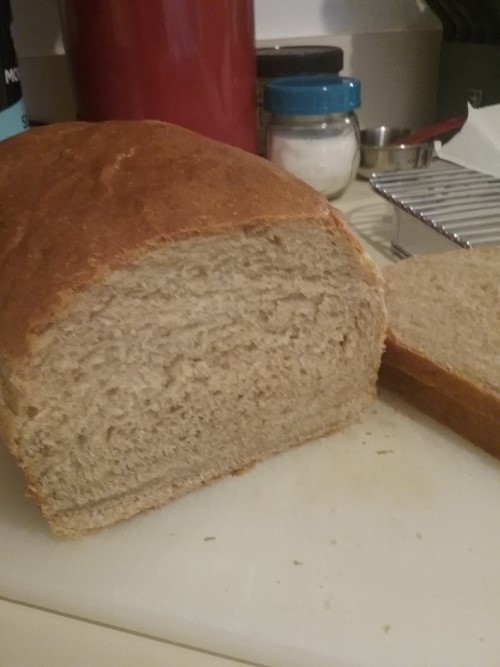
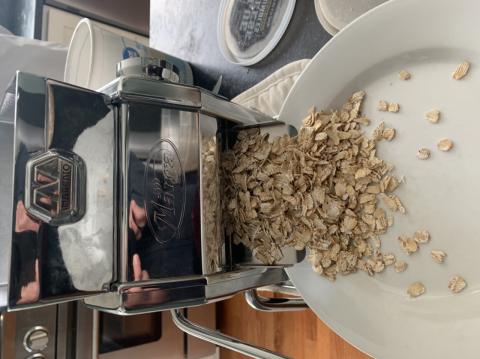
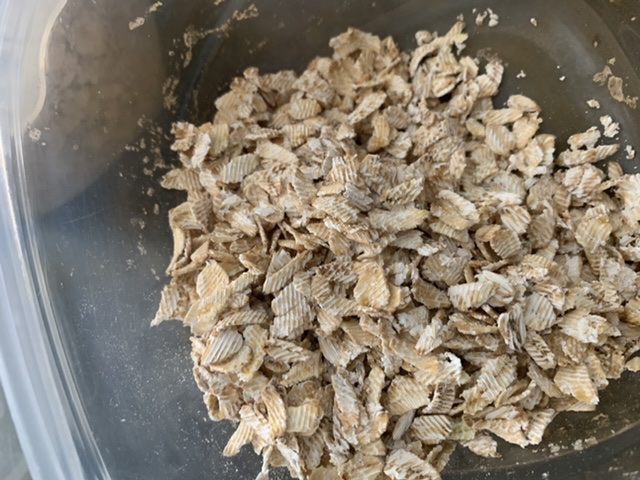
This was my first time working with King Arthur Whole Wheat flour, it is quite different from the organic stoneground whole wheat I am used to which has much larger bran particles.  This also affected the hydration of the dough and is yet another thing I’ll have to adjust for the next bake.

For a 9x4x4” Pullman pan


The night before, prepare tangzhong and biga.  

Soak cranberries with just enough water to cover


Tangzhong 

In a sauce pan set on med heat with about 1.5 cm of water, place the bowl of your stand mixer creating a Bain Marie, whisk the milk and flour until blended. Then cook for several minutes until thickened, stirring regularly with a spoon or heat-resistant spatula. Let cool.


In a small container, mix the flours for the biga.  In a separate container dissolve the IDY in the water.  Pour the IDY water into the container with the flours.  Mix well to fully hydrate the biga.  Allow to ferment overnight at room temperature.  In the morning it should be domed and ready to use.


Dough

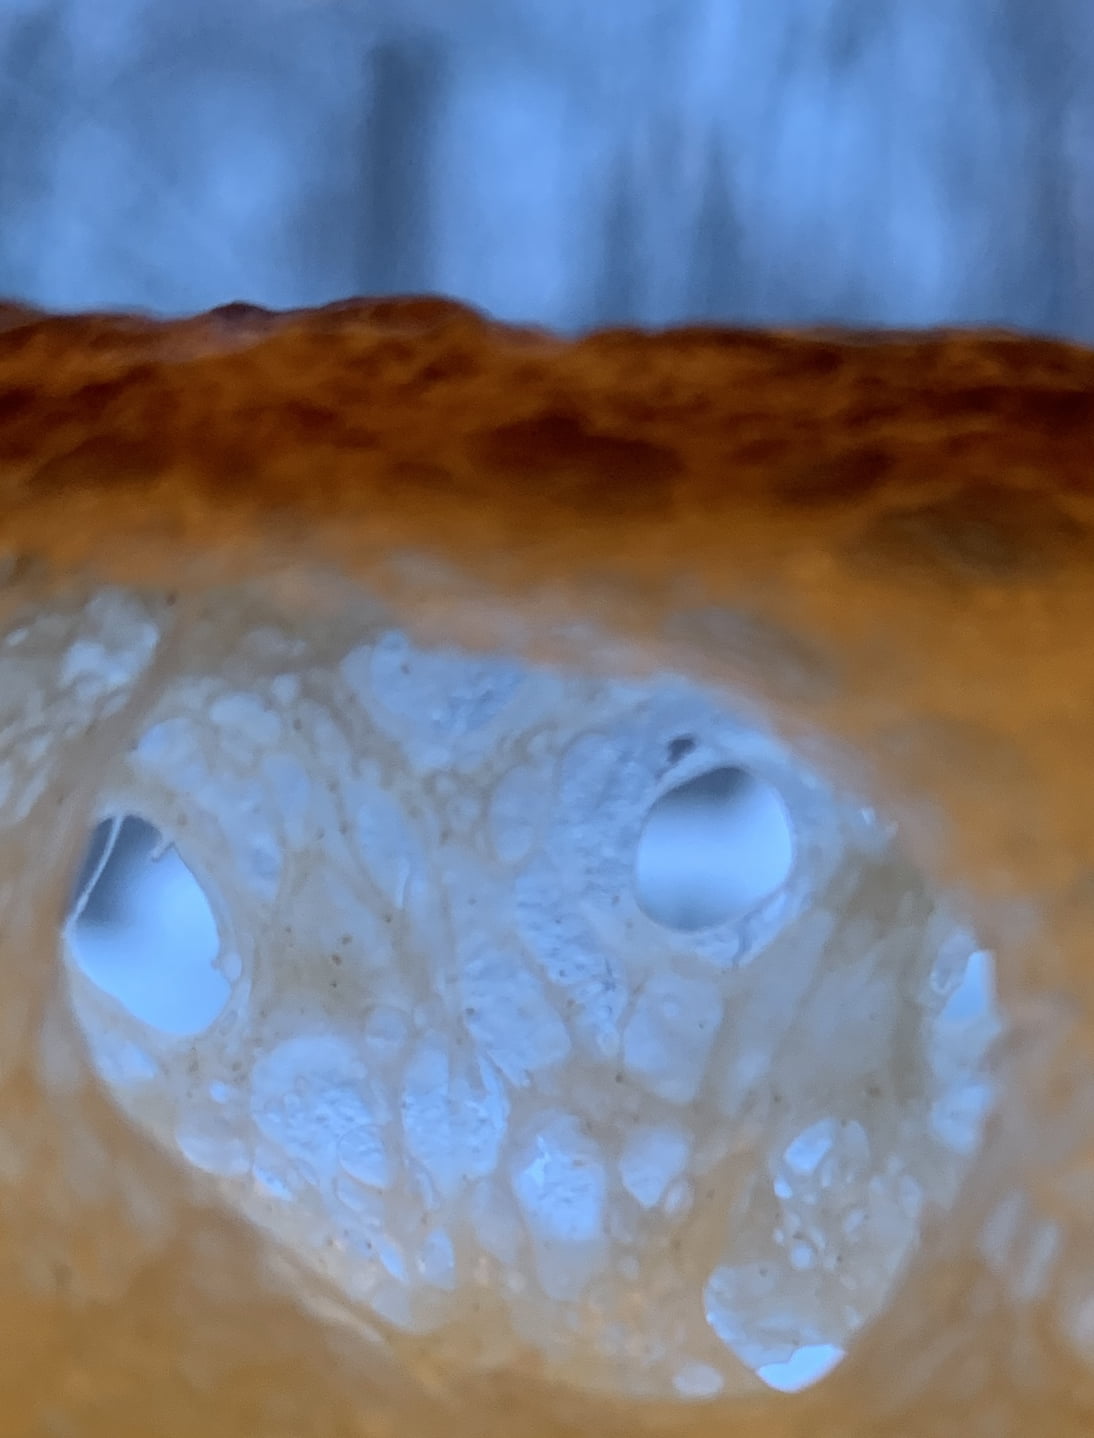
In the bowl of a stand mixer, add the milk (consider holding back 5 g of milk and adding later if this is the first time you’re making this), egg, tangzhong, salt, sugar, diastatic malt and biga.  Mix and then break up the biga into many smaller pieces.  Next add the flour.  I like to use my spatula to mix until there aren’t many dry areas.  Allow the flour to hydrate (fermentolyse) for 20-30 minutes.  Mix on low speed and then medium speed until moderate gluten development this may take 5-10 mins.  You may want to scrape the sides of the bowl during the first 5 minutes of mixing.  Next add room temperature butter one pat at a time.  The dough may come apart, be patient, continue to mix until it comes together before drizzling or adding in more butter.  Once all the butter has been added and incorporated increase the speed gradually to medium.  Mix at medium speed until the gluten is well developed, approximately 10 mins.  You will want to check gluten development by windowpane during this time and stop mixing when you get a good windowpane.  You should be able to pull a good windowpane, not quite as good as a white flour because the bran will interrupt the windowpane somewhat.  Add the strained cranberries and pecans, mix until they are well incorporated in the dough.


On the counter, shape the dough into a tight ball, cover in the bowl and ferment for 2-2.5 hours at 82ºF.  There should be some rise visible at this stage.


You can next place the dough into the fridge to chill the dough for about 1.5 hours, this makes rolling the dough easier to shape.  Remember, if you do so the final proof will take longer.  Alternatively, you can do a cold retard in the fridge overnight, however, you may find that this increases the tang in your bread.


Prepare your pans by greasing them or line with parchment paper.  A tip if you’re using very soft butter to grease your pan, after greasing the pan, place it in the fridge for a bit to firm up the butter that way the butter won’t just melt into the dough.


For baking as rolls

Lightly flour the top of the dough. Scrape the dough out onto a clean counter top and divide it into 12. Shape each tightly into boules, allow to rest 5 mins. Using a rolling pin roll each ball out and then shape tightly into boules.  Place them into your prepared pan.


For baking as a loaf

Prepare your pans by greasing them with butter or line with parchment paper.  


Lightly flour the top of the dough. Scrape the dough out onto a clean counter top and divide it into four. I like to weigh them to have equal sized lobes. Shape each tightly into a boule, allow to rest 5 mins. Using a rolling pin roll each ball out and then letterfold. Turn 90* and using a rolling pin roll each out to at least 8”. Letterfold again from the sides so you have a long narrow dough. Then using a rolling pin, roll flatter but keeping the dough relatively narrow.  The reason to do this extra letterfold is that the shorter fatter rolls when placed in the pan will not touch the sides of the pan.  This allows the swirled ends to rise during final proof, this is only done for appearance sake and is not necessary.  Next roll each into a tight roll with some tension. Arrange the rolls of dough inside your lined pan alternating the direction of the swirls. This should allow a greater rise during proof and in the oven.


Cover and let proof for 3-4.5 hours at a warm temperature.  I proof at 82°F.  You will need longer than 3-4.5 hours if you chilled your dough for shaping. Proof until the dough passes the finger poke test.  For a loaf the dough should reach within 1 cm of the rim of the pullman pan.


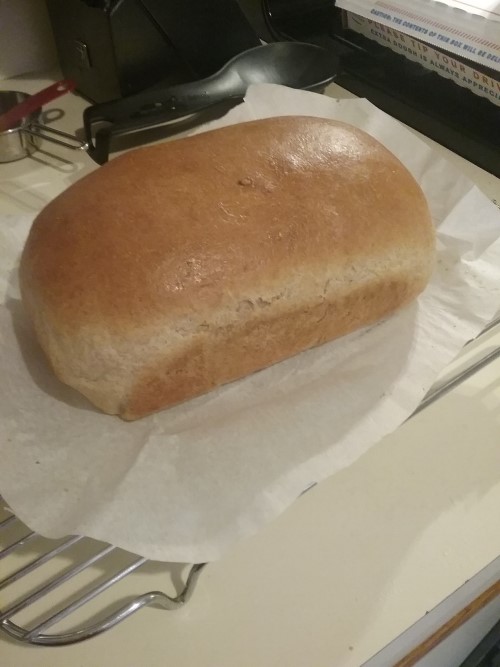
Preheat the oven to 350F and brush the dough with the egg-milk wash.  Just prior to baking brush with the egg-milk wash again.


Bake the rolls for 30-35 minutes or until the internal temperature is at least 190F. Shield your buns if they get brown early in the baking process. You can brush the top of the buns with butter if you wish at this point while the buns are still hot and sprinkle with flaked salt.


For baking loaves, bake for a total of 50 mins at 350°F, remove the loaves from their pans and bake directly on the rack for an additional 5-10 mins.

qrkid's picture
qrkid

Got a sourdough starter up and living about 3 weeks ago. That had some challenges. The biggest being when my wife didn't realize it was happy inside the oven and she turned the oven to 400 deg. Needless to say my new little starter and the plastic container it was living in did not fair well.

Tried baking my first loaf using a 85% hydration dough. That was a little too much to handle for a 1st try. Took a step back and went with a 72% hydration dough, Maurizio's beginner sourdough. I cooked this in a clay cloche. I think it turned out pretty well.

Another Girl's picture
Another Girl

I haven’t posted in a while because I haven’t been baking anything new or different. My goals have been more inward-looking: trying to be more creative and to bake by feel a little more, which is definitely outside my comfort zone. Usually the only time I get creative is when I goof something up and have to adjust on the fly. More recently, I’ve embarked on a more practically-oriented side project to devise an easy pan bread that still boasts some flavor complexity. I don’t care for the taste or smell of commercial yeast and my husband feels the same way about sourdough so, naturally, I decided to use both. I have to proceed cautiously with the sourdough because if my husband detects any sour notes, it will turn him off the bread forever. I’m totally winging it on this pan bread so that it will dovetail with my “bake-by-feel” exercises. 

I started with a sourdough bread formula that had a yeast kicker, so my initial efforts were, for all intents and purposes, sourdough breads. After greatly reducing the sourdough component and only slightly increasing the IDY, I was in the ballpark. After some further refinements, I can now mix a fairly effortless dough in the evening, refrigerate it overnight, and bake it up fresh in the morning. I can mix it by hand or mechanically. I’ve been tweaking as I go, and Friday night’s version was the best one so far. It doesn’t taste yeasty or sour, it showed a strong rise and had a moist, open crumb.

FORMULA

AP flour 350g (Ceresota, aka Hecker’s) – 70%

Fresh ground Turkey Red - 75g (milled on the coarser side, about 10 clicks off the finest setting in my Komo) – 15%

Whole Spelt - 75g (Arrowhead Mills) – 15%

Water (body temp) - 400g – 80%

Salt - 10g – 2%

Starter - Let’s call it 3 healthy tablespoonsful. I have not yet bothered to weigh it, only to count the spoonsful. It's a 100% hydration whole rye starter, 5 days since its last refresh. I didn’t stir it down before spooning it out, but it was cold and deflated, so fairly heavy. (I can't really calculate a baker's percentage for this because I didn't weigh it, so just consider this over and above the other ingredients) 

IDY - 2.5g  – 0.5%

MIXING & FERMENTATION

  • 30-minute autolyse
  • I pressed each spoonful of starter thin between wet hands and laid them next to each other on top of the autolysed dough with the salt and yeast sprinkled between the layers. The layering is akin to Reinhard’s epoxy method, but I then folded it up and pincered it à la Forkish for the final mix. 
  • Two or three folds depending how it feels. This time I did two. They were regular stretch & folds because the container had high sides, but no reason why coil folds wouldn't work in a shallower dish. I have also mixed versions of this in the Ankarsrum, so I think any mixing method you prefer would work.
  • Bulked on the counter (71°F) till increased in volume about 75% or a little more, about 2 hours
  • Loosely shaped, panned (greased), covered with a shower cap, and tucked it into the fridge (37°F) for the night. 
  • In the morning, about 7 hours later, it had clearly risen but still had a ways to go, so I left it for another 2½ or 3 hours. It was well-risen at that point, but I was expecting it to have risen more. Nevertheless, I could see some of the bubbles were getting large, so I preheated the oven (about 15 minutes, another thing to love about pan breads) and baked. 

BAKE

40 minutes at 420°F, I de-panned the bread and placed it on the oven rack for 10 minutes to brown the sides. Internal temp after 50 minutes was 210°F. 

I was happy to see that it had good oven spring but chagrined to find a blowout on one side. Upon slicing it, I thought the fermentation looked right, so I now believe it was probably not a blow-out but a misaligned seam. It was a wet, gassy dough shaped for a nine inch pan. I handle it with wet hands so it’s entirely possible the slippery devil rolled over on its way into the pan.

At this point, I’m pretty happy with the bread but wonder whether the starter is making any contribution at all. I suspect not, simply because it doesn't have enough time to do anything. I was hoping the starter would improve the rise and/or improve the flavor... without actually tasting like sourdough. Hmm, putting it like that, the whole notion seems questionable. I’ll press ahead with some test bakes anyway in case they turn out to be instructive, but in the end, I wouldn't be surprised if the starter just goes away.

_____________________________________________________________________________________________________________

UPDATE 12/15/2022: After doing some test bakes, I can say that while I didn't notice much difference in the flavor with or without the starter, my better half did. He does not care for sourdough, but whenever I made this bread without it, he commented that it didn't taste as good. So it would seem that at least for some people, the starter DOES improve the flavor without tasting like sourdough. Go figure!


trailrunner's picture
trailrunner

It’s been a while since I posted my successes with flaking grain. I got new oat groats from Breadtopia and wanted to do a very short tutorial. I have an older Marga Marcato hand crank with aluminum rollers. The steel rollers are not available and the price of this one has gone up. There are other flakers available and the Mock Mill folks have an electric one. 

Prepping of the grain is essential. I will link at the end the blog where I learned how to be successful. Two cups of grain and 3 tsp water shaken well to distribute the moisture and then left covered for 12-24 hrs. This ensures extremely flat even flakes with little to no effort. The flakes can then be toasted and then cooked to porridge or be added as flakes to any breads. All the grains I have tried have been successful with this method. I’ve done Emmer, Spelt, Oats, Wheat of several kinds Barley. They all work using this method. If you try a few grains at 12 hrs and they need more time just wait the full 24. Do not add more water , this really is plenty.


http://www.foodprepper.com/tag/oat-groats

Pages

Subscribe to Recent Blog Entries