Please see here and here to learn more about concentrated lactic acid sourdough (CLAS).
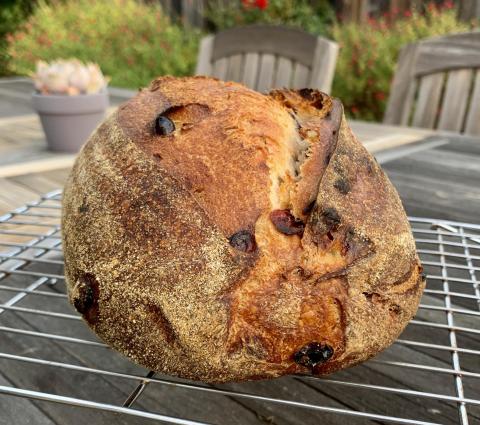
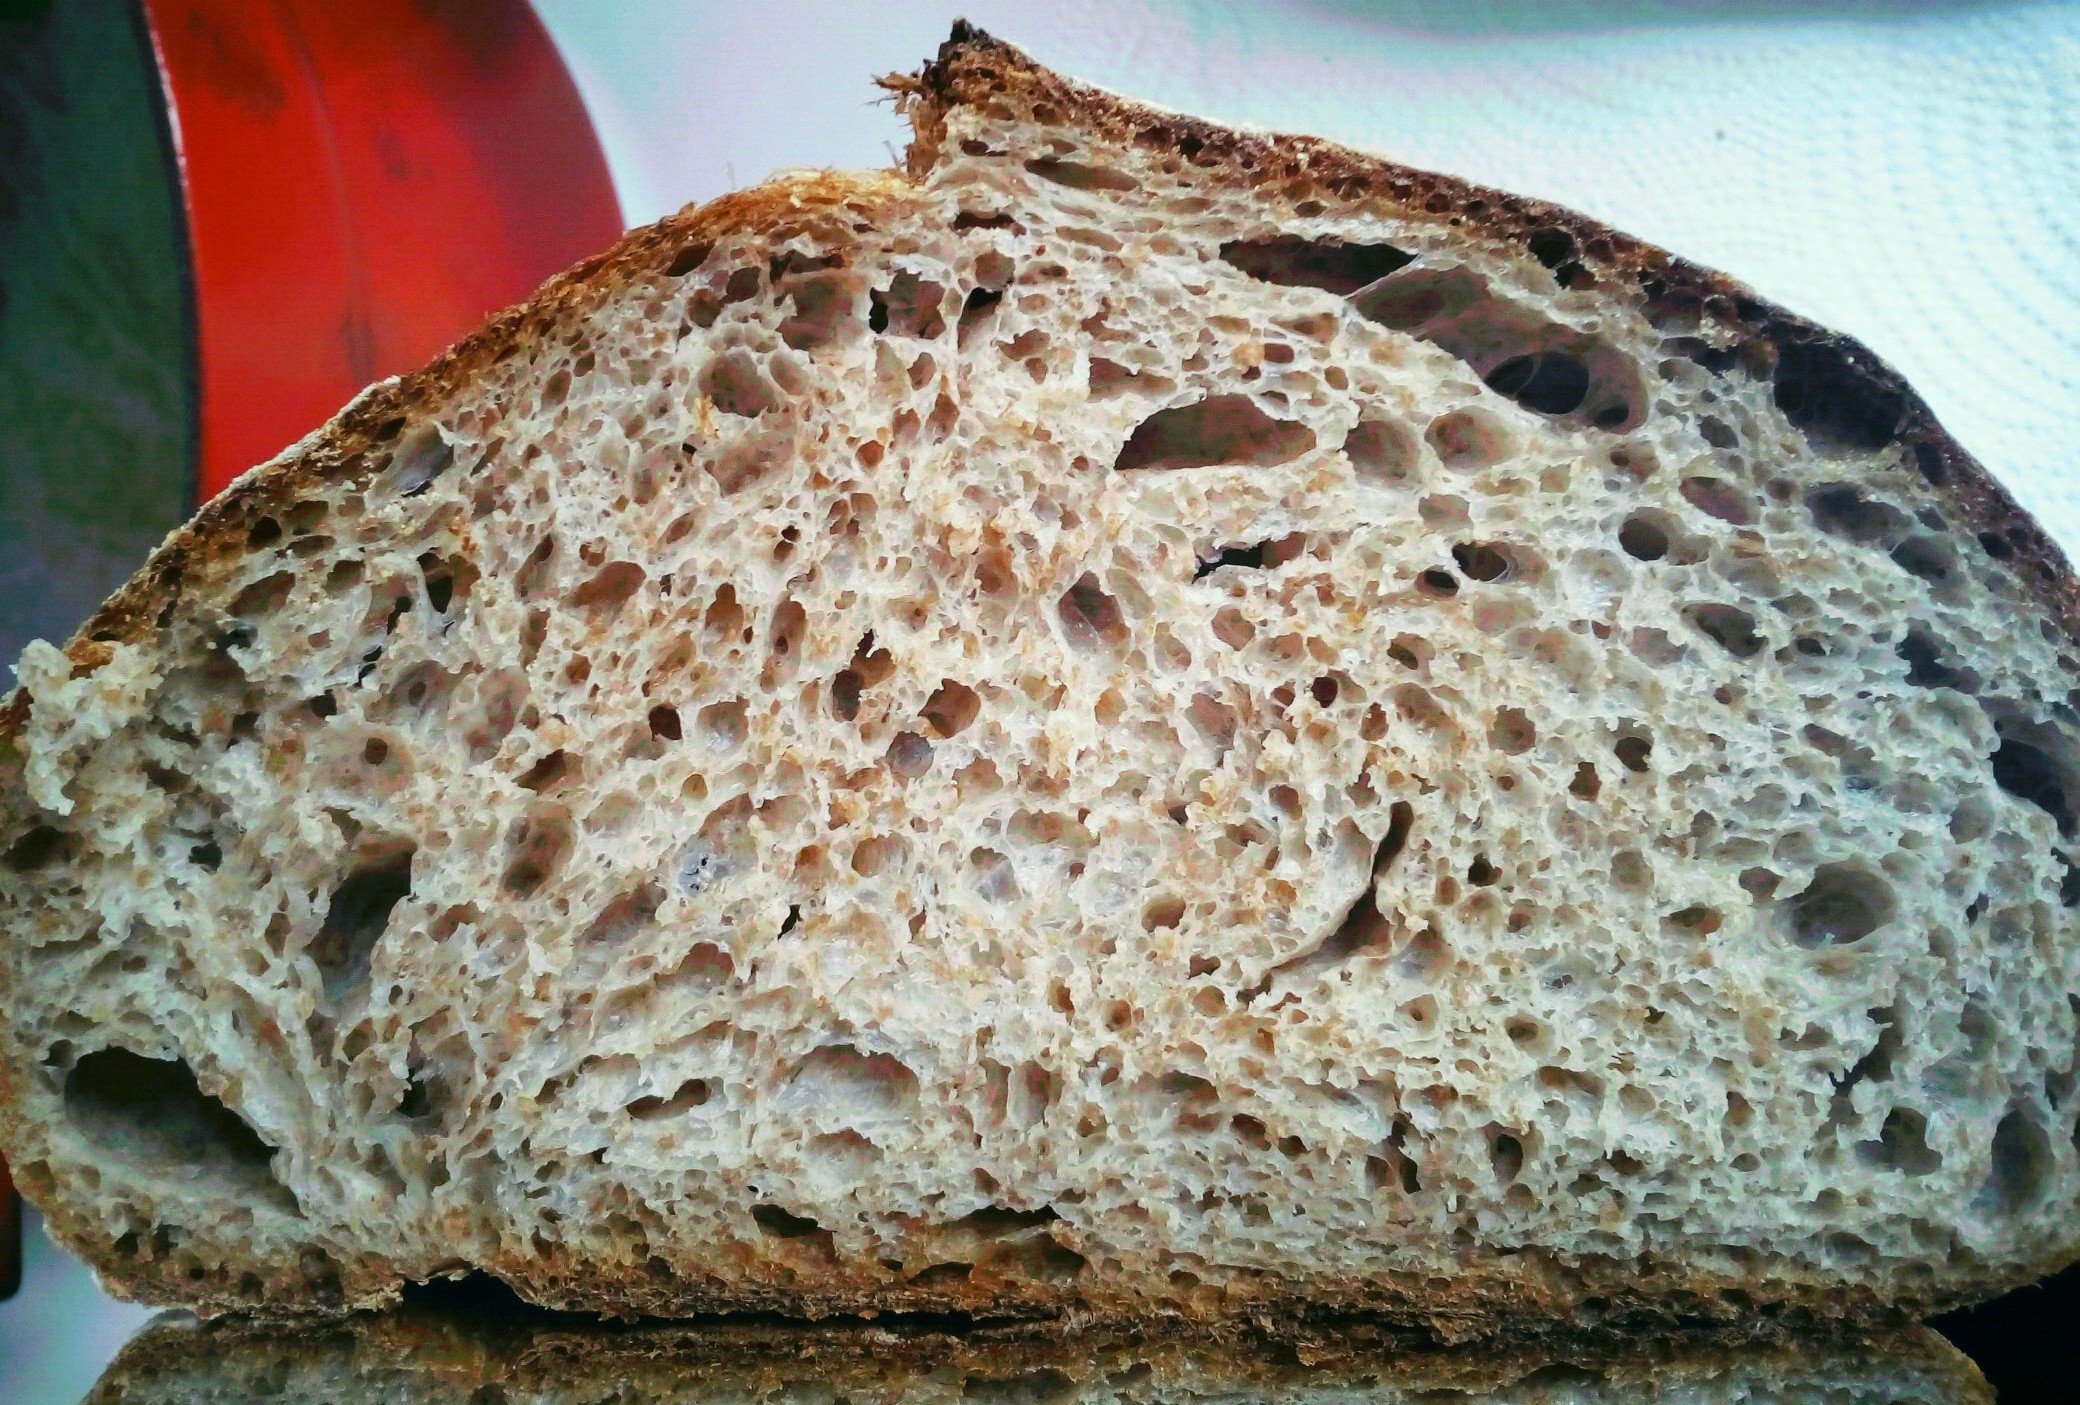
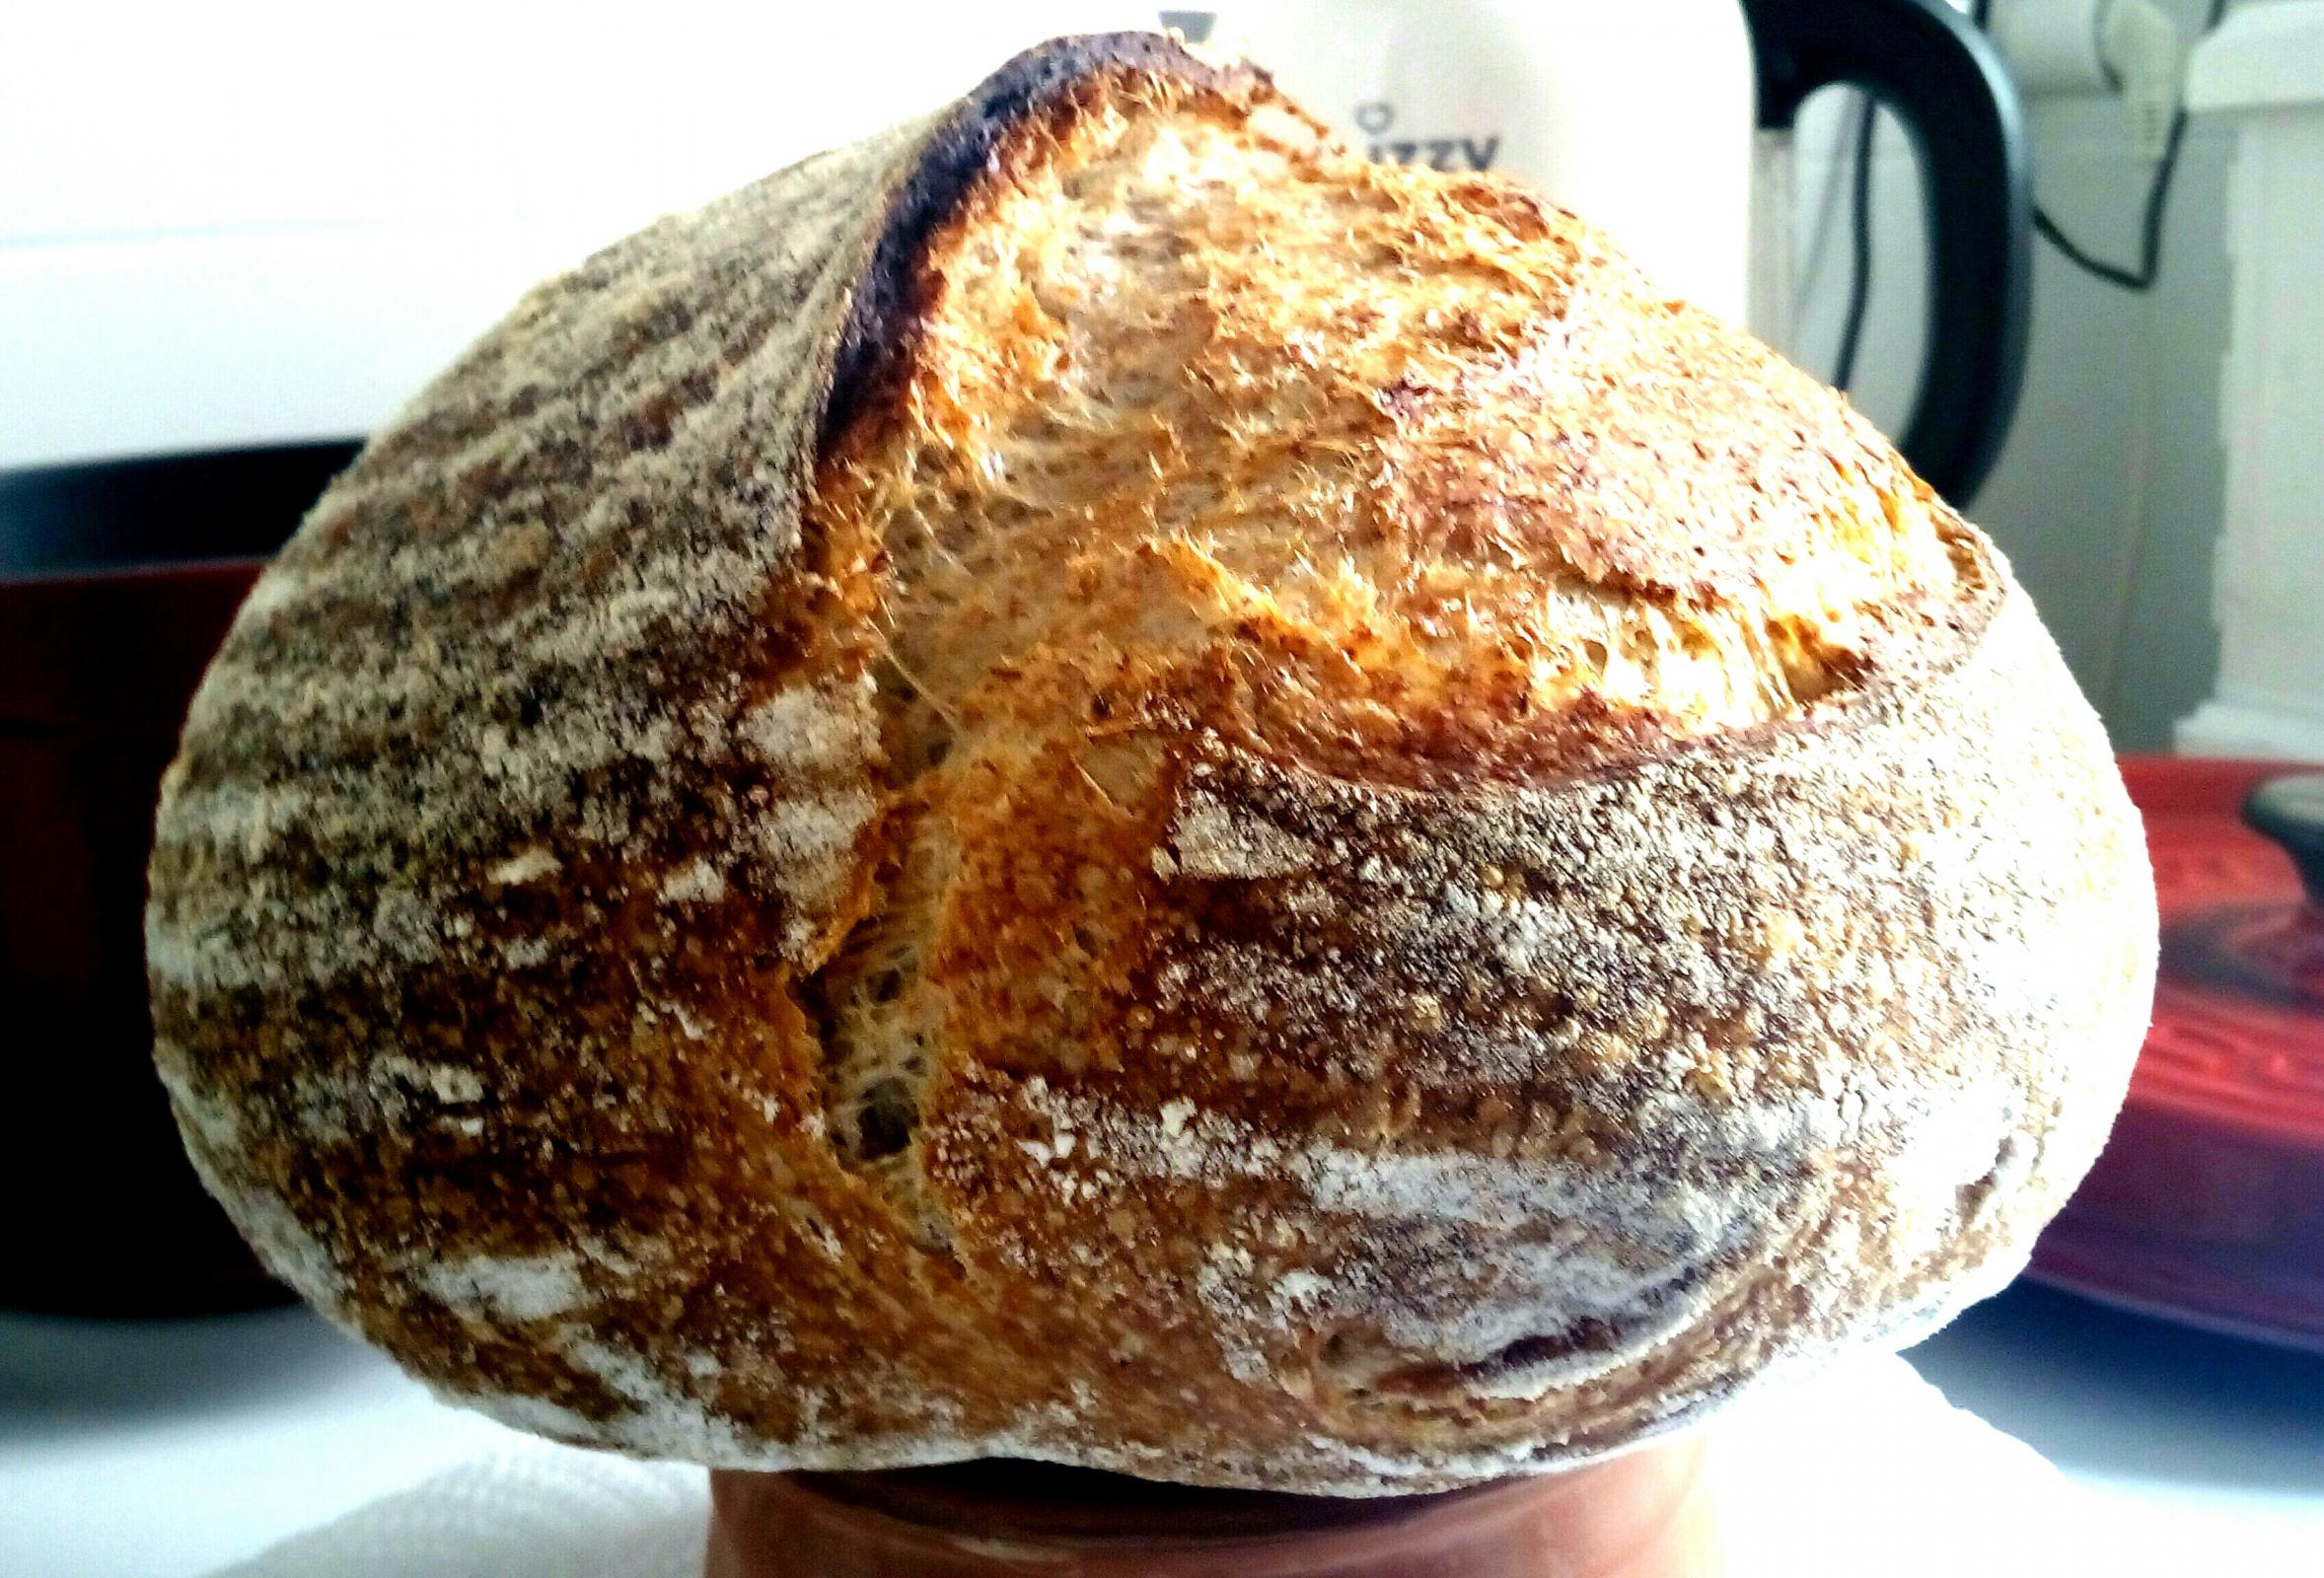
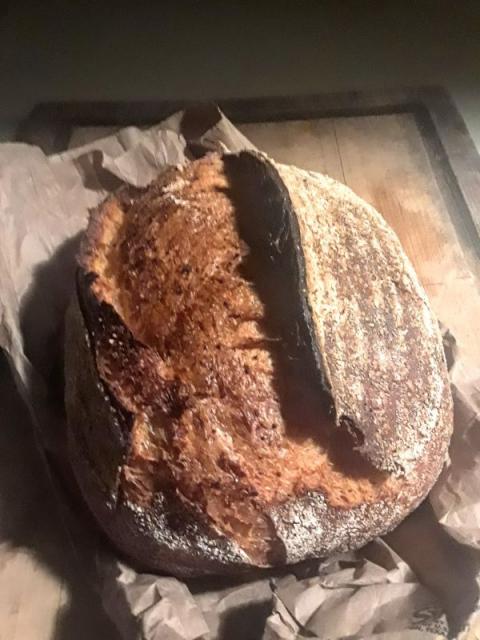
Thanks to CLAS , I can make delicious 100% whole-wheat bread with freshly milled flour in just a few hours without using fat, dairy, sugar, eggs, or vital wheat gluten!
Ingredients
A.
90% fresh white whole-wheat flour ground in the Vitamix, 450g
10% white whole-wheat flour from WW CLAS , 50g
, 50g
15% water from WW CLAS, 75g
B.
55% water, 275g
C.
2% salt, 10g
0.3% yeast, 1.5g
D.
8% water, 40g
Total dough weight ~900g
Mix
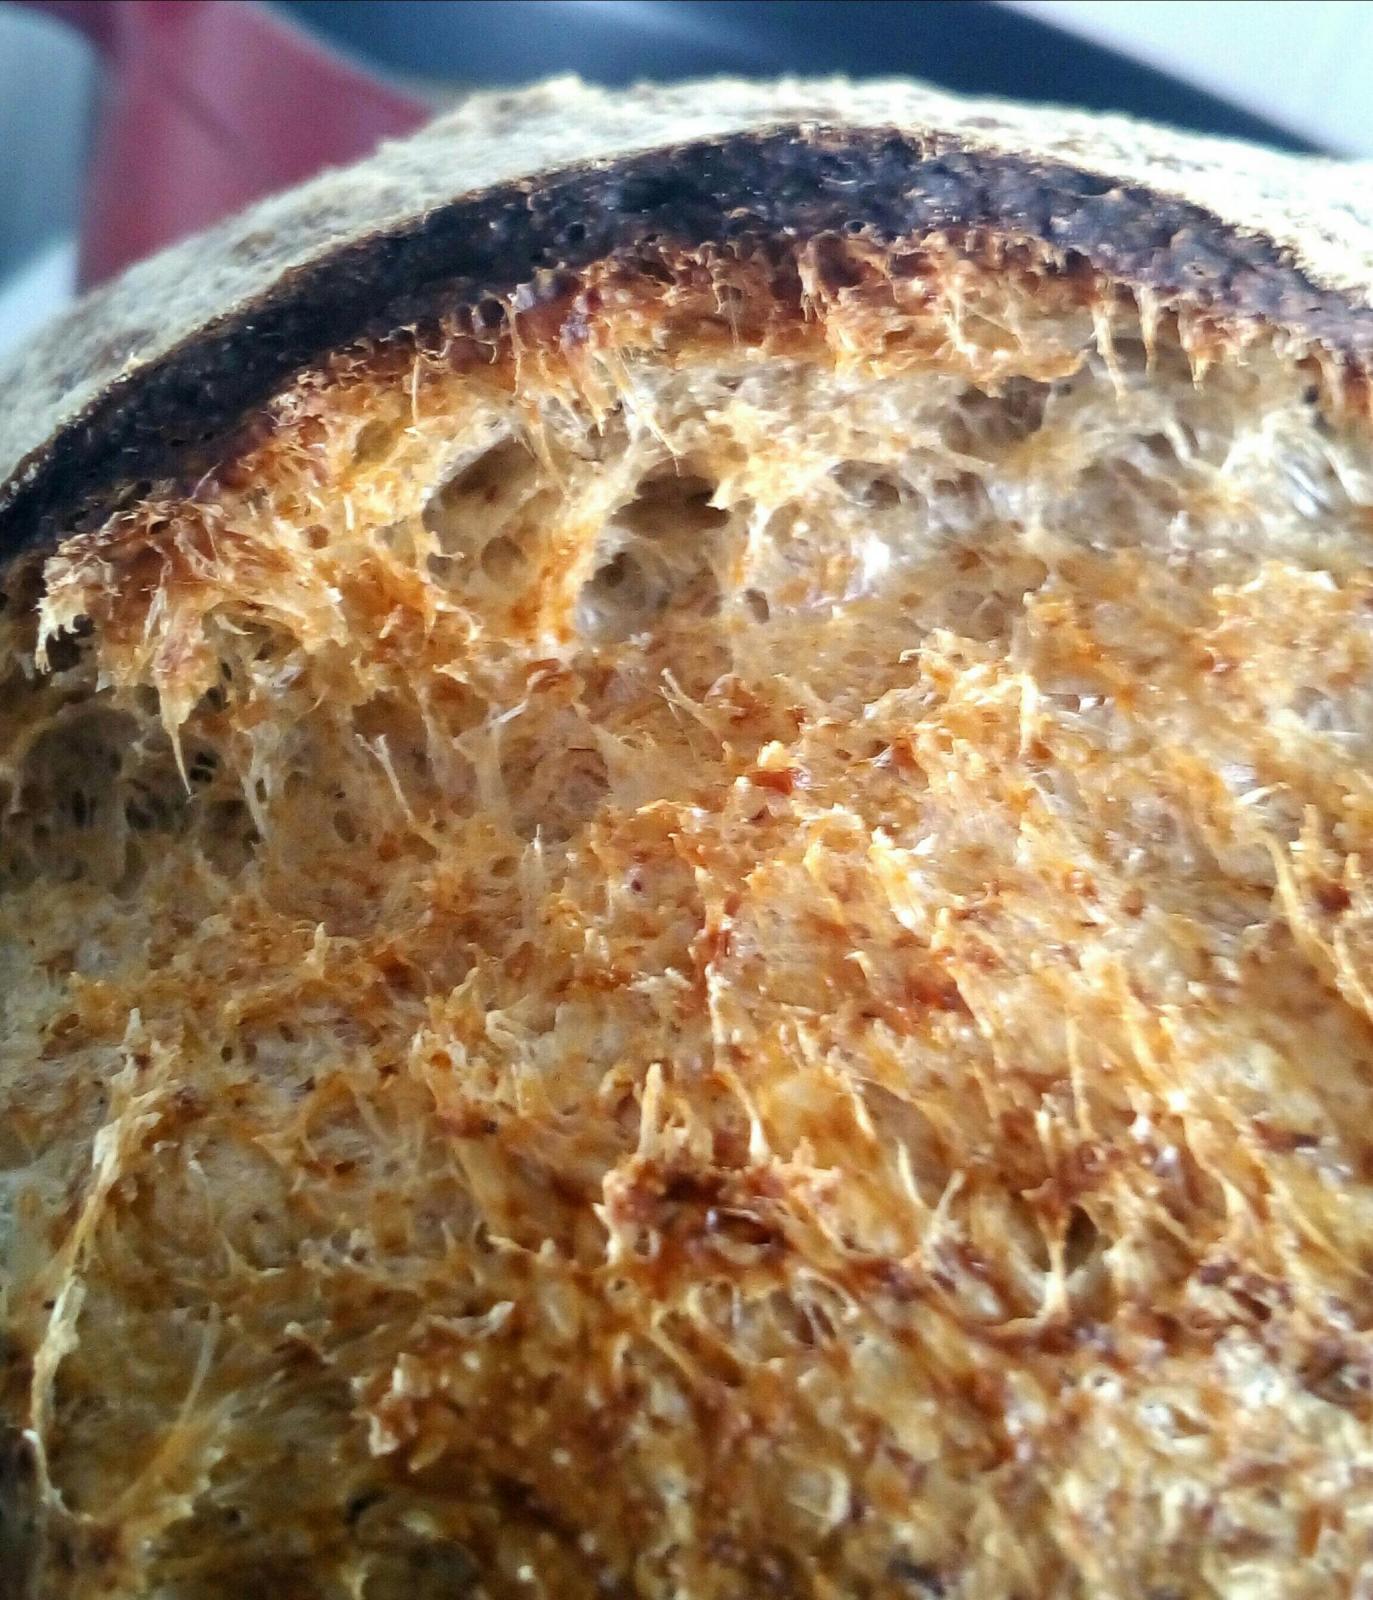
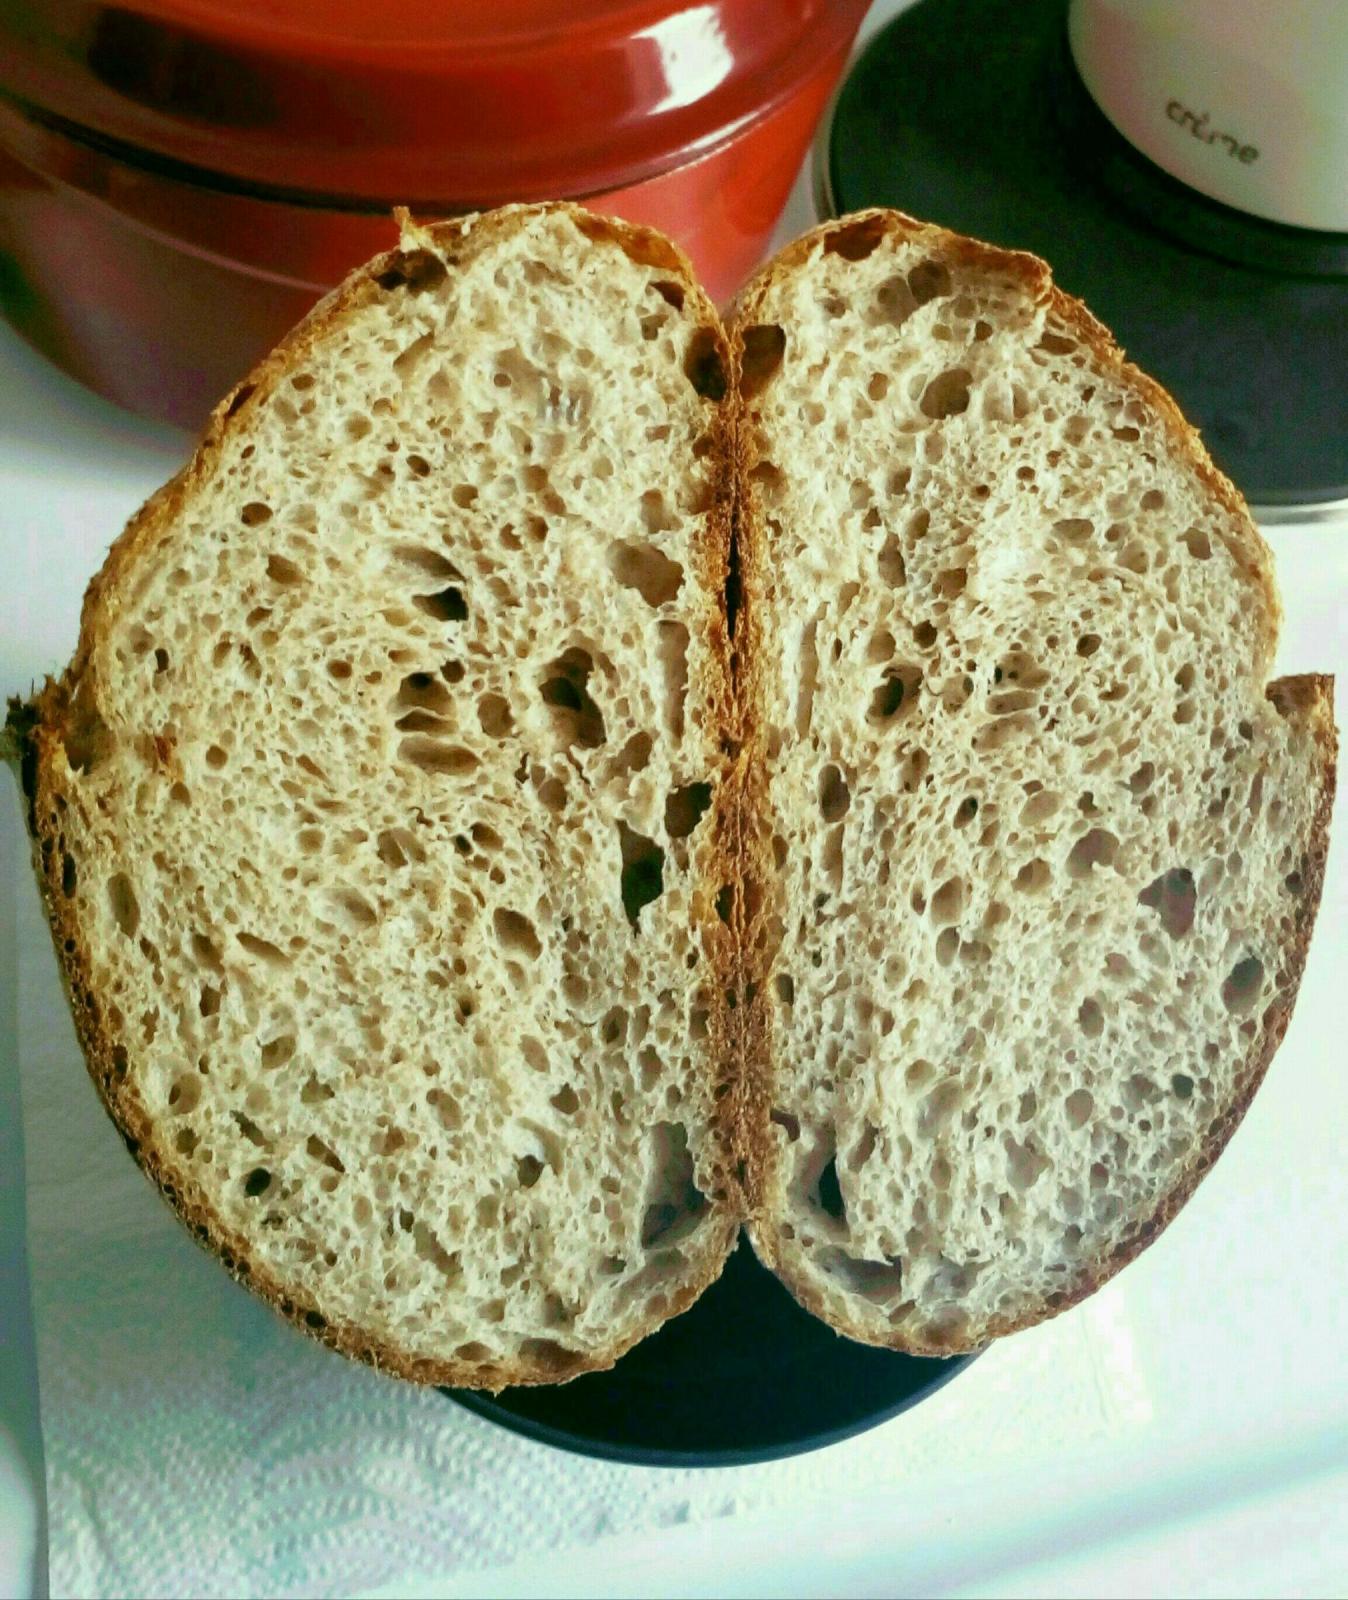
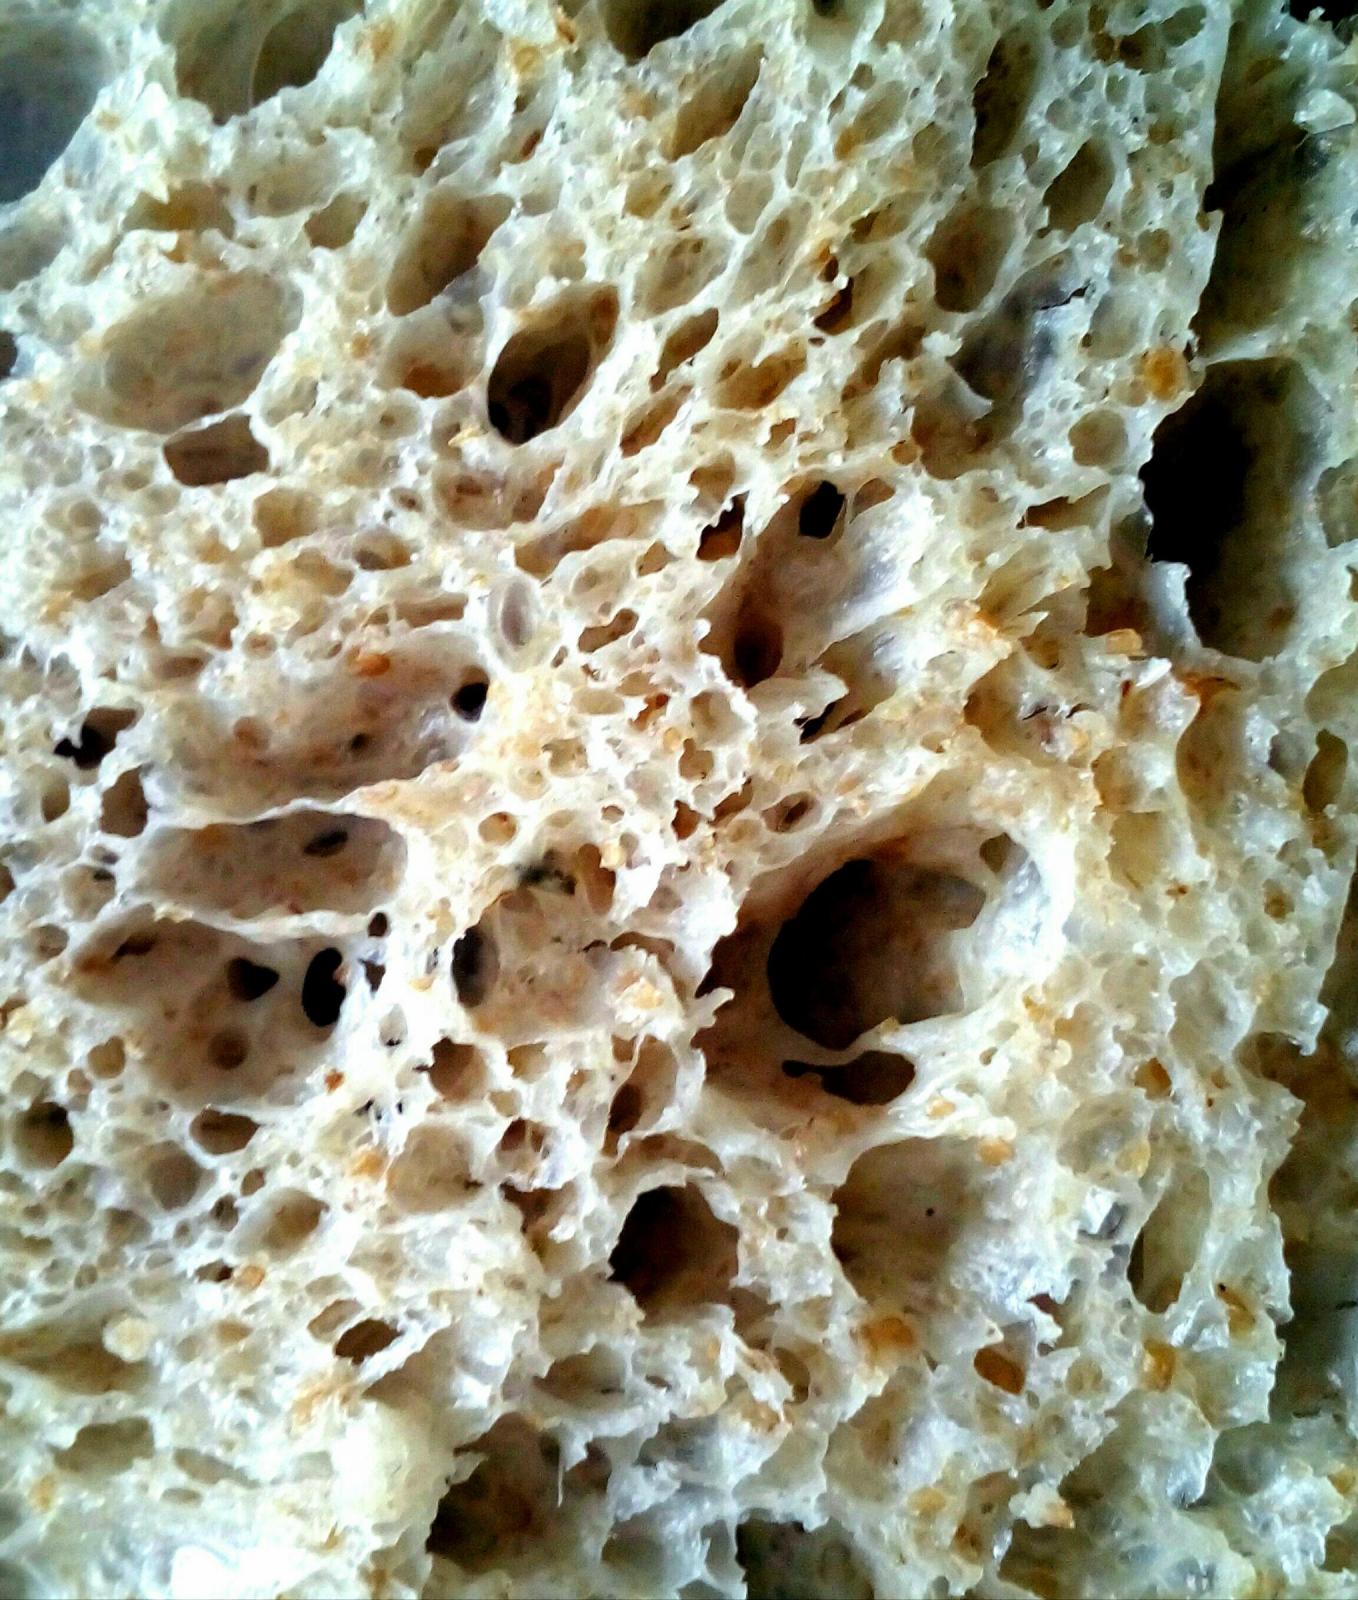
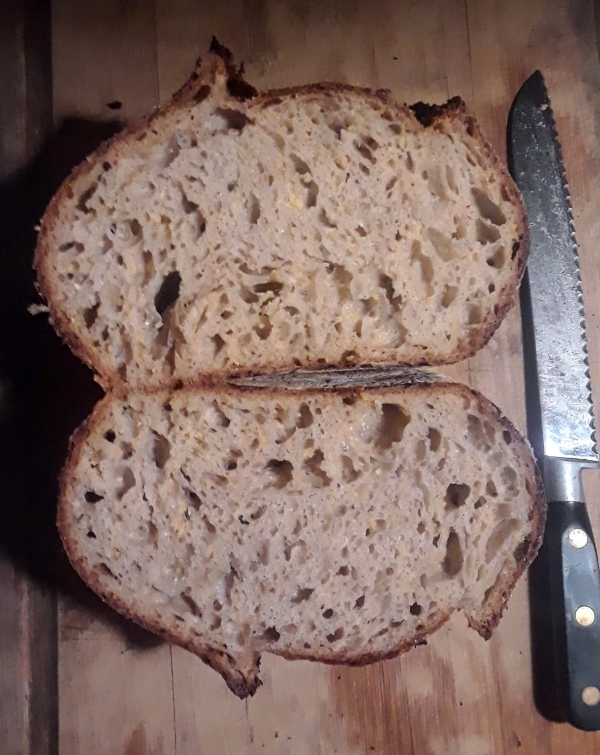
I find the windowpane test unnecessary and usually skip it when mixing whole wheat dough. Instead, I check the dough's elasticity occasionally by tugging it during mixing. I consider the mixing done once it feels extensible and isn't stiff anymore. This method helps me create tall and airy 100% whole-wheat bread without using any enrichments or additives.
Mix the dough using the Zojirushi bread machine, programmed for 10 minutes - for the first 3 minutes, the paddles are just stirring gently to bring the ingredients together, and in the remaining 7 minutes, the kneading begins.
1. +A, start the machine
2. gradually +B until a dough forms; continue to mix
(1st 10-min cycle)
3. +C, mix to incorporate and develop gluten
4. once the dough feels strong, start drizzling D
(2nd 10-min cycle)
5. continue to mix and gradually +D until the dough can barely absorb more water.
(3rd 10-min cycle)
Bulk ferment
32C x 120 mins
The dough doubled.
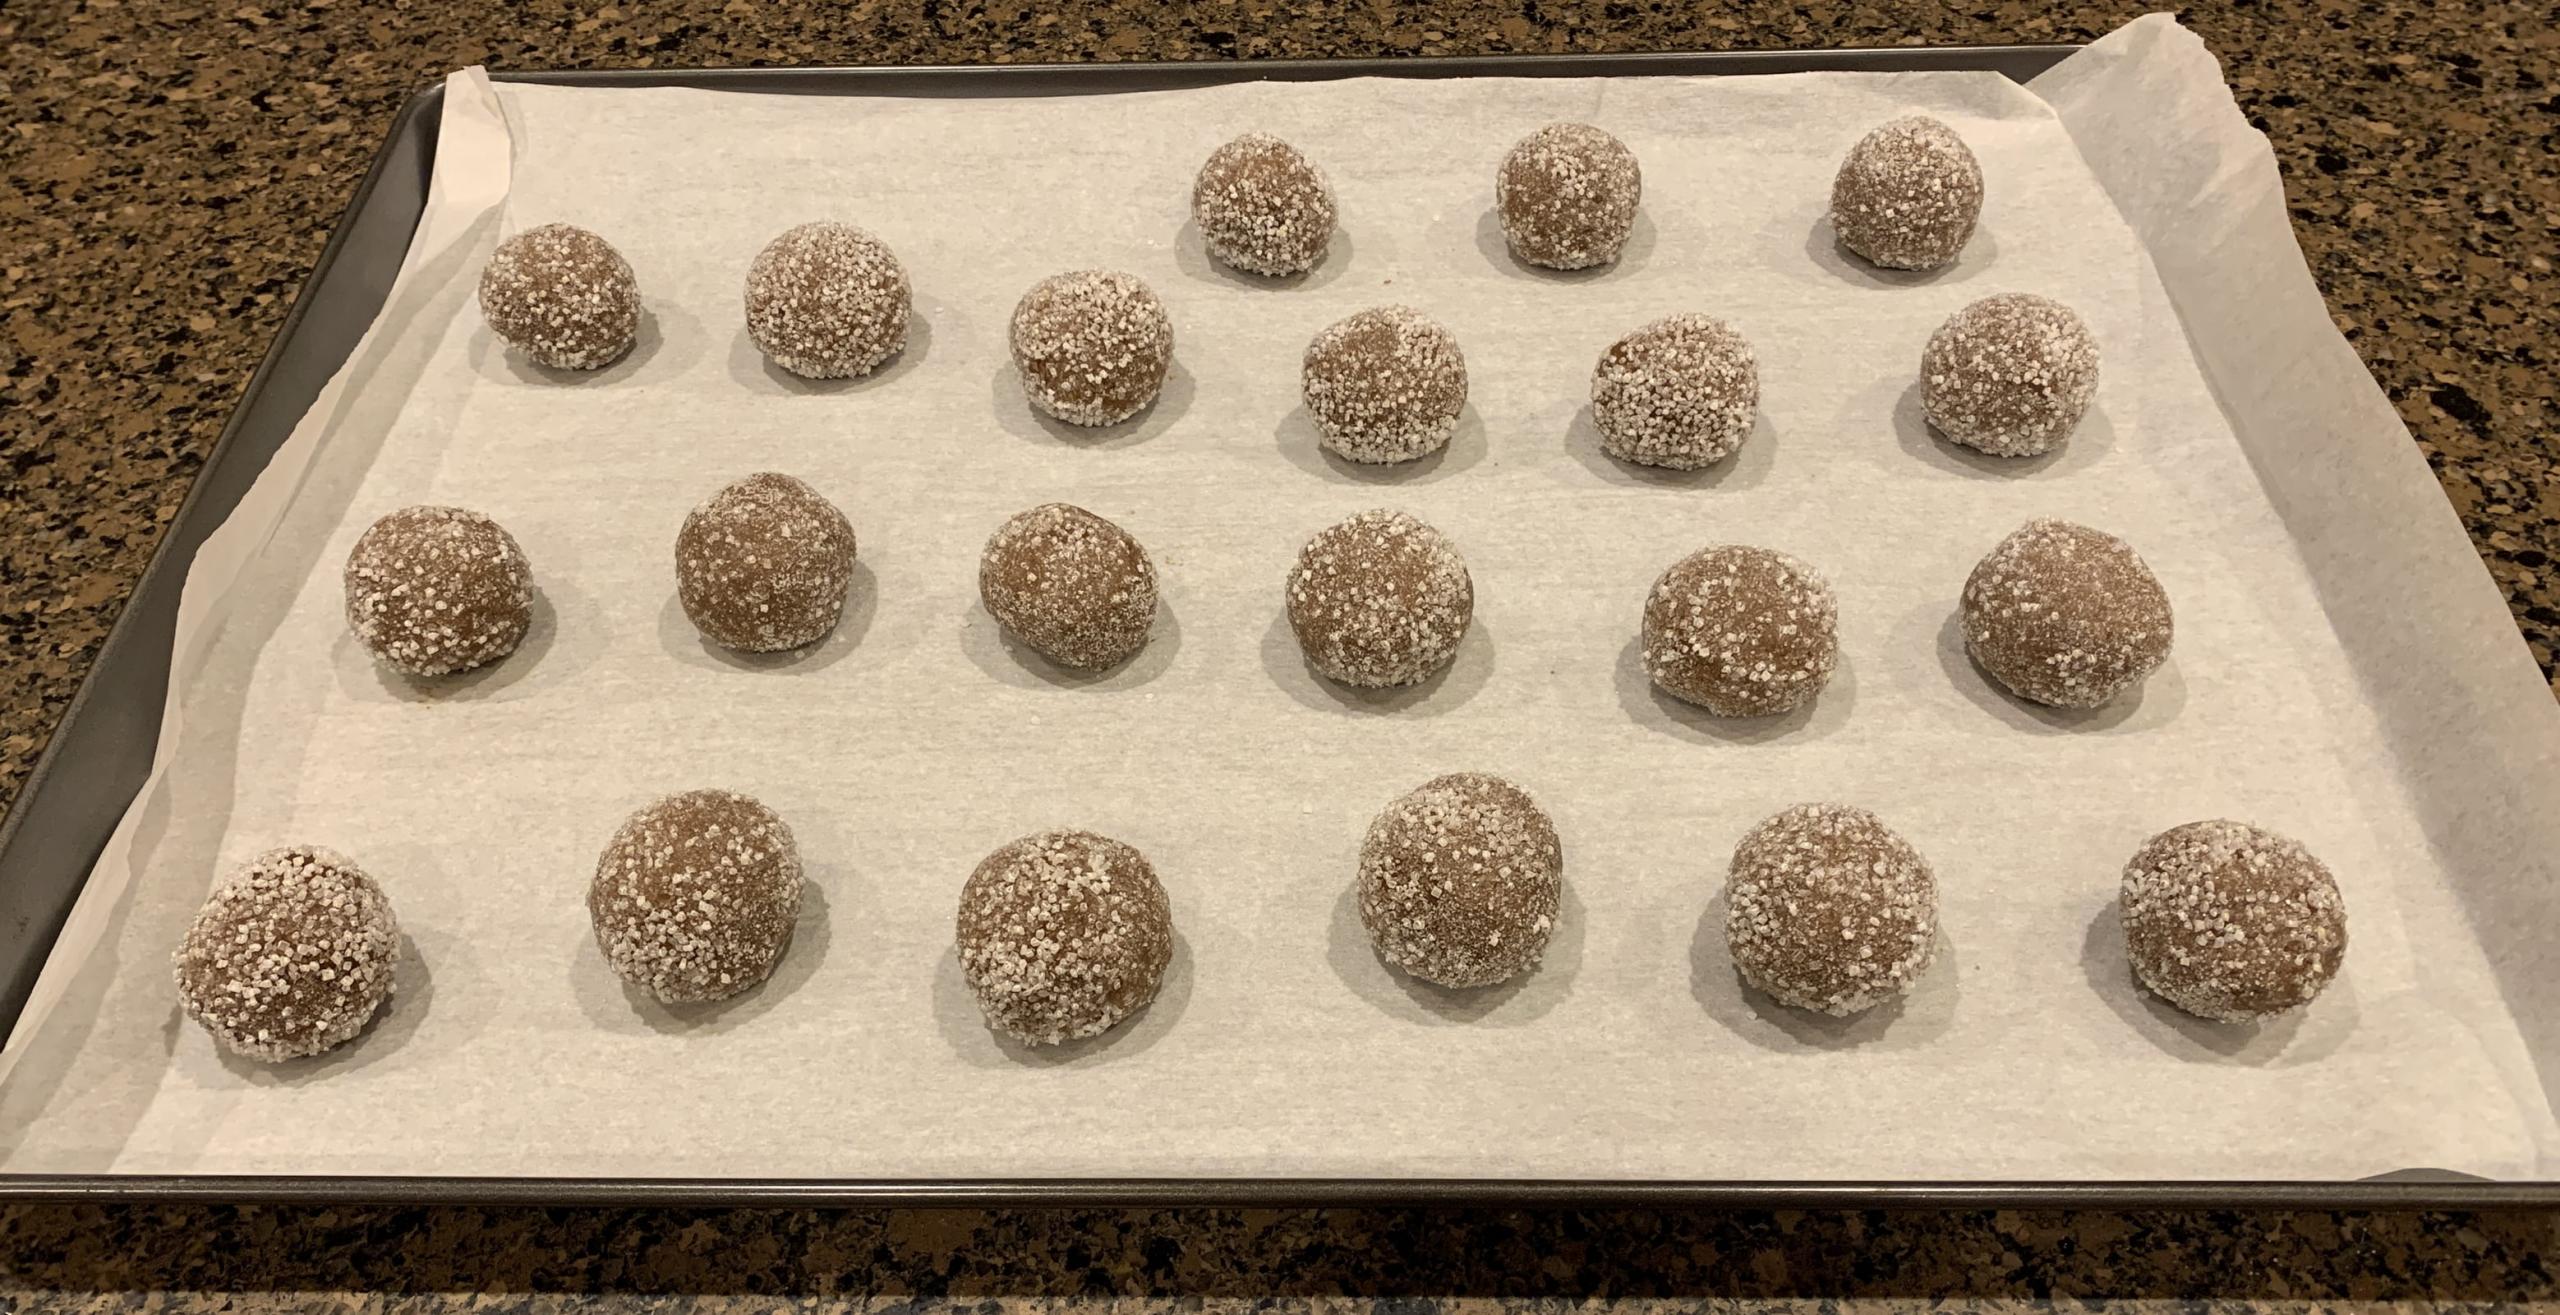
Shape
with wet hands
fold the dough ~4-6 times into a log
dump into a 9x4x4 Pullman lined with parchment slings
Prove
33-34C x 45 mins
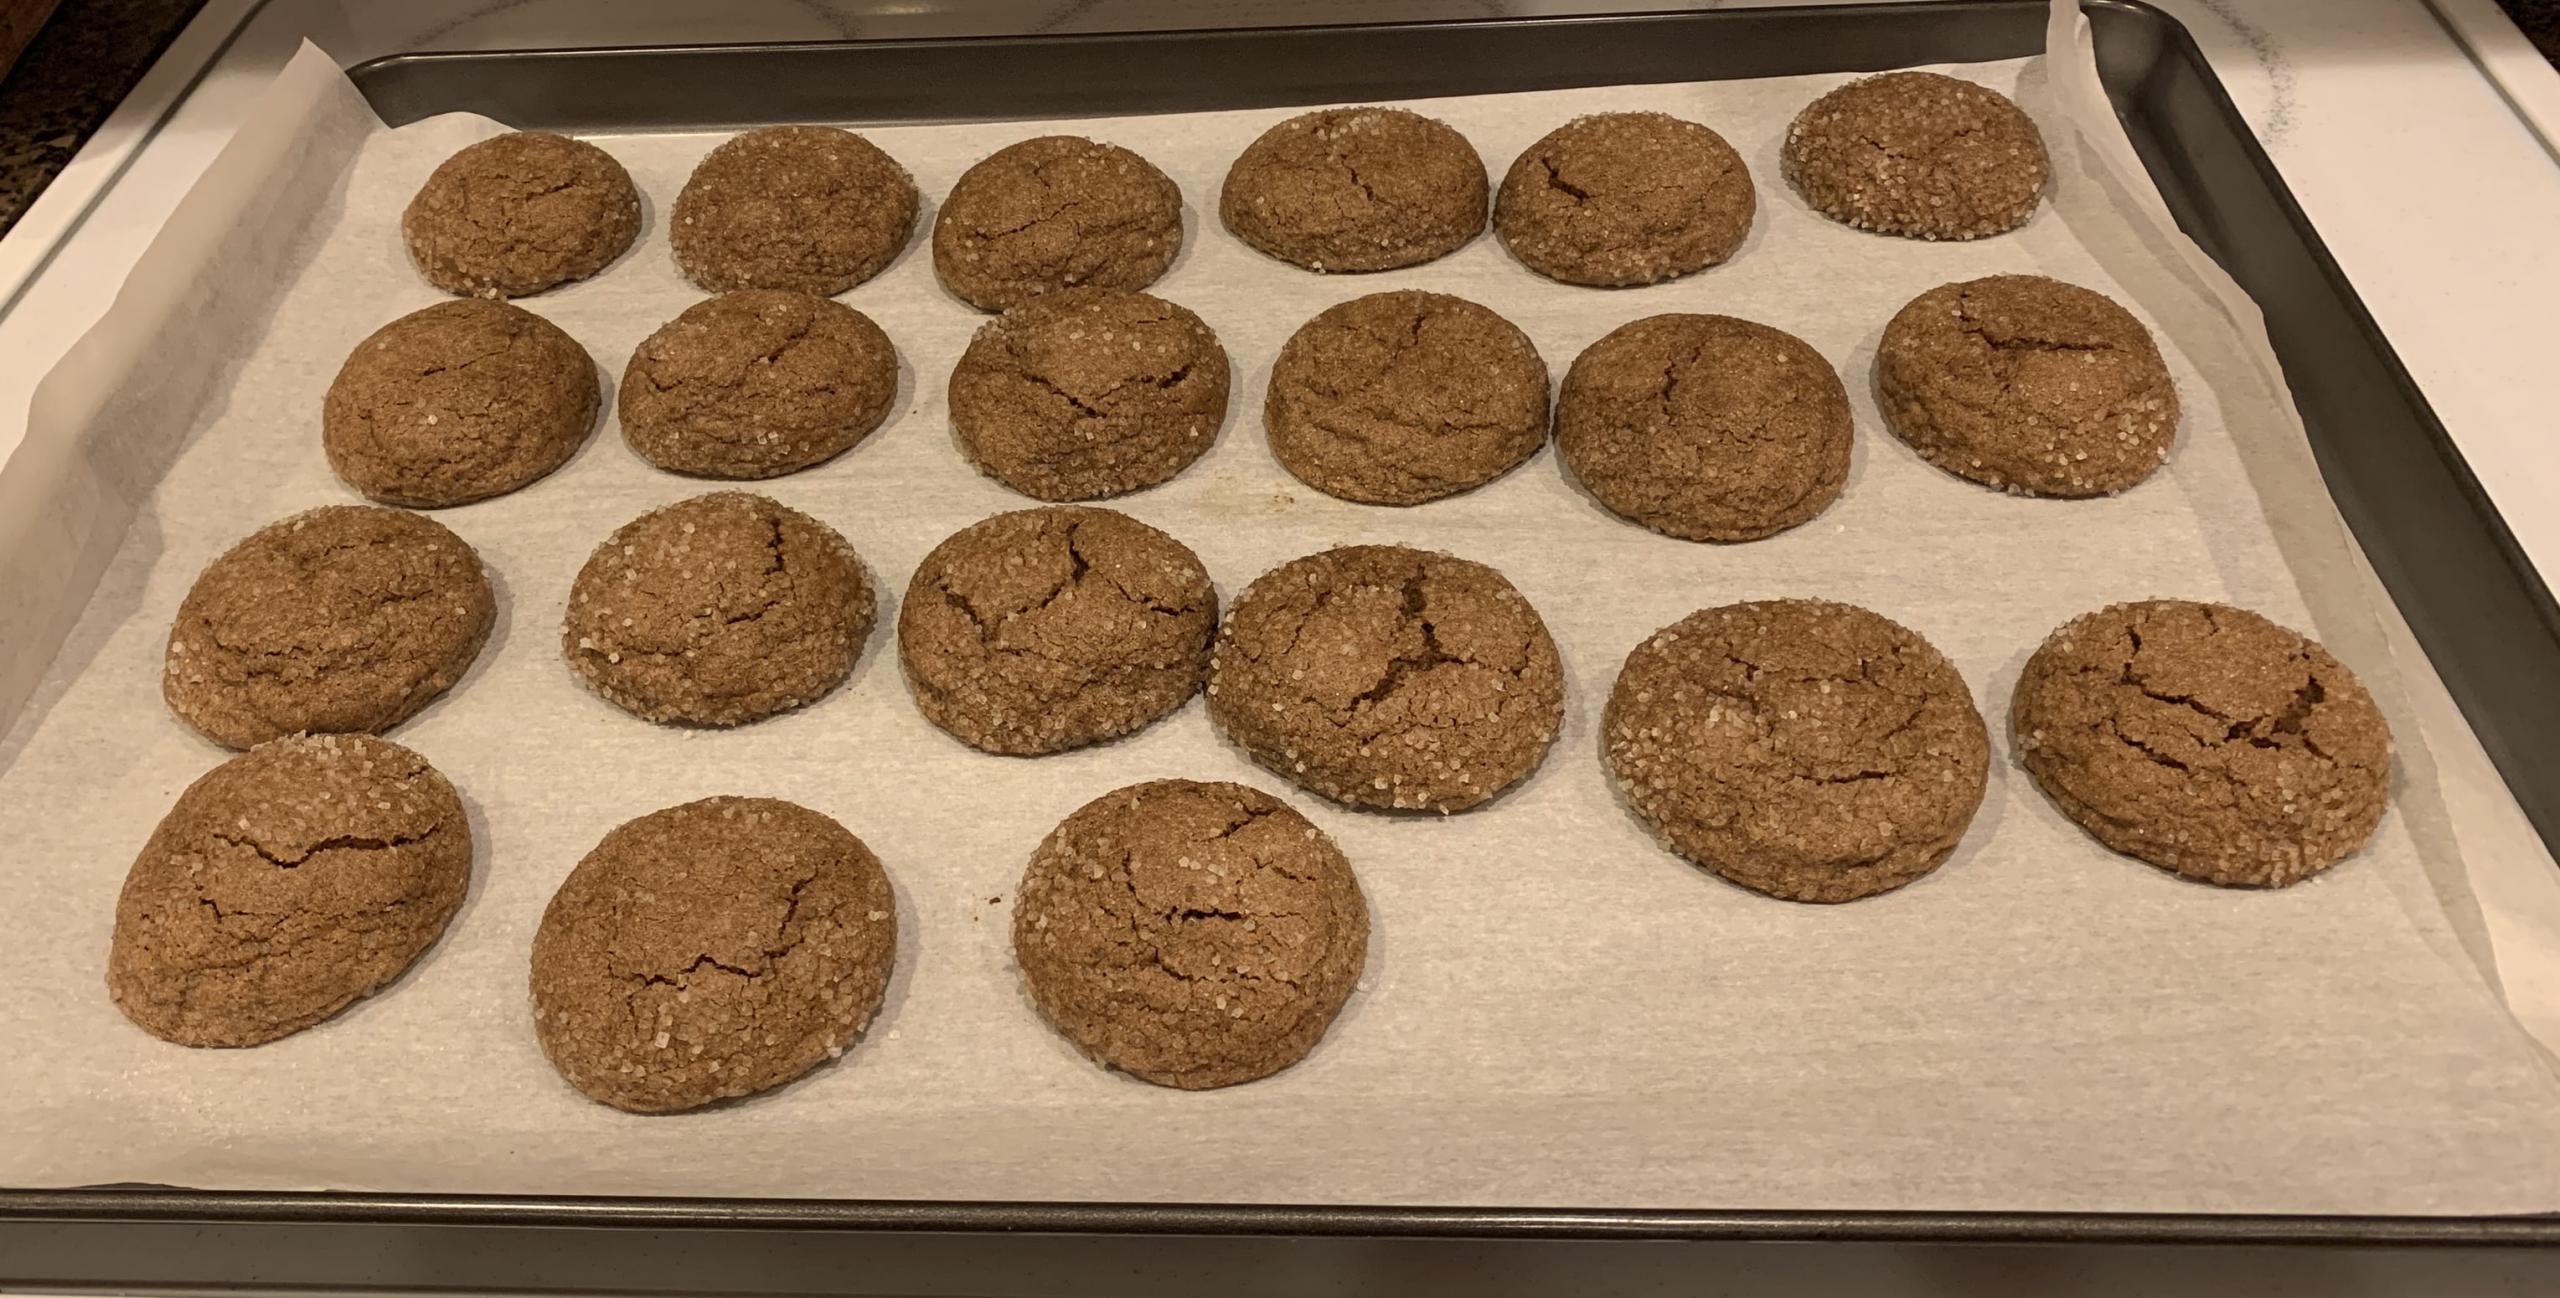
Bake
Preheat to 535F
Lower to 482F once loaded
482F x 10 mins with steam
392F x 30 mins w/o steam; cover the top with foil if it becomes too dark
unmold
392F x 15 mins directly on the stone, or bake longer until it taps hollow
That's it!
-----------------------------------------------------------------------------------------------------------------------------------------------------------------------------------------------------------------------------------------------
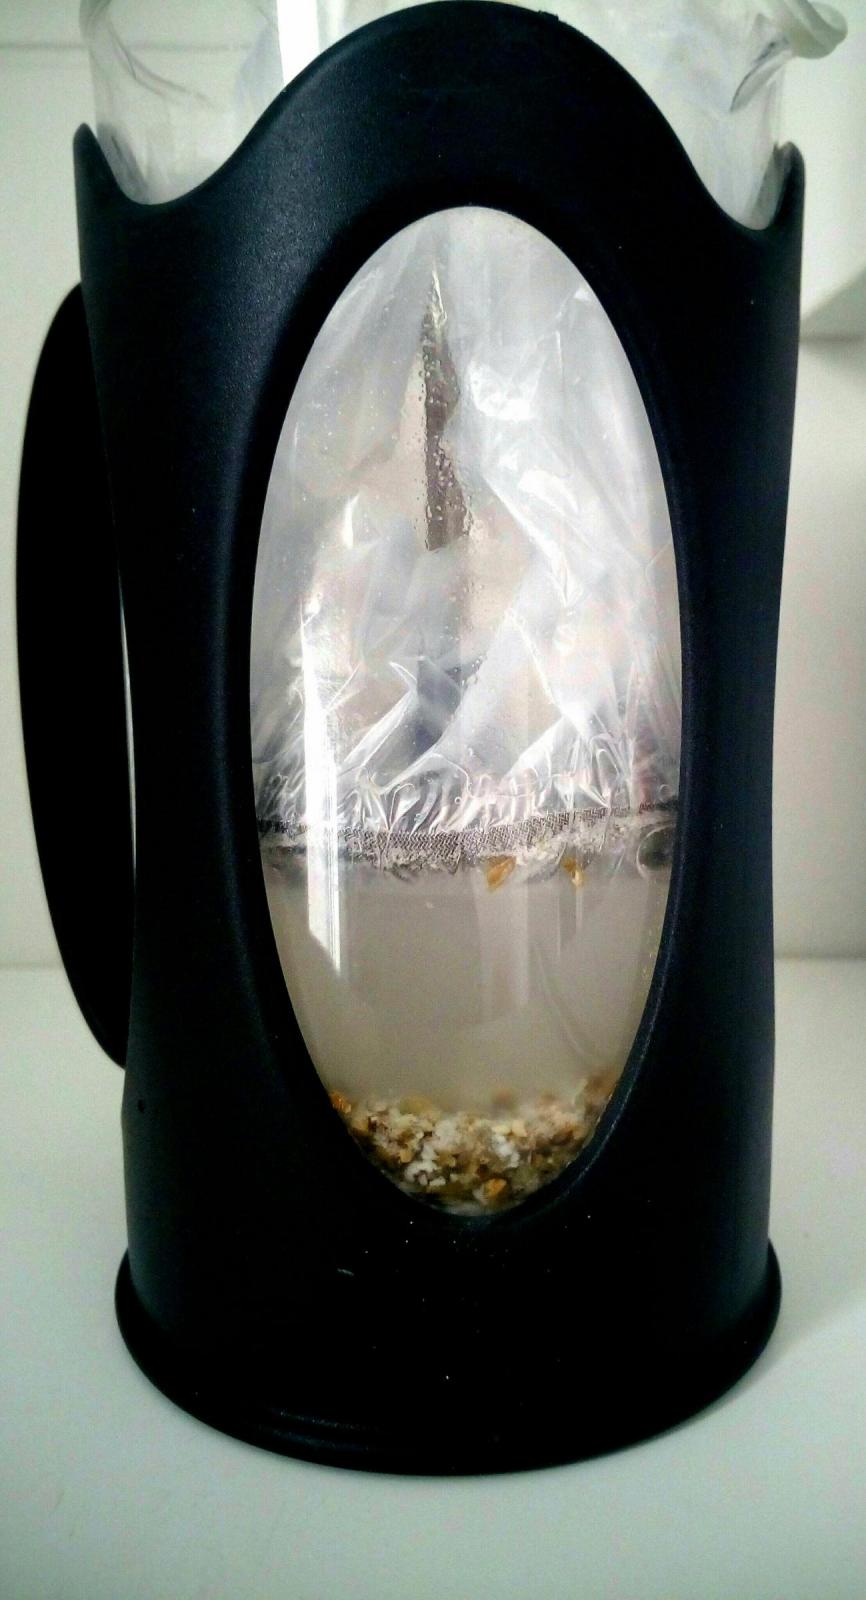
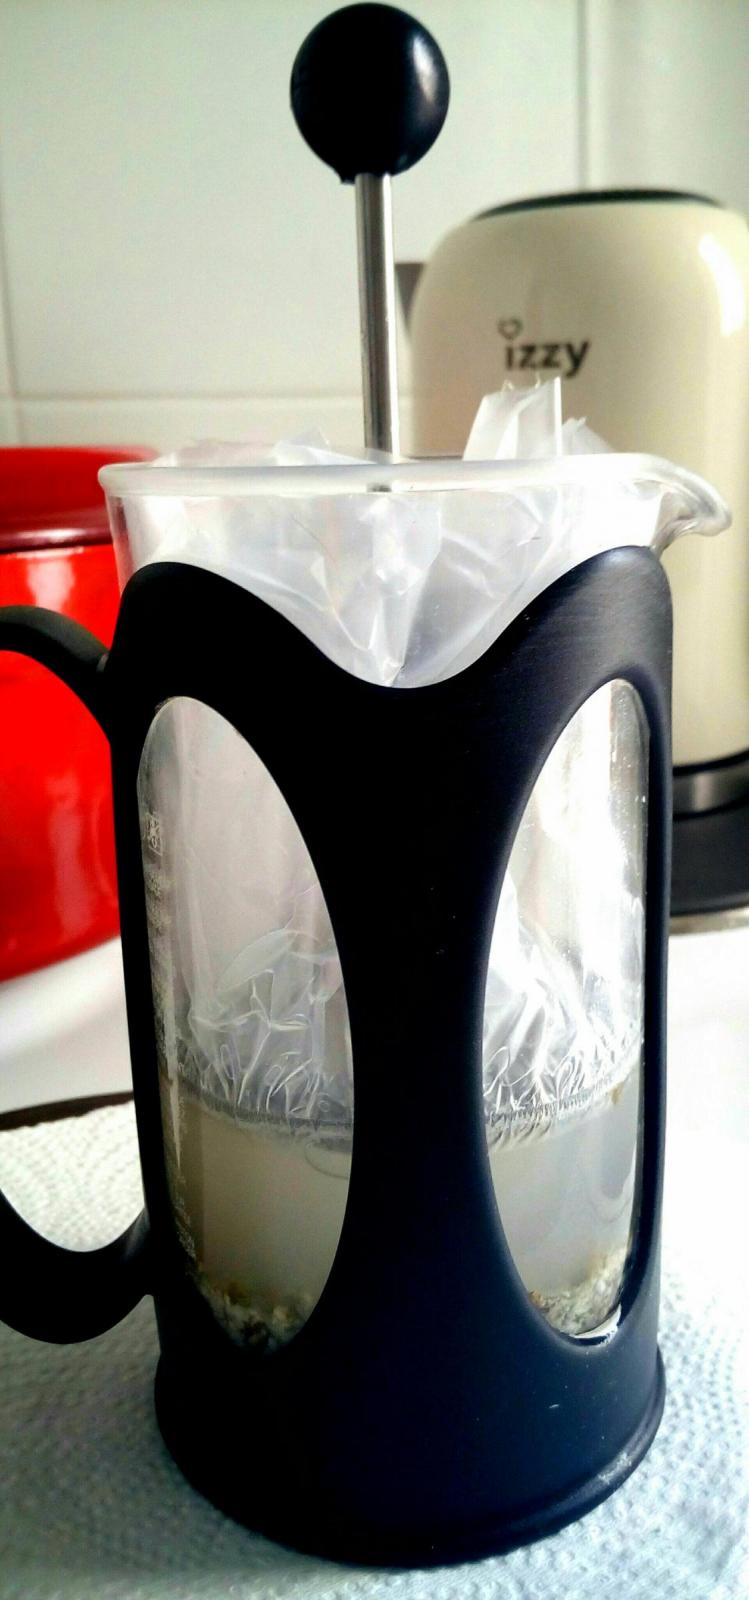
 How to make whole-wheat CLAS
ground wheat malt: 25g
Whole grain wheat flour: 75g
Water T. 45°C: 140 ml
Vinegar (5% acidity): 10 ml
Fermentation temperature: 38°C±2°C
Fermentation time: 24-36h
Hydration: 150%
End pH: around 4
To refresh wheat CLAS
1:7 (wheat flour in CLAS: new wheat flour), no vinegar needed
150% hydration@38+-2 C x 12 hours
I usually make about 500g of CLAS at a time with 200g of grains. It stays in the fridge until I need it to bake, and I stir it thoroughly before use. I usually warm it up with one of Zo's fermentation features while I prepare the remaining ingredients. When I've used up most of the 500g of CLAS, I refresh it using the 1:7 ratio to make another 500g, give or take.
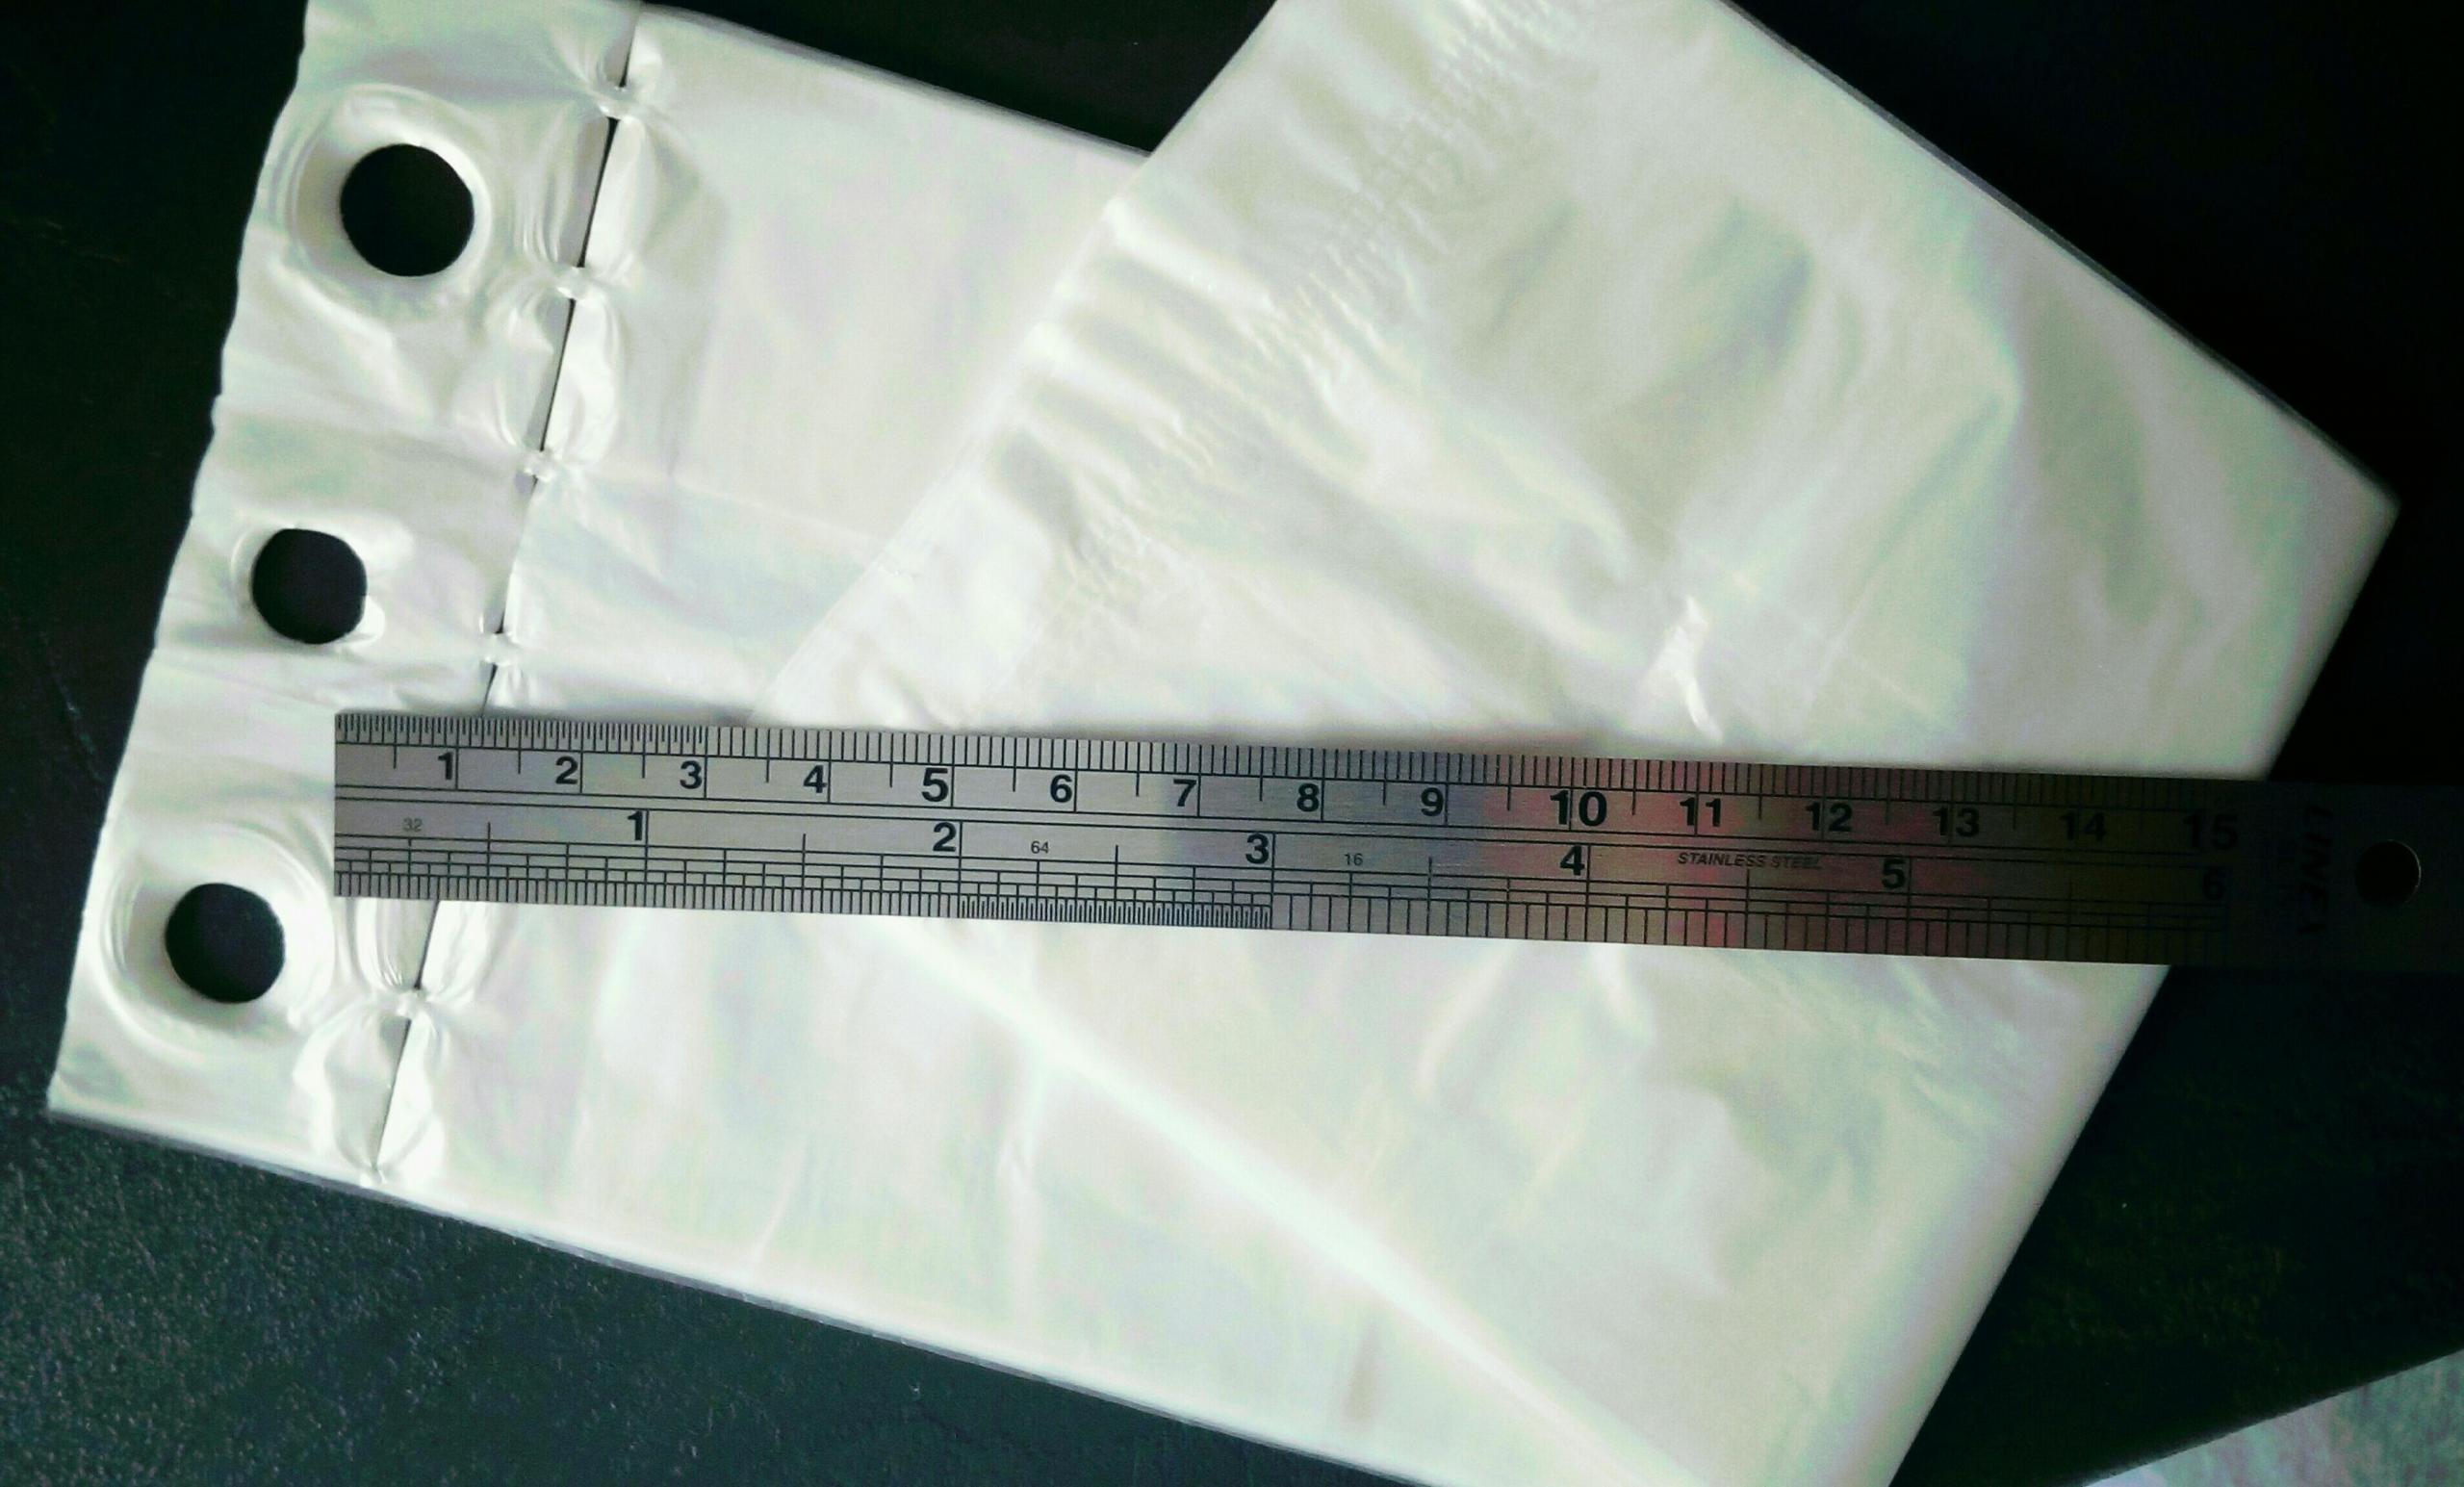
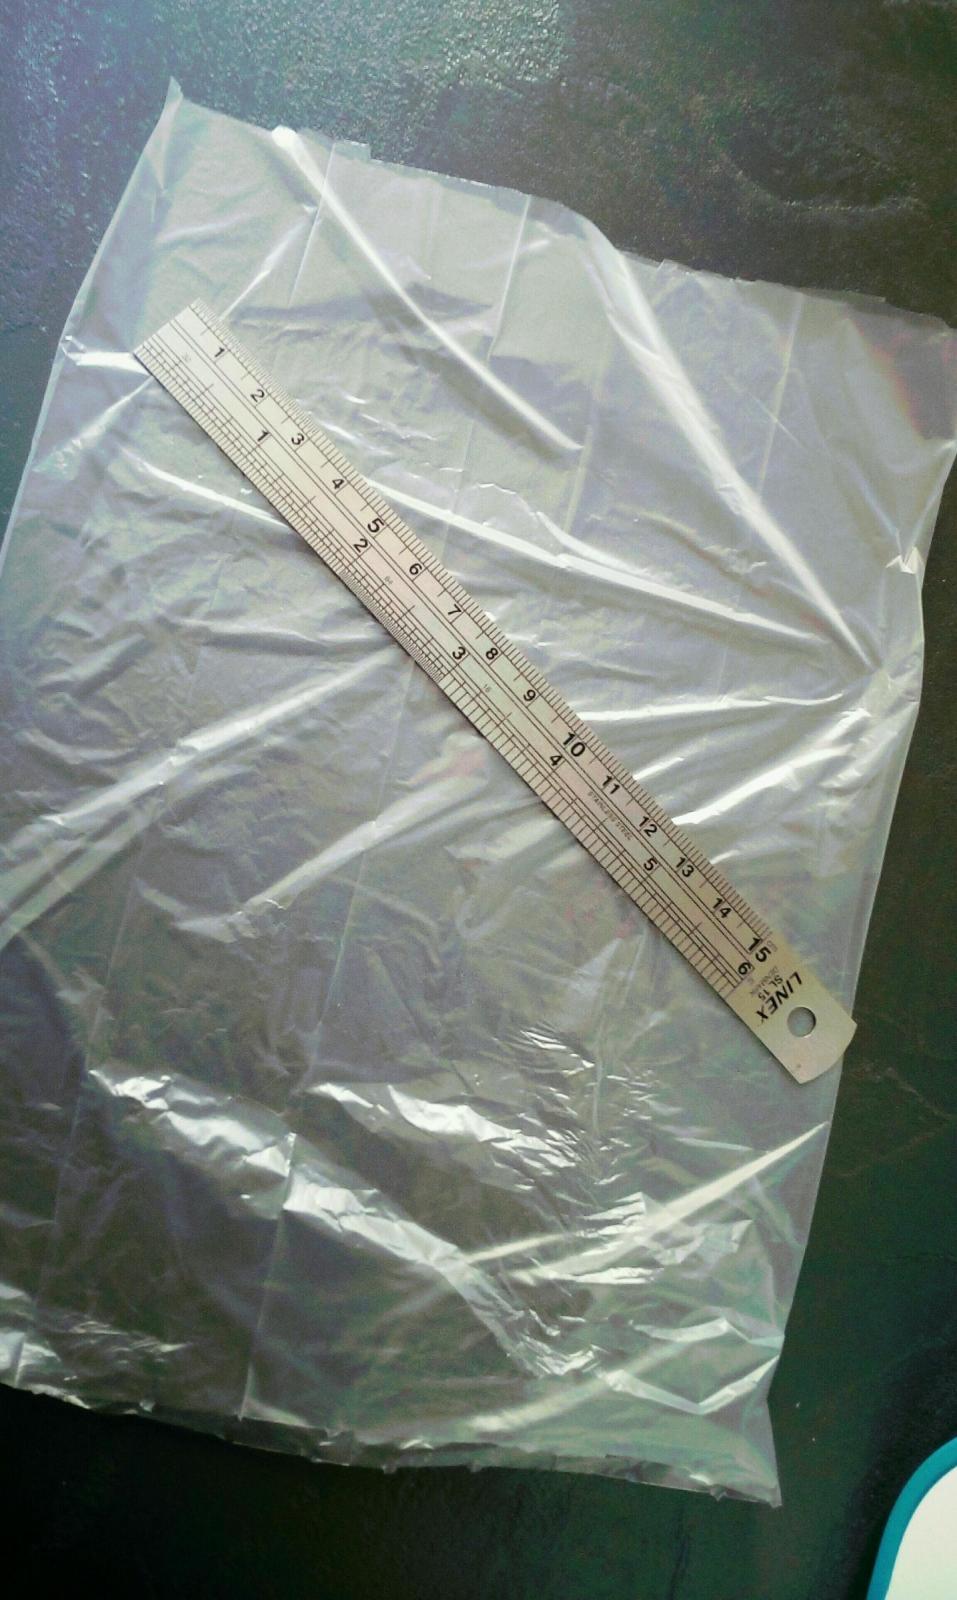
I set up a water bath (~low 40s C) in the Instant Pot, support the container with a trivet, and use the Instant Pot's yogurt feature to make CLAS:
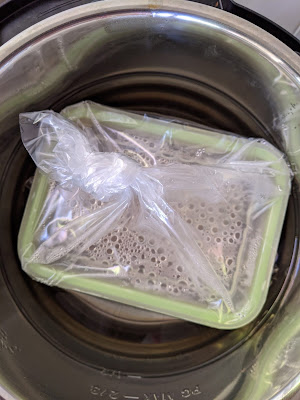
Then cover it with the lid.
P.S. 20230722 

I can also make CLAS in the Zo using its 'Rise 3' feature because it operates within the same temperature range as a yogurt maker. I can either take out the bread pan, place the container with CLAS in the bread machine, supporting it with a trivet, or ferment the CLAS directly in the bread pan.
----------------------------------------------------------------------------------------------------------------------------------------------------------------------------------------------------------------------------------------------

How I develop gluten for whole wheat dough
https://www.thefreshloaf.com/node/68309/how-i-develop-whole-wheat-doughs-gluten
----------------------------------------------------------------------------------------------------------------------------------------------------------------------------------------------------------------------------------------------
The mixing is complete.

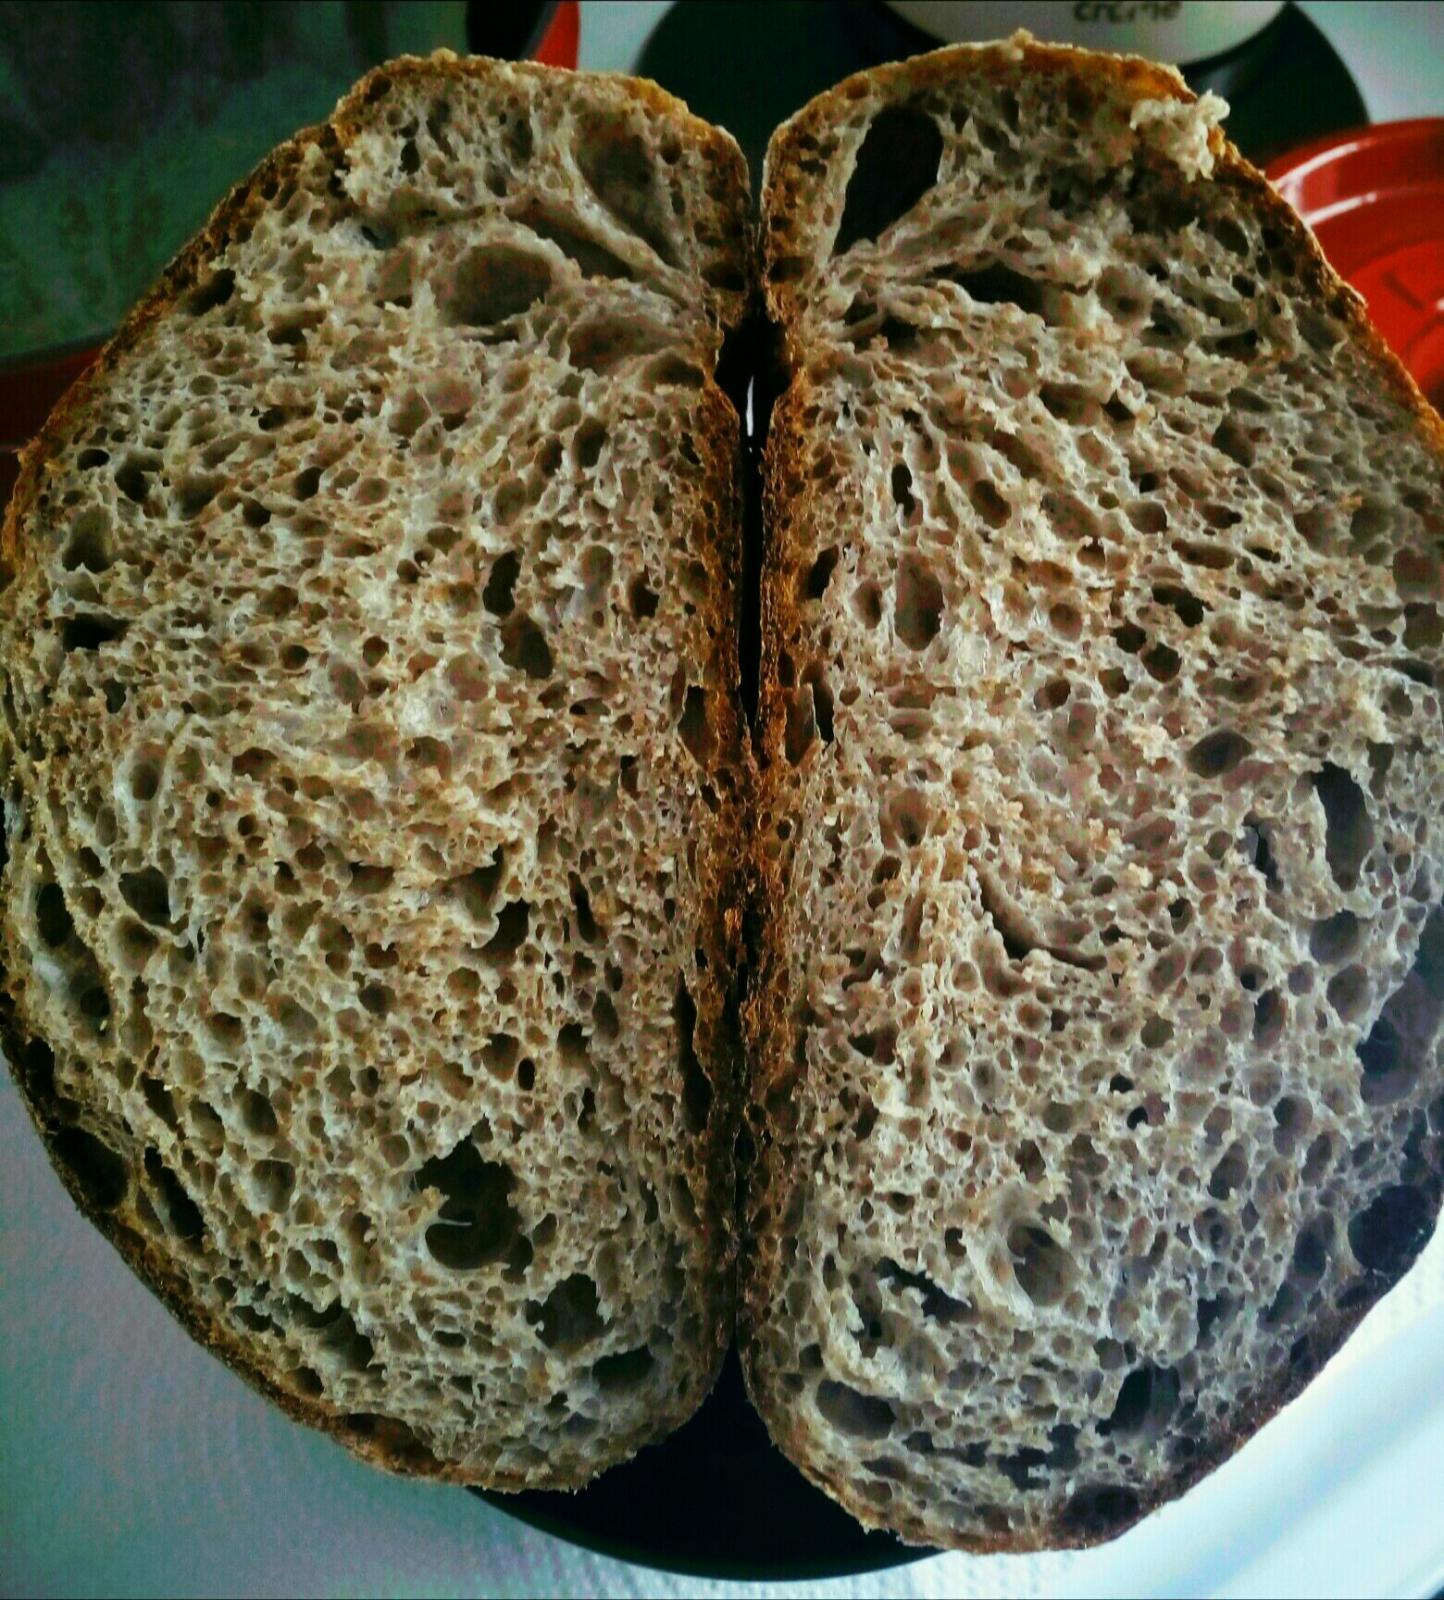
It develops very strong gluten even without autolyse. CLAS rocks!💪💪💪

Just sit back and watch the dough rise. Easy peasy!

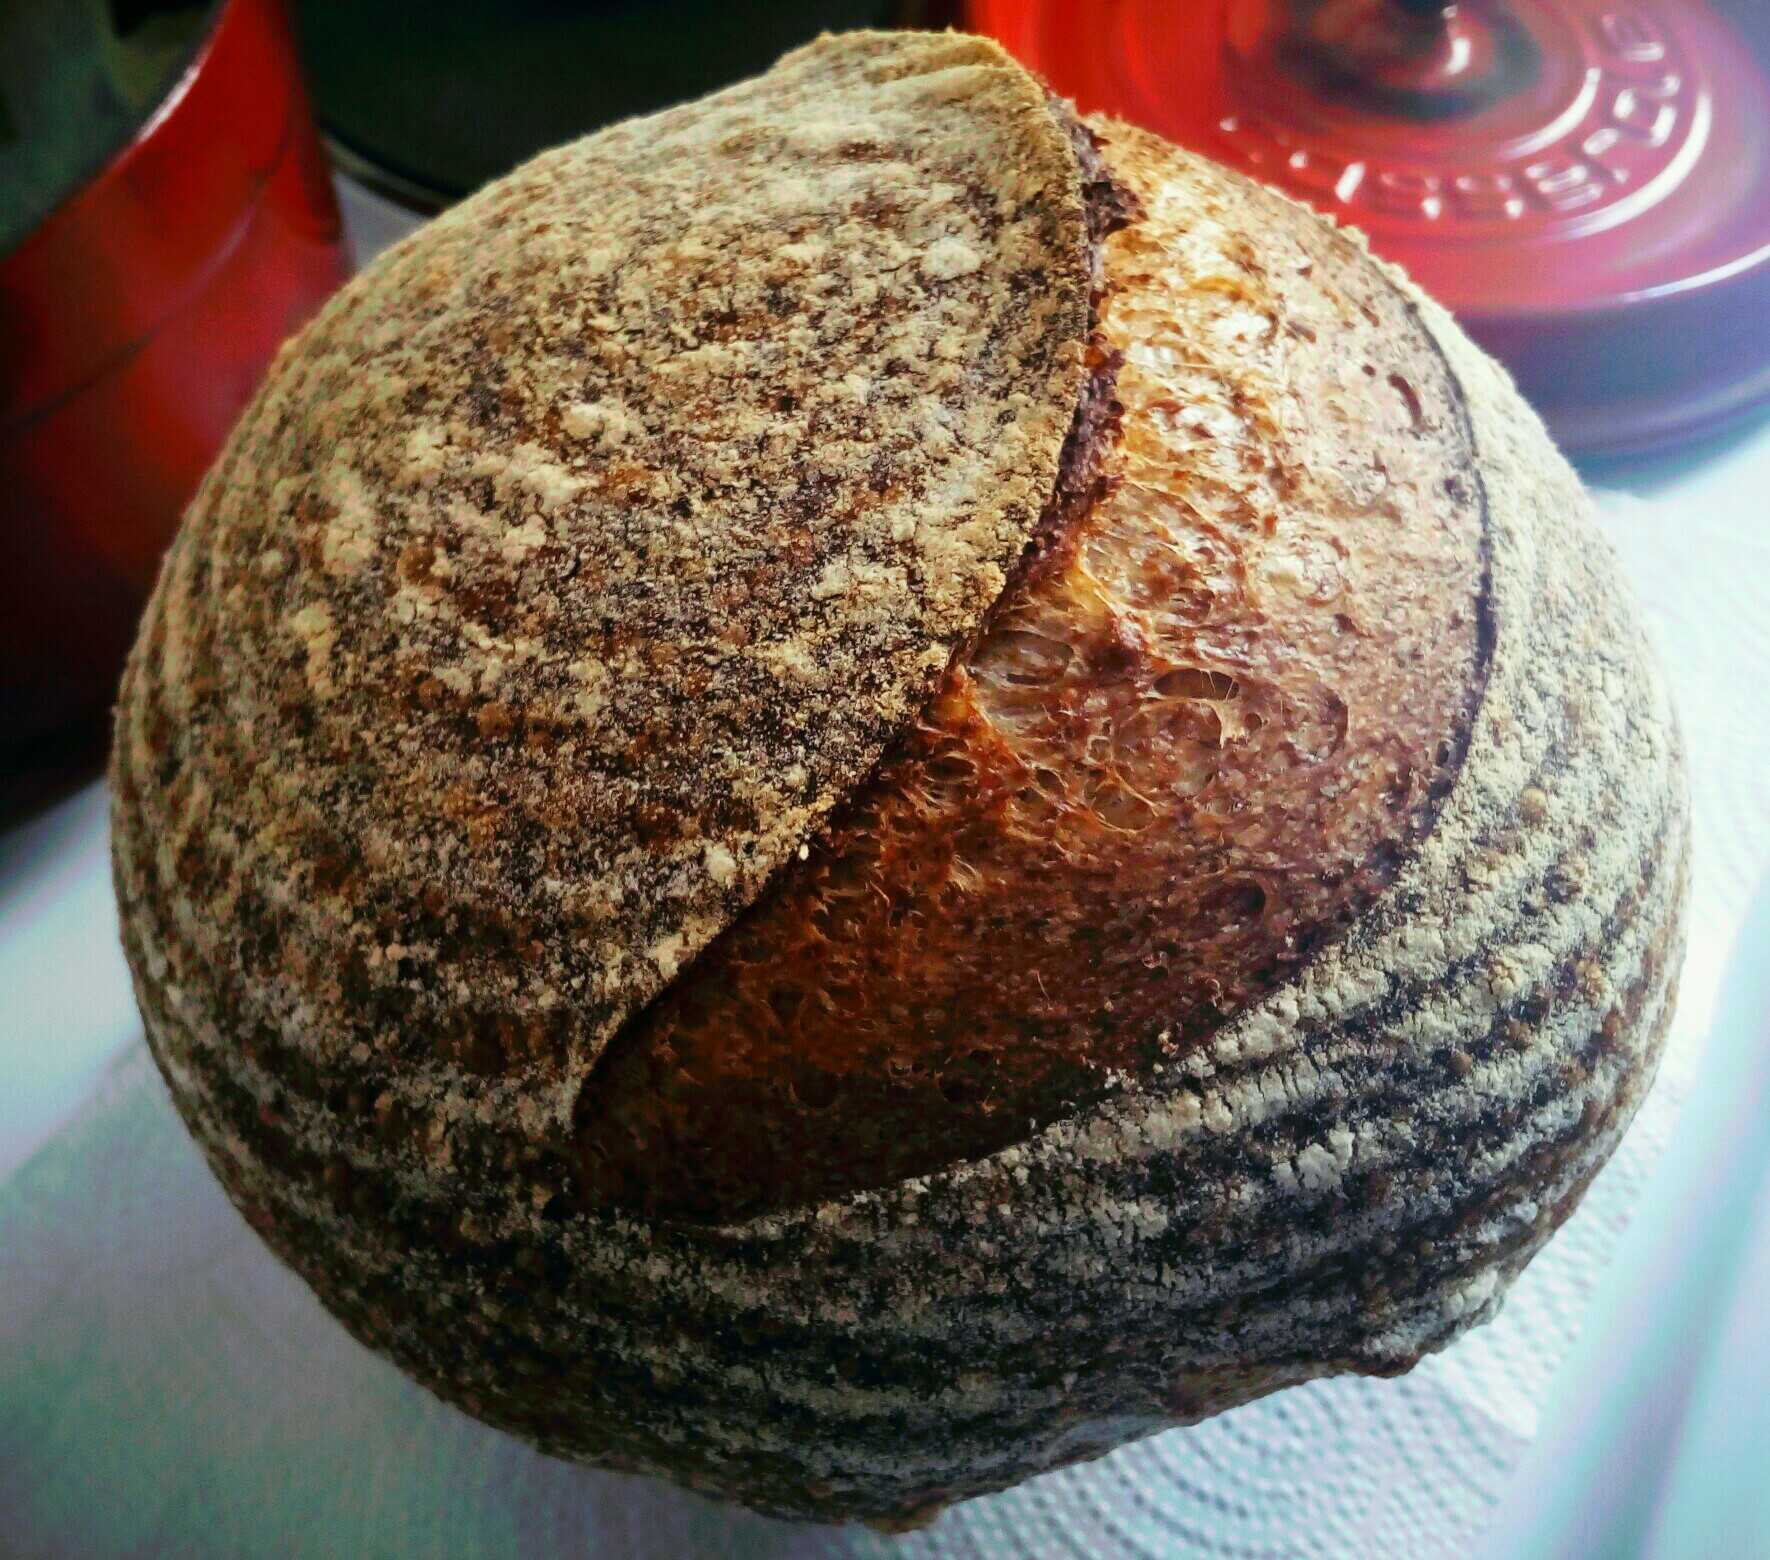
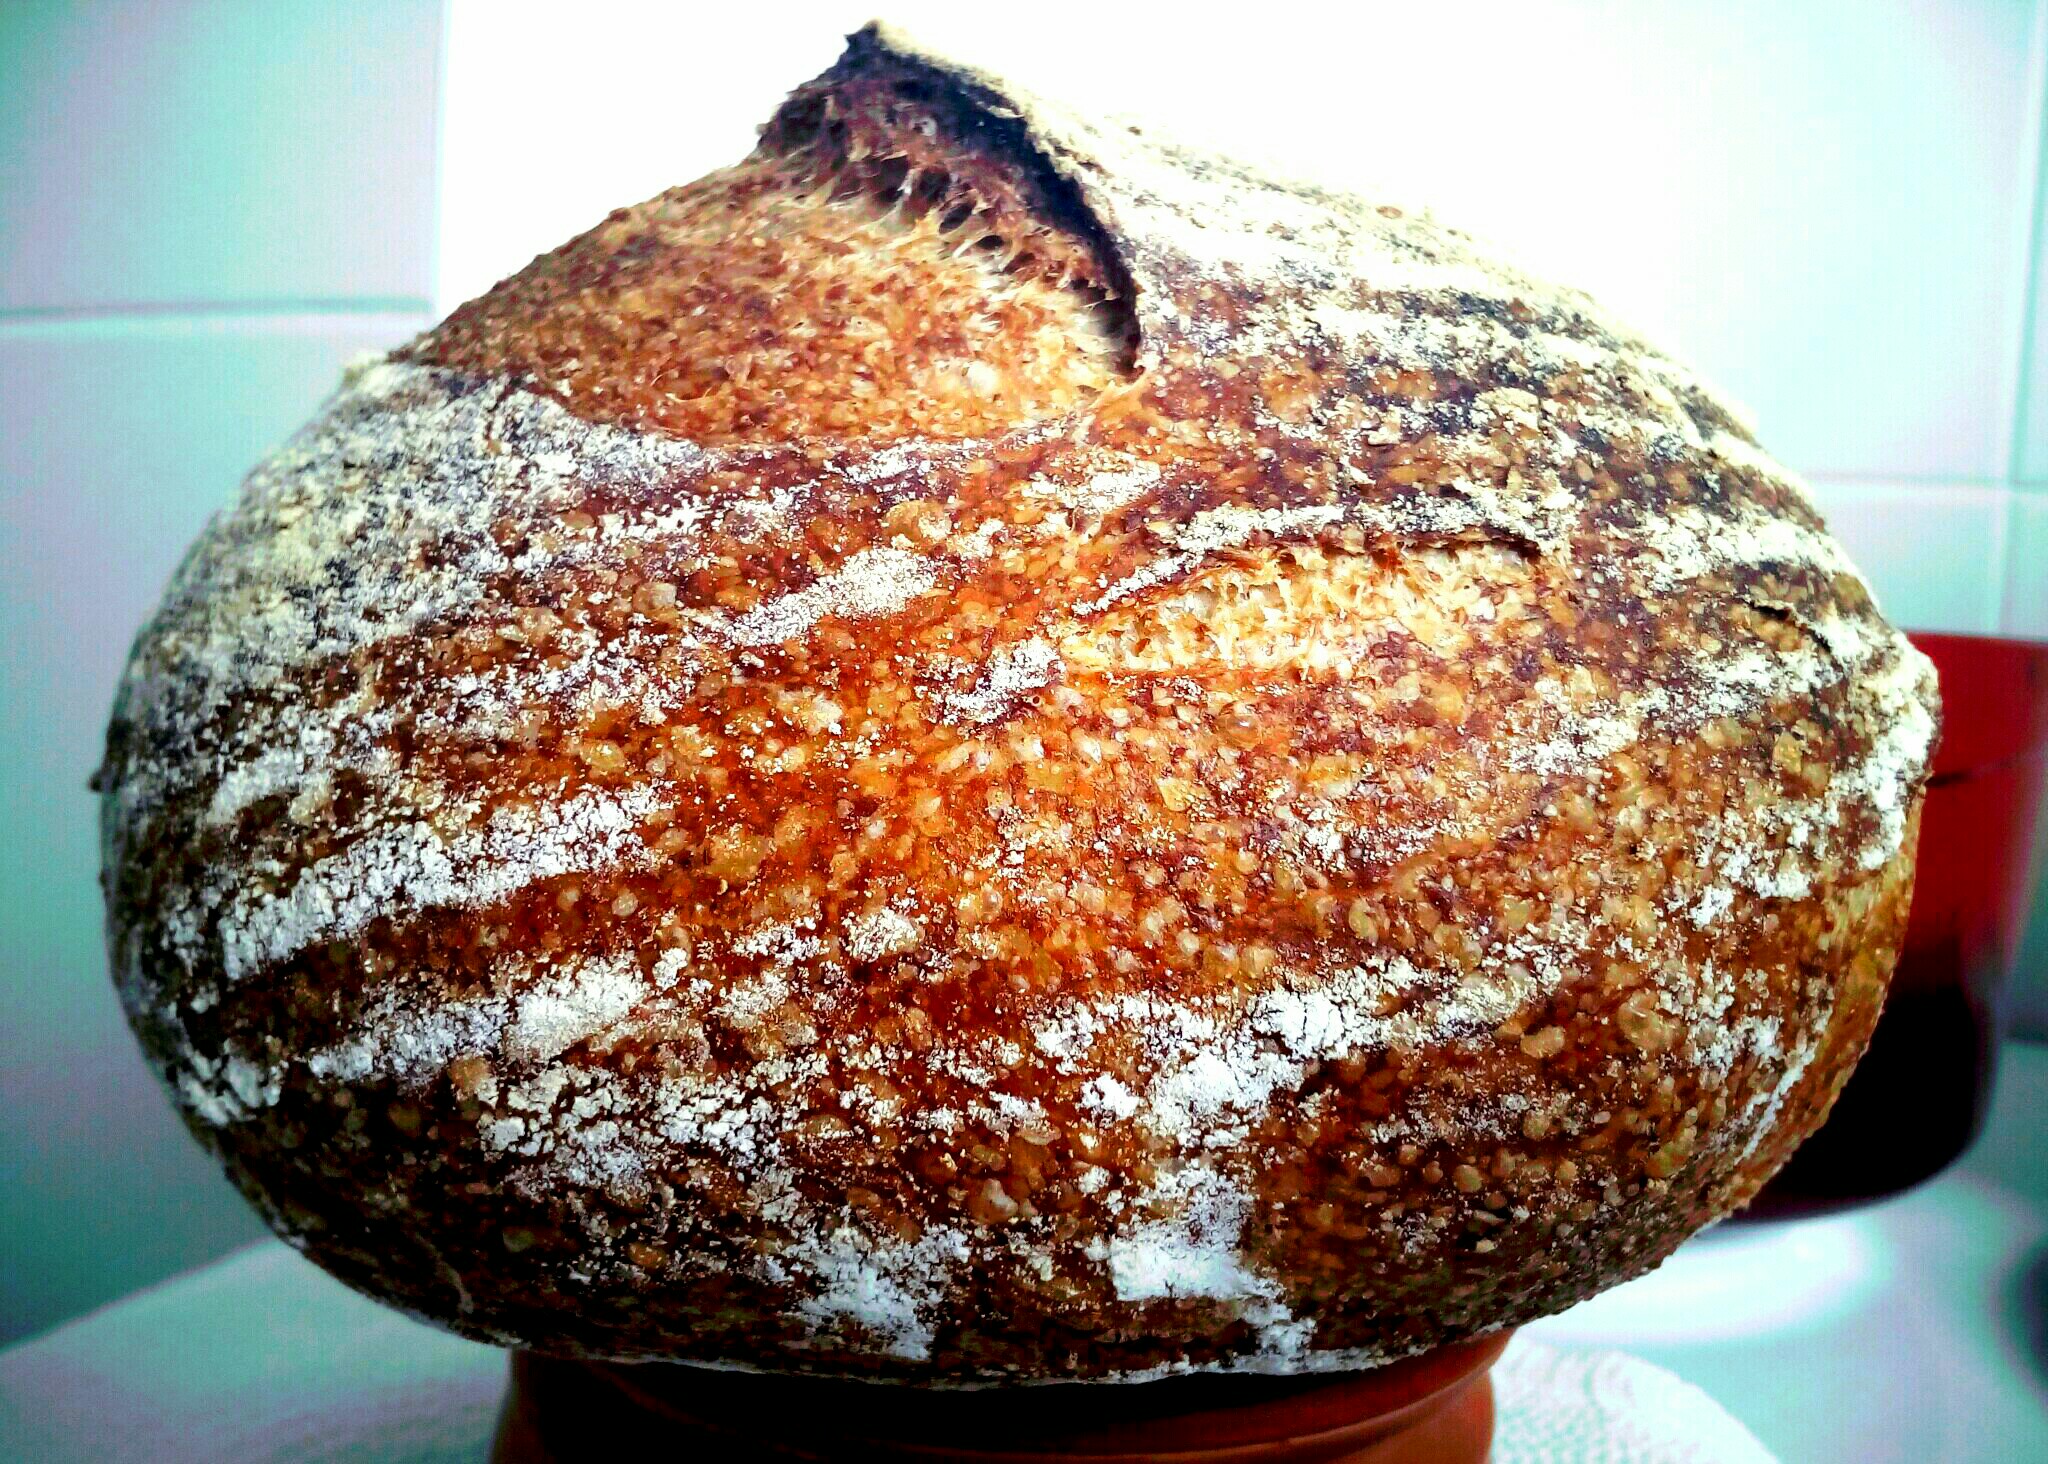
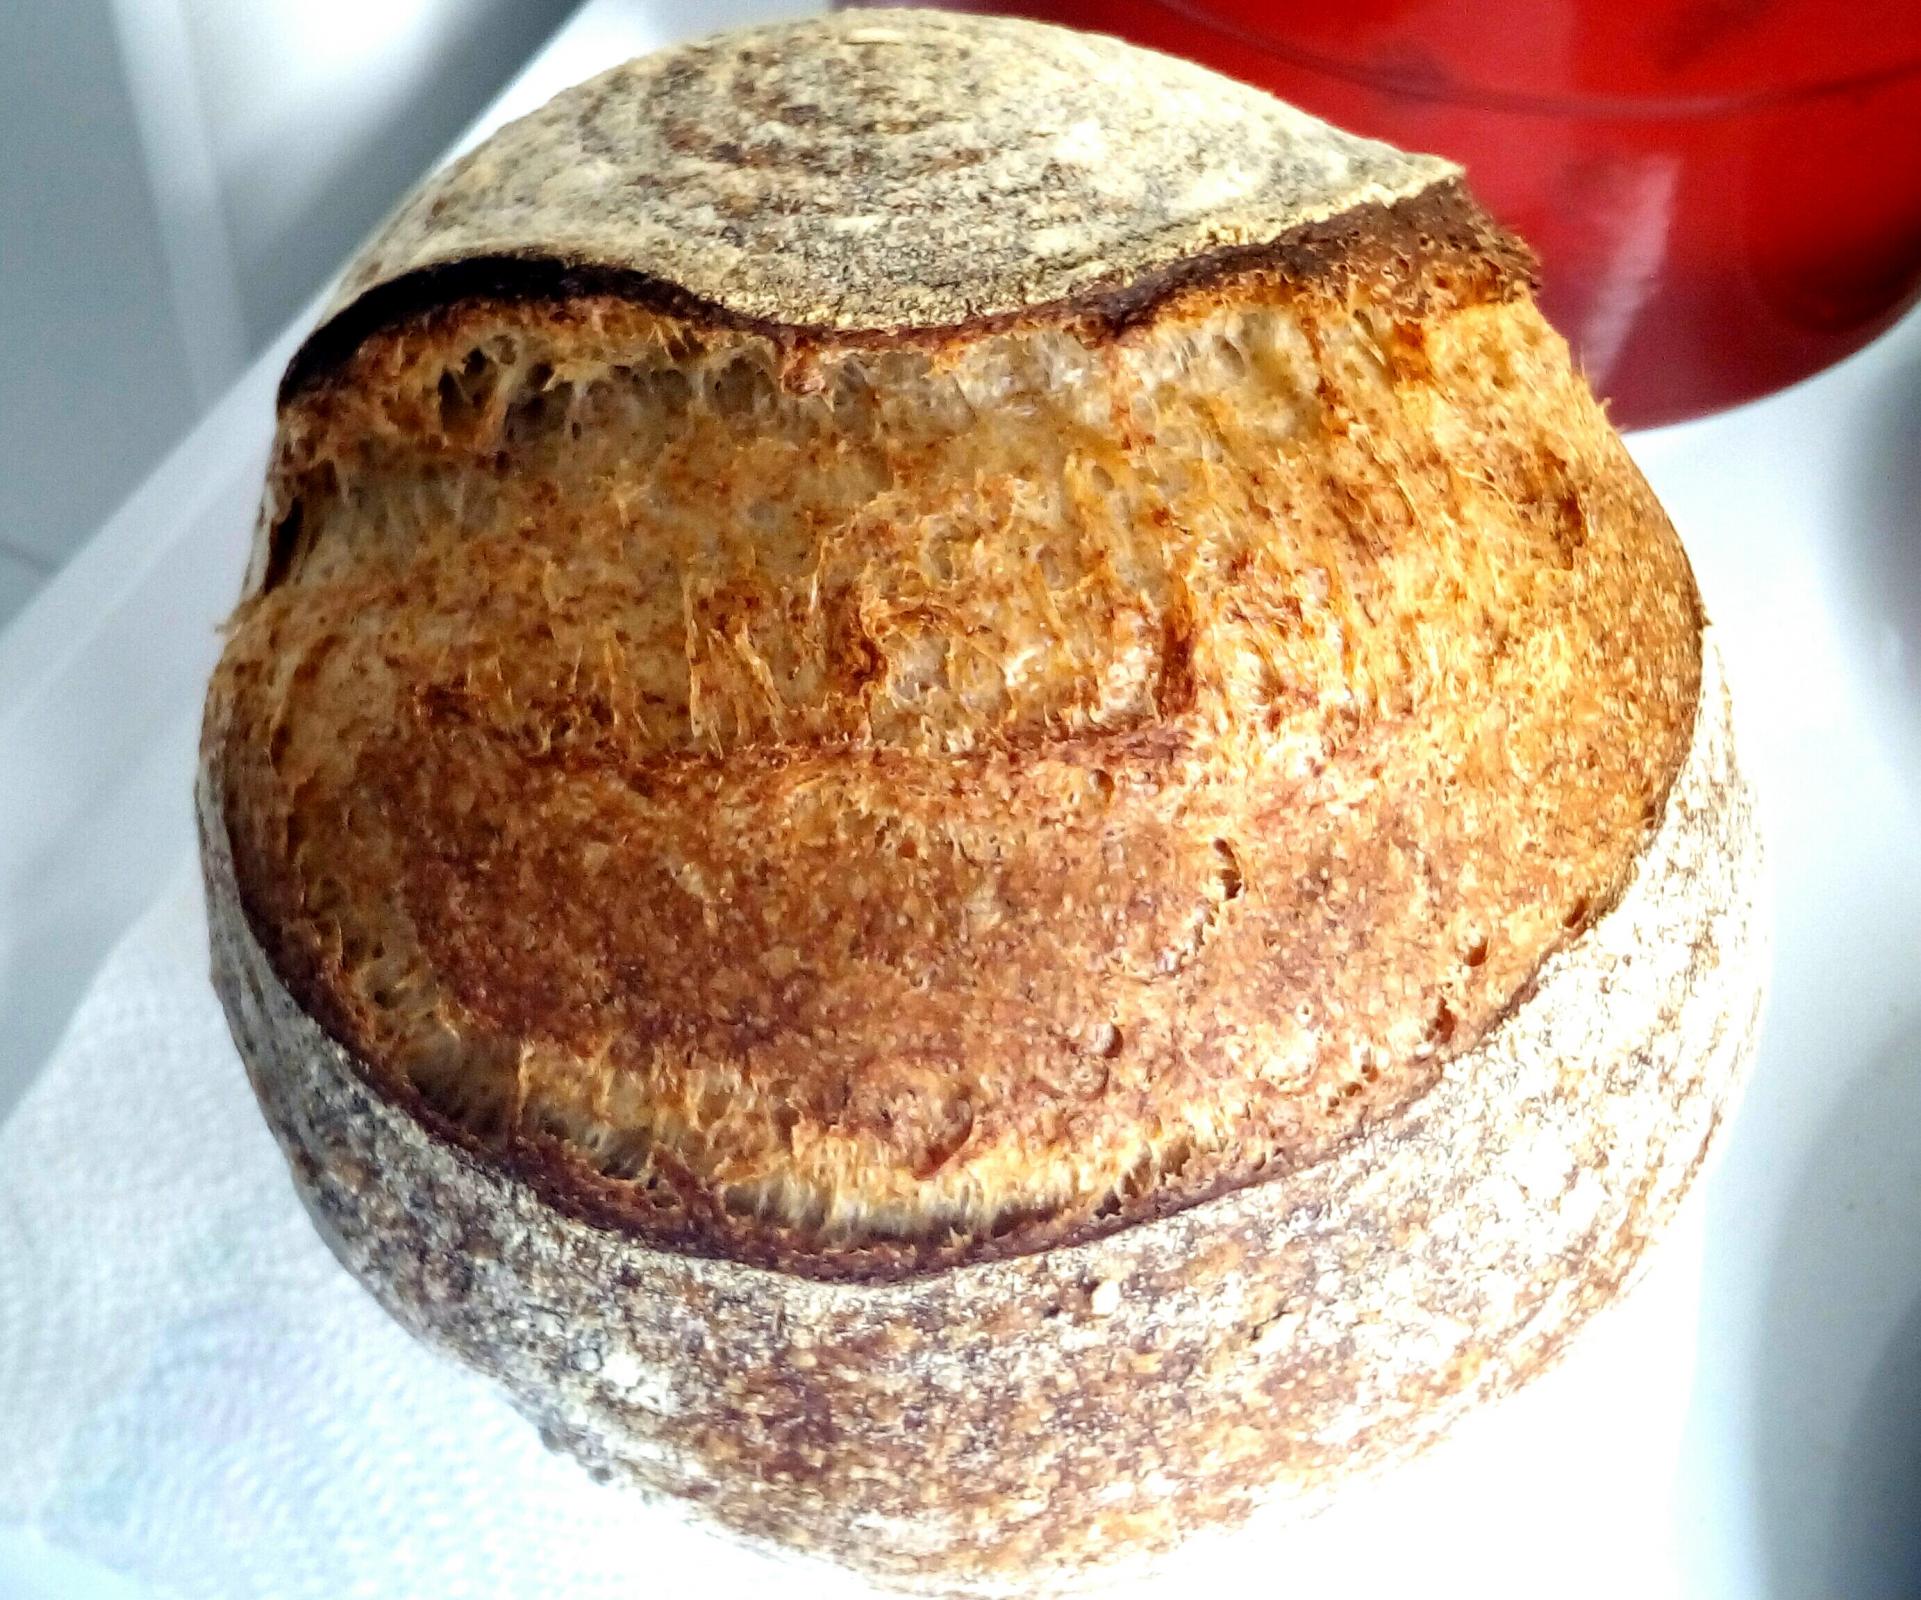
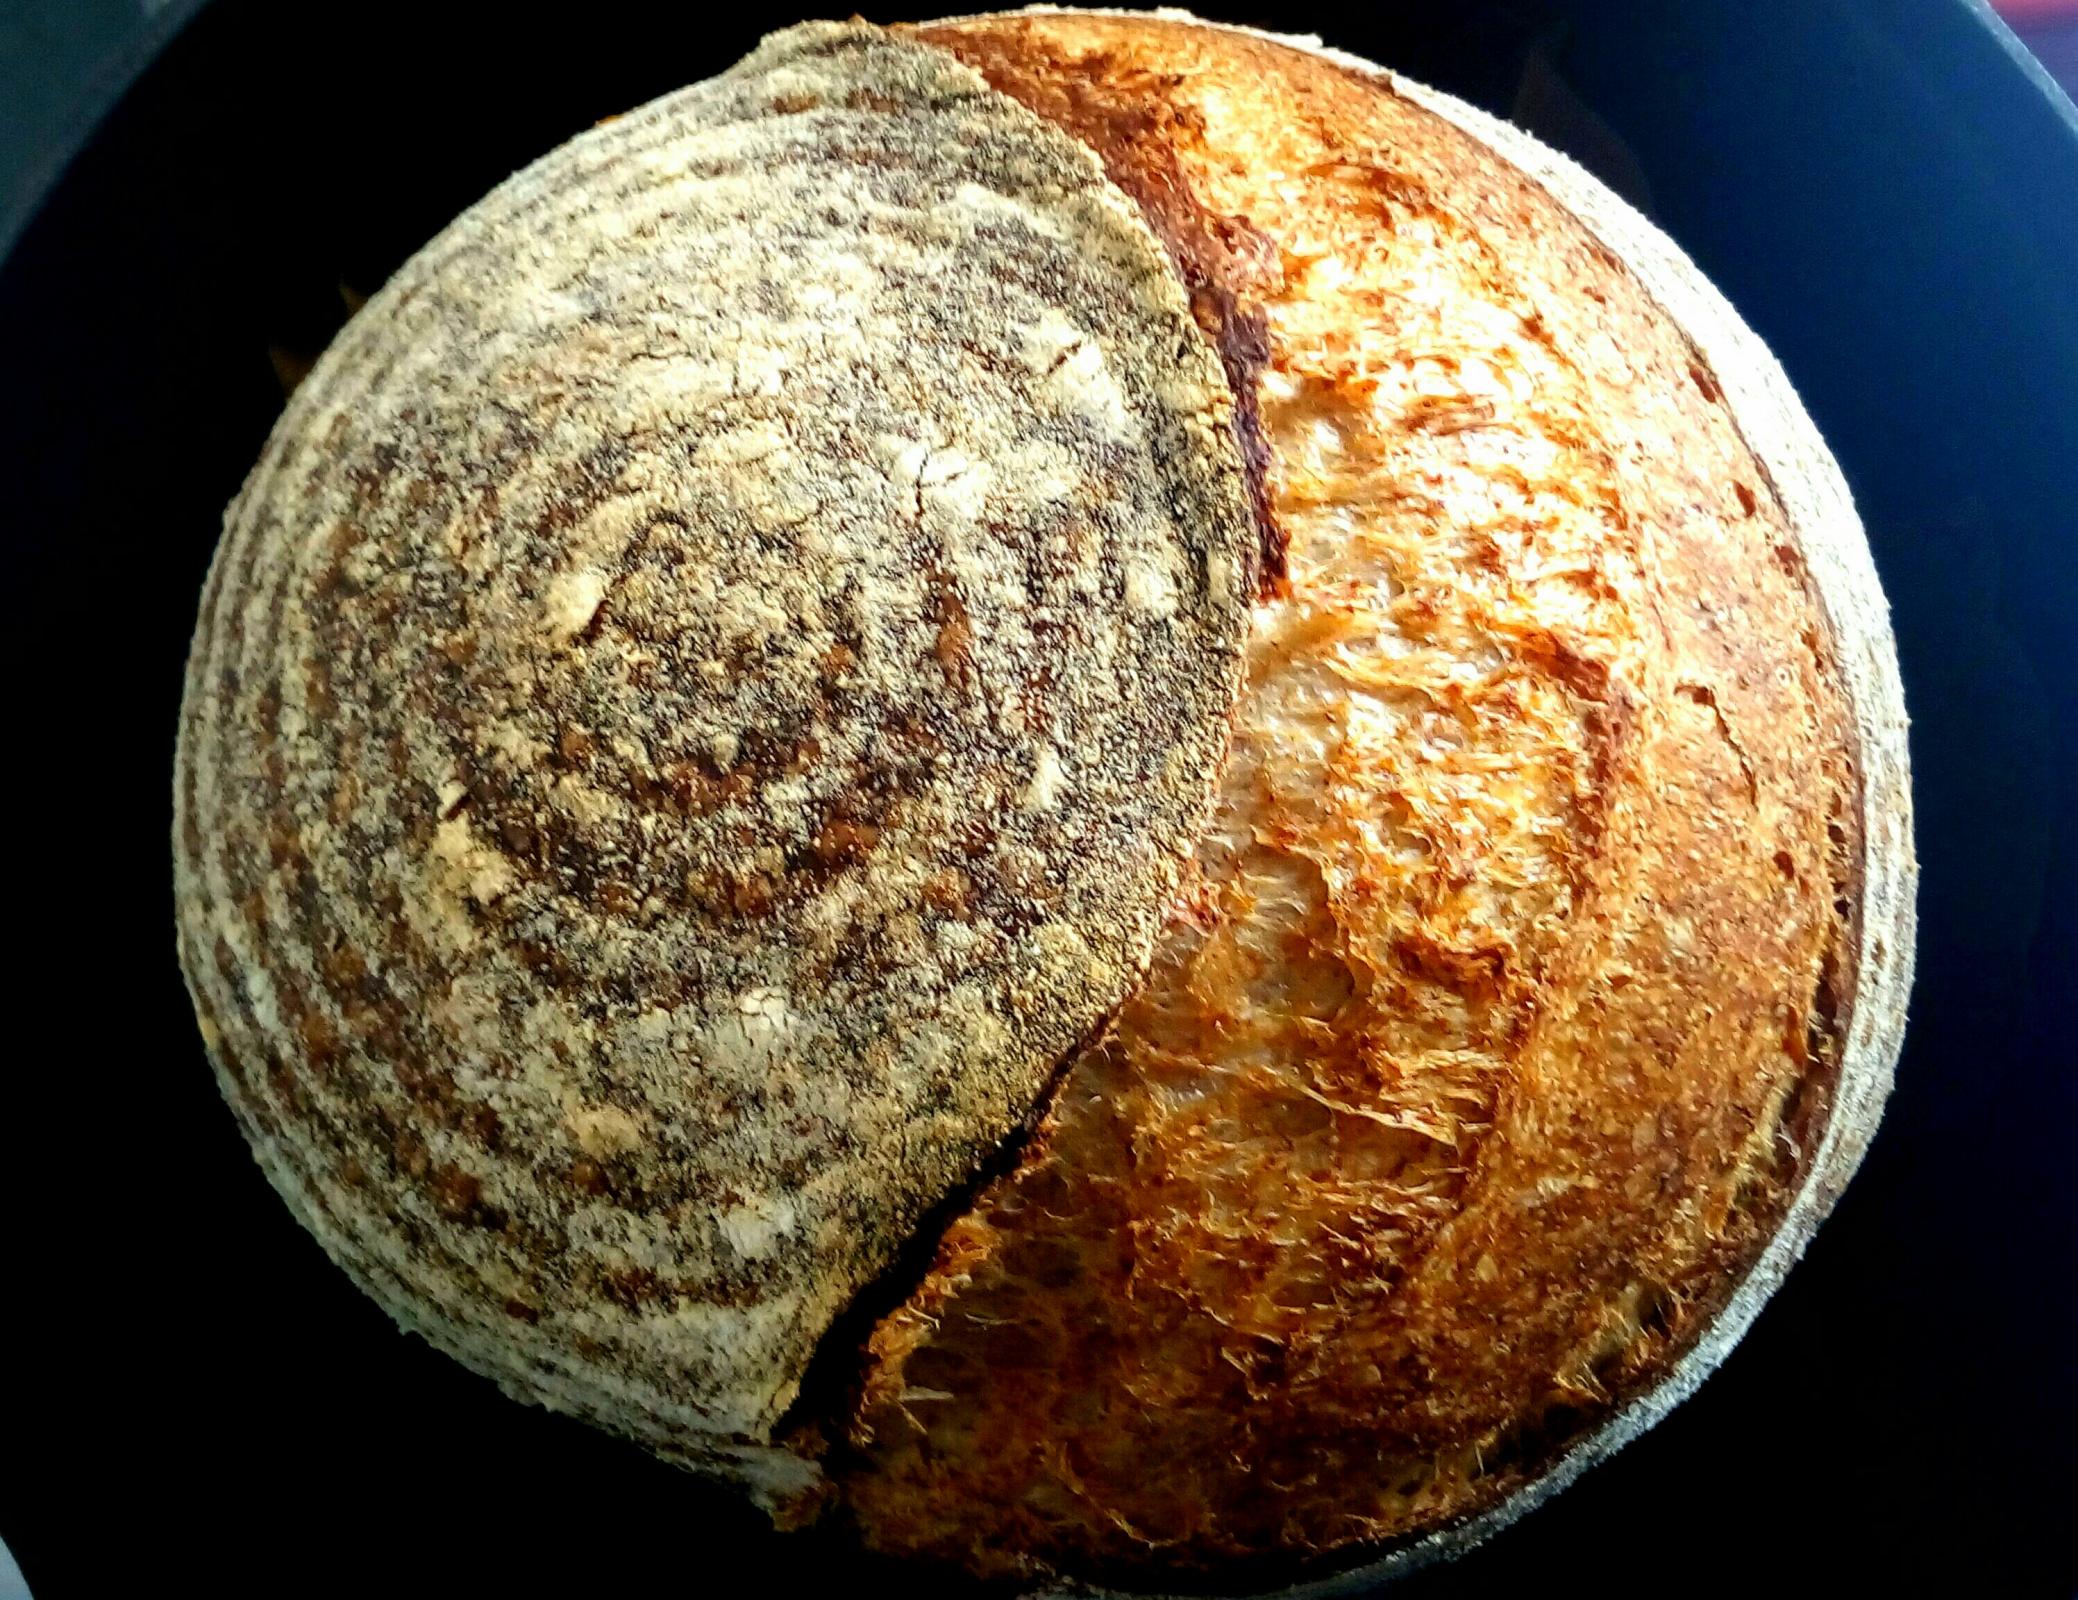
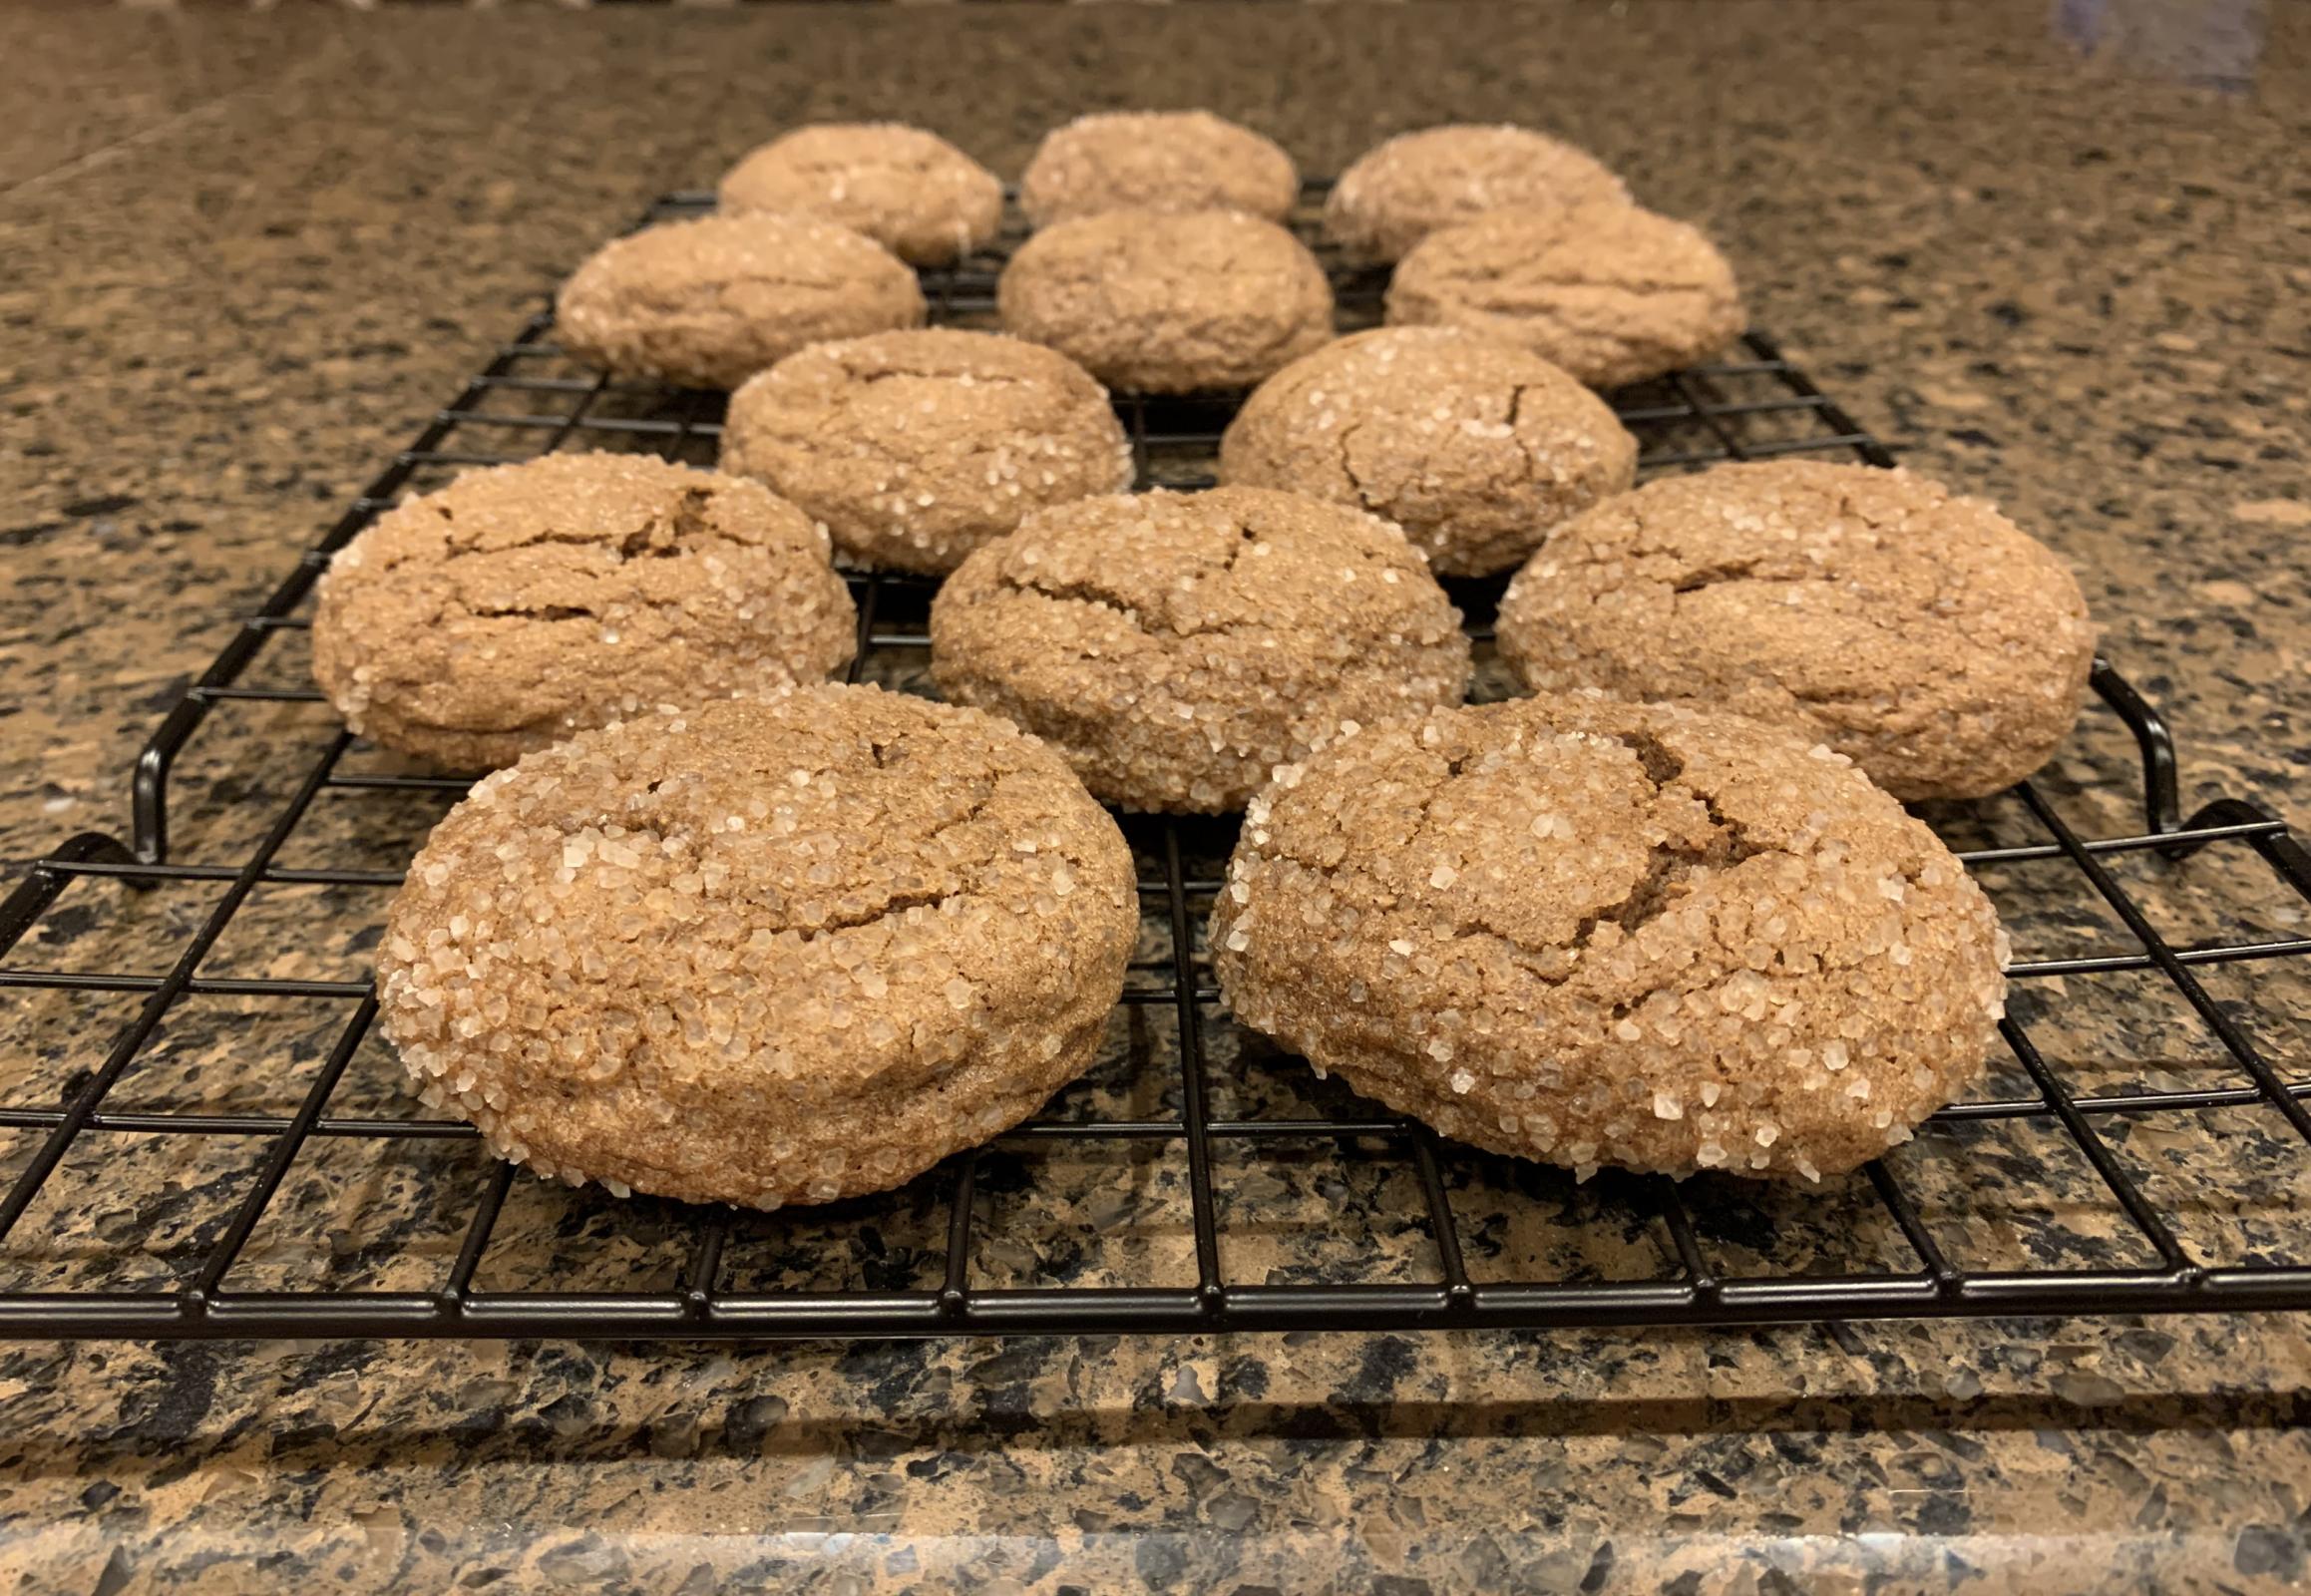
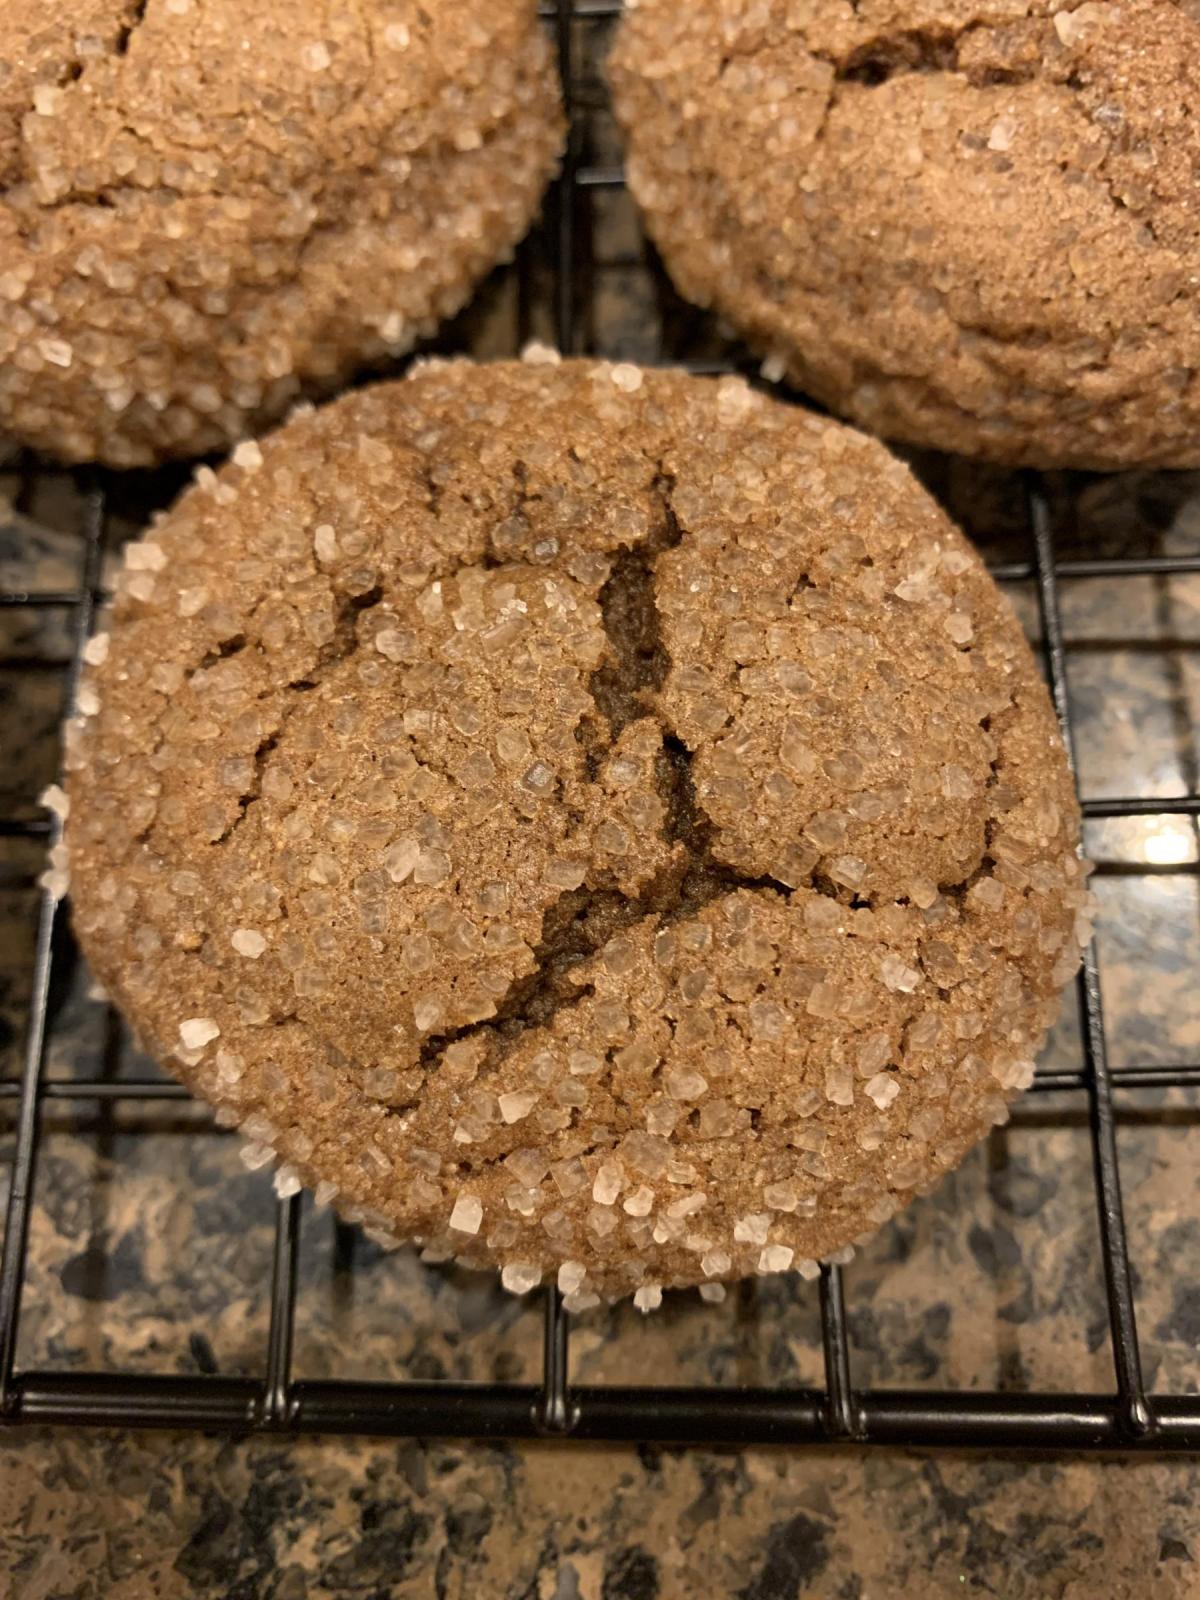
Ta-da!