I have been making panettone for some years now but I have always done them with commercial yeast. I've always wanted to try to do them with natural leavening but everything i read about such recipes seemed to indicate that doing them was a life's work. So, since I am retired and my life is fairly free and clear I thought I'd give it a go. I was also intrigued by this recipe: http://http://www.academiabarilla.com/italian-recipes/regione-lombardia/panettone.aspx
It is one of their regional recipes, roughly translated from Italian and what can only be called a "Nonna" recipe ... some of this, a few of those, etc. There are lot of places where you just have to figure it out. But, I was intrigued by the way the sugar and eggs were added as an emulsion, by the several dough builds and by the lack of any bulk fermentation of the final dough.
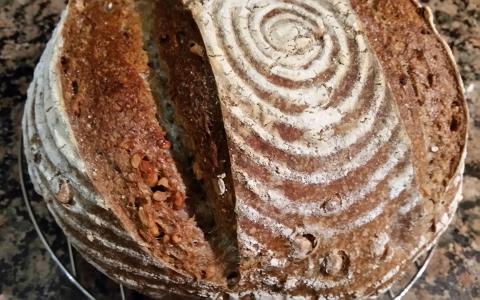
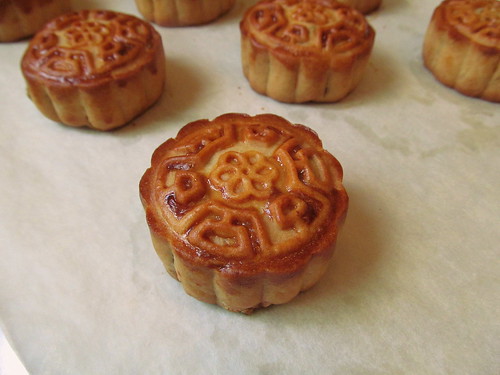
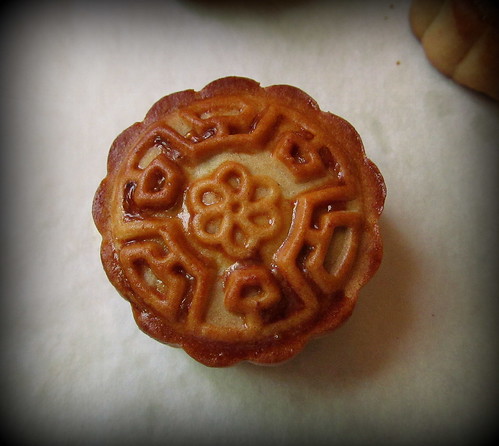
The final and sole proof is in the molds themselves and I did mine at 55-60 degrees F for about 22 hrs. The dough barely came to the top of the molds at baking time but had spectacular oven spring.
I will include my revised recipe below. As I warn in the recipe, this is not a dough for the challenged mixer. My Bosch struggled.
(NOTE after original post) the starter in the recipe below should be the Italian Sweet Starter described here:
http://www.sfbi.com/maintaining-an-italian-starter.html )
Paul
PANETTONE
Makes three large loaves
INGREDIENTS:
3 lb all-purpose flour
10 oz butter
¾ lb granulated sugar
milk ~ 7 T
7 oz sultanas
½ lb sourdough starter
4 1/2 oz candied orange
10 “large” egg yolks
3 “large” eggs
1 tsp vanilla
Zest of one orange and one lemon
1/2 - 1 oz salt
package 12” long bamboo skewers
PREPARATION:
Note … this is based on a folk recipe from Barilla. That recipe made a number of unstated assumptions. The recipe below is my more detailed interpretation.
Morning day 1
Early AM:
Build 8 oz active starter at about 50% hydration (approximately 4.0 oz flour, 2.0 oz water and 2.0 oz active Italian Sweet starter. Mix into firm ball and let rise until doubled in volume, about 2-3 hrs. When doubled move to first dough.
First dough by hand:
Put 5.5 oz. of flour onto the work surface, crumble the sourdough starter in and slowly work in 4T warm water, 1 T at a time. Knead to a firm dough. Shape into ball. Put in a bowl to double, about 3 hours at 75 F. Move to second dough.
Second dough by hand:
Put 9 oz. of flour onto the work surface and place the risen dough in the centre. Incorporate the first dough into the flour while adding about 7 T of milk, one T at a time. Knead thoroughly into a smooth dough. Put in a bowl and cover with plastic wrap and let rise overnight at 55F. It should triple.
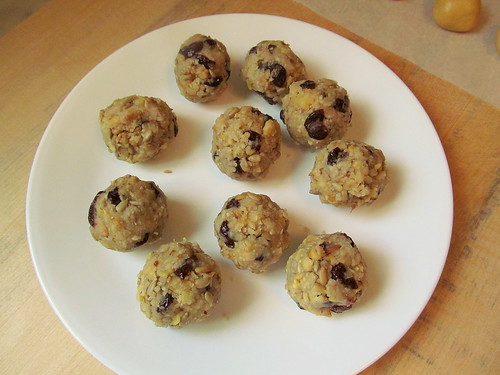
Dice the candied citron and orange, soak the sultanas (and citrus if it is dry) in brandy overnight.
Morning day 2
Set the fruit to drain thoroughly.
In a bain-marie, dissolve the 8 oz sugar into 4 oz warm water to make a syrup, then add the whole eggs and egg yolks and cook while whisking only until all is fully incorporated, smooth and foamy, not to a custard stage. Cool and whisk in the vanilla.
Final Dough in a stand mixer: (note, this is a significant dough that requires a tough stand mixer).
Pour 2, lbs of flour into the mixer. Add salt. Put 2 oz. of flour on the work surface. Put the second dough on the flour and cut it into small pieces. Put the second dough and any remaining flour from the work surface into the mixer. Add the contents of the bain-marie and mix. This is a very stiff dough and your mixer may strain. If so, add water one T at a time up to 3-4 T. Mix until dough is at windowpane stage of gluten development. Then add the softened butter, a bit at a time. Continue mixing until you have a satiny dough. Add the zest and mix until incorporated.
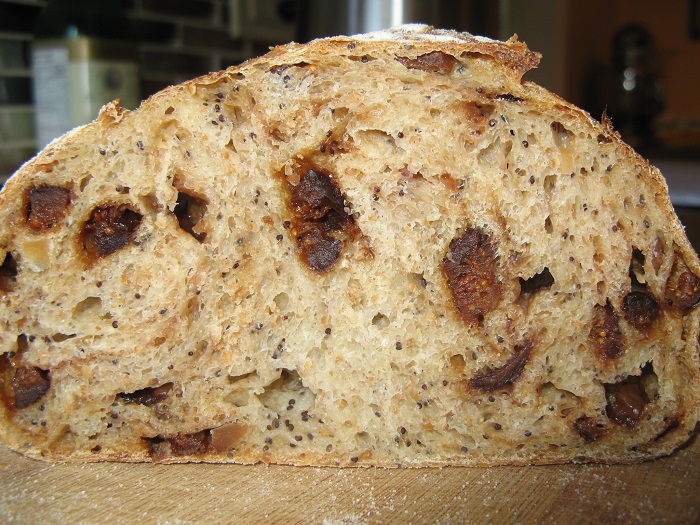
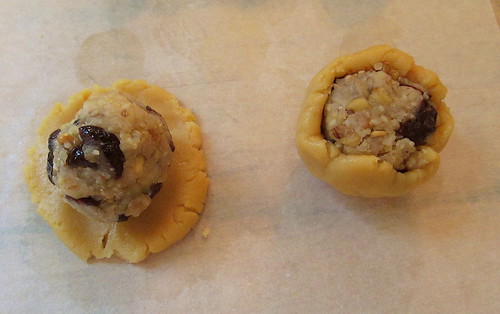
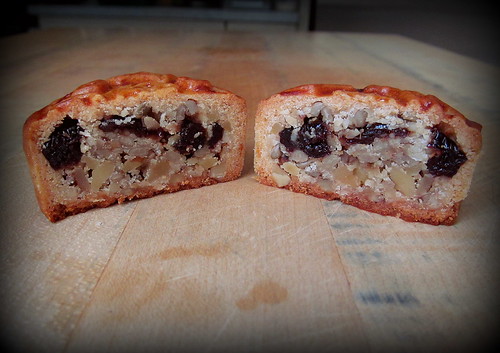
Turn the dough out and spread. Incorporate the orange and sultanas using the letter fold method followed by some additional folds to distribute the fruit as evenly as possible.
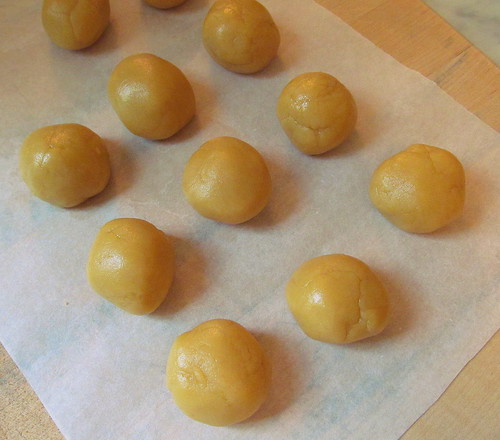
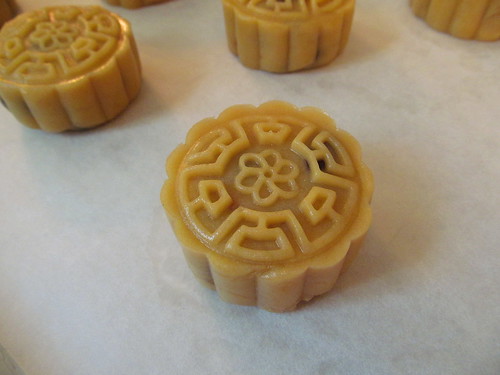
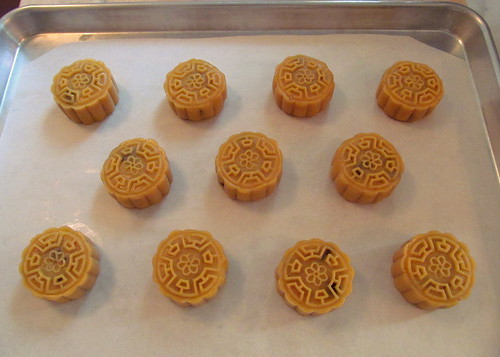
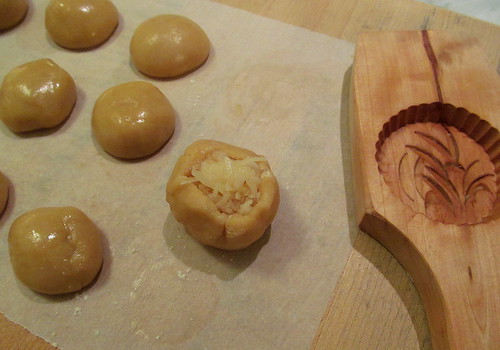
Divide the dough into three equal pieces (about 2.2 lb each) shape into rounds and place into 7 inch panettone molds. Place them in a room temperature, draft free place covered with plastic to keep the tops from hardening (you may need to very lightly brush the tops with water or finely mist during the long rise). Let rise until the centers nearly reach the tops of the molds. At 55-60F this may take 20-24 hrs.
Preheat oven to 400F
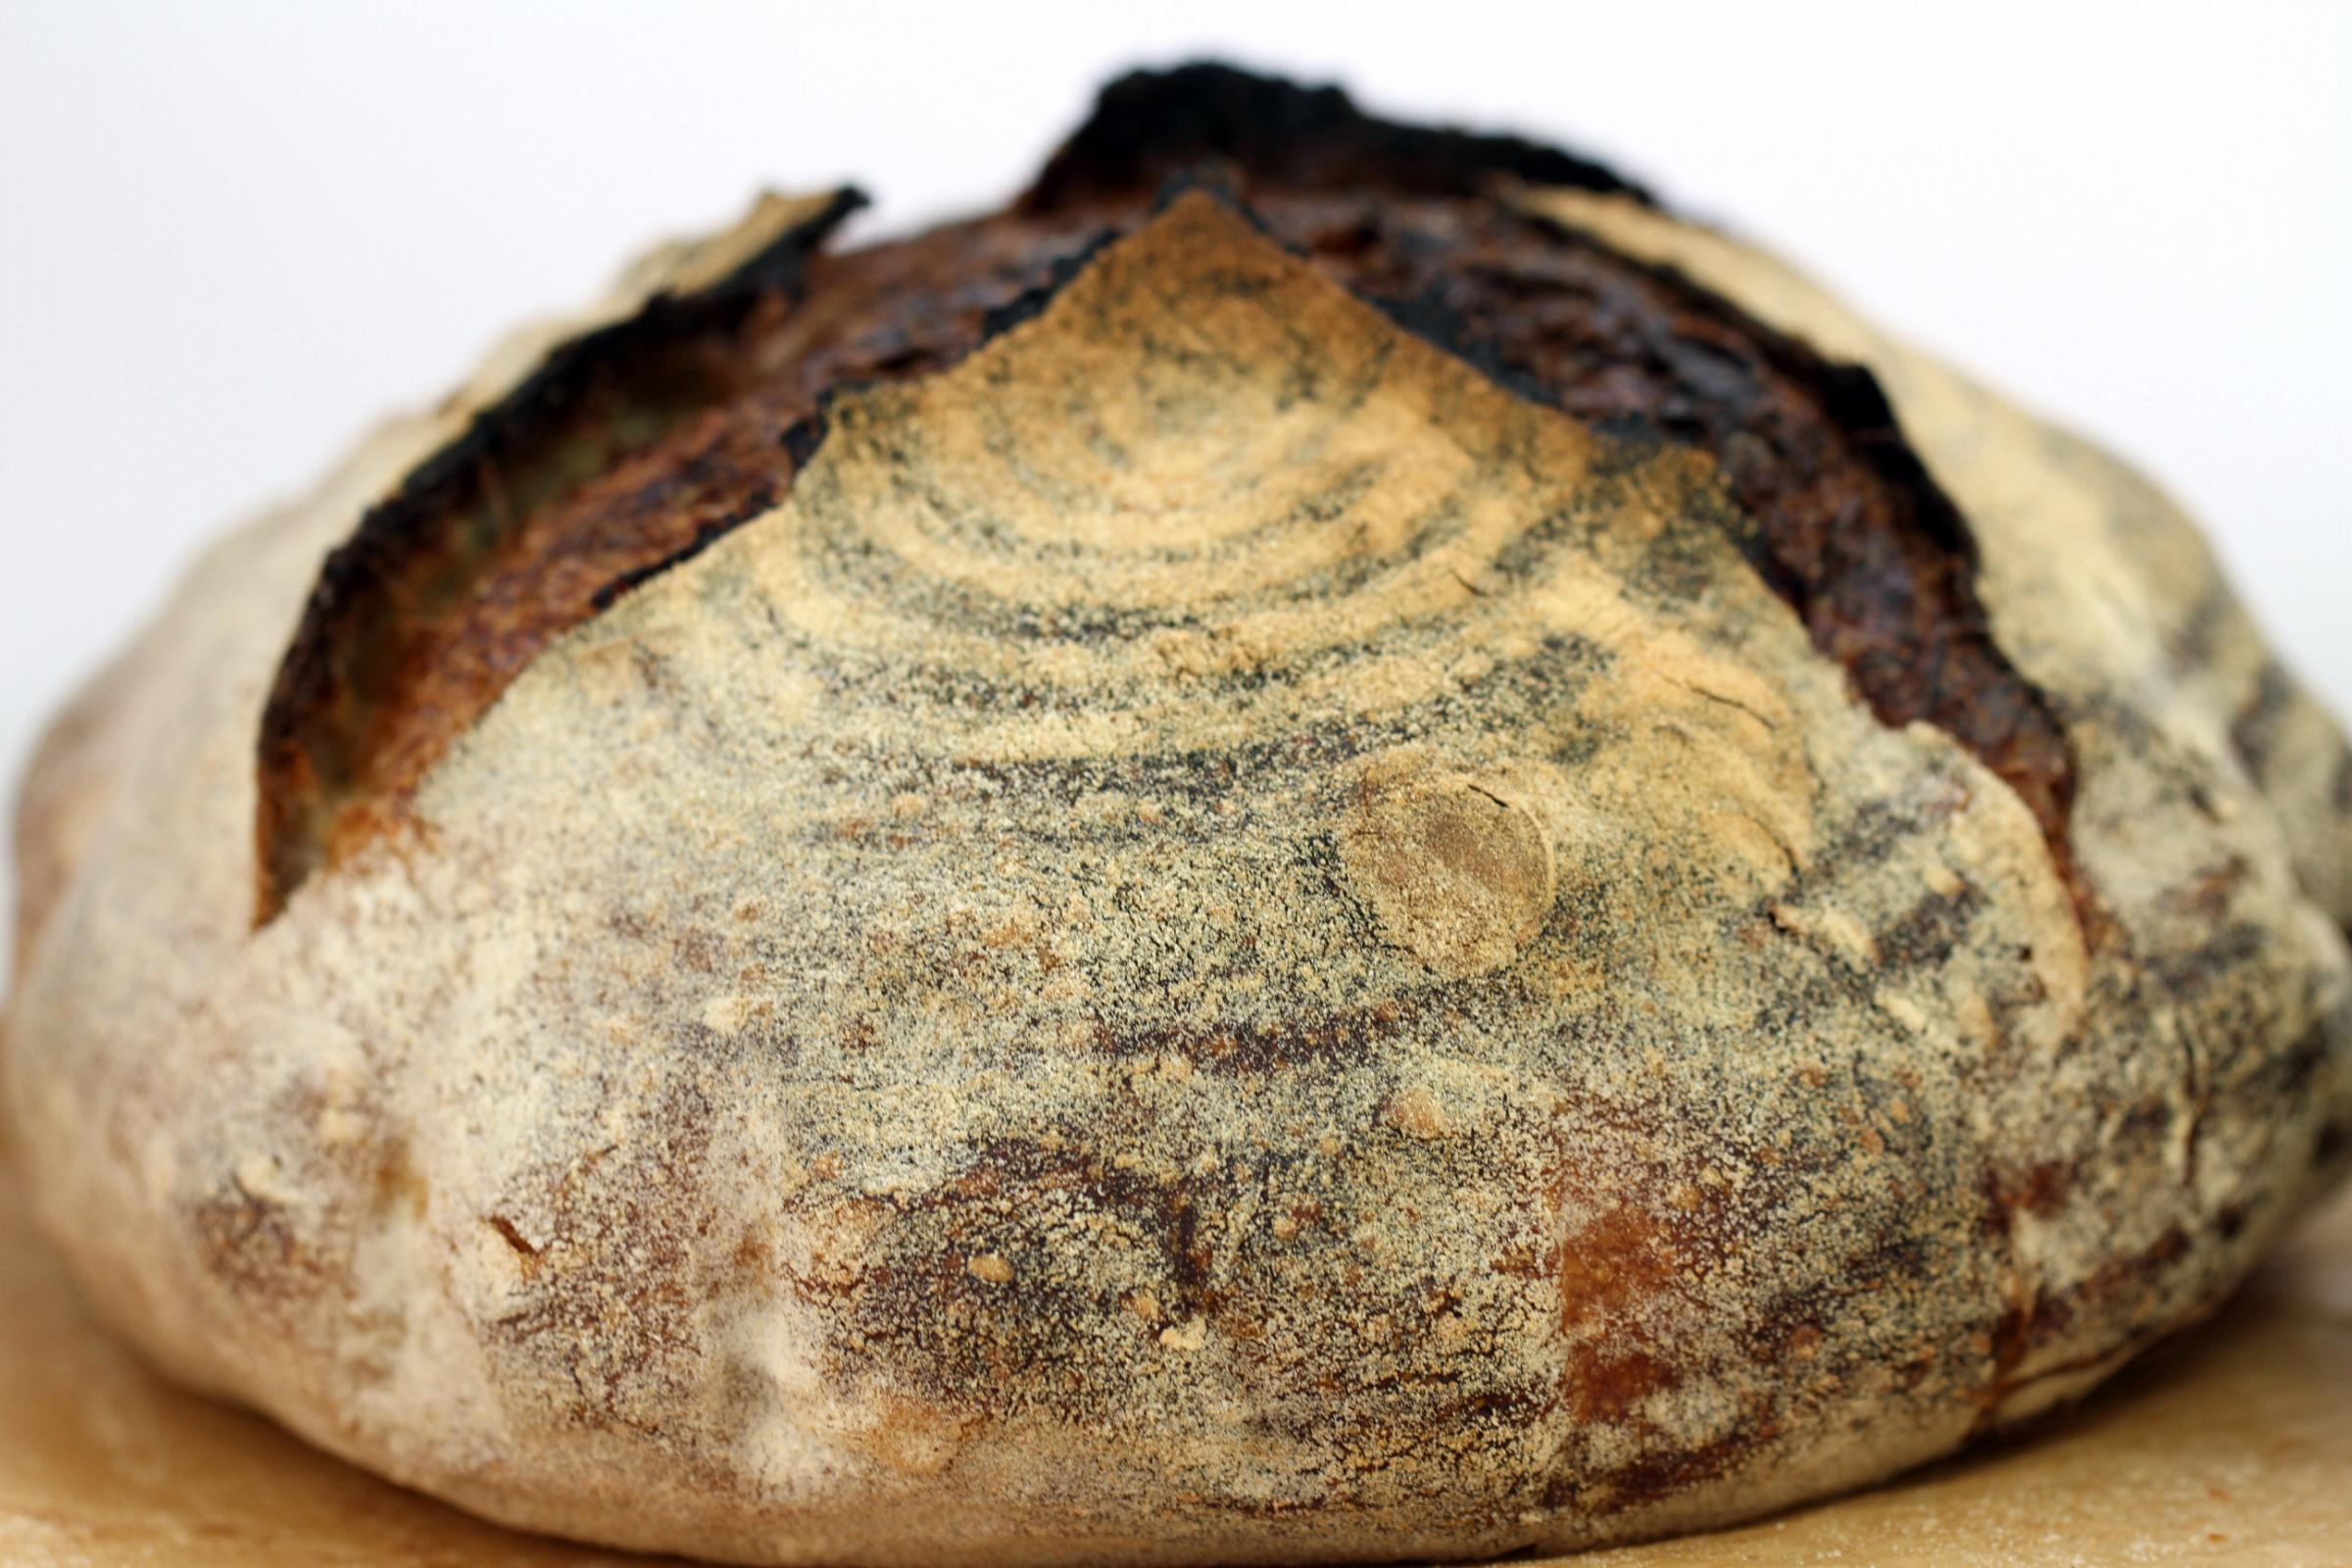
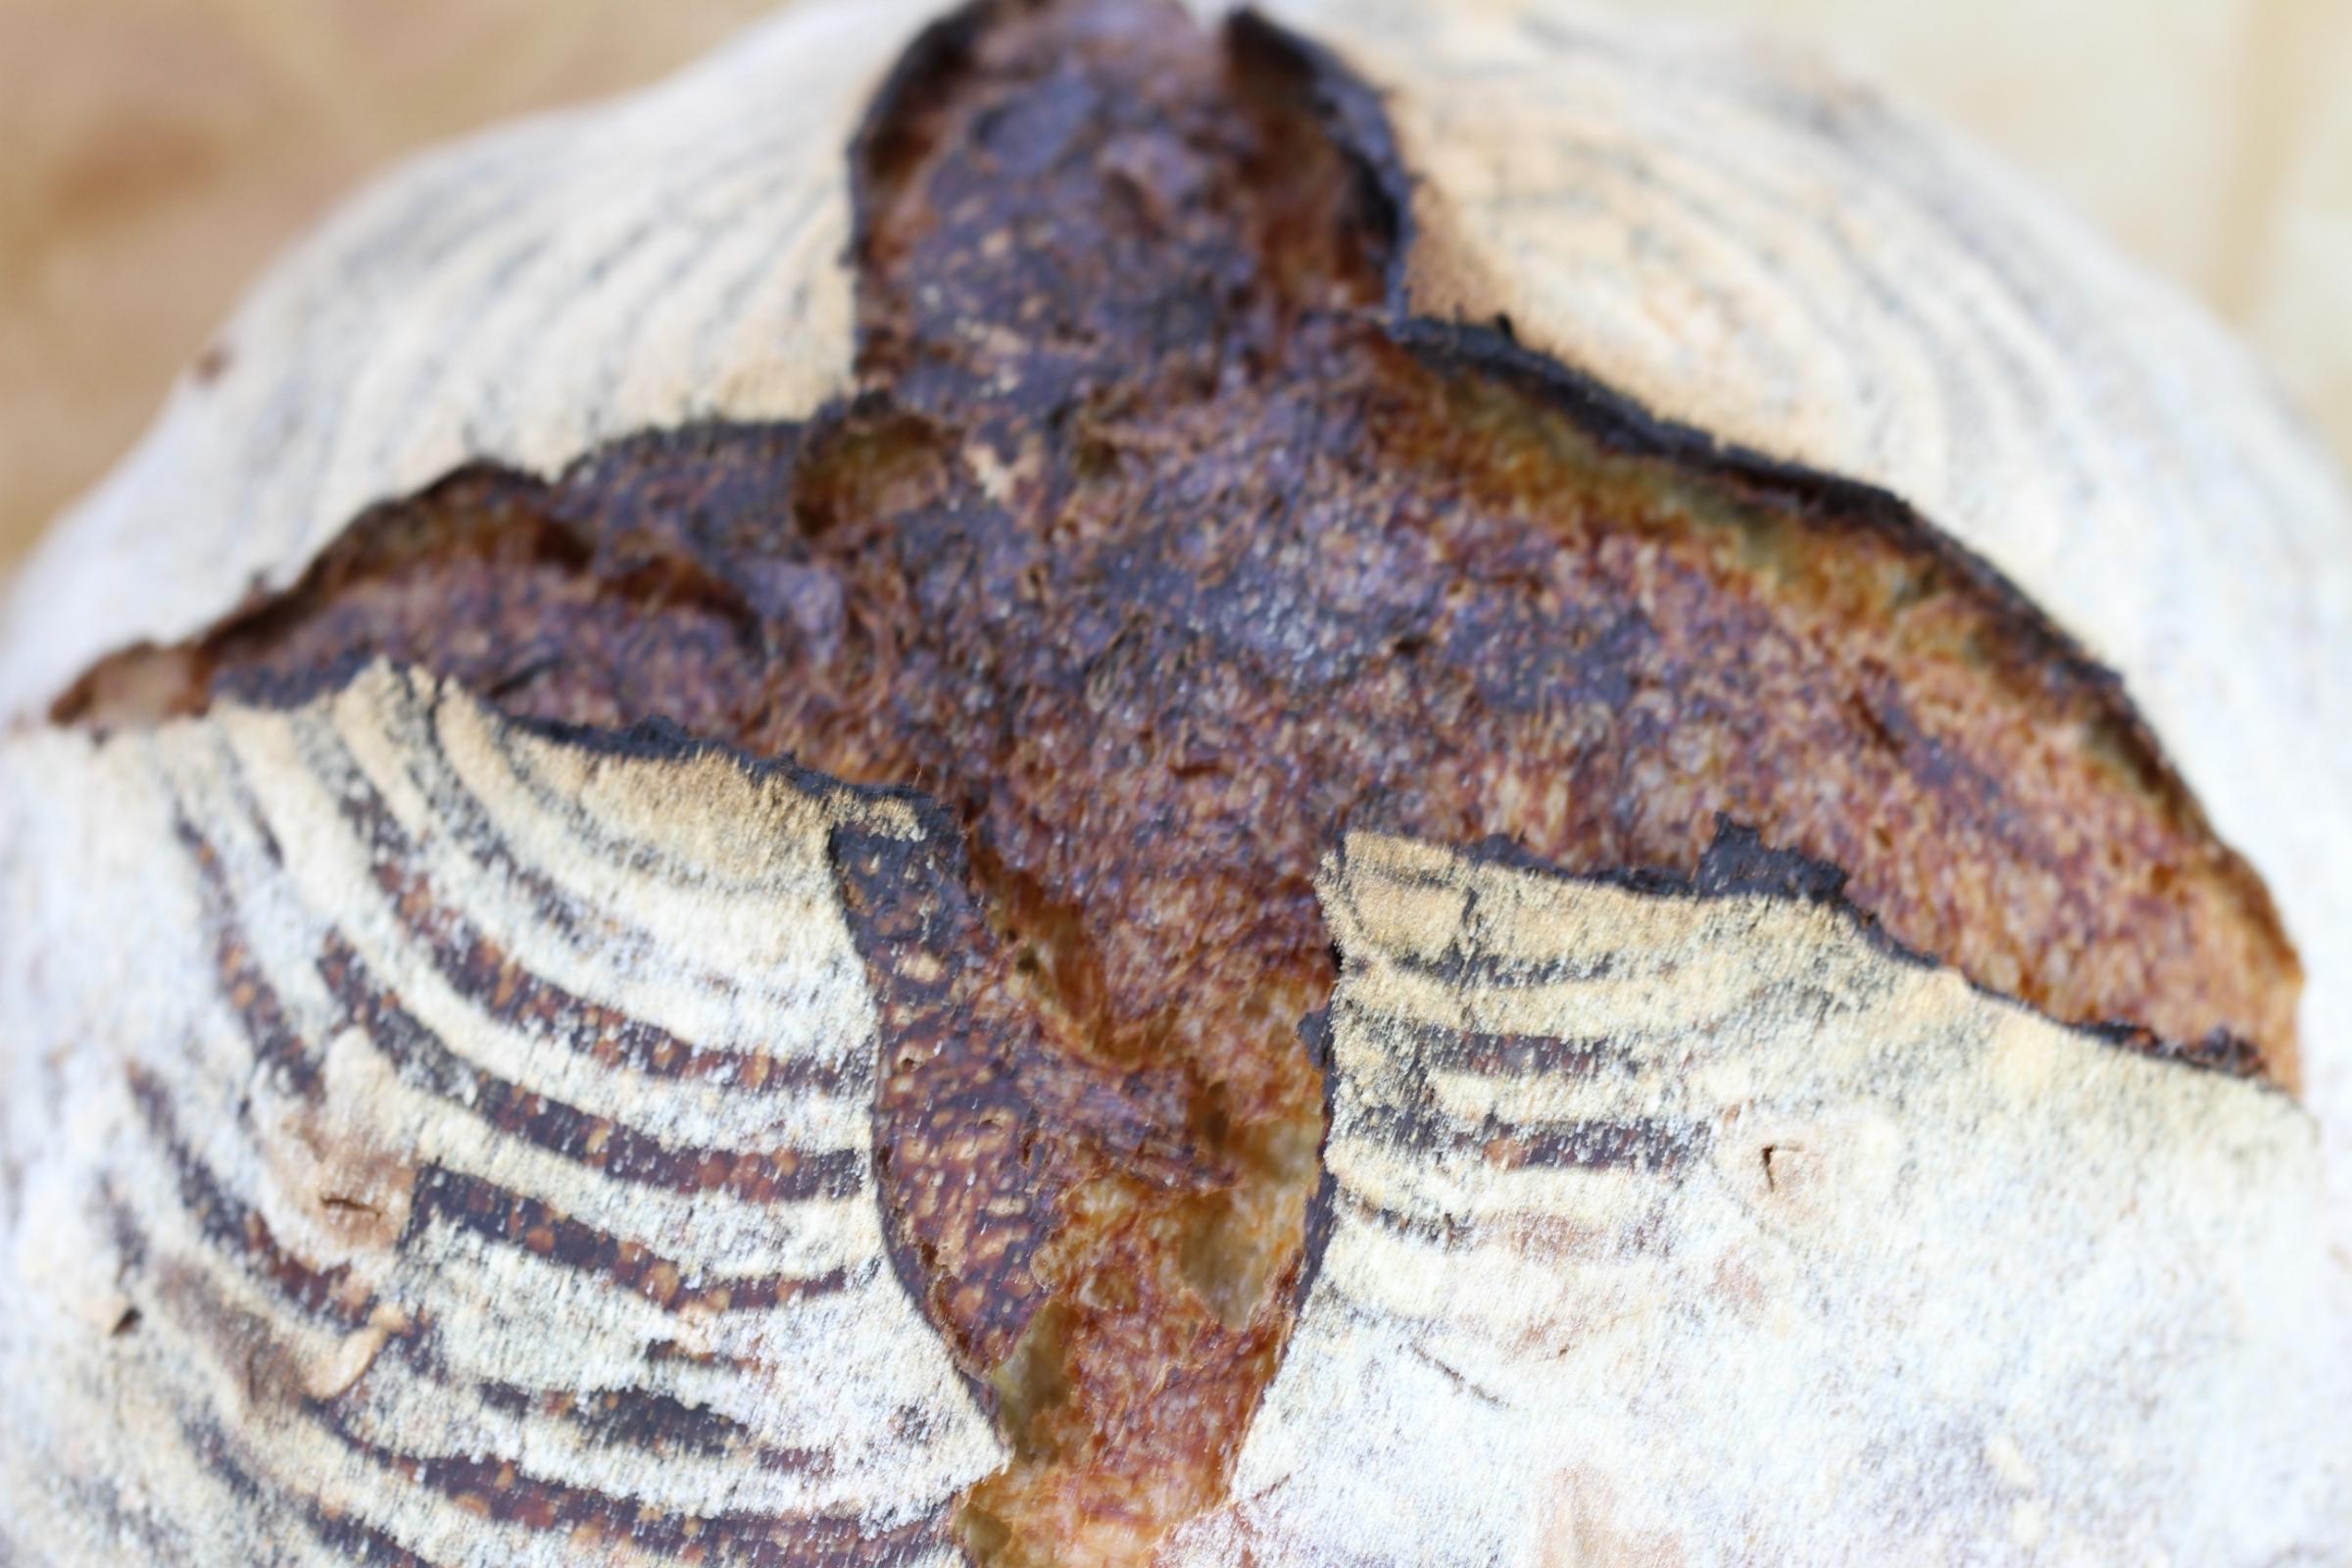
When the oven its up to temperature, make a large cross incision on the surface of each panettone, insert a knob of butter into the cross then place loaves into the oven. After ten minutes in the oven turn the heat down to 375 and after 10 minutes more carefully rotate the loaves and turn the heat down to 350. Bake an additional 25 minutes. If the tops appear to be getting too dark, place aluminum foil caps on them.
While baking suspend 2 stout( 1X 3’s worked for me) boards across the backs of two chairs such that there is about a 7 inch gap between them. When the panettone are done, remove them from the oven and immediately insert two skewers through the panettone molds, parallel to each other and about 1 inch from the bottom. Invert the panettone and hang each from the boards by their skewers. Let cool hanging. When cool they may be placed upright and the skewers removed.