The Eric Hanner Memorial Jewish Bakery Rye Bread Community Bake
**********************************************************************
For those who wish to limit or disengage from the flood of email notifications associated with long threads such as these CBs produce, Dan had written up how to do so
http://www.thefreshloaf.com/node/66354/tip-how-stop-email-notification-any-topic
**********************************************************************
As many of you know, Dan has been at the helm of the Community Bakes since its inception, and was his own invention. Along the way he created a community within the TFL community with smashing success. Recently Dan asked if I was interested in taking the steering wheel for a while, feeling that he needed to step away for some time. Rather than hosting, he’d rather assume the role of contributor. Gladly!
Suggesting 4 categories to explore for this CB, I asked for those interested to select one. The overwhelming response was rye. My goal was to find a few breads that were not demanding of extraordinary time, effort and particularly avoiding out of the ordinary ingredients or baking tools and hardware. And all having a common theme.
Paul McCool suggested I consider the Eric Hanner Jewish Rye Bread. Eric passed away unexpectedly 8 years ago this month. From all accounts he was a liked and well respected participant in the community. This CB is in memory of Eric.
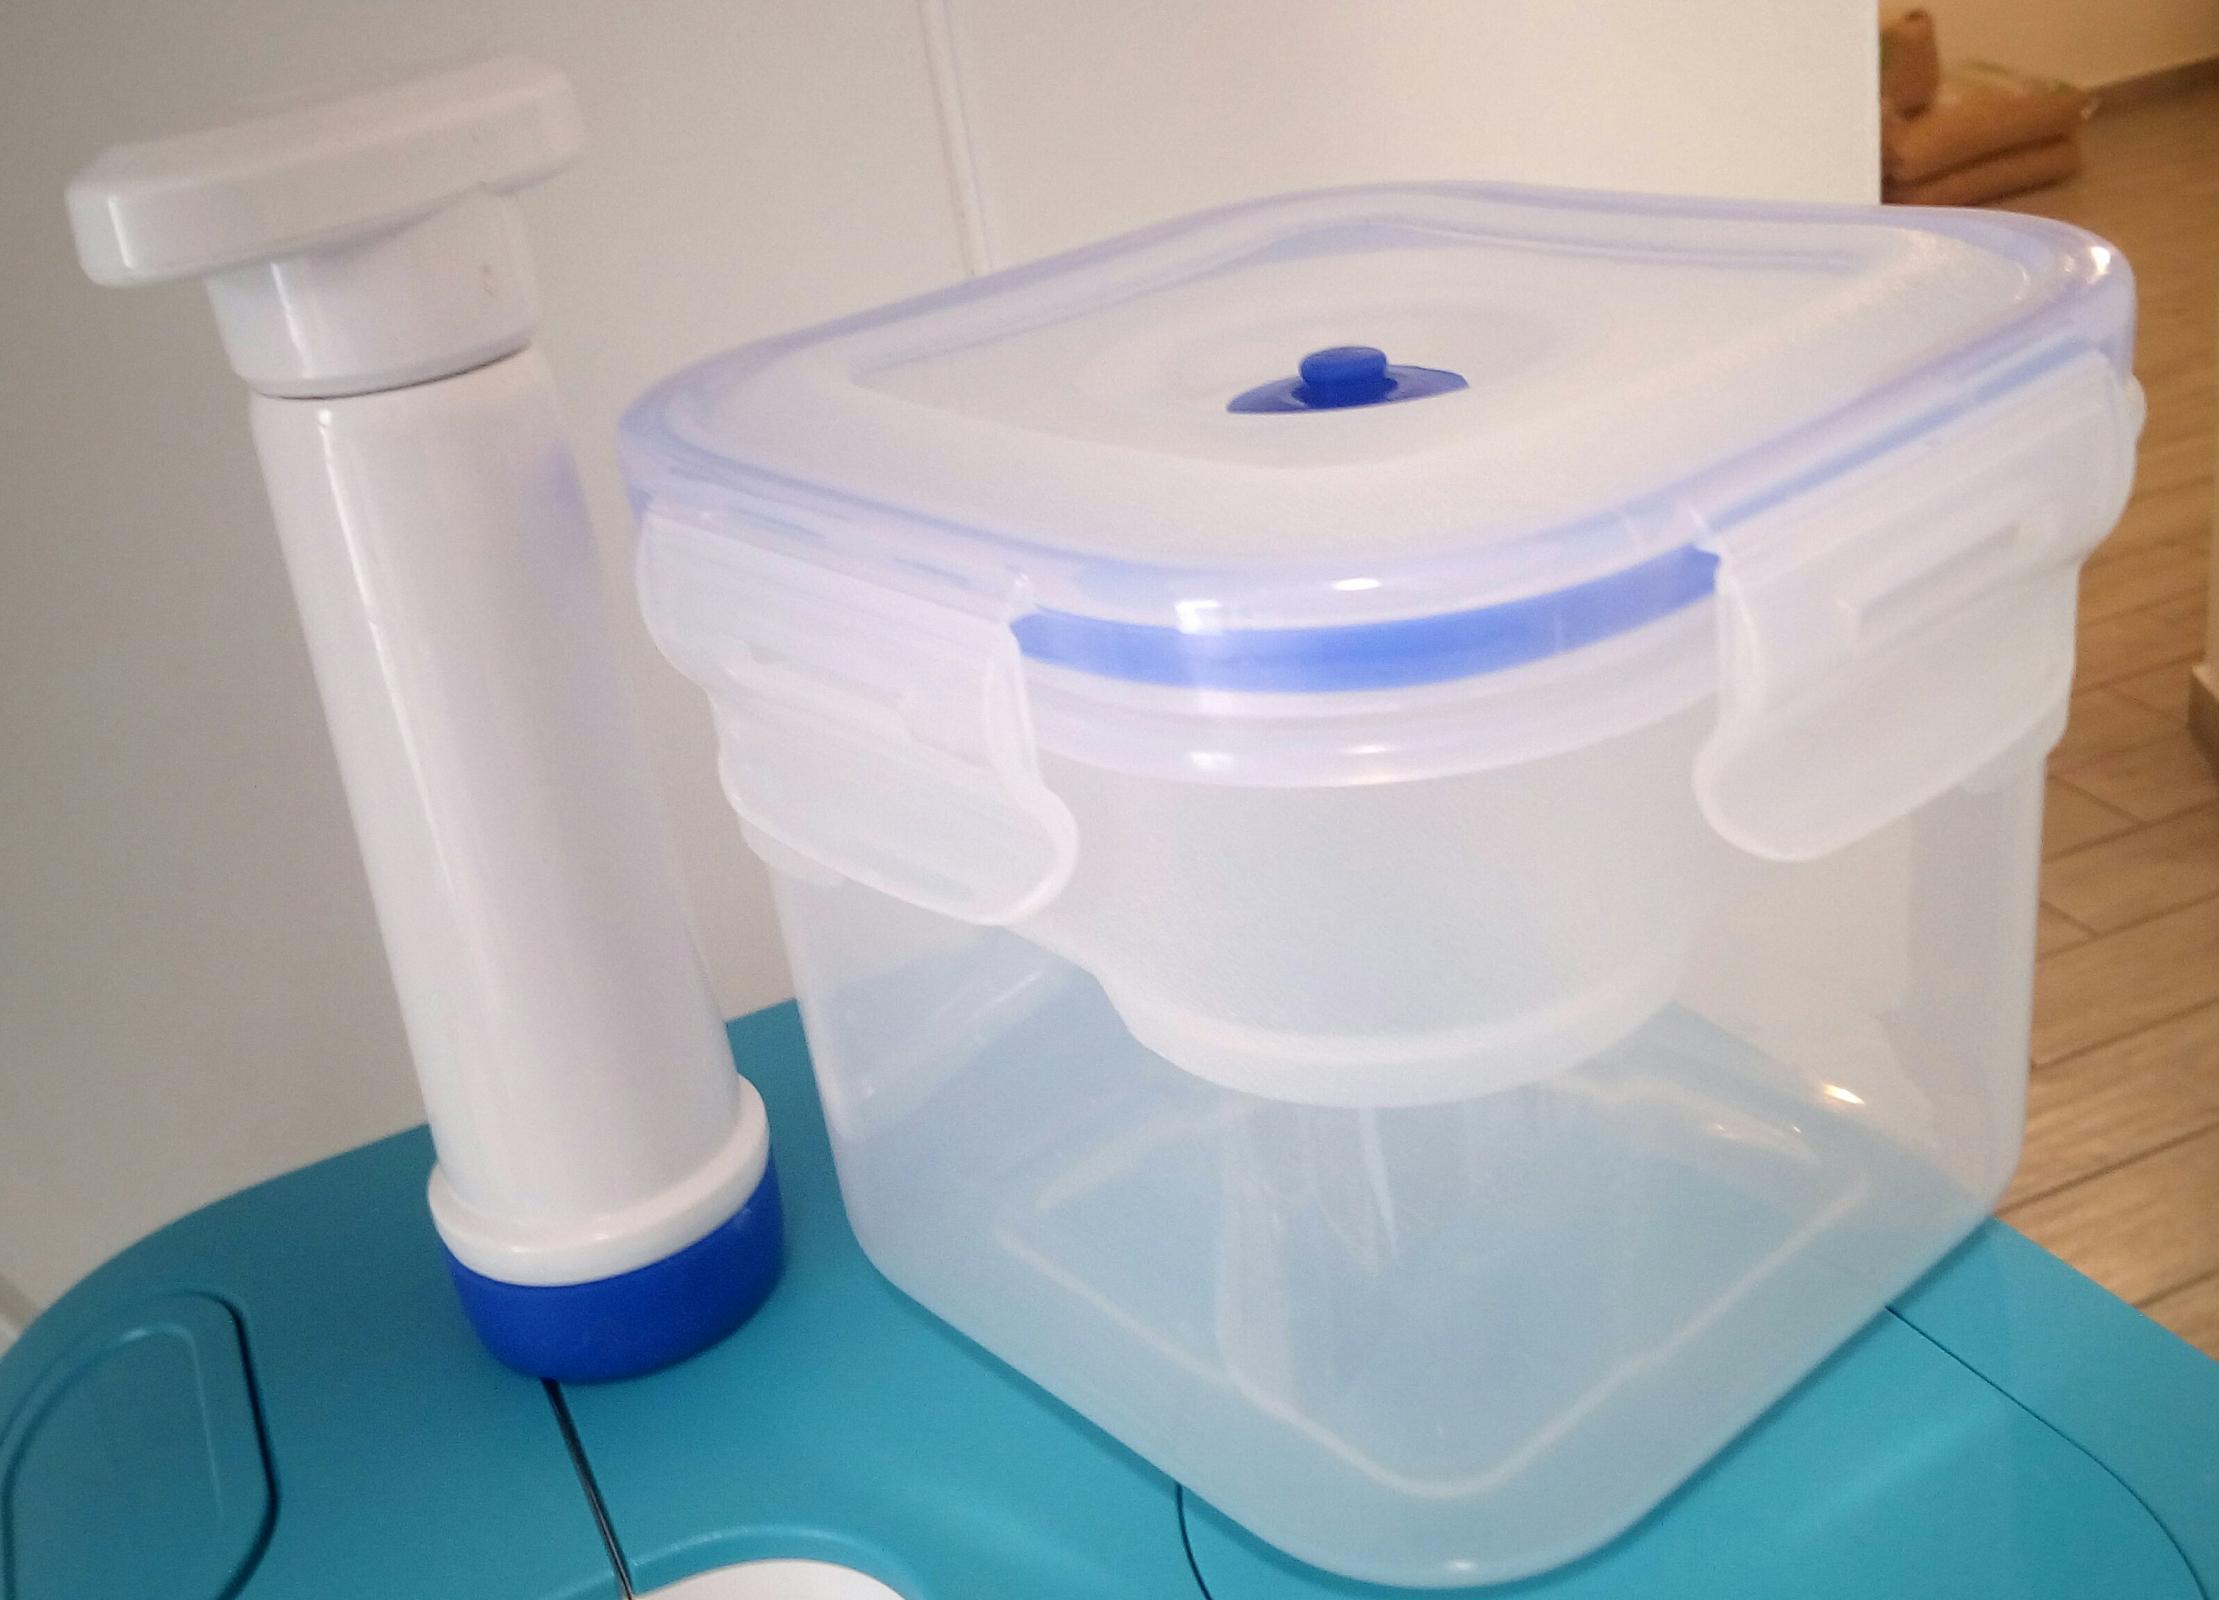
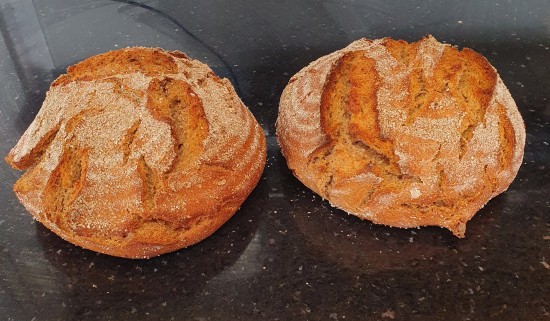
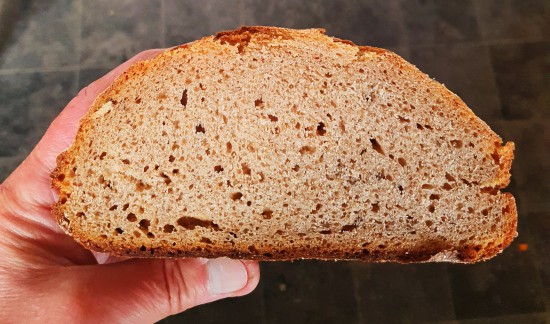
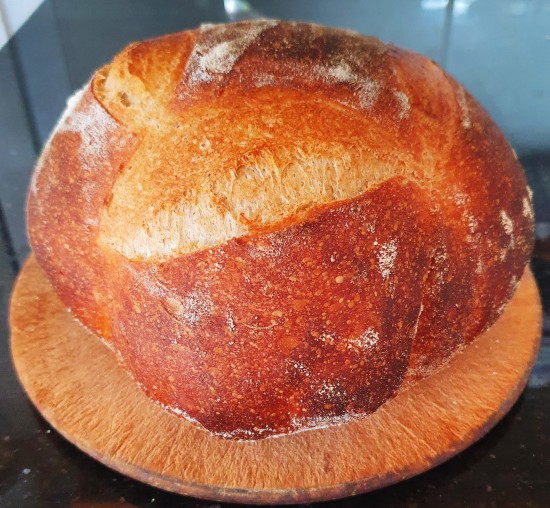
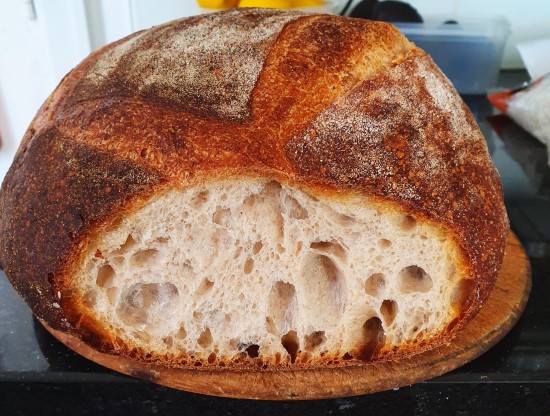
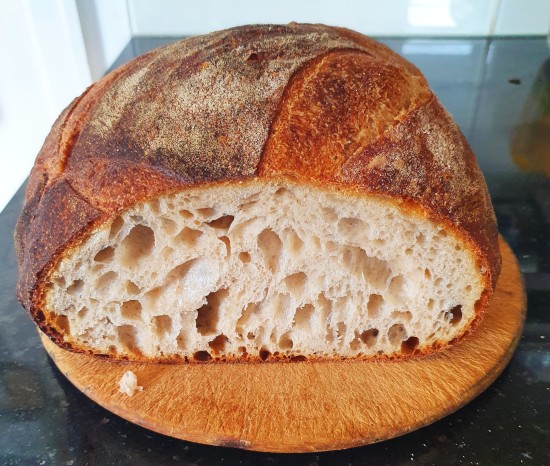
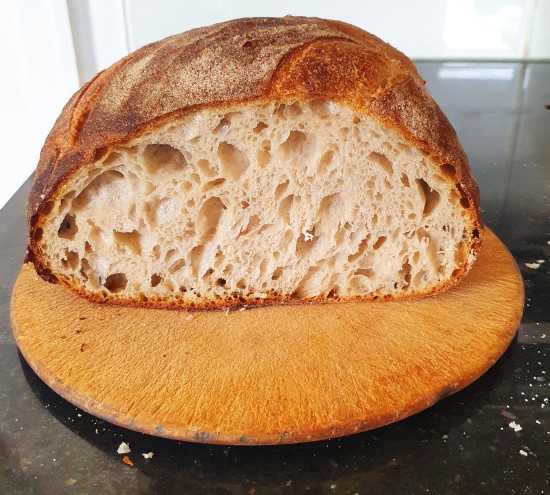
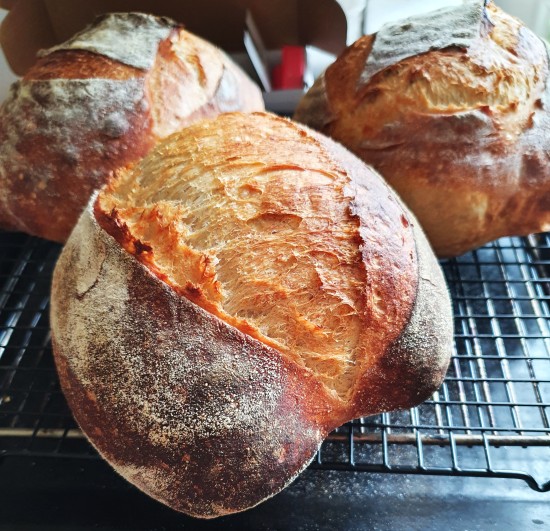
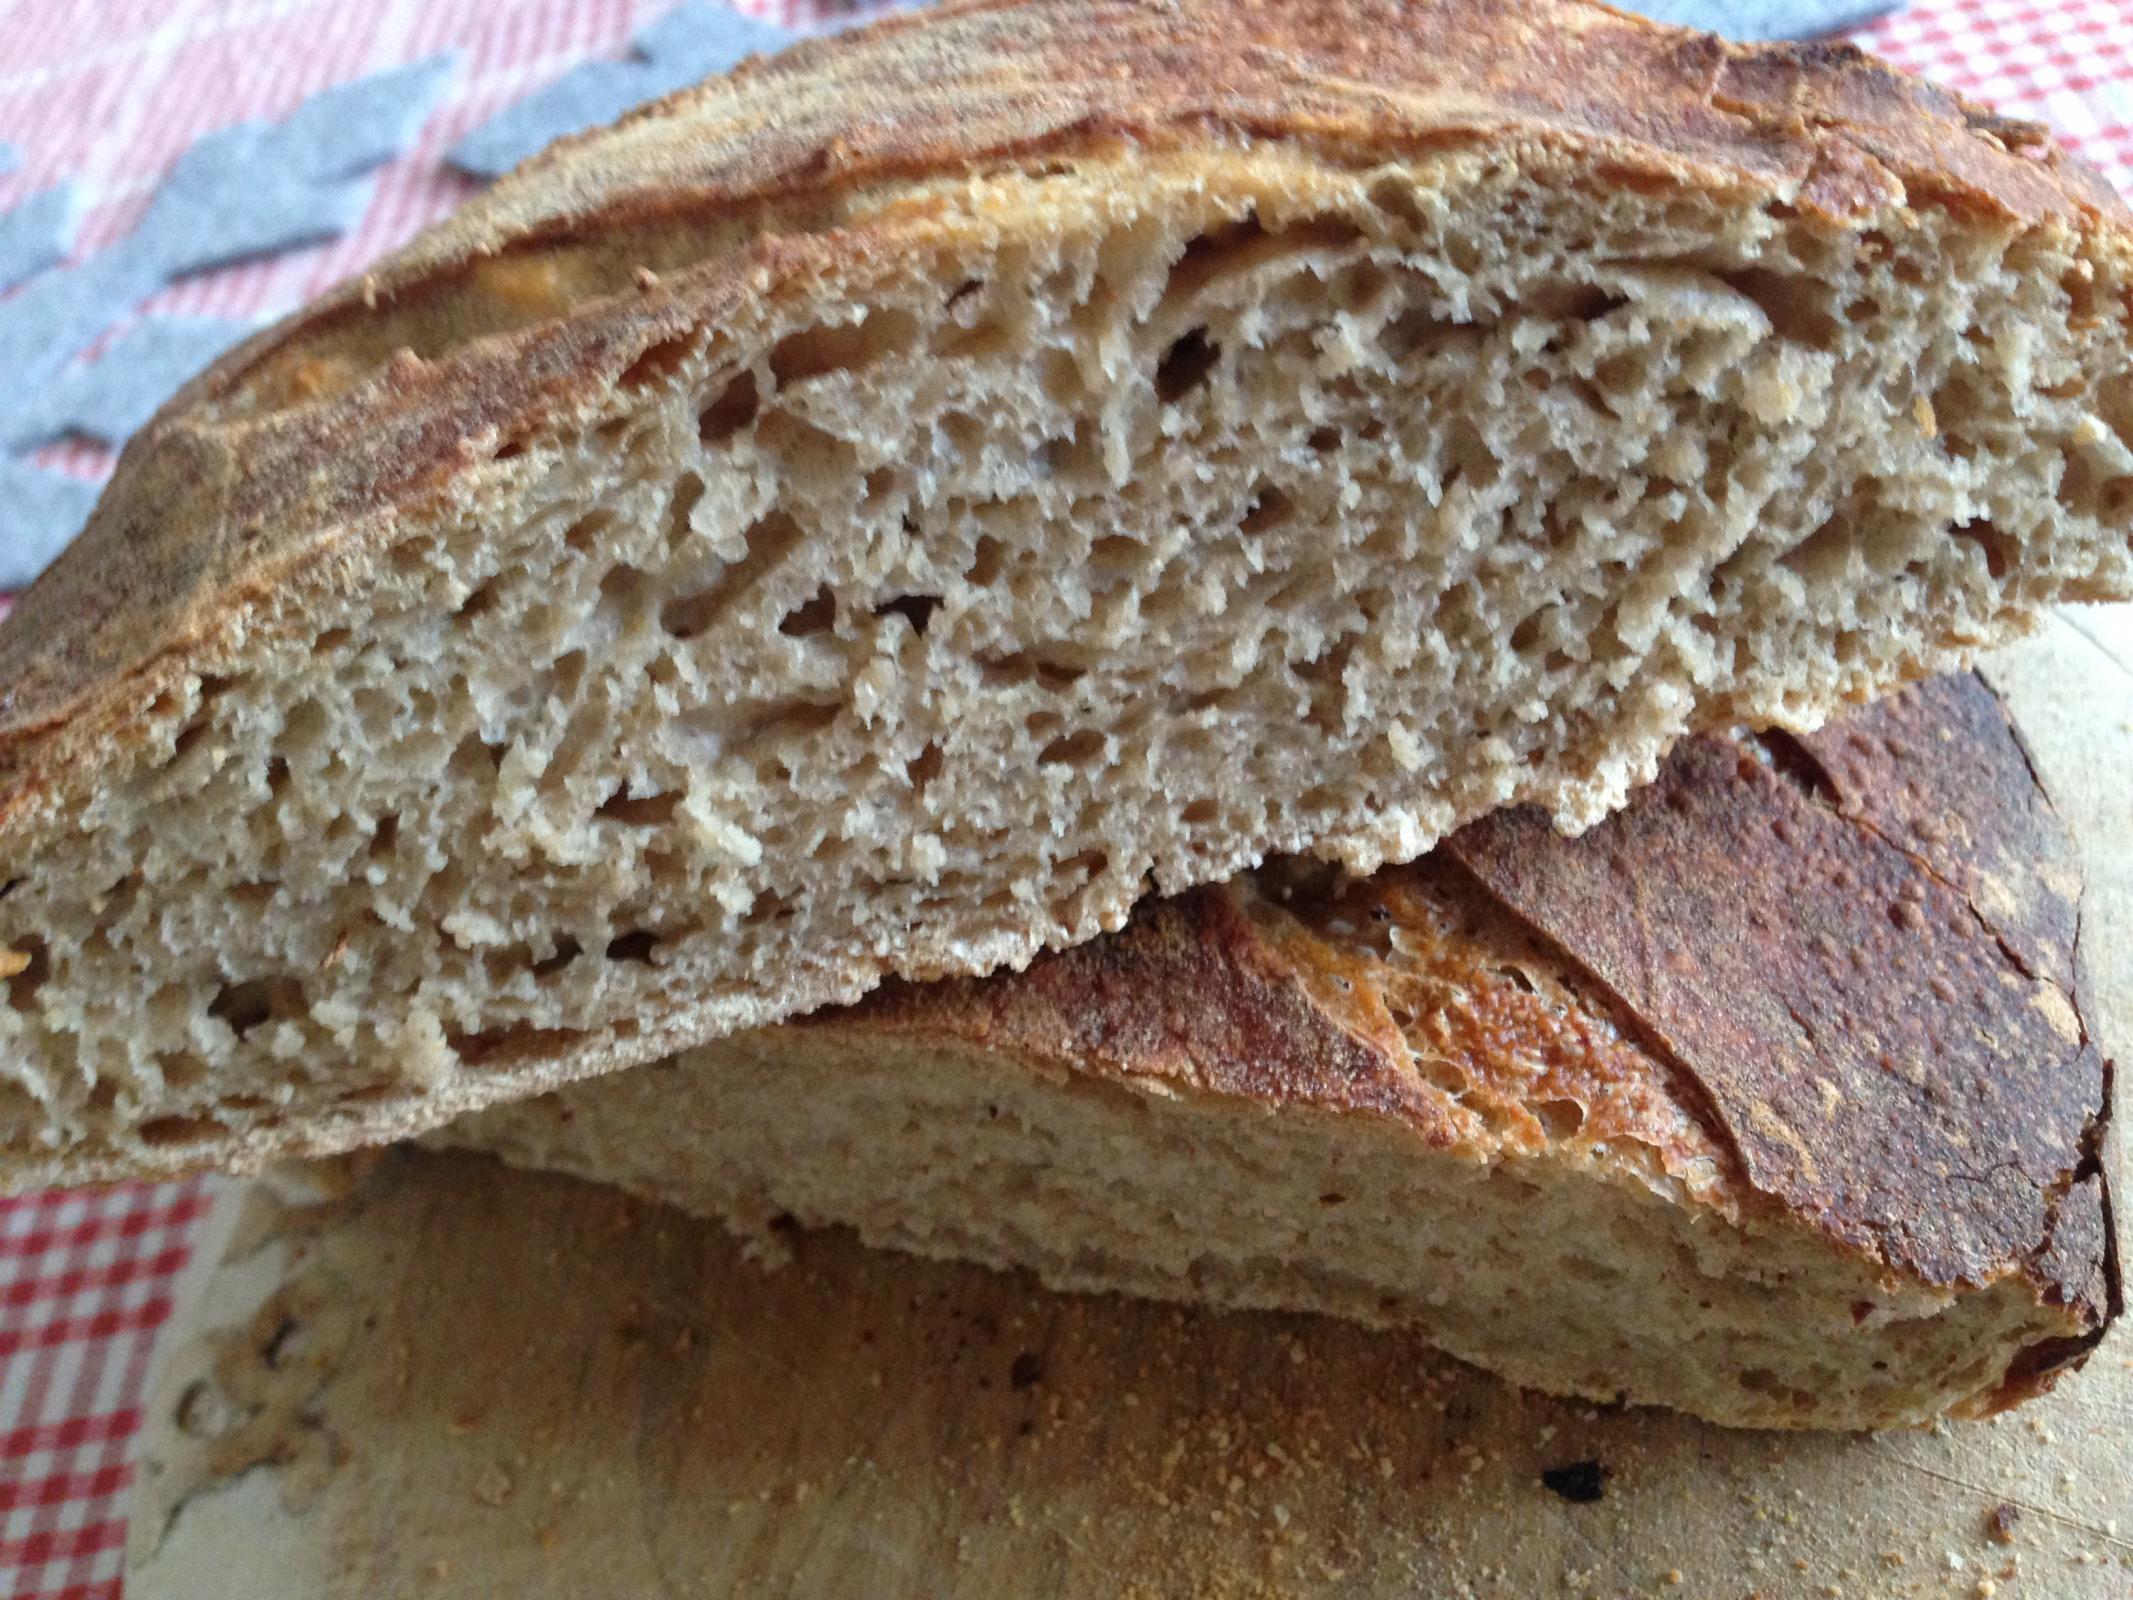
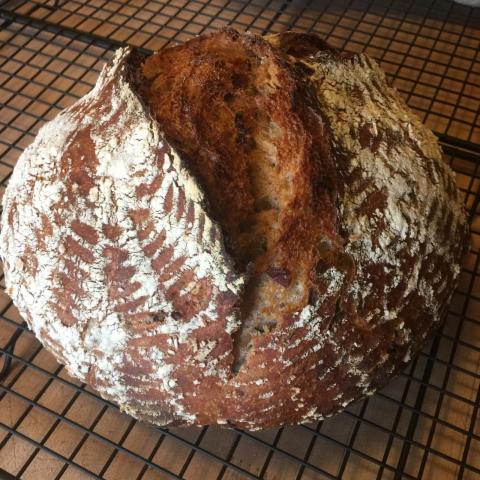
I offer three differing Jewish Bakery/Deli style Rye Breads. All provide unique experiences as far as how the dough will react during all phases. All employ a 100% hydration preferment.
The first two breads have a link to the original post. The third is my own interpretation as well as my experience and steps.
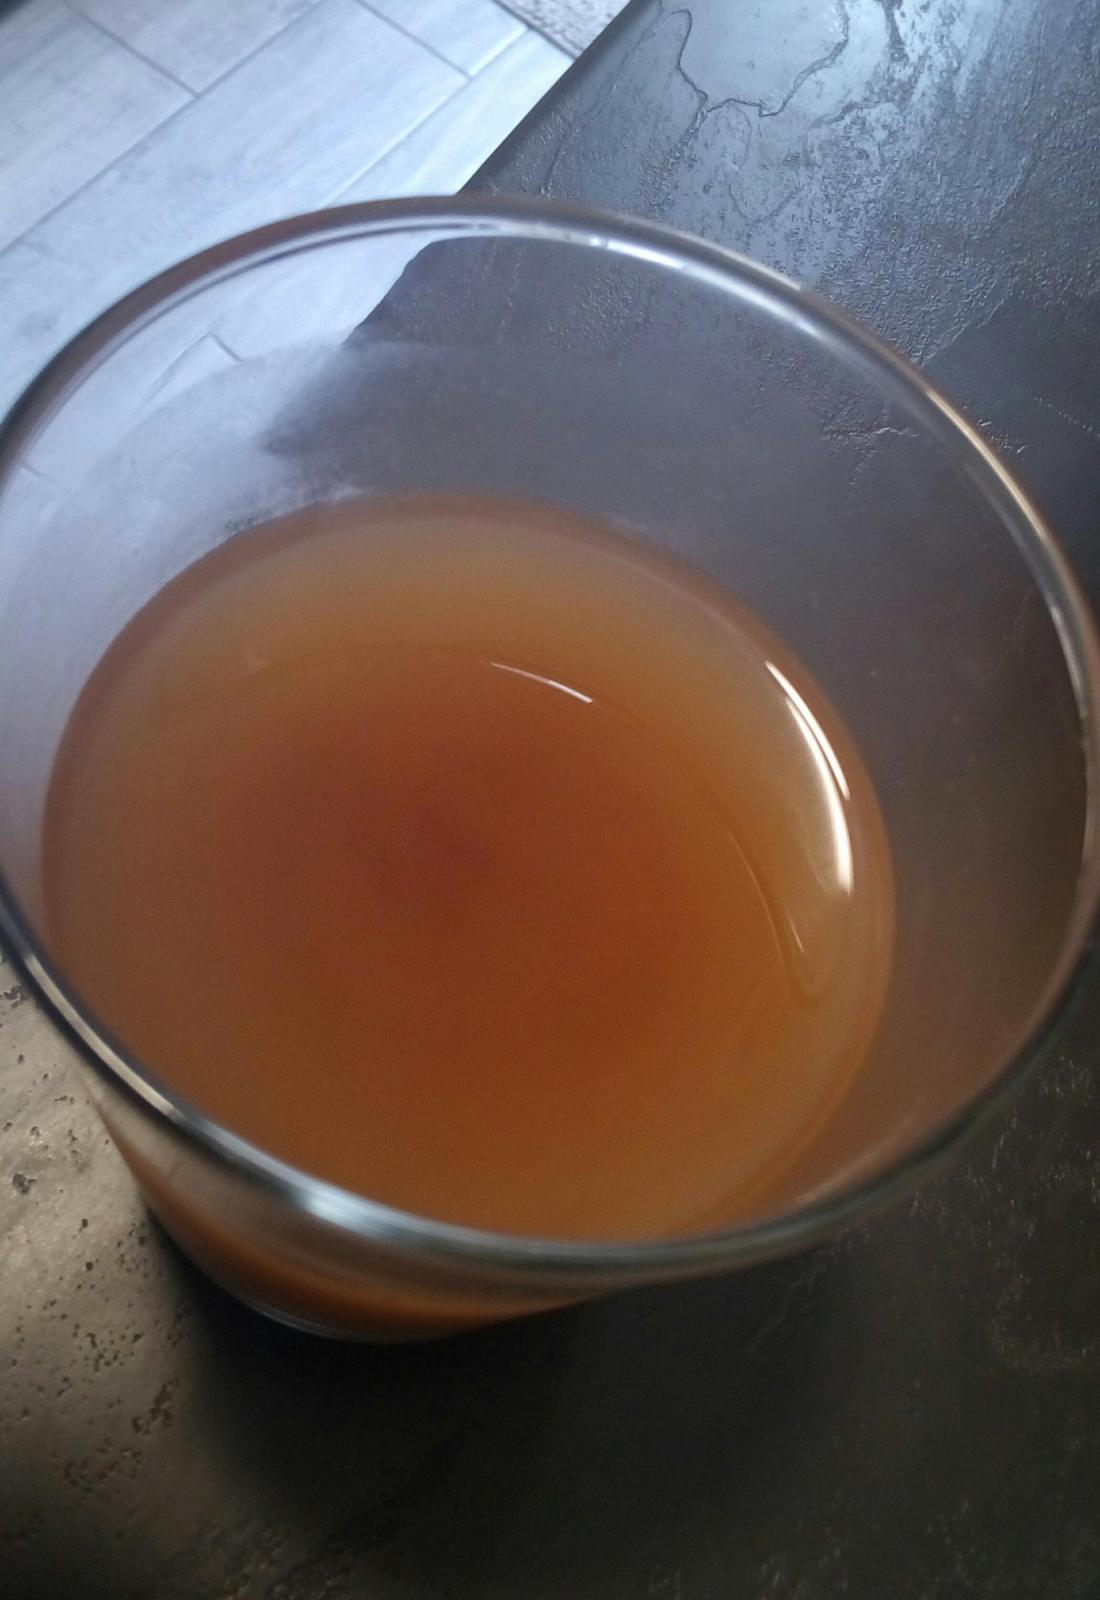
Eric Hanner employs what he refers to as a Sponge, It is composed of 26% rye, and 71.5% hydration. If your experience is anything like mine, the dough will challenge the newly initiated Rye baker to a formidable sticky and difficult dough to manage. It bakes up beautifully and has an extraordinary taste.
David Snyder uses a Rye Sour. Built in three stages. It is composed of 44% rye and 72% hydration. Contrary to any reasonable expectation considering the elevated rye percentage, it does not exhibit any of the overly sticky qualities of the first dough. I would consider this the closest of the three to a true NY Jewish bakery rye bread.
Alfanso’s is a faux Jewish Bakery Rye, for contrast and variety. It uses a standard AP flour Levain. It is composed of 25% rye and 73.5% hydration. I treat the dough as I do for mostly every other bread that I make. It is the most manageable of the three and the least traditional. If you wish to use a Rye Levain instead, make the appropriate adjustments to the amount of AP and rye flours for the final mix. Percentages will not need to be adjusted (unless you want), only the amounts at Final Mix time.
My blog post of the 3 formula write-ups are found here.
Notes:
- All three breads call for a Medium Rye Flour. Mine is also stone ground.
- All three of my own entries will be found in this link and have been scaled at 1000g.
- These can be made within a 2 day span or less:
- Eric’s version is made with a 1 stage overnight sponge, but if you are an early riser, the entire process can be done in the course of a day, the first 8 hours awaiting the sponge to complete fermentation.
- David’s requires the 3 stage rye sour, which will take a full day to accomplish. However, for the sake of expediency, I’ve whittled that down to ~6 hours via a heating pad and maintaining a 90dF environment for the rye to ferment. This may sacrifice some of the qualities a longer fermentation, but can also be done in a short day. This version also uses a significant boost of IDY, hence the short period between mix and bake.
- Alfanso’s requires a levain to be readied. Mixing and fermentation are minimal, but the formula asks for an overnight retard. Instead, a few hours of countertop proofing if you wish, although I’ve never done that.
Traditional Jewish Rye Bread “begs" the use of an ultra high gluten flour, I wanted to avoid requesting people to source something along the lines of a First Clear flour. For the first two I use a supermarket brand bread flour that may be as high as 12.9% protein. For the third I use my standard King Arthur AP flour that has a stated protein of 11.7%, but to get a more optimal result I did add VWG.
You do not need an ultra high gluten flour to produce these. Unfortunately if your only available flours are weaker than what I mention above, you may have to supplement the flour with something like a Vital Wheat Gluten to elevate the protein. If you decide to do this, there is the long-way manual tool Pearson’s Square, which can be used to adjust protein percentages. OR use this link to the Foodgeek VWG% calculator.
All three breads have caraway seeds added, as do many Jewish Rye breads. You can eliminate these if you wish or supplement / replace them with a fennel seed, for instance.
A few references about rye flours:
The fine print...
As always, the CB is a place created for a collaborative effort, both to enhance one’s skills as well as to help others with their skills. By no means are the formulae meant to be the be-all-andend-all of the CB. Rather, they are a framework of three distinct ways to achieve a bread that meets the general criteria. I encourage you to experiment and explore, to modify and to introduce to our CB participants your own experiences and versions. And most of all, to learn and help all of us to better ourselves as bakers. I also encourage you to find something you like, change one or many things about it and to make it your own!
And as Dan said:
All bakers of every skill level are invited to participate. Novice bakers are especially welcomed and plenty of assistance will be available for the asking. The Community Bakes are non-competitive events that are designed around the idea of sharing kitchens with like minded bakers around the world, "cyber style". To participate, simply photograph and document your bakes. You are free to use any formula and process you wish. Commercial Yeast, sourdough, or a combination of both are completely acceptable. Once the participants gets active, many bakers will post their formulas and methods. There will be many variations to choose from.
Here is a list of our past CBs. They remain active and are monitored by numerous users that are ready, willing, and able to help if assistance is needed. A quick browse of past CBs will provide an accurate picture of what these events are all about.
******************************************************************************************
Since many of the CBs grow quite large, it can become difficult to follow the progress of each individual baker. Things get very spread out. In an attempt to alleviate congestion and consolidate individual baker’s bread post, the following is suggested.
Links to baker’s BLOGs that have posted a compiled list of bakes for this CB
End note: By no means do I consider myself a skilled rye baker. This is my first experience baking Eric’s version and my third with David’s. My own version I bake with some frequency.
*For the original postings please click the links above. My posting of the formula write-ups, click here.