Jim Lahey's Pizza Patate from "My Bread"
One of the challenges for a home baker is to try and figure out how to make a great bread once you've tasted it. Like encountering the Platonic ideal, you recognize it, reach for it and try and duplicate it -- and then you fail miserably and often give up.
Jim Lahey, the founder of Sullivan Street Bakery, was like a culinary Plato for me. Every bread he turned out was amazing and no matter how hard I tried I couldn't find a way to make the airy, light, wonderfully tasteful bread at home. To learn more, I actually visited his bakery in New York several years ago and did a story on him. And while he gave me a few generous tips in an interview (and critiqued the sample I had in my backpack), it wasn't enough. I had to learn on my own and like most bread, I later realized success was less about the recipe than the technique.
Lahey, of course, later caused a storm on the Internet with his no-knead bread recipe, courtesy of Mark Bittman. Then, he spun those recipes into My Bread published this past fall, which ranks as a perfect starting point for an aspiring baker.
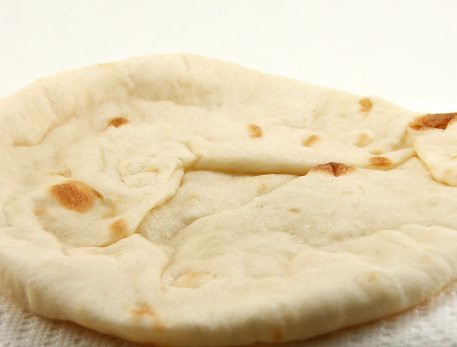
Less known than his bread, however, are his terrific pizzas, which he also includes in the book. These aren't the round pizzas he serves up at his New York restaurant, Company, but rectangular sheets of exceedingly thin-crust pizza, topped with onions, mushrooms or just tomato sauce. They are sold by the slice in his bakery.
The big secret about these crispy gems? Like no-knead bread they are dead easy and fast to make. For the effort, you get great results.
In fact, the pizza recipe was so easy that I was skeptical it would be worth it. You mix the dough quickly, let it rise for a couple of hours, flatten it out in a rimmed baking sheet with olive oil, spread the topping and bake it. The recipe was also quite different from another here, because no mixer is necessary.
You can dispense with a baking stone, too. And finally, watch your impulse on toppings! The biggest error pizza novices make is to pile on so much stuff the pie turns into a soggy, gloppy mess. As Jim told me many years ago, when it comes to pizza, "less is more." He's right. Like many Italian concoctions, he also avoids cheese on these rectangular pies and the result, in my opinion, is superior. But if you insist, go ahead and add a bit of cheese.
Here's his basic dough recipe and the stellar pizza patate (potato pizza).
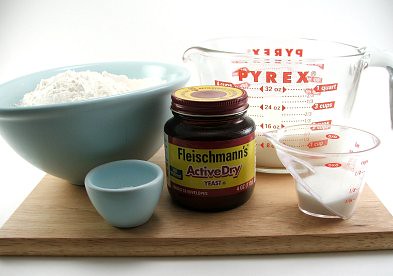
Basic Pizza Dough
Yield: enough dough for two pies baked in 13x18-inch rimmed baking sheets
3 3/4 cups (500 grams) bread flour
2 1/2 teaspoons (10 grams) instant or active dry yeast
3/4 teaspoon (5 grams) salt
3/4 teaspoon plus pinch (3 grams) sugar
1 1/3 cups (300 grams) water
Extra Virgin olive oil for pan
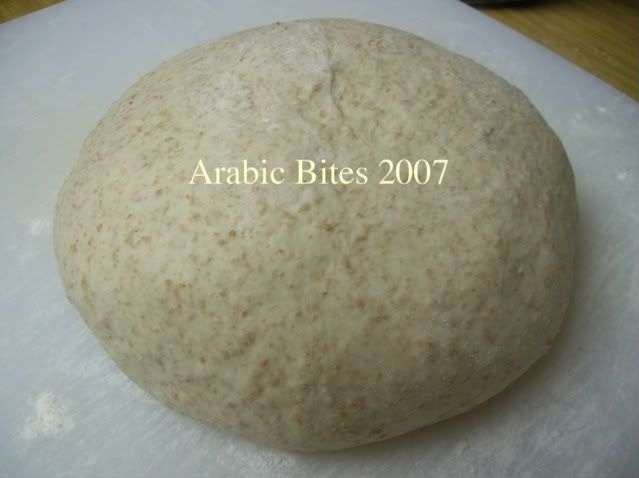
In a bowl, stir together the flour, yeast, salt and sugar. Add the water, and using a spoon, your hand, or a baker's plastic bench scraper, mix together until blended -- about a minute (Jim says 30 seconds but mine took a bit longer). You don't want to mix or knead this dough too much, or else the gluten will develop and you won't be able to shape it in the pan. But you want to mix in all the lumps of flour. In the end, you'll arrive at a stiff dough.
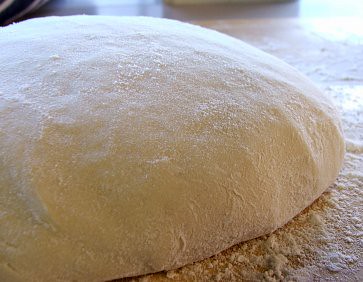
Cover the dough and let rise at room temperature for about 2 hours. (If your room is cold, put it in the oven with a pilot light to warm up a bit, or in a closed cabinet).
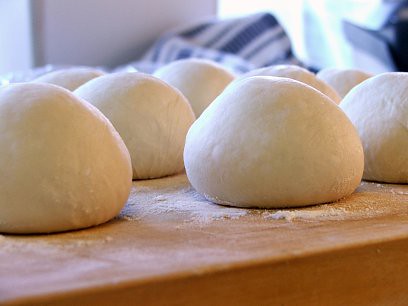
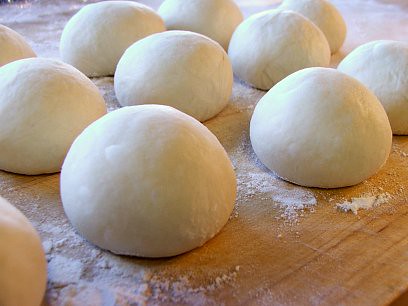
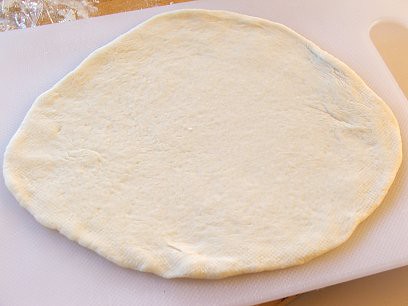
Dump out the dough on a lightly floured surface and cut it in half. Use both pieces, or save one in the refrigerator (I use a zip lock bag) for up to 1 day. Oil a 13x18 inch rimmed baking sheet liberally with good extra virgin olive oil (yes, pour it on). Then gently plop the dough on the pan and stretch and press it out to the edges. If it springs back (that's the gluten working) wait five minutes and then proceed. I found the gluten weak enough to spread it fully over the pan. The dough is very thin. If it tears, piece it back together.
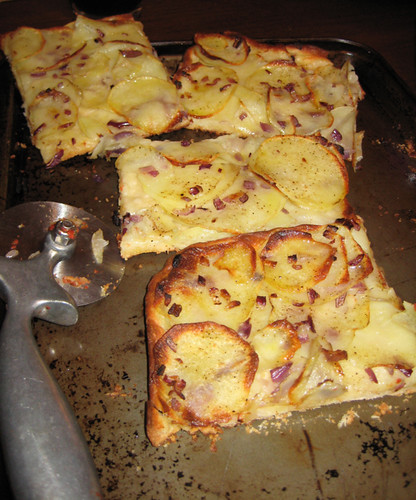
Lahey has a few basic toppings in his book, such as pizza pomodoro (tomato sauce), pizza funghi (mushroom), and pizza cavolfiore (cauliflower), but I zoomed in on his pizza patate (potato). This might sound like a carbo-loading dream, but remember the crust is thin, so you're not stuffing yourself with dough.
Pizza Patate
As Jim writes, "Potato pizza is another Italian classic you don't see very often in the United States. While my rendition is pretty traditional, I soak the potatoes in salted water first, which actually extracts about 20 percent of their moisture. That causes them to cook more quickly and makes them firmer. It's a little trick I learned from cooking potato pancakes."
YIELD: One 13-by-18-inch pie; 8 slicesEQUIPMENT: A mandoline
1 quart (800 grams) lukewarm water4 teaspoons (24 grams) table salt
6 to 8 (1 kilo) Yukon Gold potatoes, peeled
1 cup (100 grams) diced yellow onion
1/2 teaspoon (2 grams) freshly ground black pepper
About 1⁄2 cup (80 grams) extra virgin olive oil
1/2 recipe (400 grams) Basic Pizza Dough
About 1 tablespoon (2 grams) fresh rosemary leaves
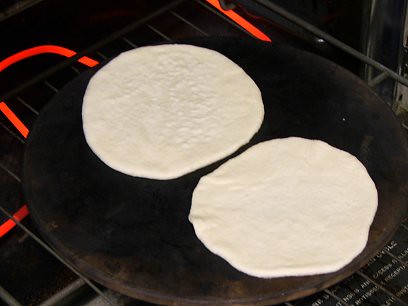
Preheat the oven to 500 F (260 C) with a rack in the middle
In a medium bowl, combine the water and salt, stirring until the salt is dissolved. Use a knife or mandoline to slice the peeled potatoes very thin (1/16th inch thick), and put the slices directly into the salted water so they don’t oxidize and turn brown. Let soak in the brine for 1-1/2 hour (or refrigerate and soak for up to 12 hours), until the slices are wilted and no longer crisp. (Note: I cut the soaking time to 30 minutes and the results were still good.)
Drain the potatoes in a colander and use your hands to press out as much water as possible, then pat dry. In a medium bowl, toss together the potato slices, onion, pepper, and olive oil.
Spread the potato mixture evenly over the dough, going all the way to the edges of the pan; put a bit more of the topping around the edges of the pie, as the outside tends to cook more quickly. Sprinkle evenly with the rosemary. (Note: I left it out in the version pictured above, but feel it's better with it).
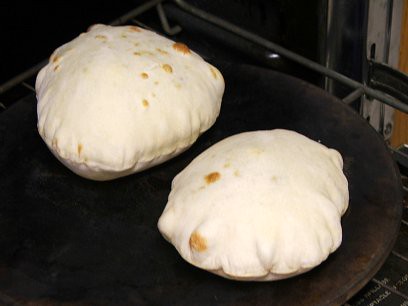
Bake for 30 to 35 minutes, until the topping is starting to turn golden brown and the crust is pulling away from the sides of the pan. Serve the pizza hot or at room temperature.
Variation • Pizza Batata (Sweet Potato Pizza)
Substitute 2 sweet potatoes (800 grams), peeled, for the Yukon Gold potatoes, and use about 4 cups (about 900 grams) water and 24 grams (4 teaspoons) salt for the soaking liquid. Omit the rosemary in the topping.
(I originally posted this on ChewsWise)


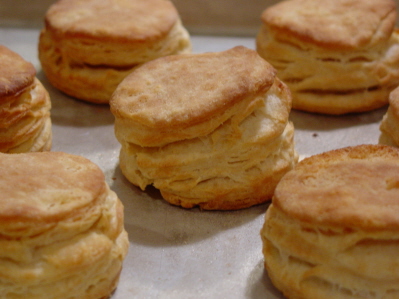
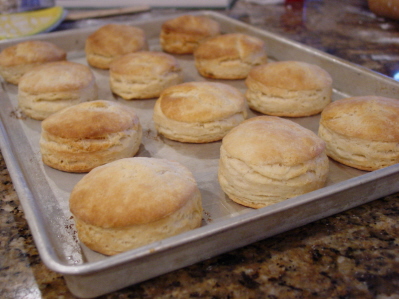
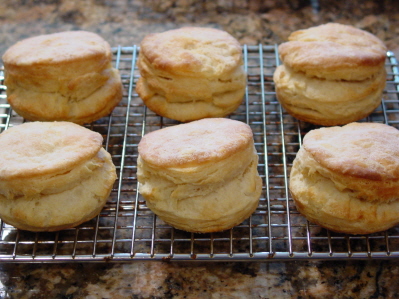
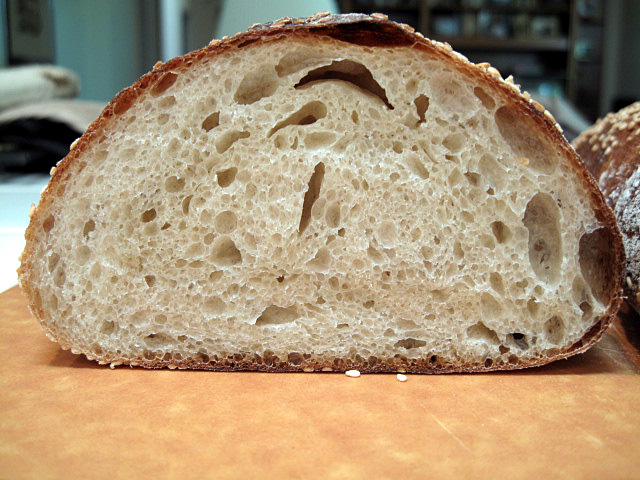
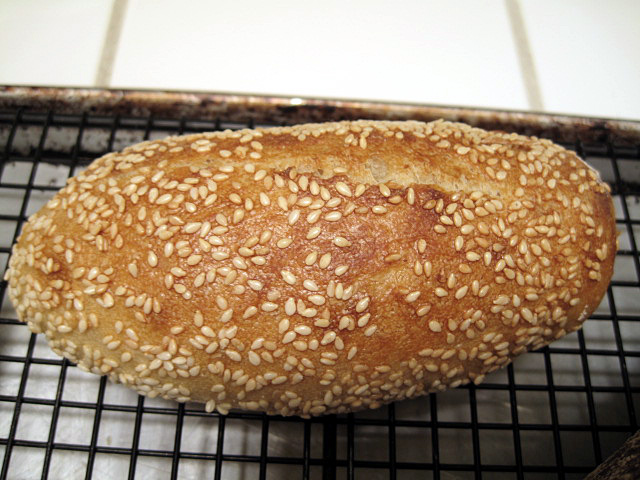
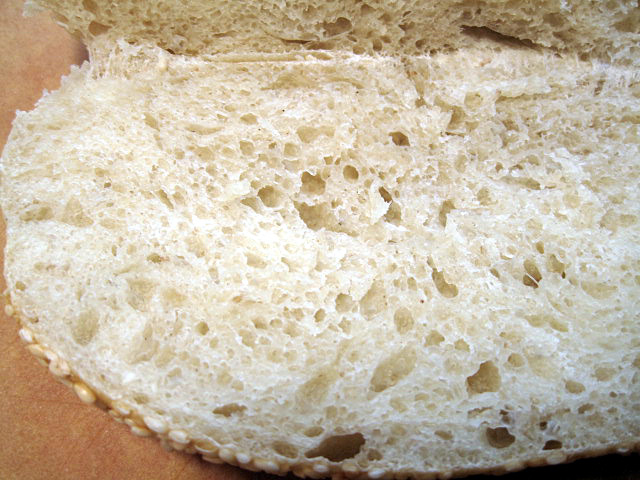
 Remove the dough from the refrigerator about 2 hours before you plan to bake. Shape the dough into one or more sandwich loaves (see page 23), using 28 ounces (794 g) of dough for 4 1/2 by 8-inch loaf pans and 36 ounces (1.02 kg) of dough for 5 by 9-inch pans; into freestanding loaves of any size, which you can shape as bâtards (see page 21), baguettes (see page 22), or boules (see page 20); or into rolls (see page 25), using 2 ounces (56.5 g) of dough per roll. When shaping, use only as much flour as necessary to keep the dough from sticking. For sandwich loaves, proof the dough in greased loaf pans. For freestanding loaves and rolls, line a sheet pan with parchment paper or a silicone mat and proof the dough on the pan.


 season's apple crop.