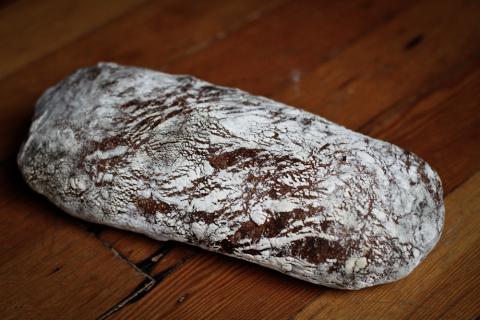
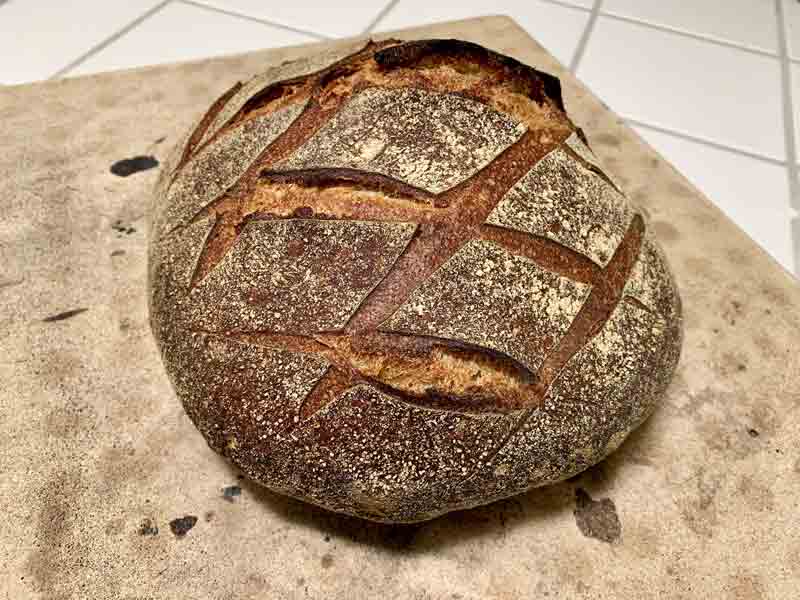
Today's bake 3-15-2019: Mixed grain sourdough by a new/old method

Sourdough Bread
March, 2019
David Snyder
My recent trials of sourdough bread production methods have made some very good breads, but still not exactly what I want. I recall that, about 10 years ago, I baked some breads from a recipe developed by a home baker who was an active participant on The Fresh Loaf at the time, “Susan from San Diego.” At the time, I felt it was the bread I had baked closest to my ideal. So, I thought I would return to that bread, applying some procedures I had adopted with good results since that time.
Of note is that Susan's recipe called for two builds of firm starter before mixing the final dough. As I recall, it produced a rather sour, crusty loaf with a moderately open crumb. Back then, I mixed the dough with a stand mixer. For this bake, I mixed by hand.
I made two loaves. One, I cold retarded for 17 hours then left at room temperature while the oven pre-heated. The second loaf was cold retarded for 40 hours. I was eager to see whether the second would be much more sour, as one would expect.
Total Dough |
|
|
Ingredient | Wt (g) | Bakers' % |
High-protein flour | 125 | 11 |
AP flour | 803 | 69 |
Whole Wheat flour | 138 | 12 |
Rye flour | 92 | 8 |
Water | 826 | 71 |
Salt | 23 | 2 |
Total | 2007 | 173 |
Starter 1st Build |
|
|
Ingredient | Wt (g) | Bakers' % |
High-protein flour | 18 | 75 |
Rye flour | 6 | 25 |
Water | 12 | 50 |
Seed starter (liquid) | 6 | 25 |
Total | 42 | 175 |
Dissolve starter in water.
Add flours and mix thoroughly.
Ferment at 76ºF for 8 hours.
Proceed to 2nd build or refrigerate 1st build overnight and continue the next day.
Starter 2nd Build |
|
|
Ingredient | Wt (g) | Bakers' % |
High-protein flour | 104 | 75 |
Rye flour | 35 | 25 |
Water | 69 | 50 |
Starter 1st Build | 42 | 25 |
Total | 250 | 175 |
Dissolve starter in water.
Add flours and mix thoroughly.
Ferment at 76ºF for 8 hours.
Note: If not ready to make the Final Dough when this starter build is ripe, the starter can be refrigerated for up to 3 days, until you are ready to proceed.
Final Dough |
|
Ingredient | Wt (g) |
AP flour | 803 |
Whole Wheat flour | 138 |
Whole Rye flour | 50 |
Water | 743 |
Starter 2nd Build | 250 |
Salt | 23 |
Total | 2007 |
Procedures
In a large bowl, mix the water and the flours to a shaggy mass.
Cover the bowl and let rest (autolyse) for 1-2 hours.
Sprinkle the salt over the dough and add the starter in chunks.
Mix the dough to incorporate the added salt and starter uniformly.
Transfer to a clean, lightly-oiled bowl and cover.
Ferment until expanded by 75% with stretch and folds at 30, 60 and 110 minutes. (I do the first two S&F's in the bowl and the third on a lightly floured board.)
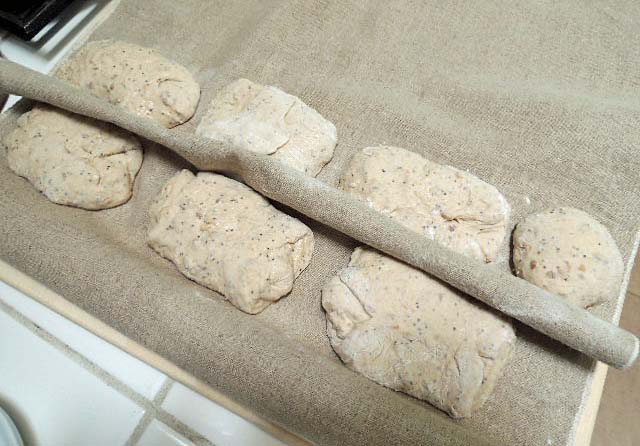
Divide the dough as desired and place in floured bannetons or on a couche. Cover.
Proof at room temperature for 1-3 hours, then refrigerate for 8-40 hours (or more?).
If you think the loaves need it, proof at room temperature for additional time before baking.
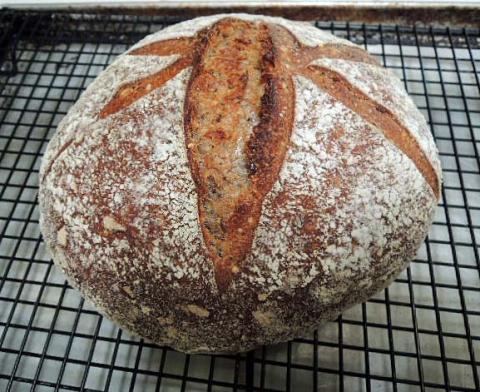
Transfer to a peel. Score as desired.
Bake: If baking in a Dutch oven, bake at 475ºF covered for 30 minutes, then uncovered at 450ºF for another 20 minutes or until done to satisfaction.
Bake: If baking on the hearth, pre-heat oven at 500ºF for 1 hour with baking stone and steaming apparatus in place. Turn down oven to 460. Load loaf and steam oven. After 15 minutes, remove steam and continue baking for 30-40 minutes, until loaf is baked. (Depends on size and shape of loaf.)
The bread is done when the crust is nicely colored and the loaf sounds hollow when thumped on the bottom. The internal temperature should be at least 205ºF.
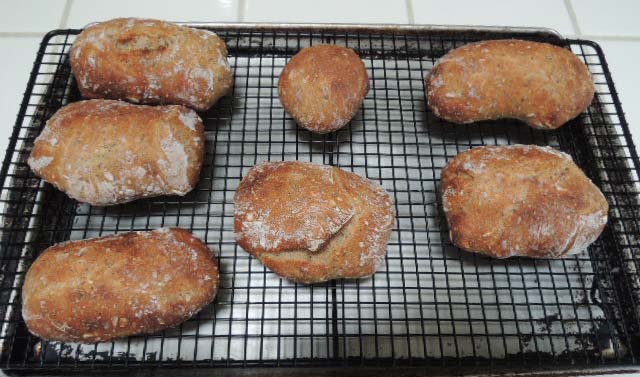
Transfer the bread to a cooling rack and cool thoroughly before slicing.
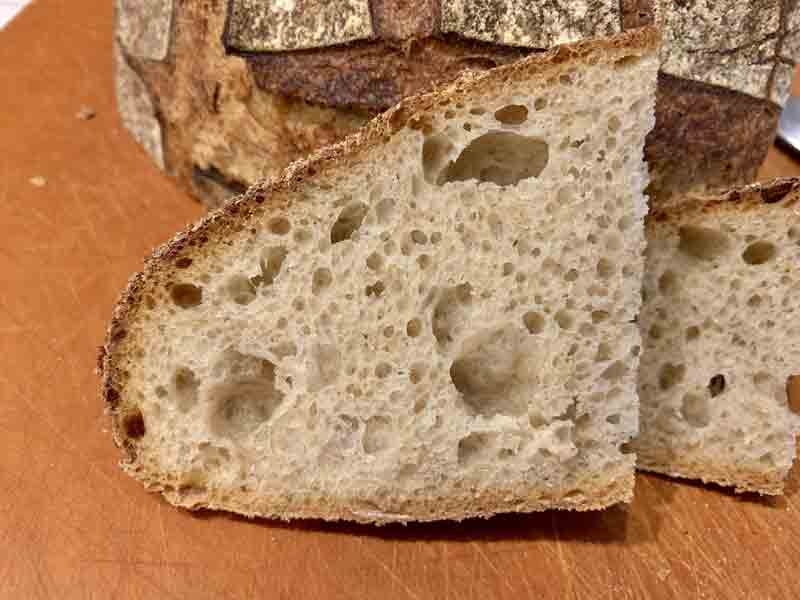
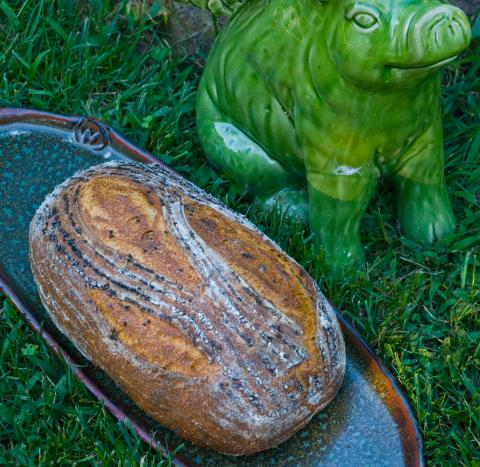
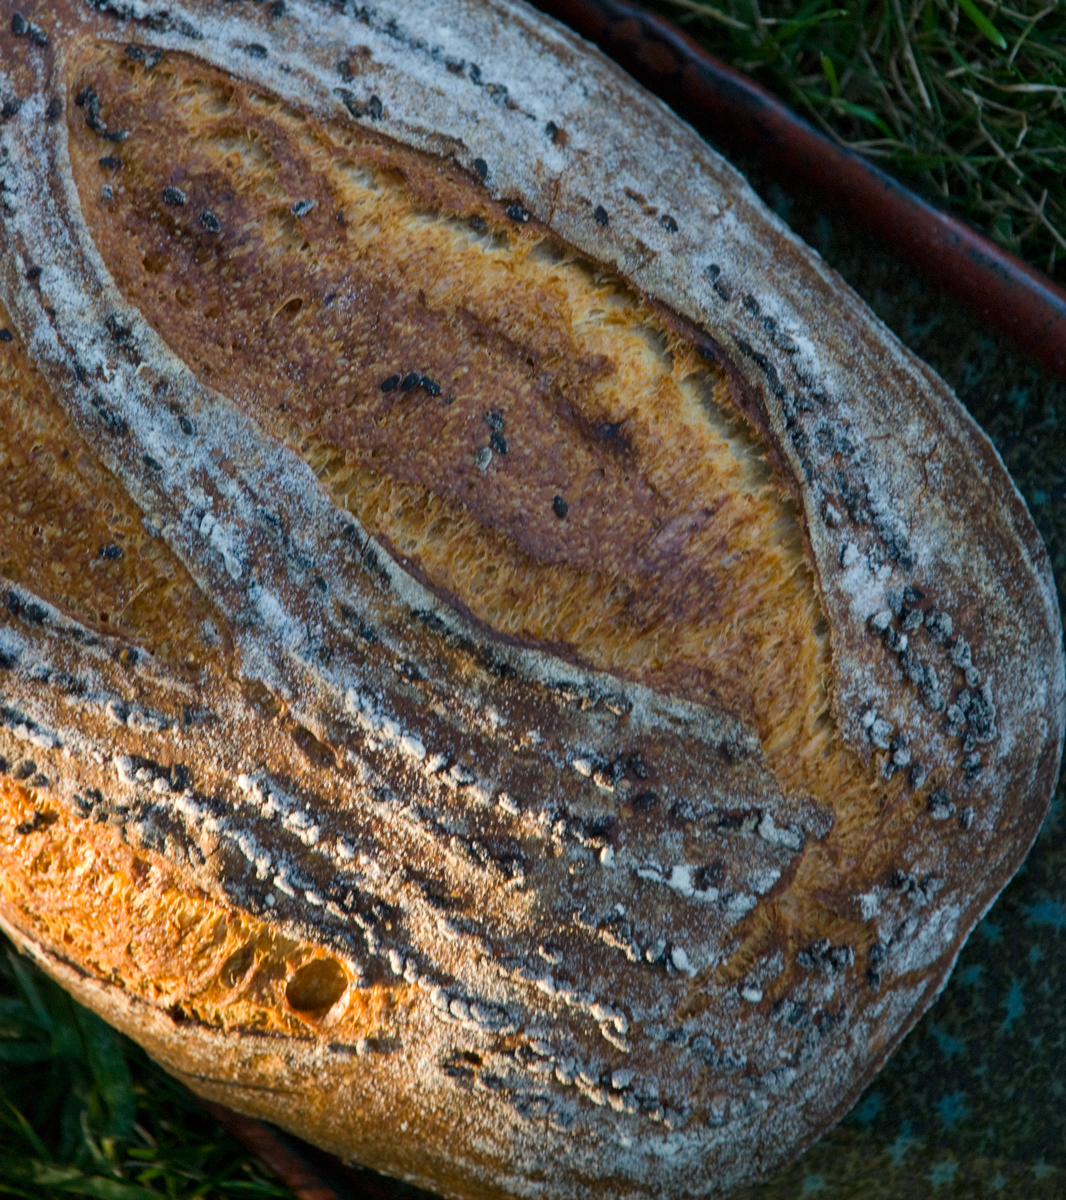
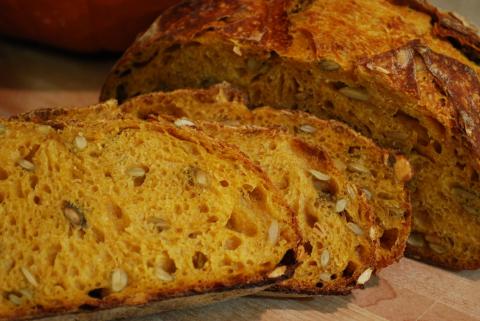
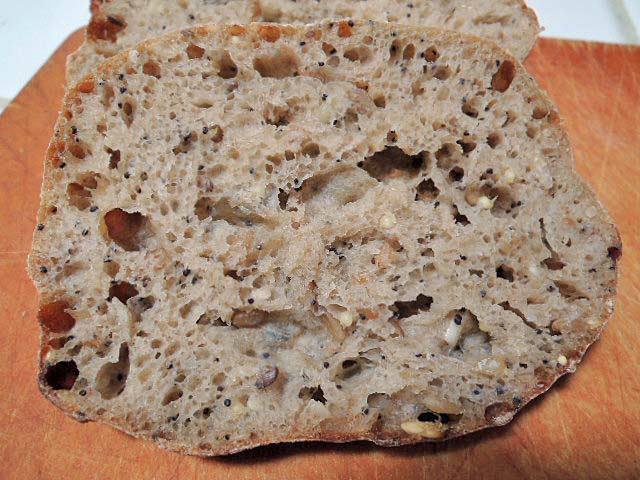
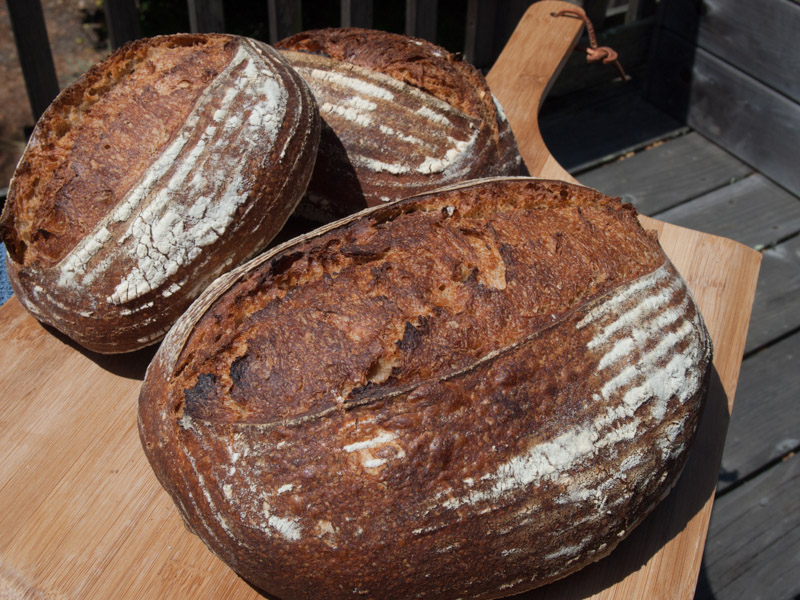
The crust was crunchy in the darker-baked parts and chewy in the rest. The crumb was moderately open and mildly chewy. The flavor was complex, sweet and creamy. There was the slightest hint of acetic acid tang. Interestingly, even though the whole wheat was only 12% of the total flour, the distinctive flavor of Turkey Red wheat came through.
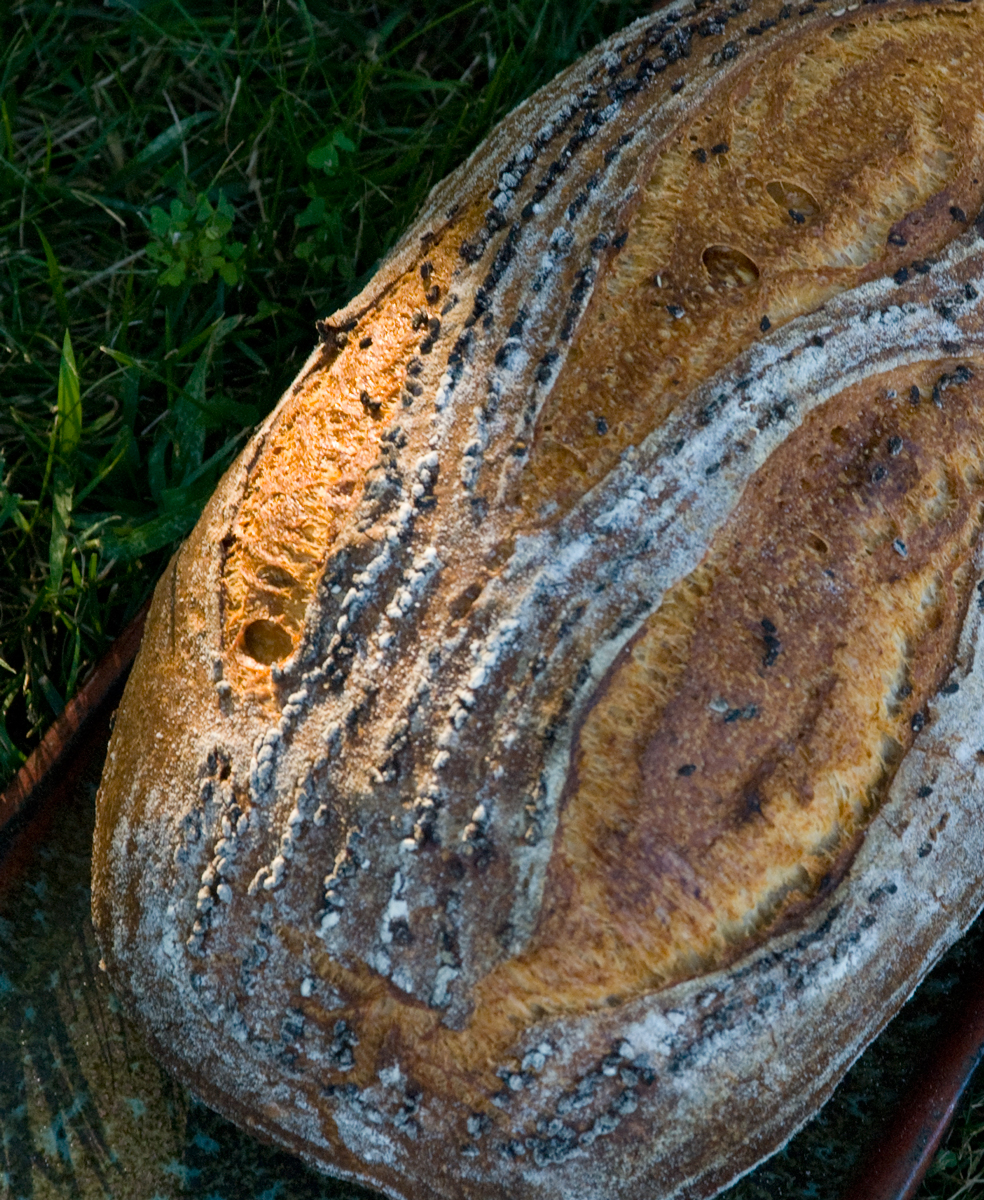
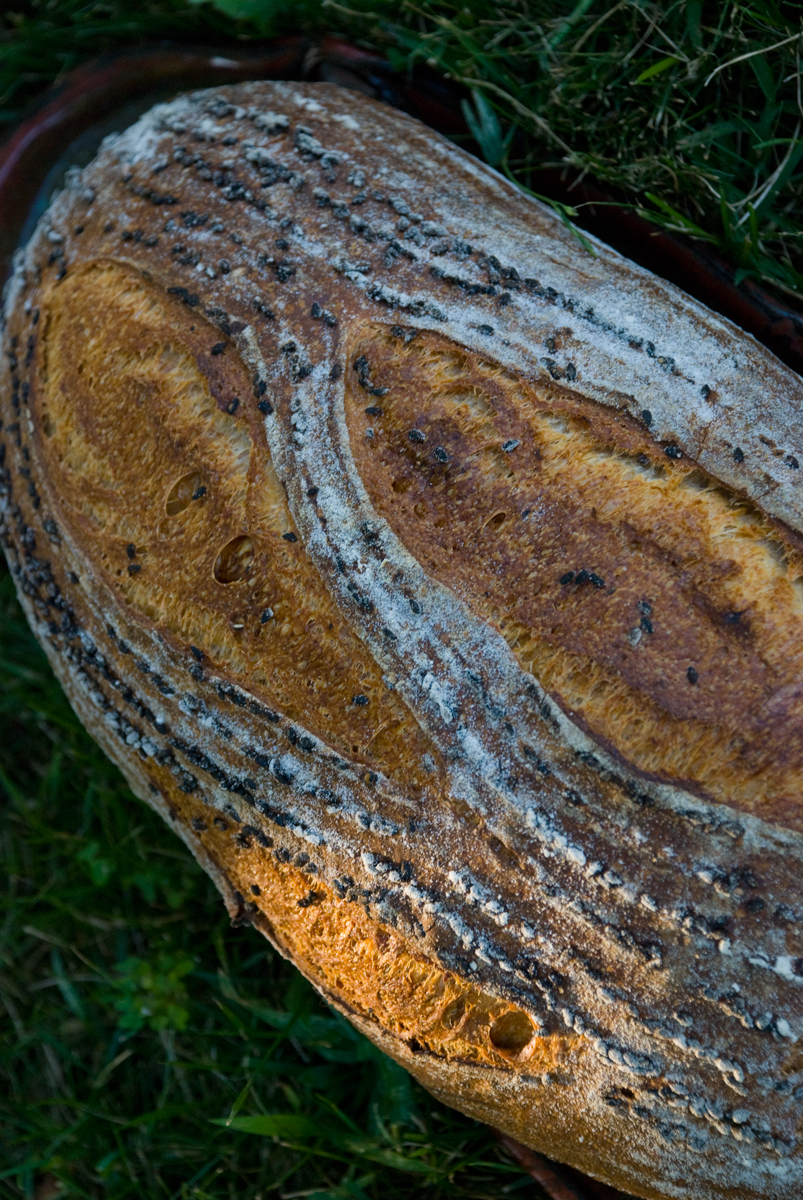
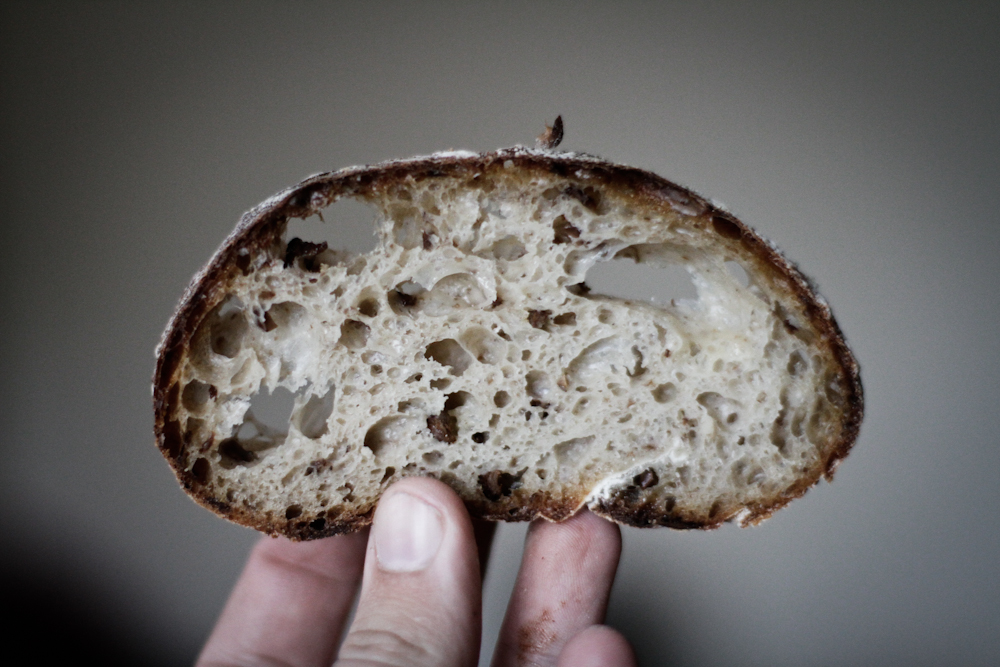
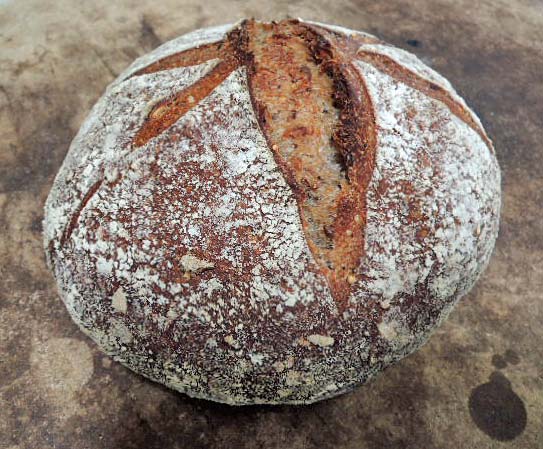
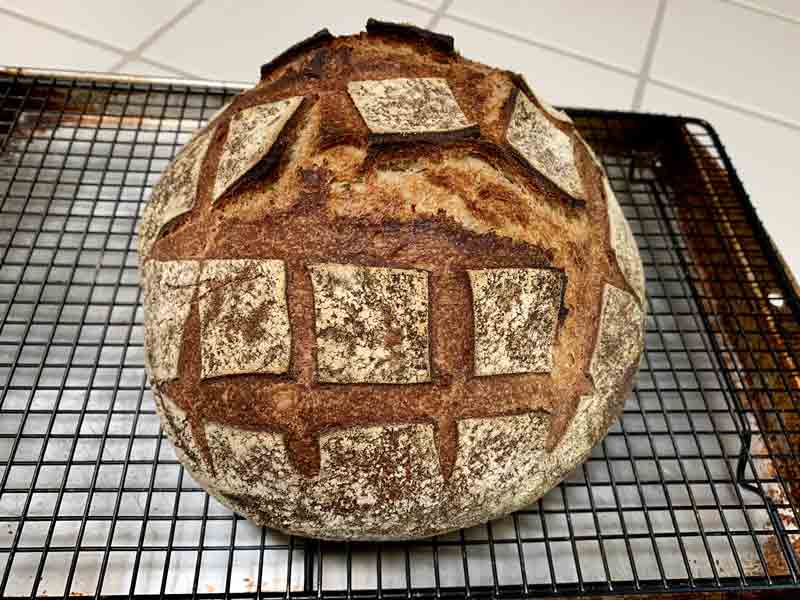
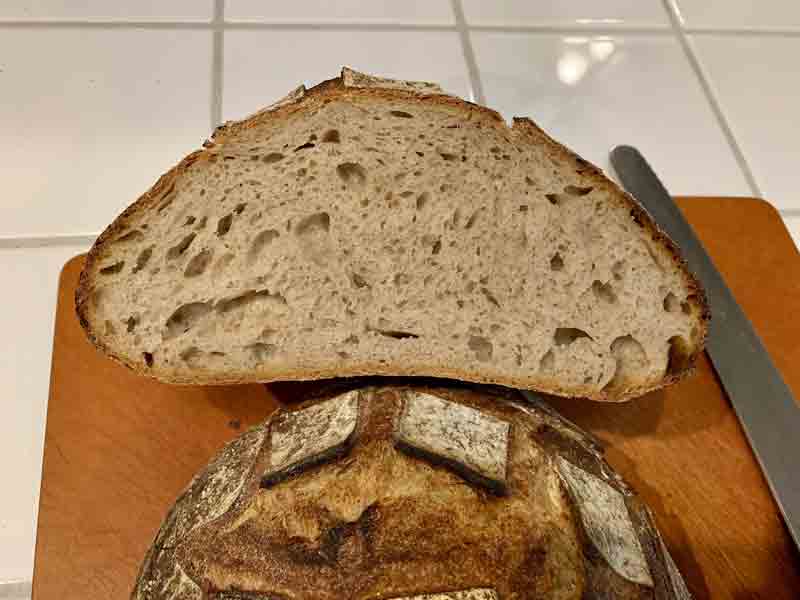
I baked the second loaf 40 hours after retarding it, including the last hour at room temperature, while the oven preheated. It turned out ... well ... it was kind of spectacular, in my humble opinion.
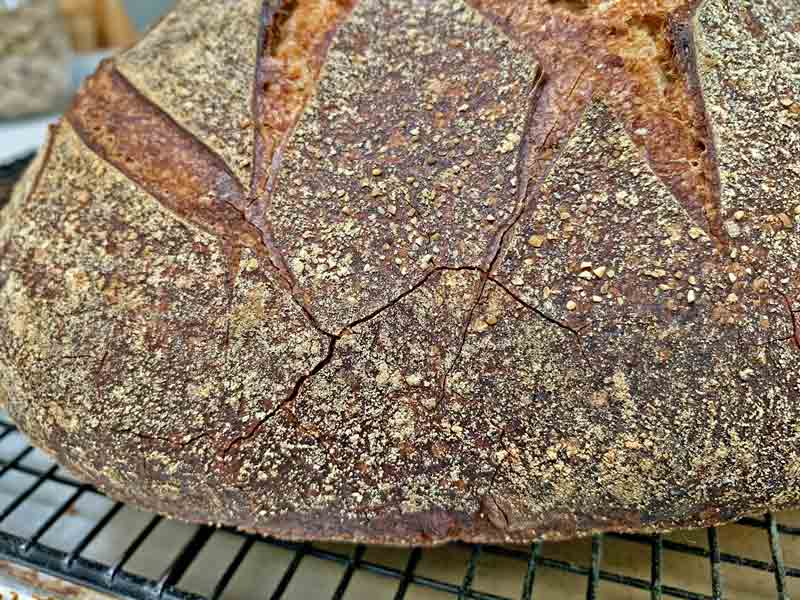
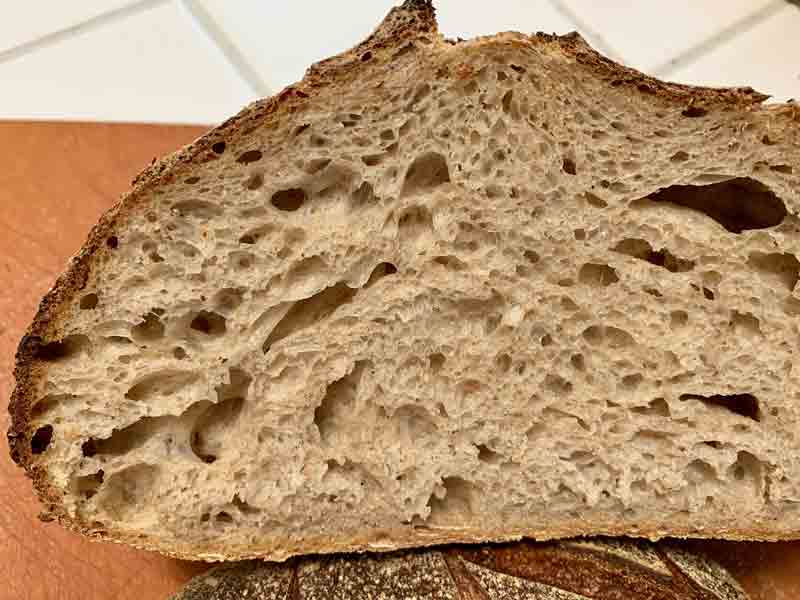

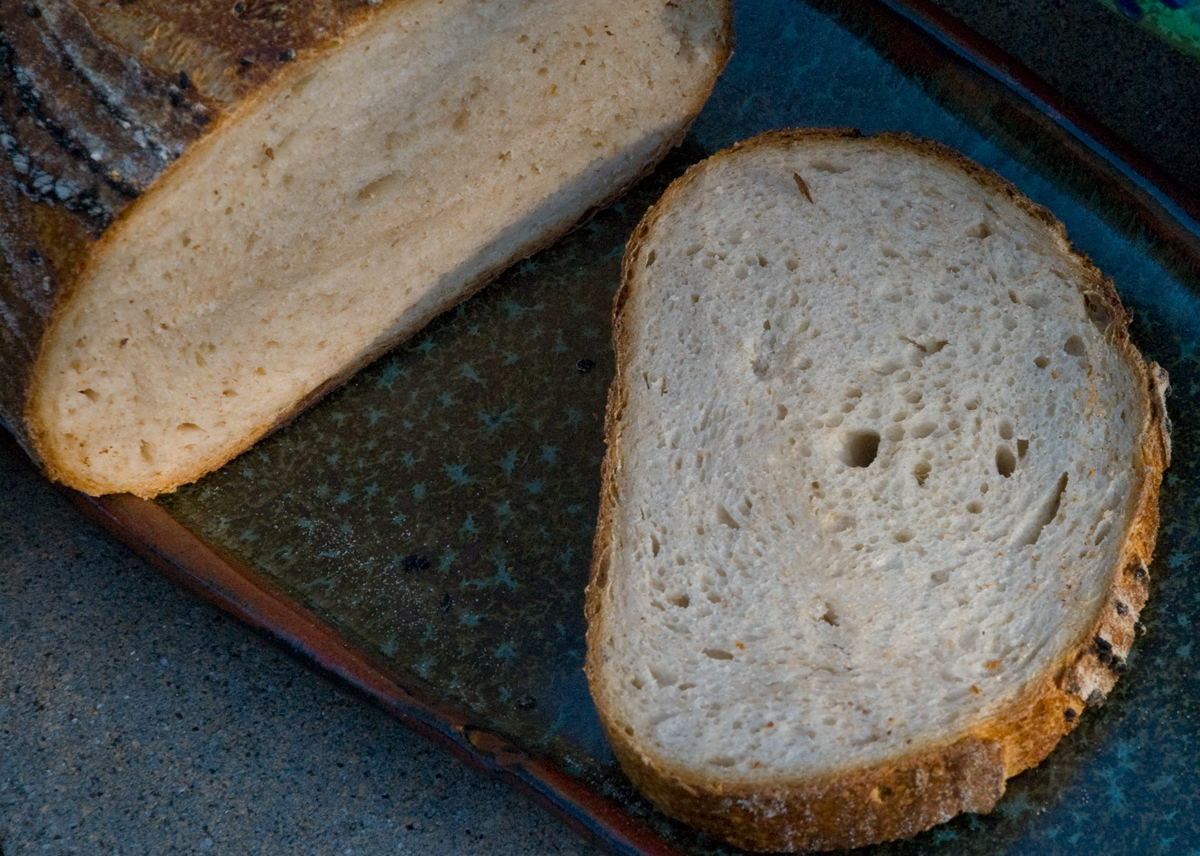
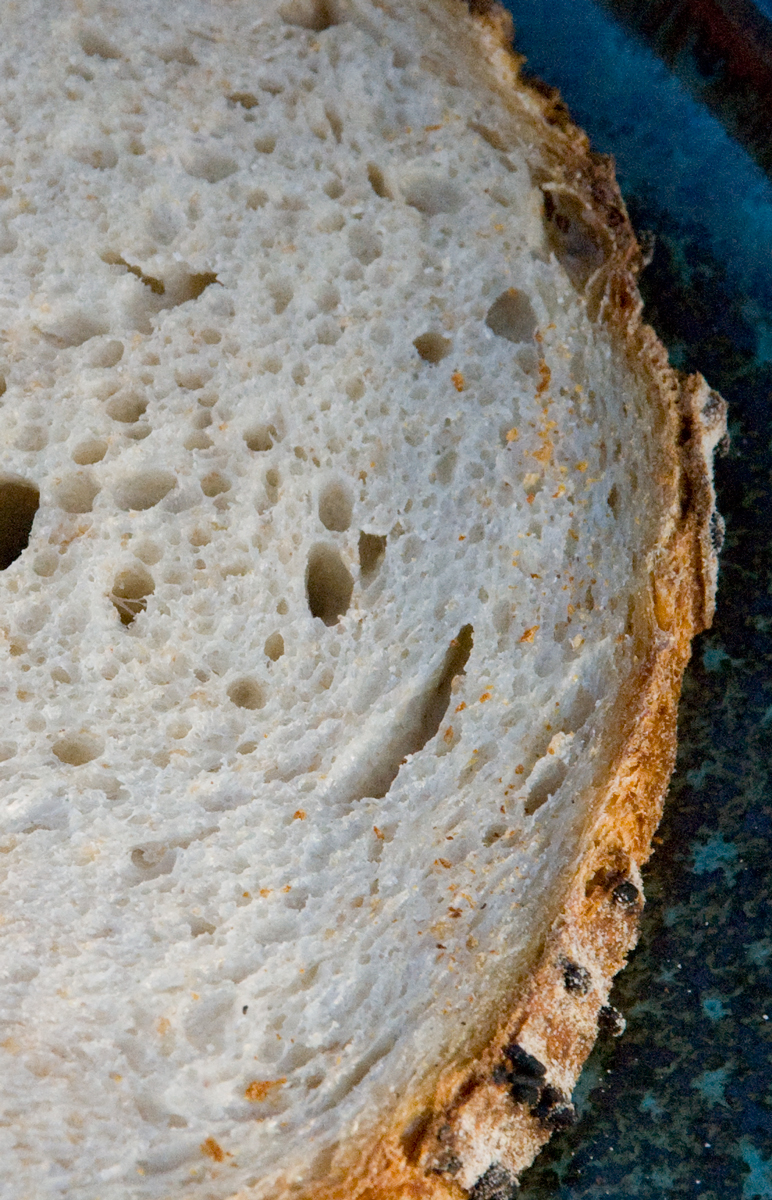
The crust is crunchier. The crumb has the same chewing consistency - what I call tender/chewy - but it is substantially more open, and the flavor is substantially more sour. Interestingly enough, I think creamy, lactic acid flavors still predominate, but there is more of an acetic acid tang. Now, that is all based on a first taste when the loaf was just completely cooled. If the flavor profile evolves, I'll add a note.
As far as I can recall, I have only retarded dough for more than 24 hours once before. That was an experiment with my San Joaquin Sourdough, and the retardation was of the dough before dividing. Today's loaf is so good, that I believe I'm going to stick with this routine for a while. It sure made delicious bread.
Happy baking!
David