The Fresh Loaf
Pocket Book of Bread Baking
Now available for Kindle
When I tell people I am into bread baking, people often respond by telling me that they wish they could bake bread but it just seems too complicated. I find this discouraging, because baking a basic loaf of bread is about the easiest thing you can do in the kitchen. Once you understand what is going on in a simple loaf of bread you should be able to look at 90% of more difficult bread recipes and have a sense of what that loaf will taste and feel like.
Bread, at its core, is just four things:
Flour
Water
Yeast
Salt
That's it. There are even methods to cut out at least two more of those (yeast and salt), but the end product is unlikely to come out tasting like a typical loaf of bread.
Each ingredient and step in the process of making bread serves a distinct purpose. Once you understand what role each ingredient performs and what is occurring in each step of the process you will feel liberated to experiment and create your own recipes.
Understanding the Ingredients
- Flour. There are a million different types of flour. Among them are those made from different grains, those made from different types of wheat, bleached and unbleached flour, enriched flour, blended flours, whole grain flours, and on and on. Don't let this intimidate you! Realize that your standard grocery store, All-Purpose Enriched Unbleached Flour that comes in a ten pound bag for under two bucks is good enough to produce an excellent loaf of bread. It is probably higher quality than the flour that 90% of bakers throughout history have ever gotten their hands on. Ok, you are unlikely to win the Coupe du Monde de la Boulangerie (The Bread Baker's World Cup) using it, but that isn't what most of us are aiming for.
Flour forms the basis for your loaf of bread. No flour, no bread.
- Water. You can probably find some of this around the house, can't you?
Water activates the yeast and dissolves all of the other ingredients. Adding more water results is a stickier, flatter loaf with less regular holes in it, like a Ciabatta. Too little water restricts the expansion of the dough and results in a tight, dry, hard loaf.
- Yeast. Once again, basic Instant Yeast (also known as Bread Machine Yeast) from the grocery store that comes in those little packets is good enough for all but the most elite baker.
Active Dry Yeast, another kind commonly found in grocery stores, needs to be activated by pouring it in warm water prior to mixing it into the dough. So read the back of the packet before adding it to your mixture.
Yeast is what causes the dough to rise. Adding more yeast will cause the loaf to rise more quickly. Adding too much yeast can cause a beery, off taste in your loaf. A teaspoon or two of yeast per loaf is typically called for.
- Salt. Table salt works well enough. The kosher salt or sea salt that most grocery stores carry tastes a little better, but it isn't worth picking any up just for baking your first loaf: use whatever you've got in the house.
Salt retards the yeast and helps control the fermentation process. It also adds flavor that most of us expect in even the simplest of breads.
These are the fundamental ingredients for making a decent loaf of bread. Additional ingredients add flavor or complexity to your bread. These will be discussed in a later article.
Once you understand the way these four principle ingredients function, you can look at any recipe and realize that the basic rules of how bread works don't change.
Understanding The Process
For a basic loaf, all you need to do is put the ingredients together in a large bowl, mix them together with a wooden spoon, and then knead the dough on a hard surface for approximately 10 minutes.
Kneading
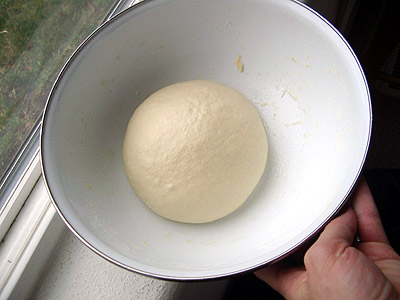
before rising |
Kneading is more than just stirring: kneading actually releases and aligns a protein in the flour called gluten. Gluten strands are what allow bread to form irregular pockets of carbon dioxide. Without this step your bread will have uniformly small holes, more like a muffin or loaf of banana bread.
As long as you aren't tearing or cutting the dough it is hard to go wrong with kneading. Squish and roll, squish and fold, applying a fair amount of pressure on the dough, is a basic kneading technique.
At some point, typically around seven or eight minutes into the process, the consistency of the dough will change. It'll become silky and smooth. You should feel it change. This is a good sign that you've kneaded enough. I typically give it another 2 or 3 minutes before calling it quits.
At this point, drop the dough into a bowl (it's helpful if the bowl is greased to keep your dough from sticking to the bottom - regular spray oil will usually do the trick) and throw a towel over the bowl, and leave it alone to let it rise.
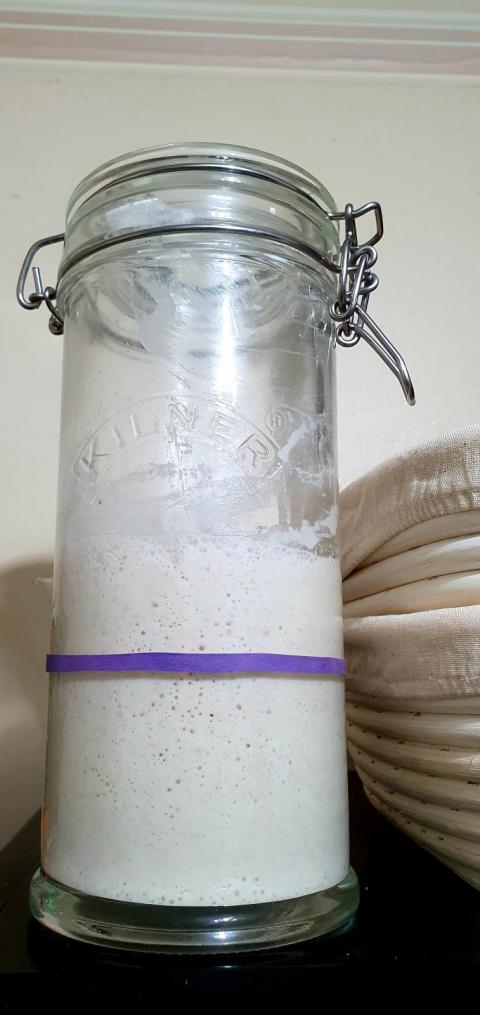
Rising
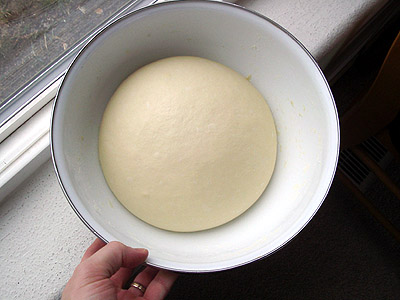
after rising |
Status check: by the time you are ready to let your loaf rise the yeast should be activated and the gluten should be aligned. The yeast does what any organism does after a long nap: it eats. The yeast feeds on the simple sugars that occur naturally in the flour. The yeast then releases carbon dioxide, which causes the bread to swell and form pockets.
If you have kneaded properly the dough will form long strands of gluten which allow large air pockets to form in your loaf. If not you will end up with numerous smaller holes. No holes in your dough means your yeast failed to activate.
The loaf must rise until it is approximately double in size. This typically takes from 45 minutes to a couple of hours, all depending on how much yeast the recipe called for. Temperature too is a factor: the warmer the room is the quicker the yeast will rise.
Punching Down and Shaping
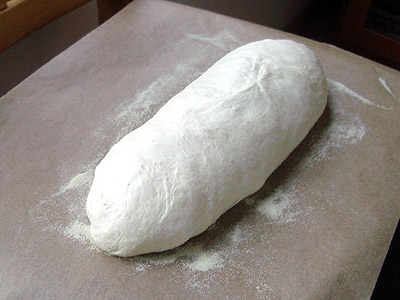
shaped loaf |
Some recipes call for one rise before shaping the loaf. Other recipes call for punching down the loaf to allow two or more rises. Punching down means simply to squish the risen dough down and re-knead it so that it is smaller again.
The purpose of punching down is to free up more food for the yeast. The longer the yeast feeds, the more complex the flavor of the loaf. Too many rises, however, can result in off flavors, such as bitterness and a beery flavor, to occur in your bread. As well as carbon dioxide yeast releases alcohol and acids. Too much acid in your loaf can actually cause the yeast to die off.
You do not shape the loaf until you are ready for the final rise. Either you place the loaf in a loaf pan or you shape it into a baguette, batard, round, or whatever shape you want. Then you give it another hour or so to double in size again.
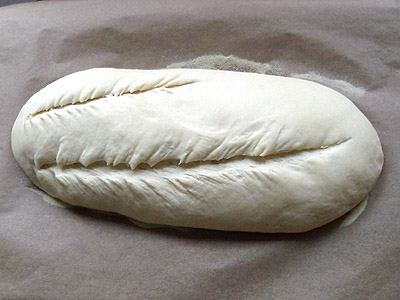
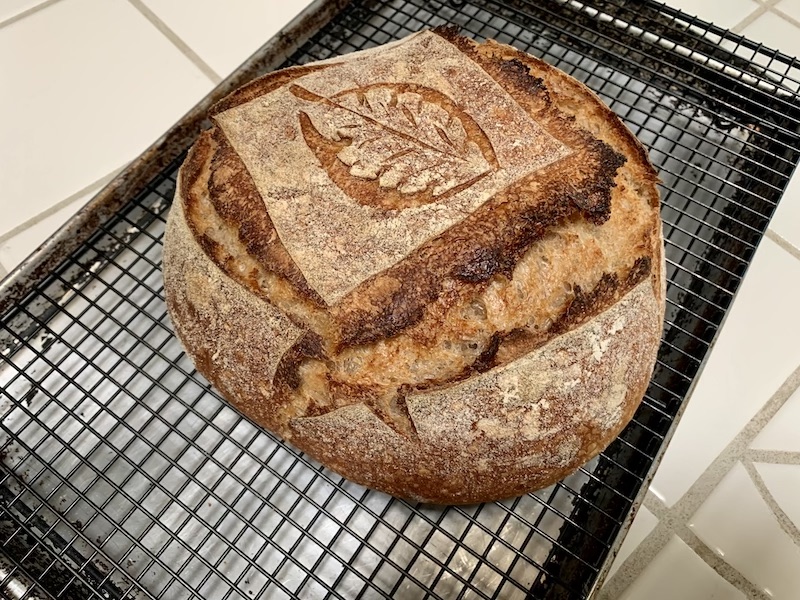
scored loaf |
Scoring the bread is just slicing it. You'll want to use something really sharp so that the dough doesn't fall and collapse again. A razor blade does the trick if you don't have fancy knives. The purpose of this is to release some of the trapped gases in your loaf so that it doesn't tear open while baking. It also makes your loaf look nice.
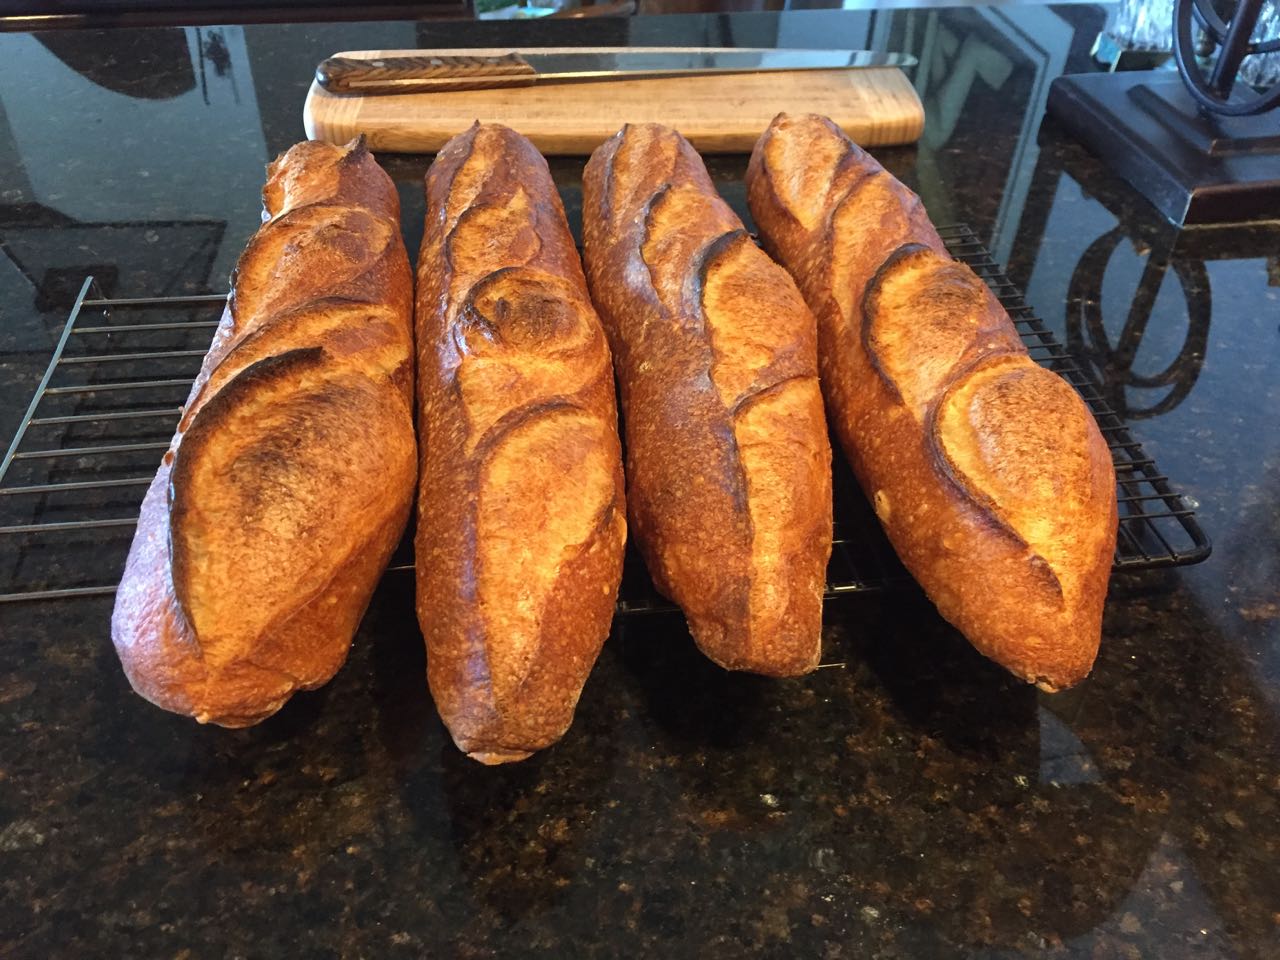
Baking
In the first five minutes in the oven your loaf will have one last growth spurt. This is called oven spring. Think of it as the yeast feeding itself quicker and quicker as it heats up until the rising temperature finally kills it off.
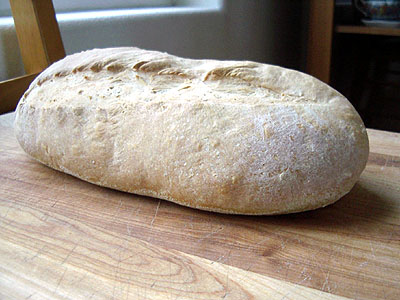
done |
Many bakers use baking stones, which retain heat, to try to maximize the oven spring. This is helpful but not necessary when starting out.
Let's Make a Loaf!
OK, now that you have the basic idea, let's try it out with a really simple basic recipe. I tried this one today while stuck inside during an ice storm. This worked out well, since the freezing rain hit before we had realized that our refrigerator was lacking eggs and milk, along with a variety of other grocery items!
A Generic Recipe
3 cups flour
2 teaspoons salt
2 teaspoons yeast
1 1/8 cup water
Mix everything together. If it is too wet and won't come free from the sides of the bowl or keeps sticking to your hands, add a little more flour. If it is too dry and won't form into a ball, add a bit of water.
Knead it for 10 minutes. Cover and set it aside to rise until it doubles in size, approximately 90 minutes. Punch it down and let it rise again. Shape it, either by putting it in a greased loaf pan or by rolling it out into a long loaf and putting it on the back of a cookie sheet.
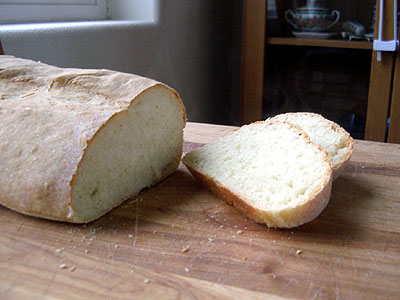
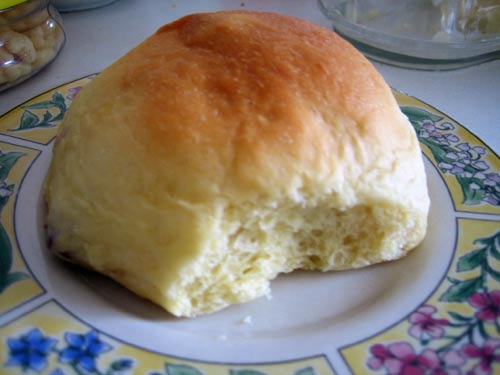
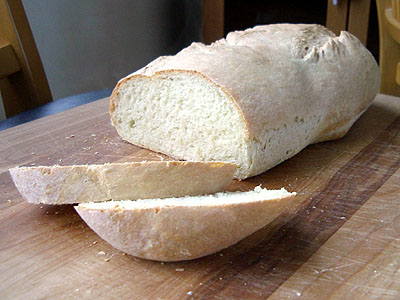
Ready to eat! |
After it has risen to twice it size again, another hour or so, put the loaf into a preheated oven at 375 degrees. Let it bake for 45 minutes and then pull it out. If you made it into a long skinny loaf, it may cook 5 or 10 minutes quicker, so adjust the time based on what shape you chose. I baked the loaf in these photos for 40 minutes). 350-375°F for 45 minutes is typical for a loaf in a loaf pan.
Eat!
Wrap Up
Well, how was it? It may not be the best loaf of bread you've ever had, but it ain't bad.
There are many additional ingredients and techniques that are used in creating world class breads (some of which I will talk about in future articles), and each step of the process that we discussed (kneading, rising, shaping, scoring, baking) can be further elaborated on, but the approach used in this recipe is at the core of almost every other recipe you will encounter.
Continue to Lesson Two: Adding Something More to Your Loaf.