Easy Sourdough - Part 2
Here we are again - its now Monday morning (normally a day I don't make bread!) however I've some dough I made up last night that needs attending to.
Last night the dough was left in a (relatively) cool place - about 18°C at about 9:45pm. It's now about 7:40am and I've taken the bowl of fermented dough up to the warmer bakehouse and stuck a thermometer in it:

As you can see, it's risen nicely and cooled down to 18°C. (And I was dopy enough to put my thumb over the camera lens - ah well)
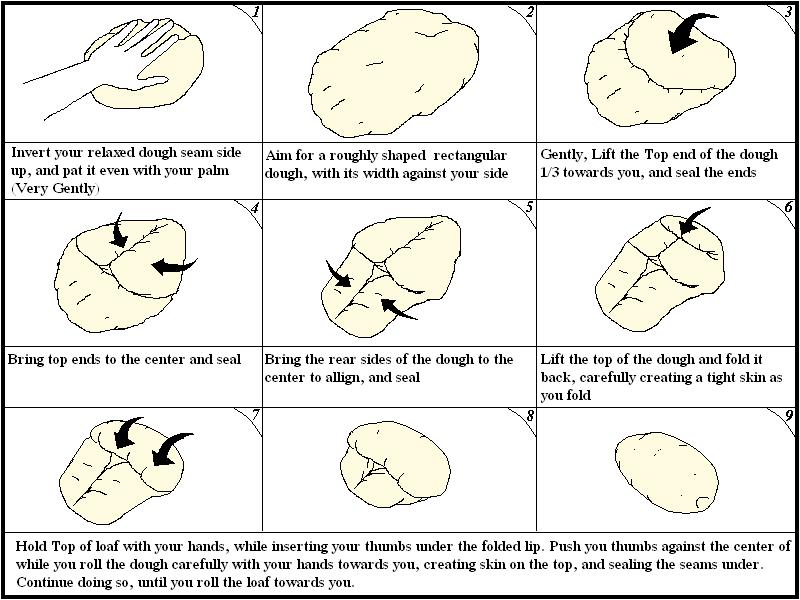
Using the rounded end of my scraper I gently tipped the dough out of the bowl (note I didn't bother using oil, flour, etc. in the bowl last night) and I then gave it 3 gentle stretch and folds with the forth being used to turn it over then it was chaffed into a rough boulle. This is what I consider to be the only real special "technical" part of making this bread. Normally I'll have a tub with 4 or 6 loaves worth of dough in it which I'll tip out, stretch/fold then divide up using scales and roughly shape into boulles.
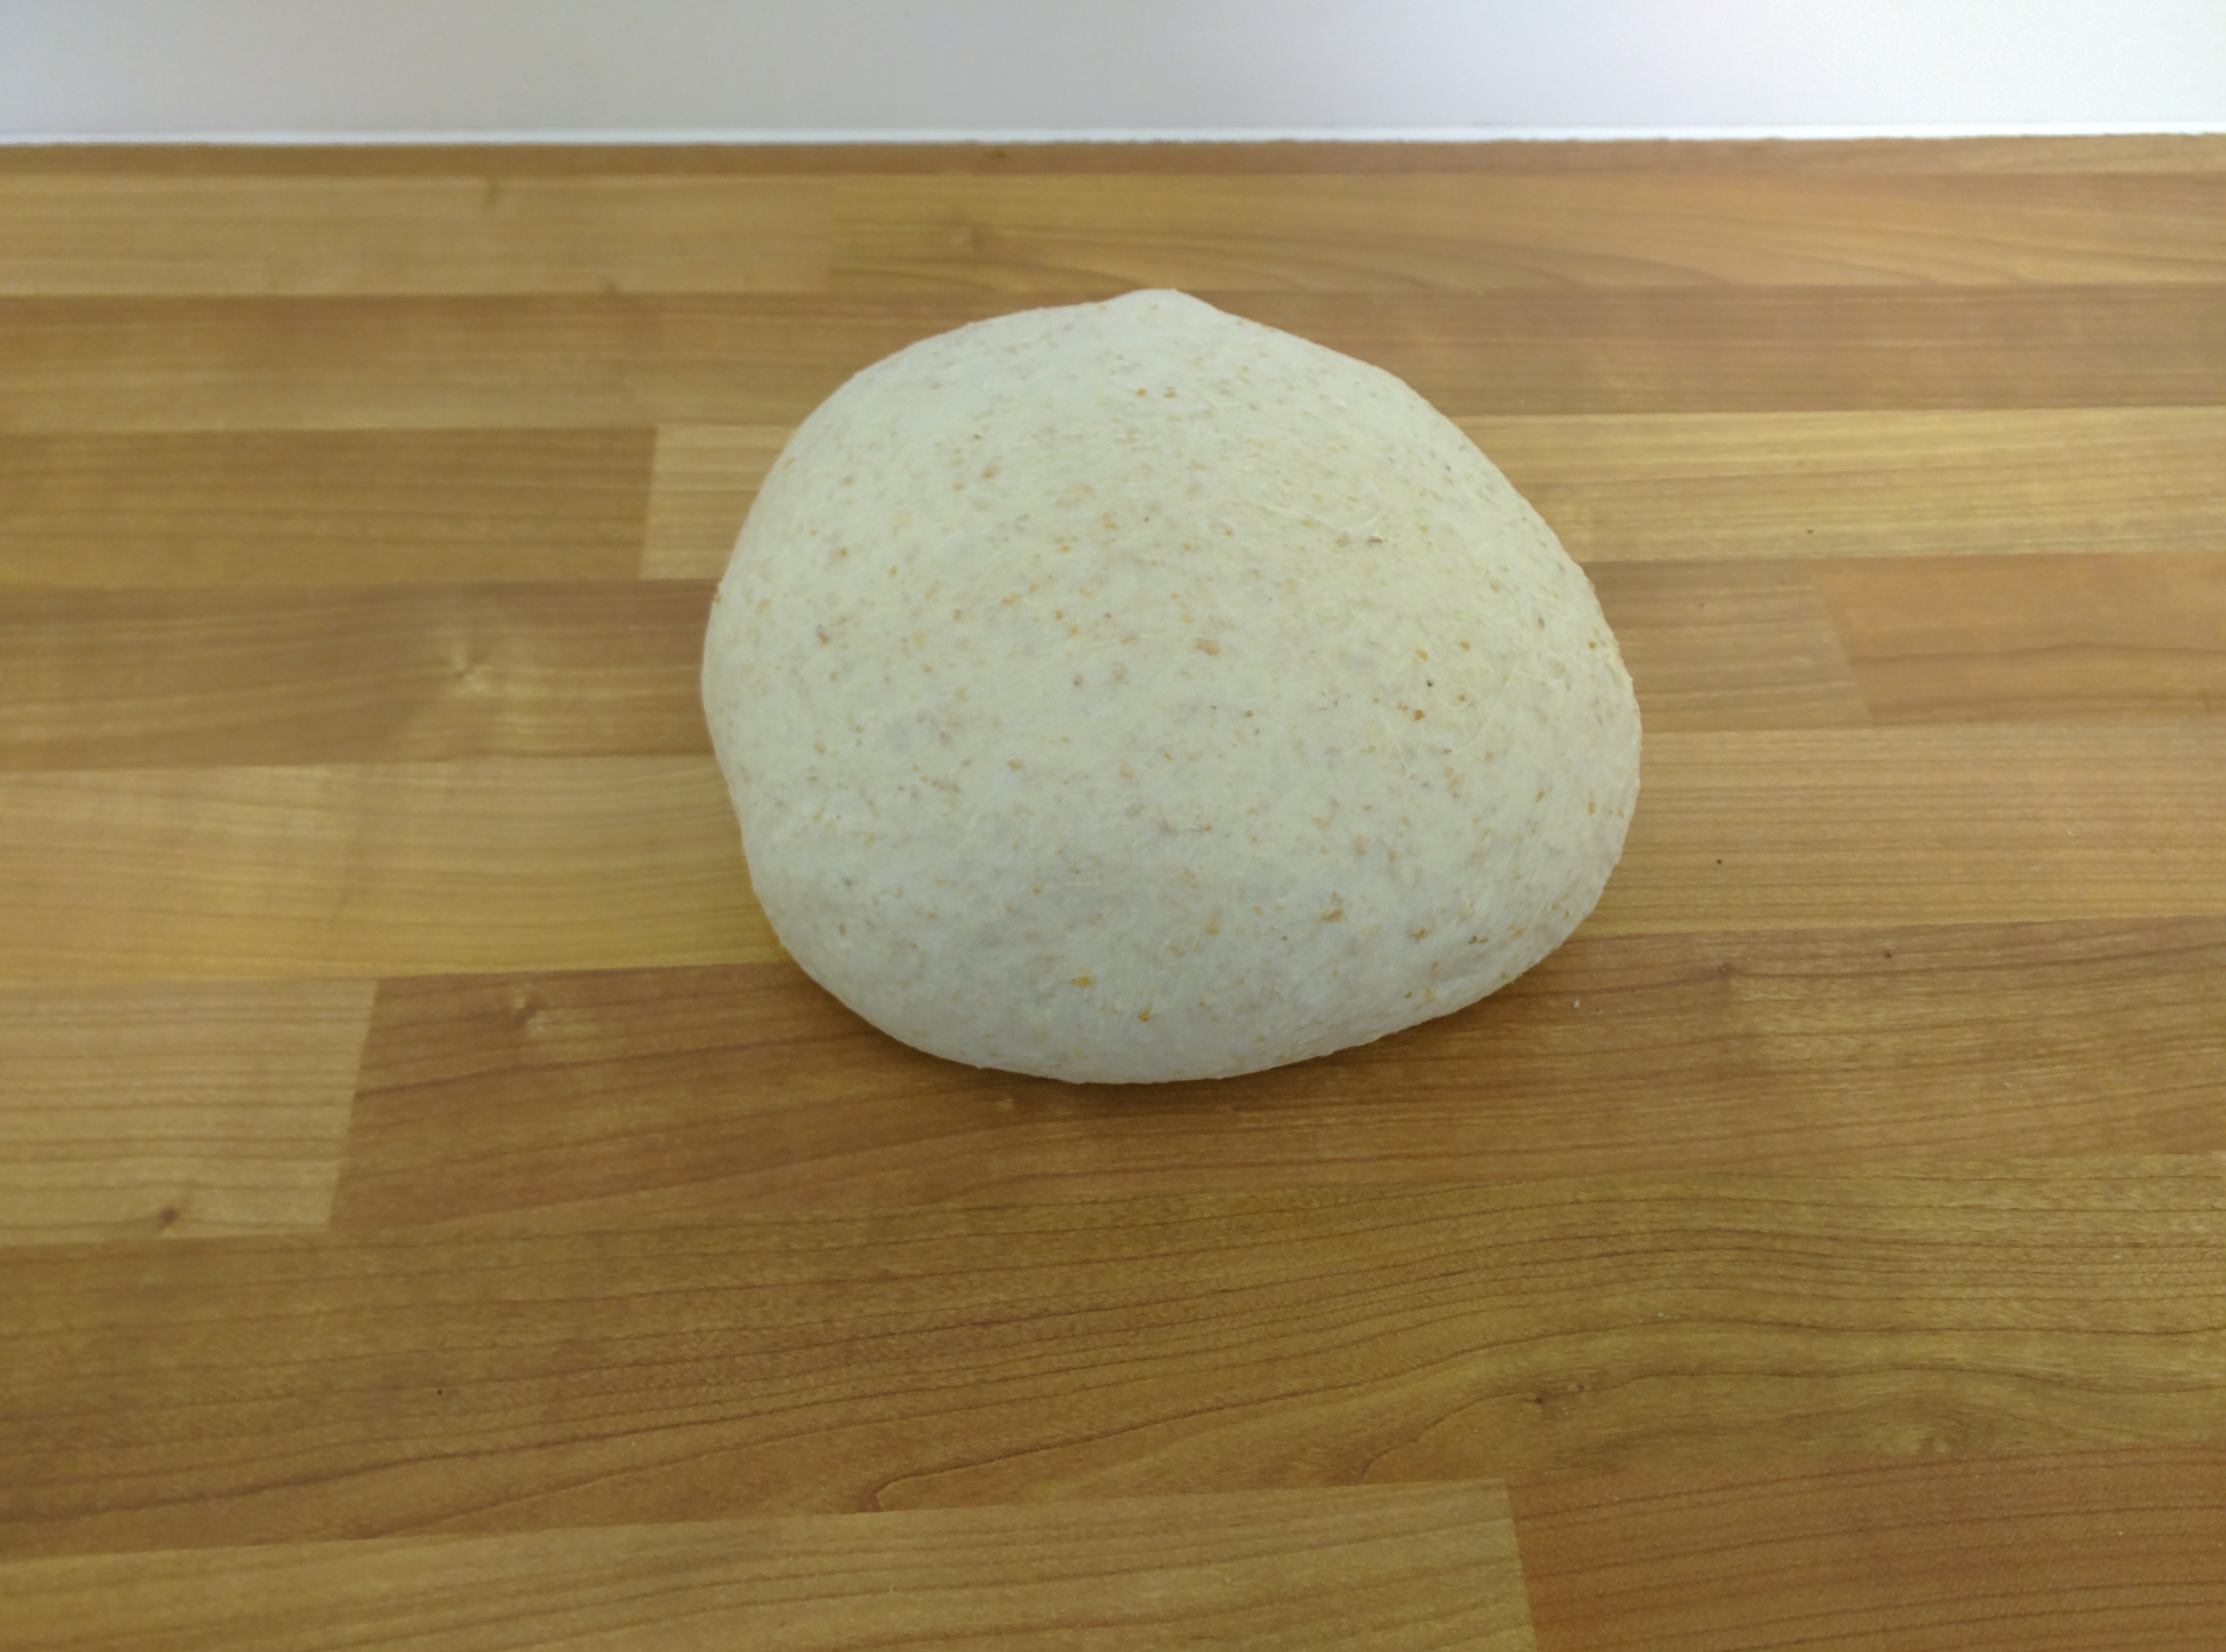
A rough boulle.
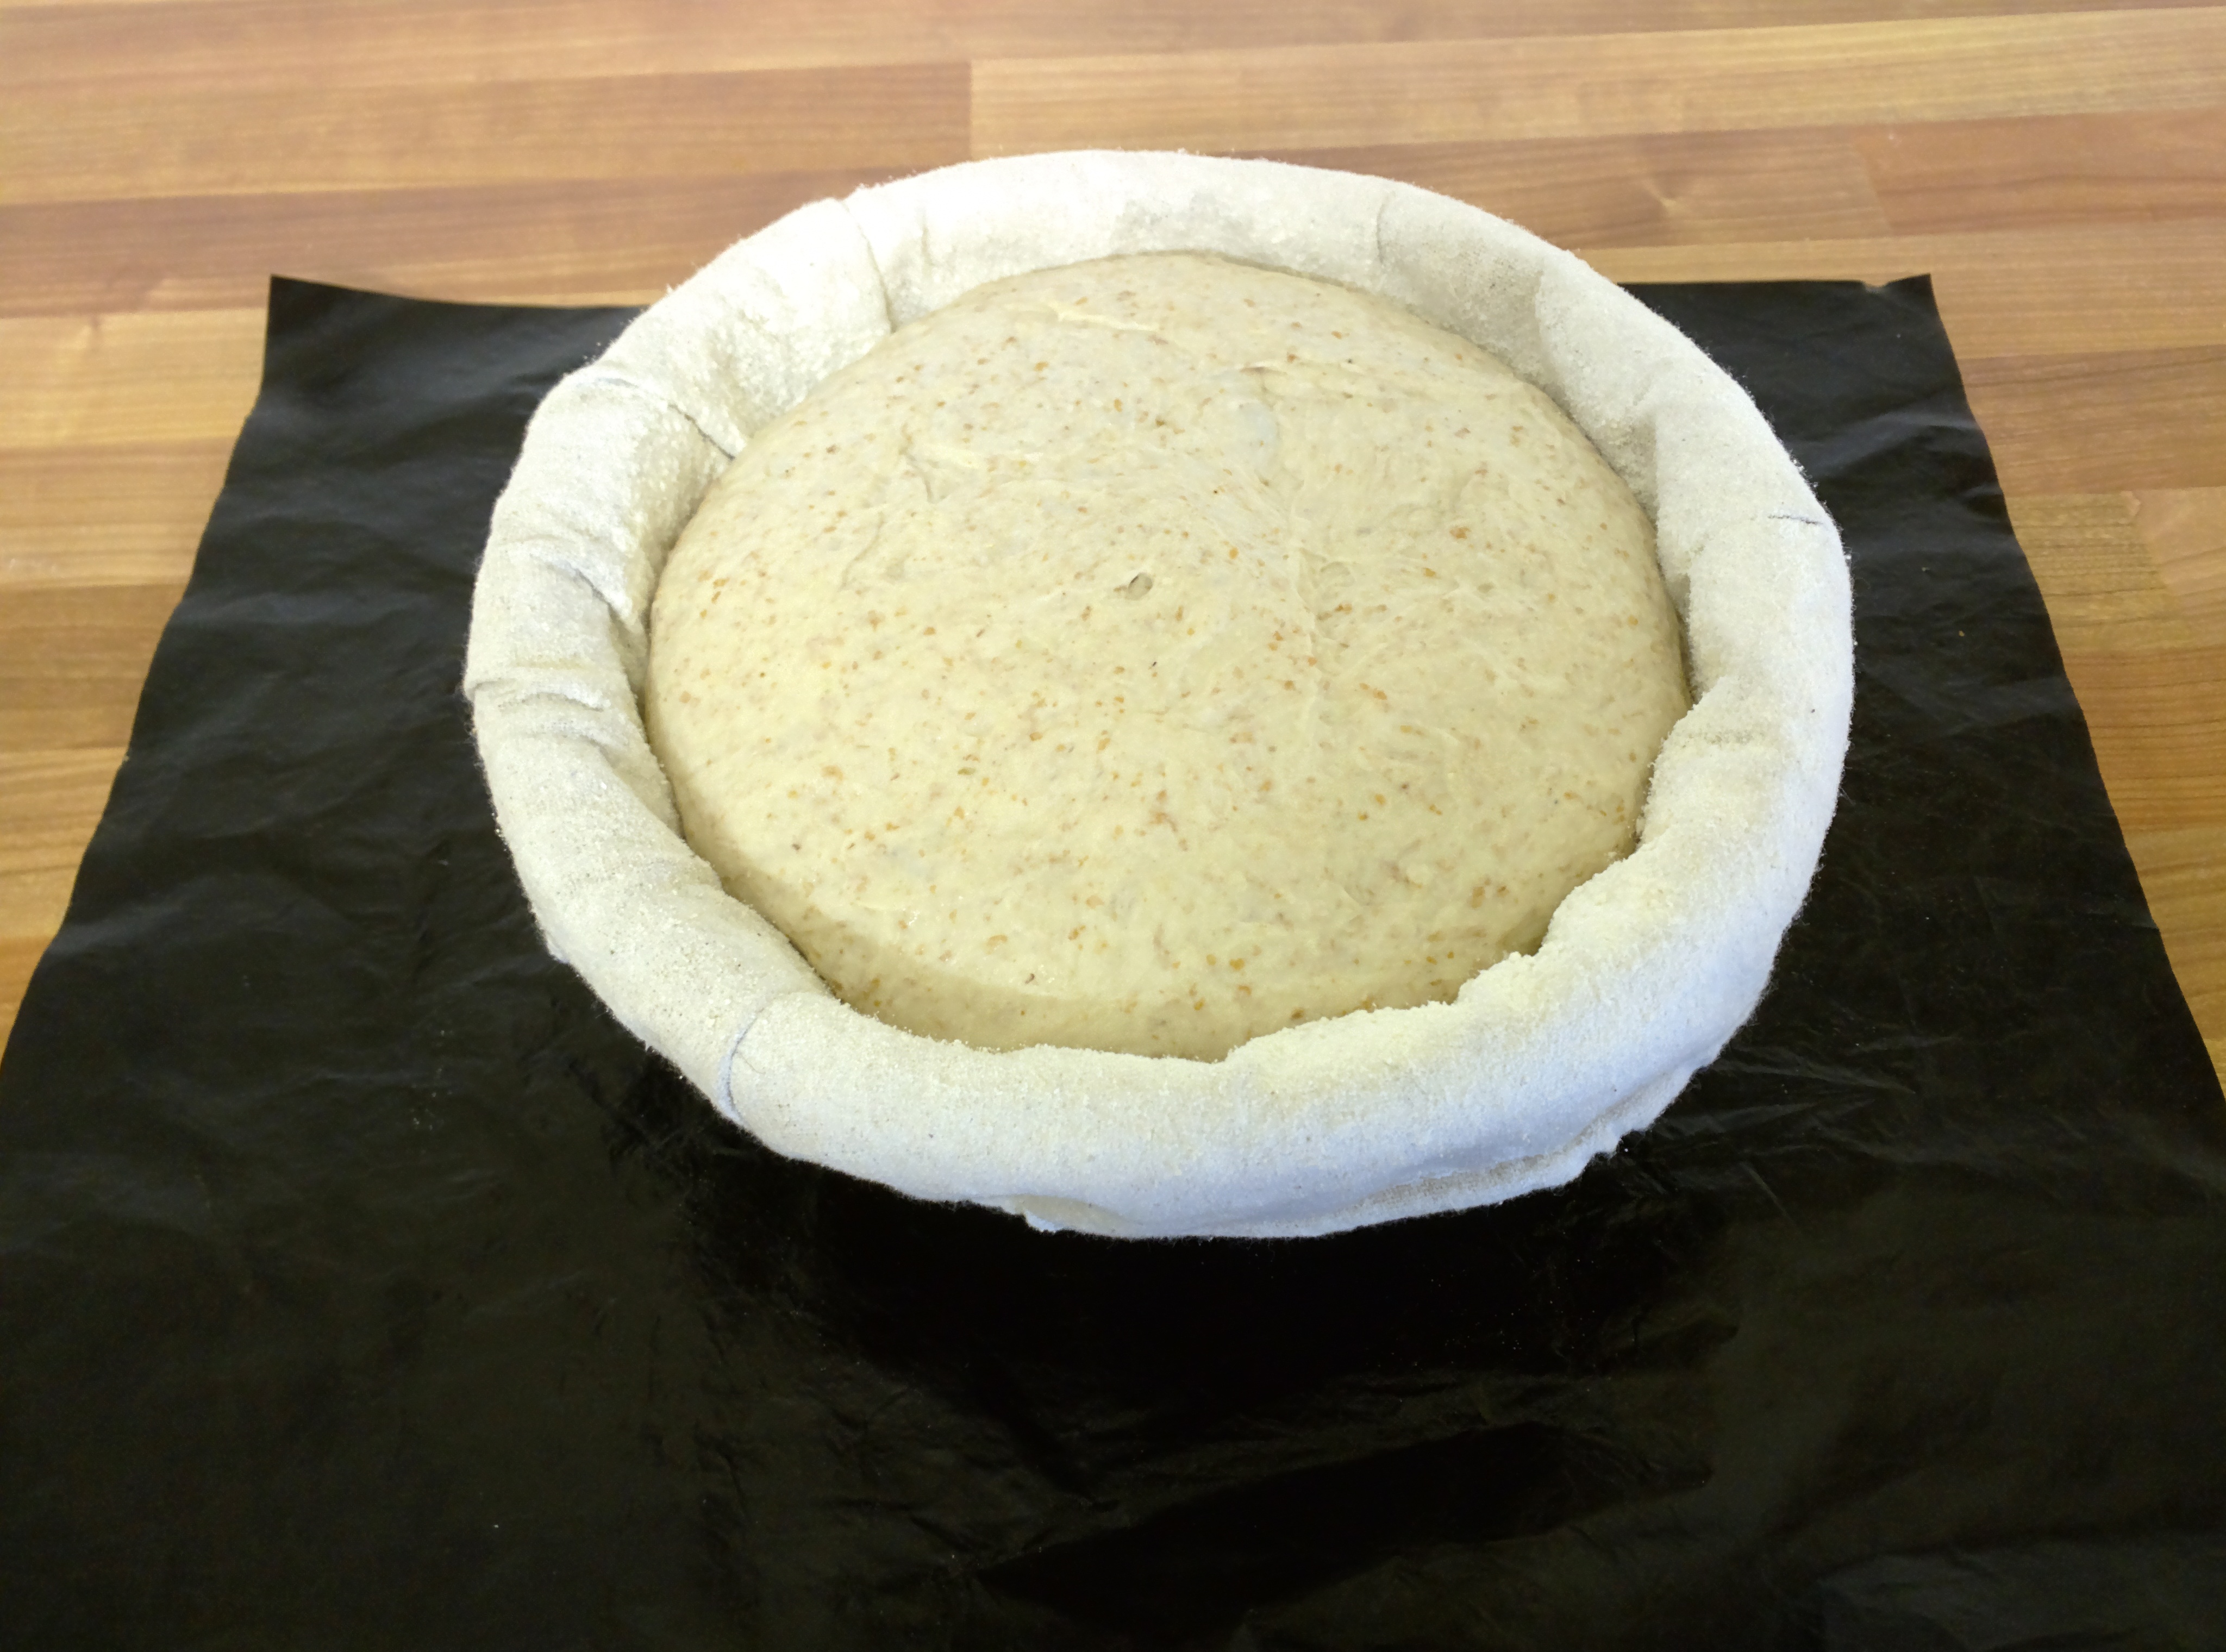
I then left this for 10 minutes "bench rest" while I busied myself with other stuff then prepared a lined basket for it to prove in.
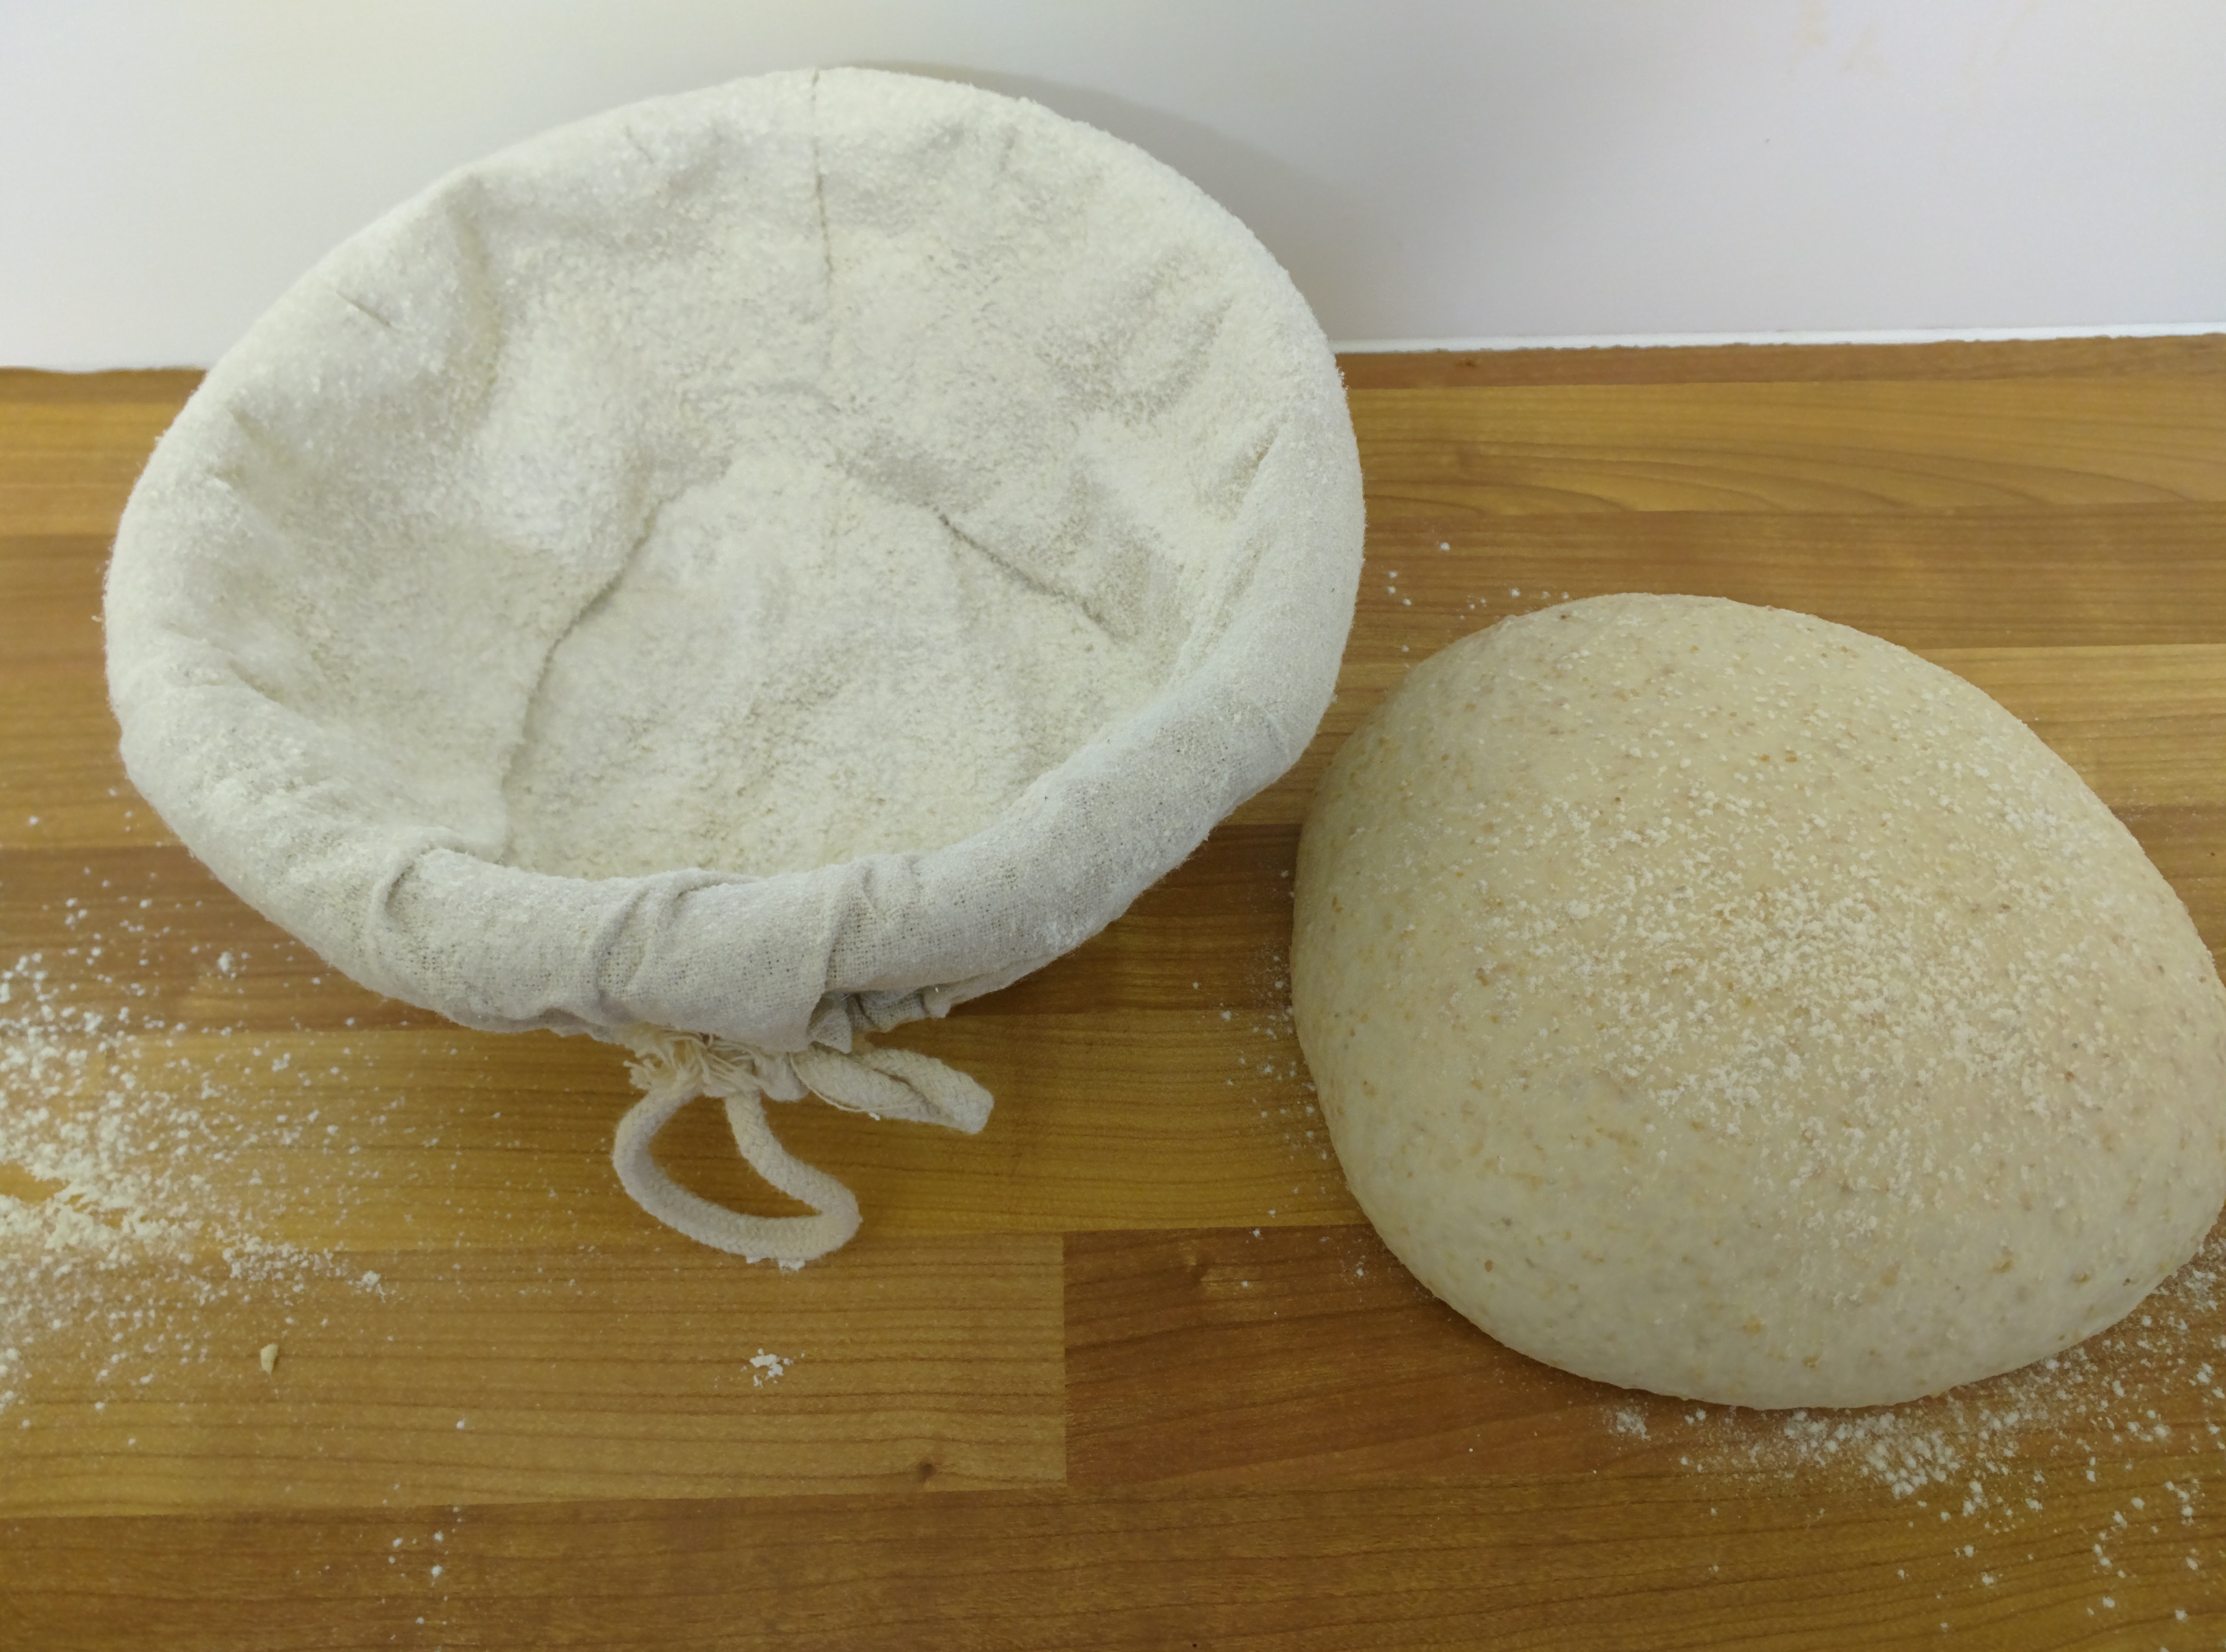
I floured the inside of the basket and just a little on-top of the dough.
Next the dough was flipped upside down and degassed/patted out:
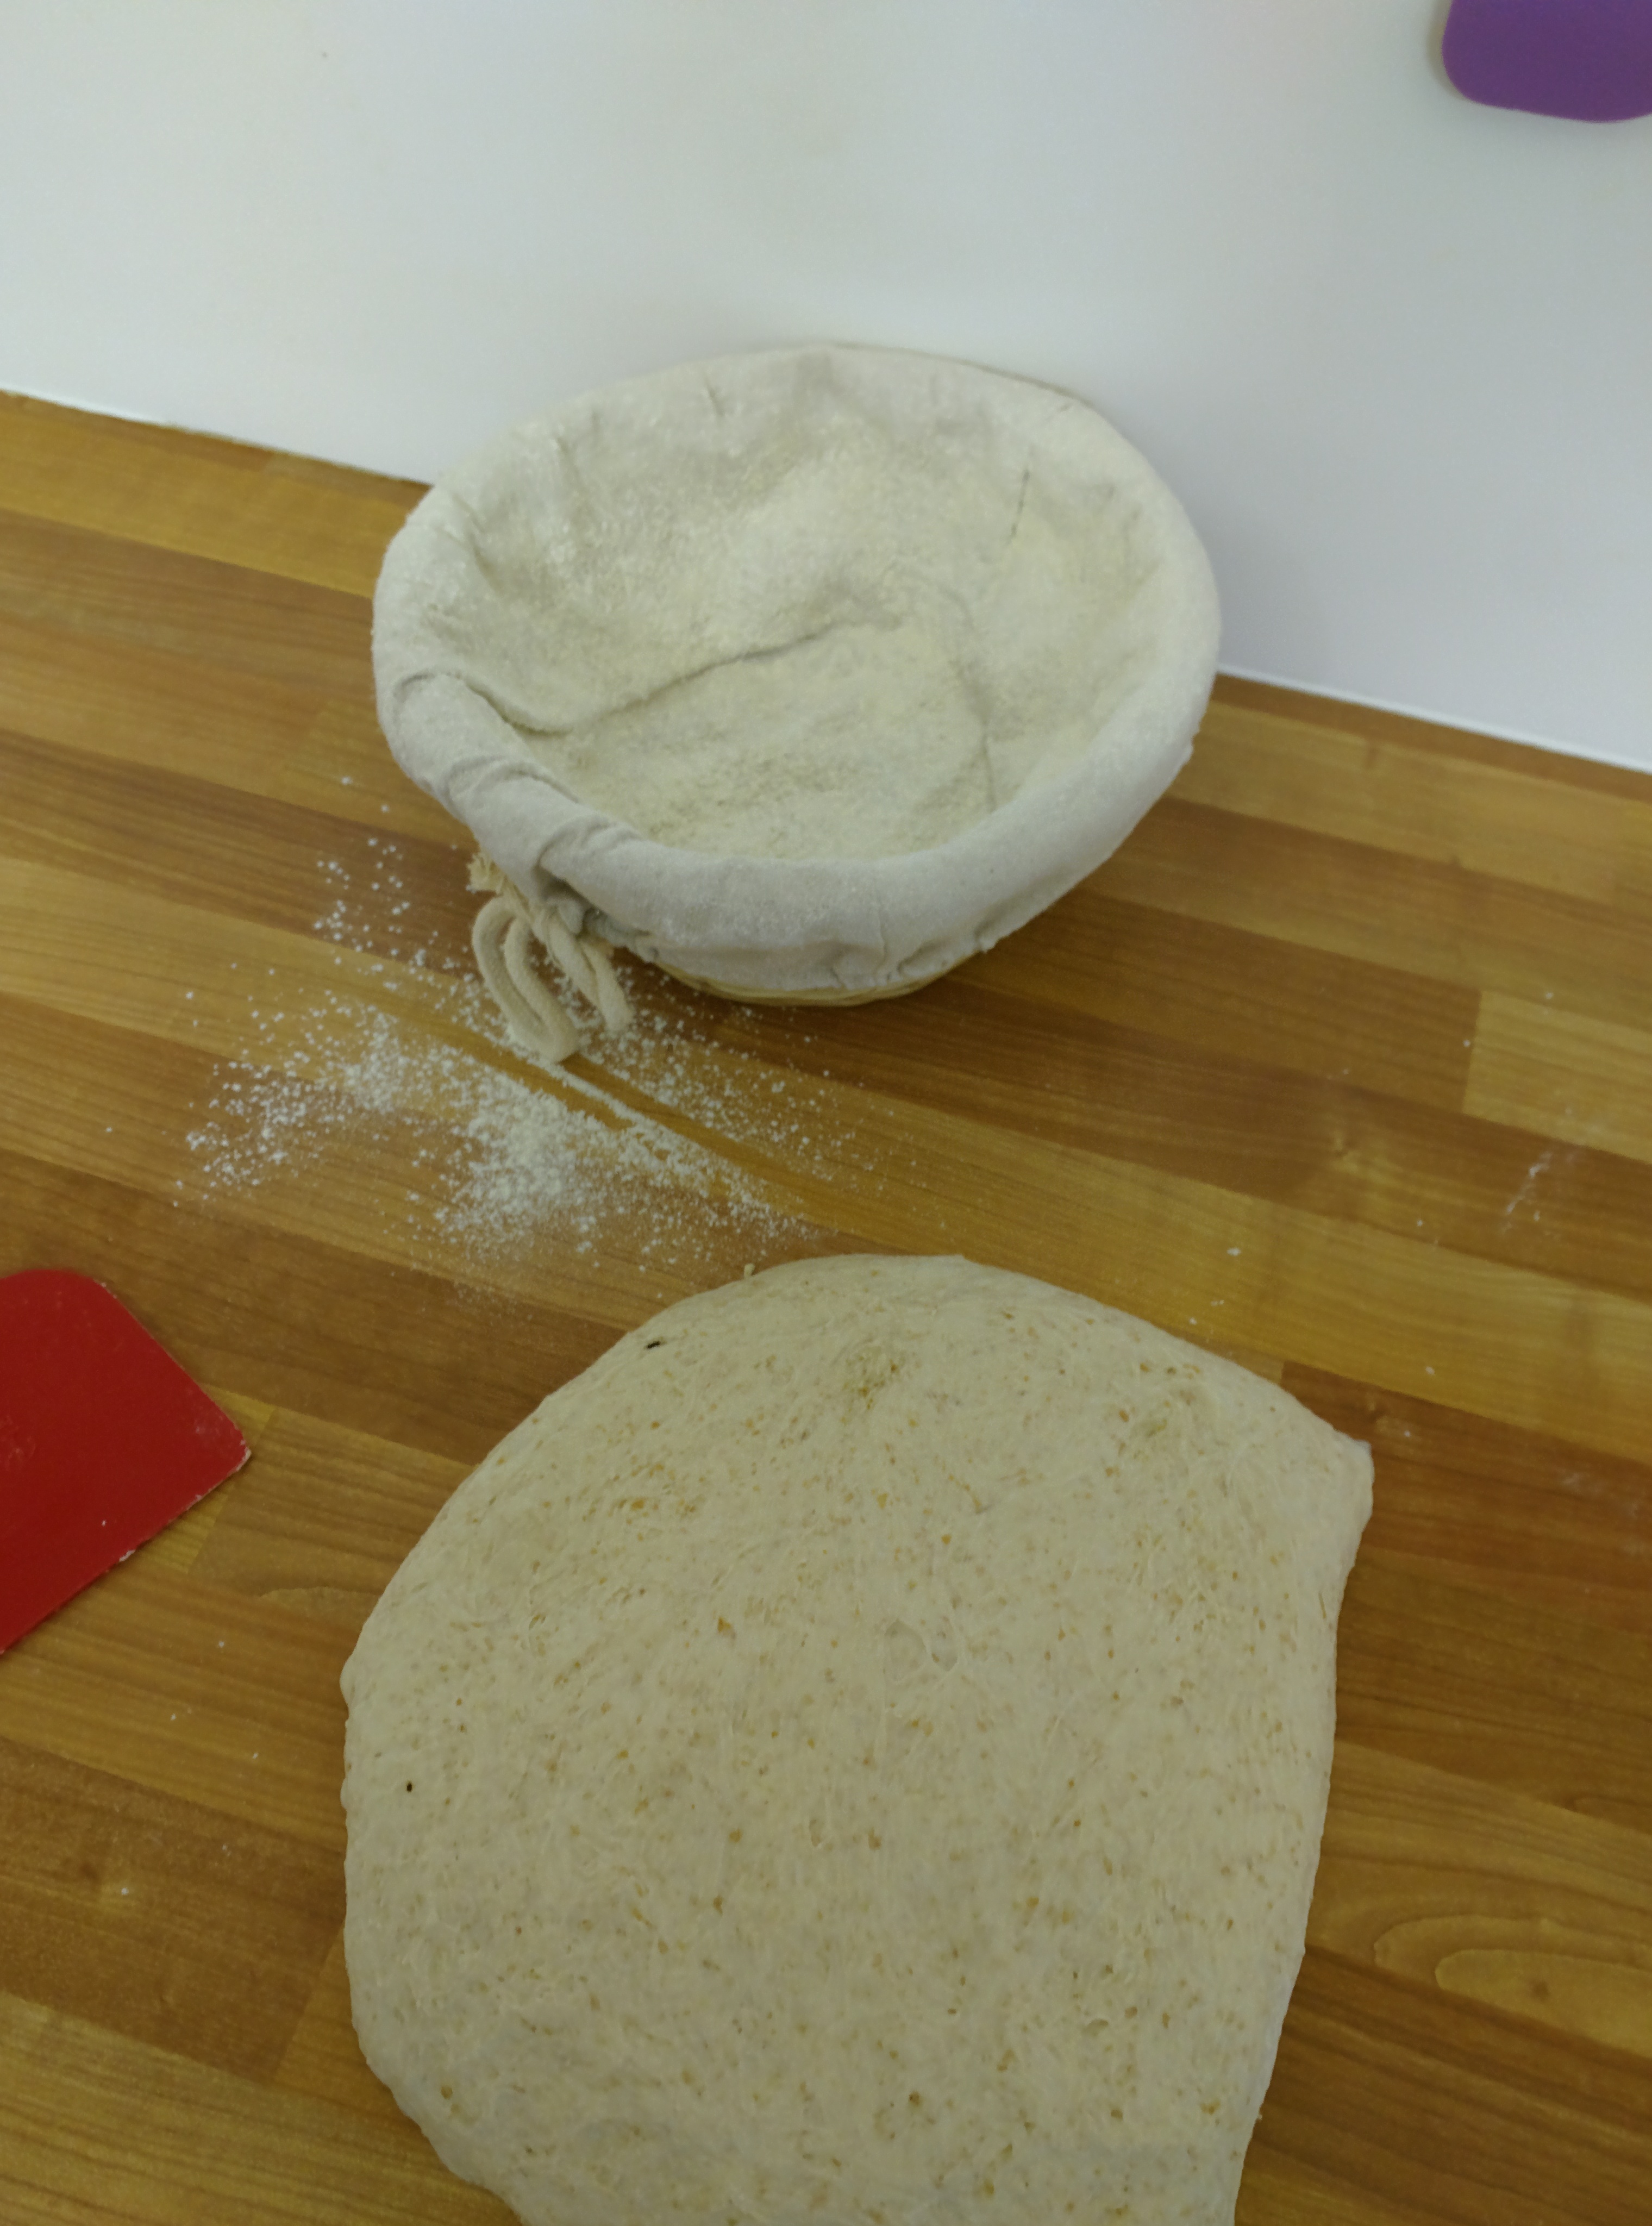
I then shaped it into a boulle by lifting the top, gently stretching it and folding it over the dough, then doing the same 5 mote times, so at approximately the 3 O'Clock, 5 O'Clock, 7 O'Clock and 9 O'Clock positions, flipped it over and chaffed it into a boulle then put this seam side UP into the basket.
Just realised that photo is grossly out of focus, but you might be able to see enough.
It was then covered and left in the bakehouse for about 1.5 hours.
It's now 9:30am. Proofed dough in the basket on top of a silicone baking sheet (like a re-usable baking parchment)
Meanwhile half an hour earlier I turned the oven on to 250°C and put a pizza stone in it.
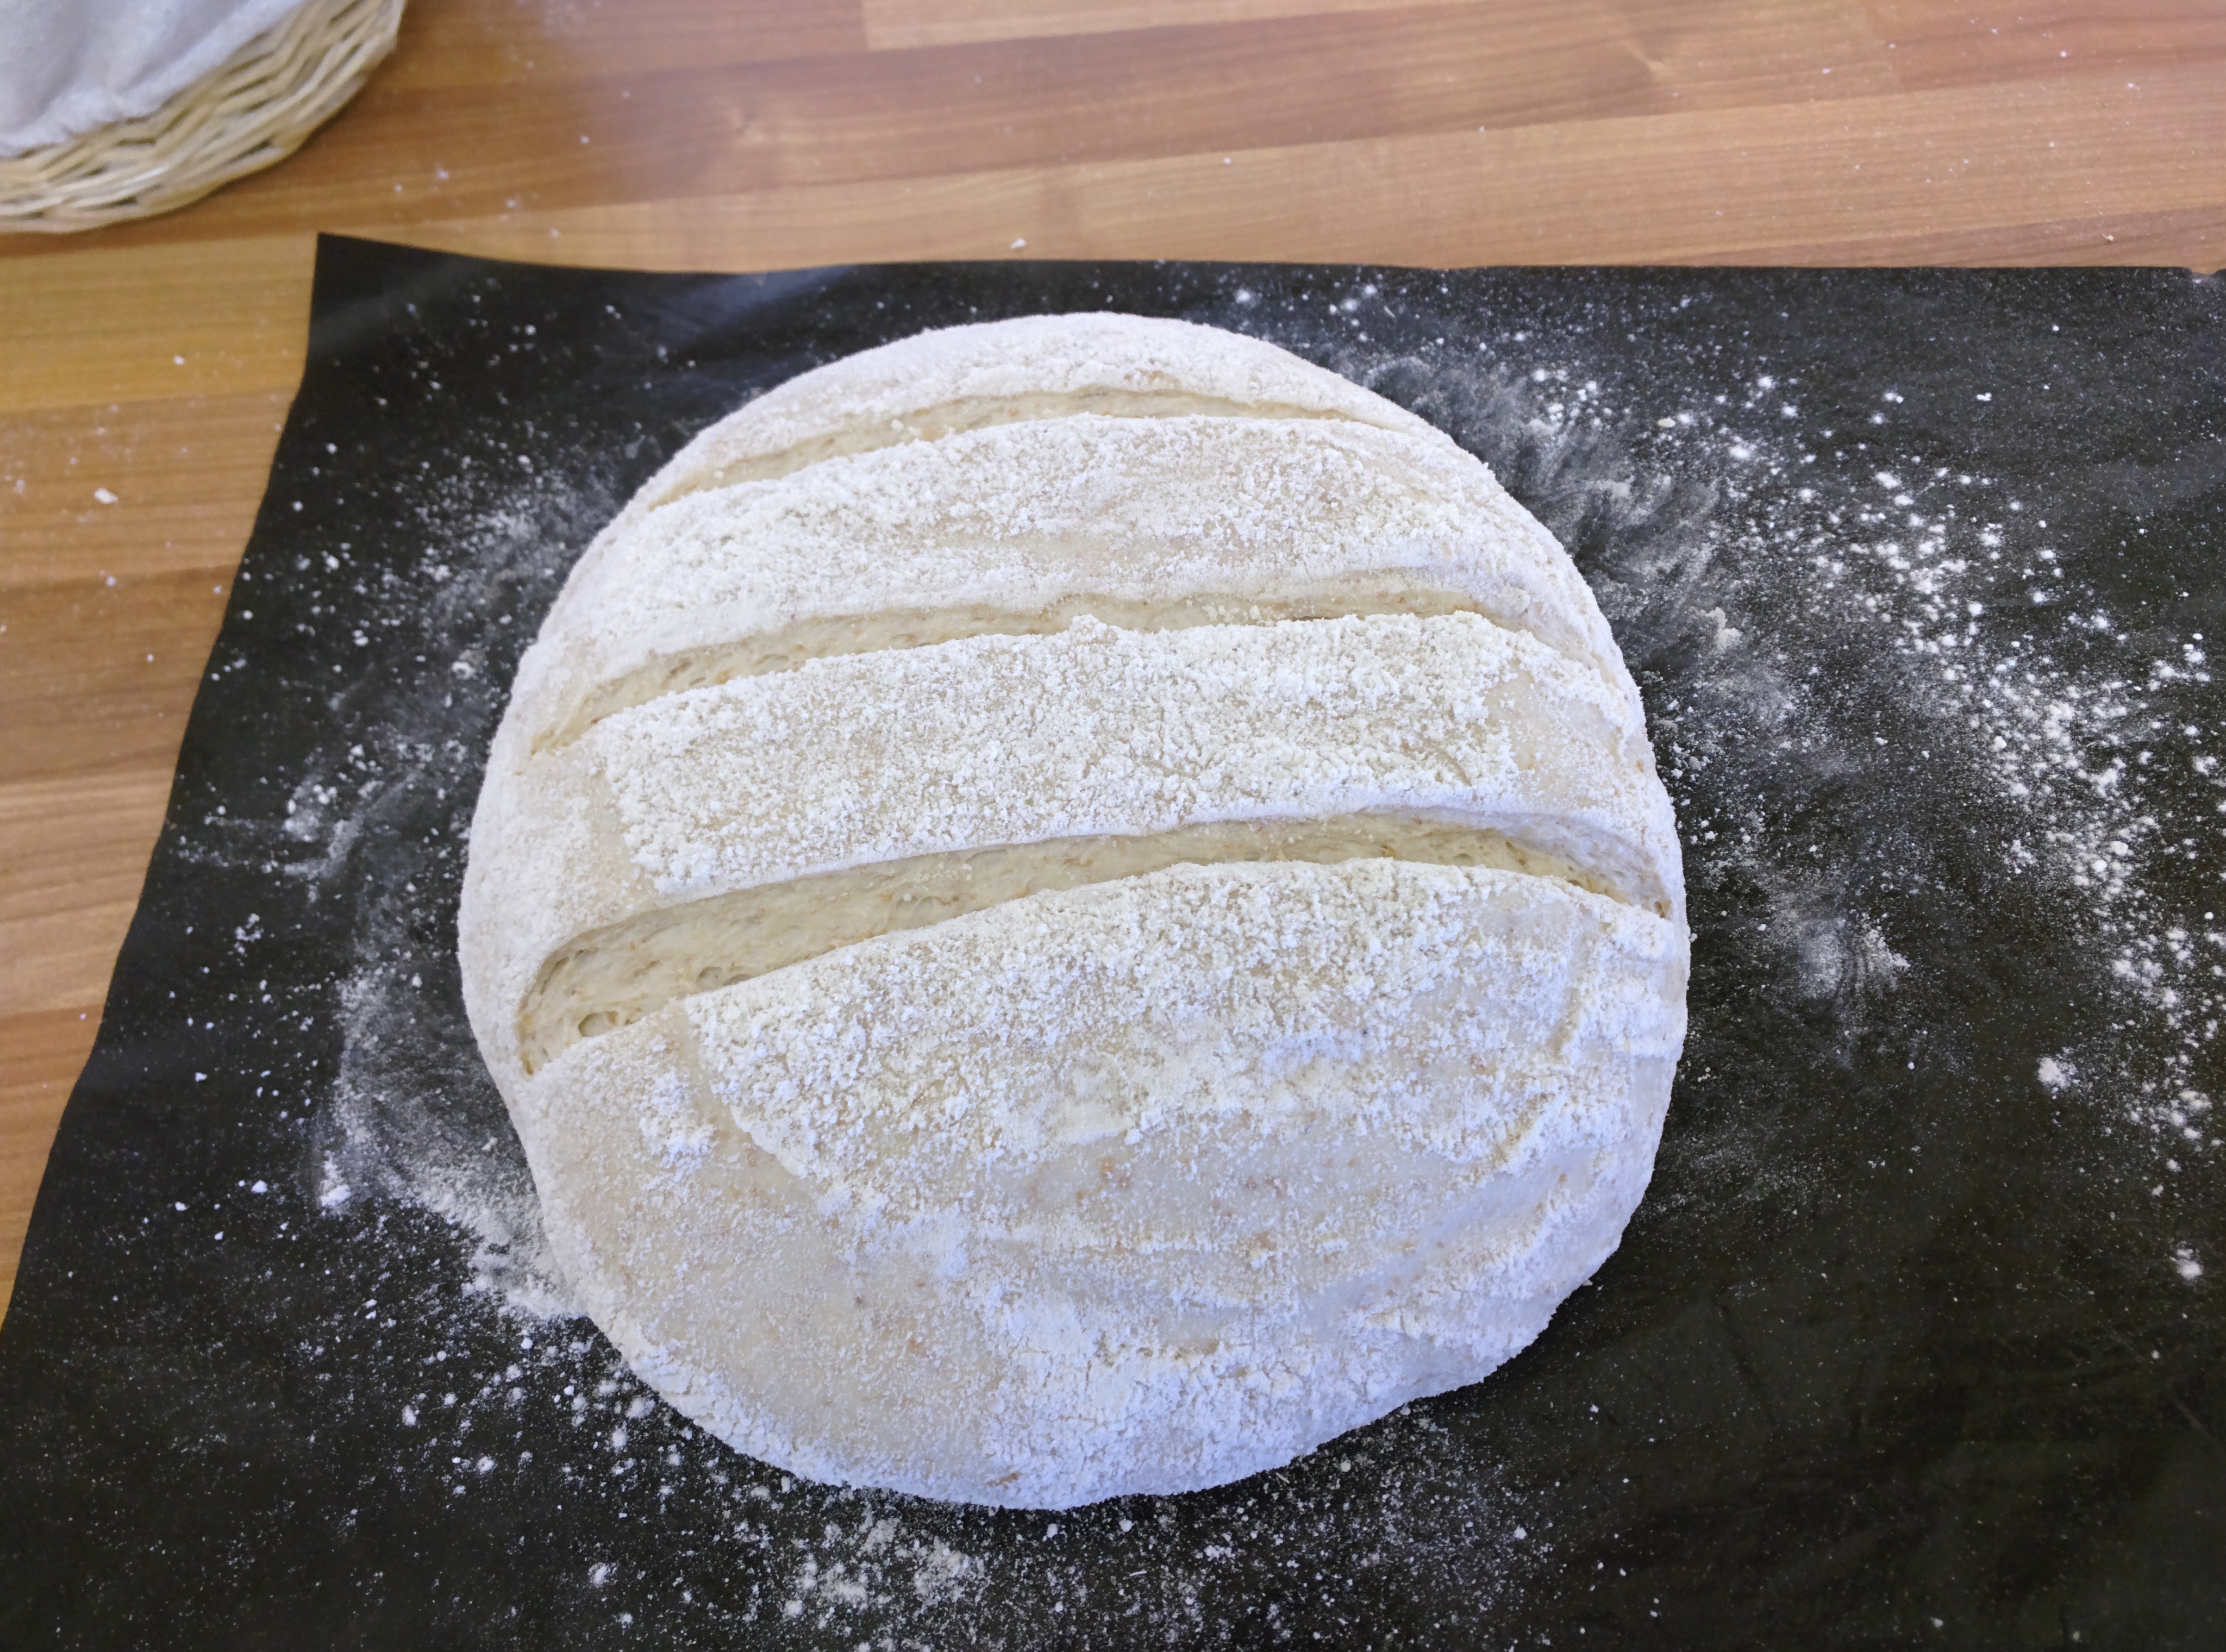
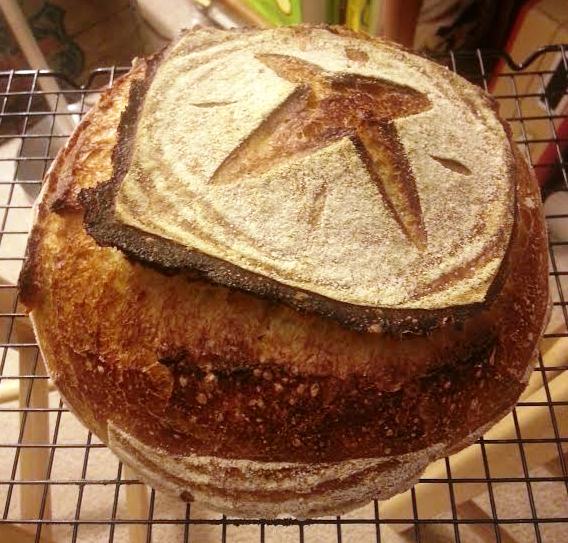
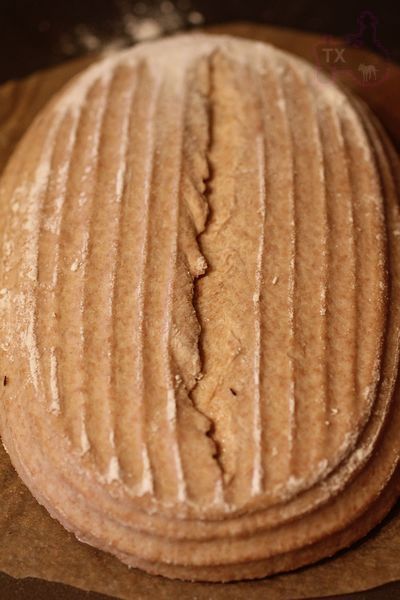
I flip the dough out onto the sheet and make 3 slashes over it. Nothing fancy here - not looking for an "ear" just making sure that the dough will spread out in a direction perpendicular to the slashes, so rather than a round it comes out as a fat oval (which my customers seem to prefer for making sandwiches, etc.)
I use a peel to transfer it into the oven onto the stone and throw a cupful of water into the tray at the bottom.
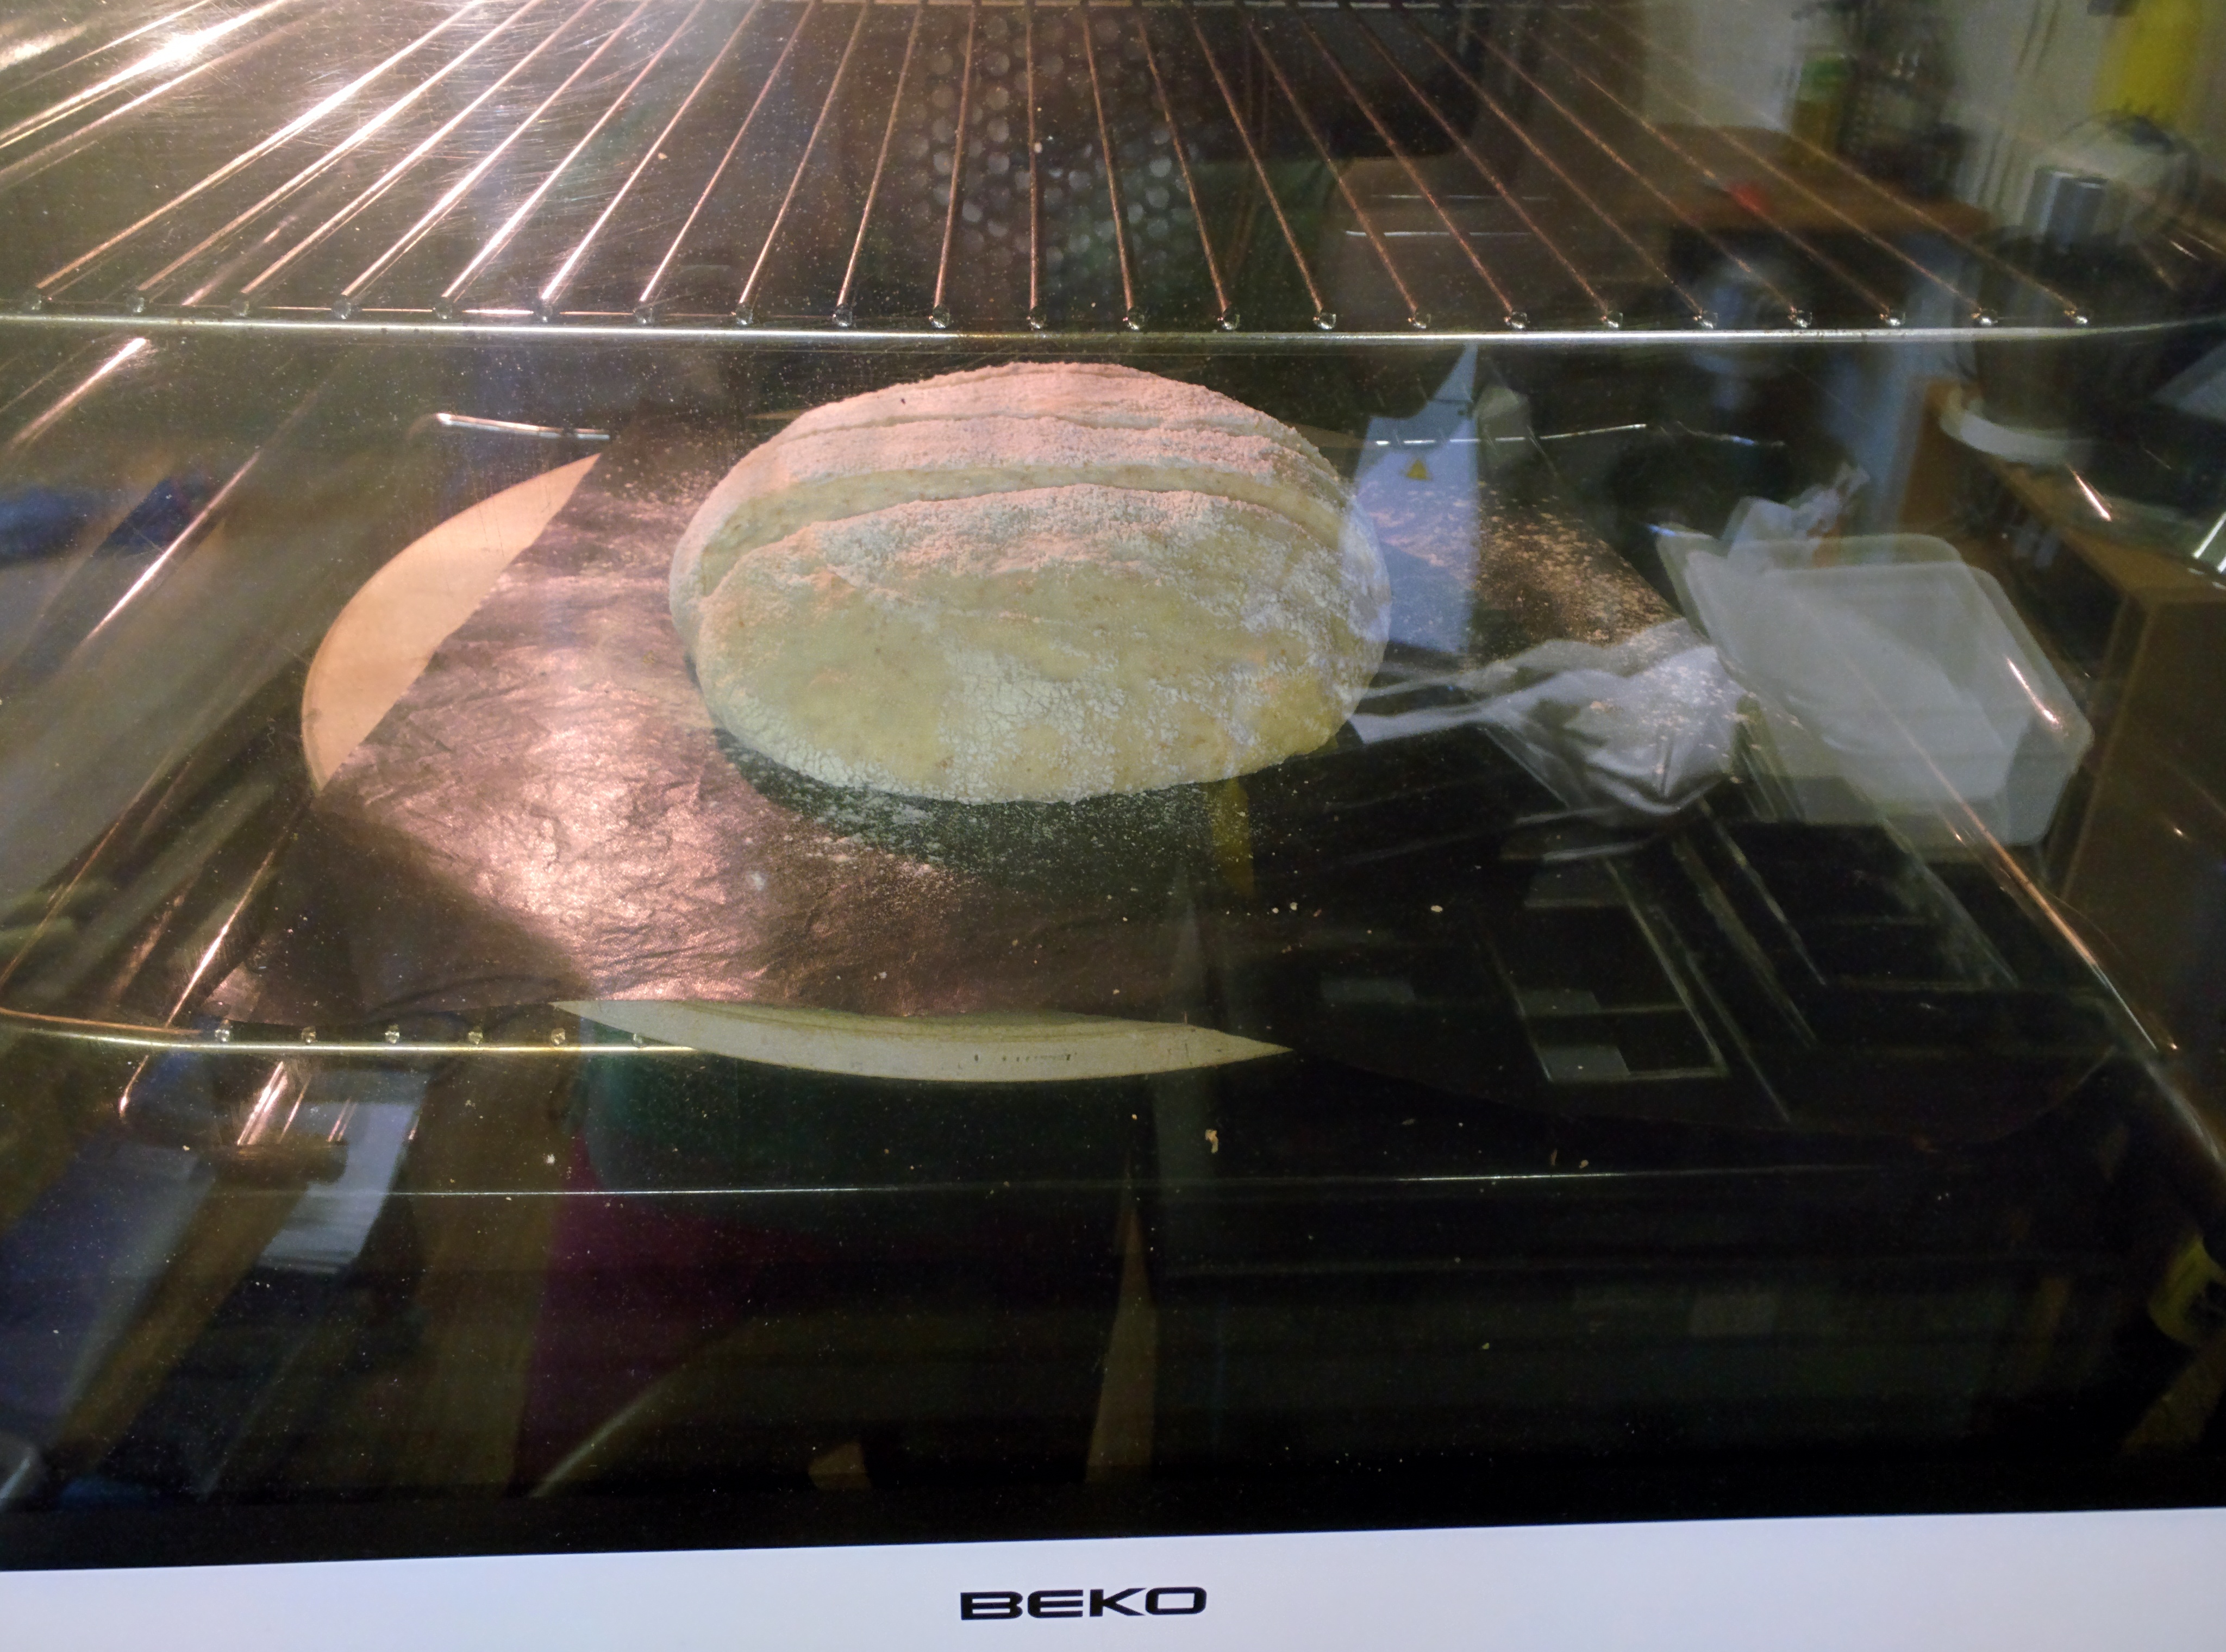
This is a cheap electric fan oven.
After 12 minutes I open the oven, remove the silicone sheet (I don't have to, but have always done so) and turn the bread round (the oven doesn't bake evenly)
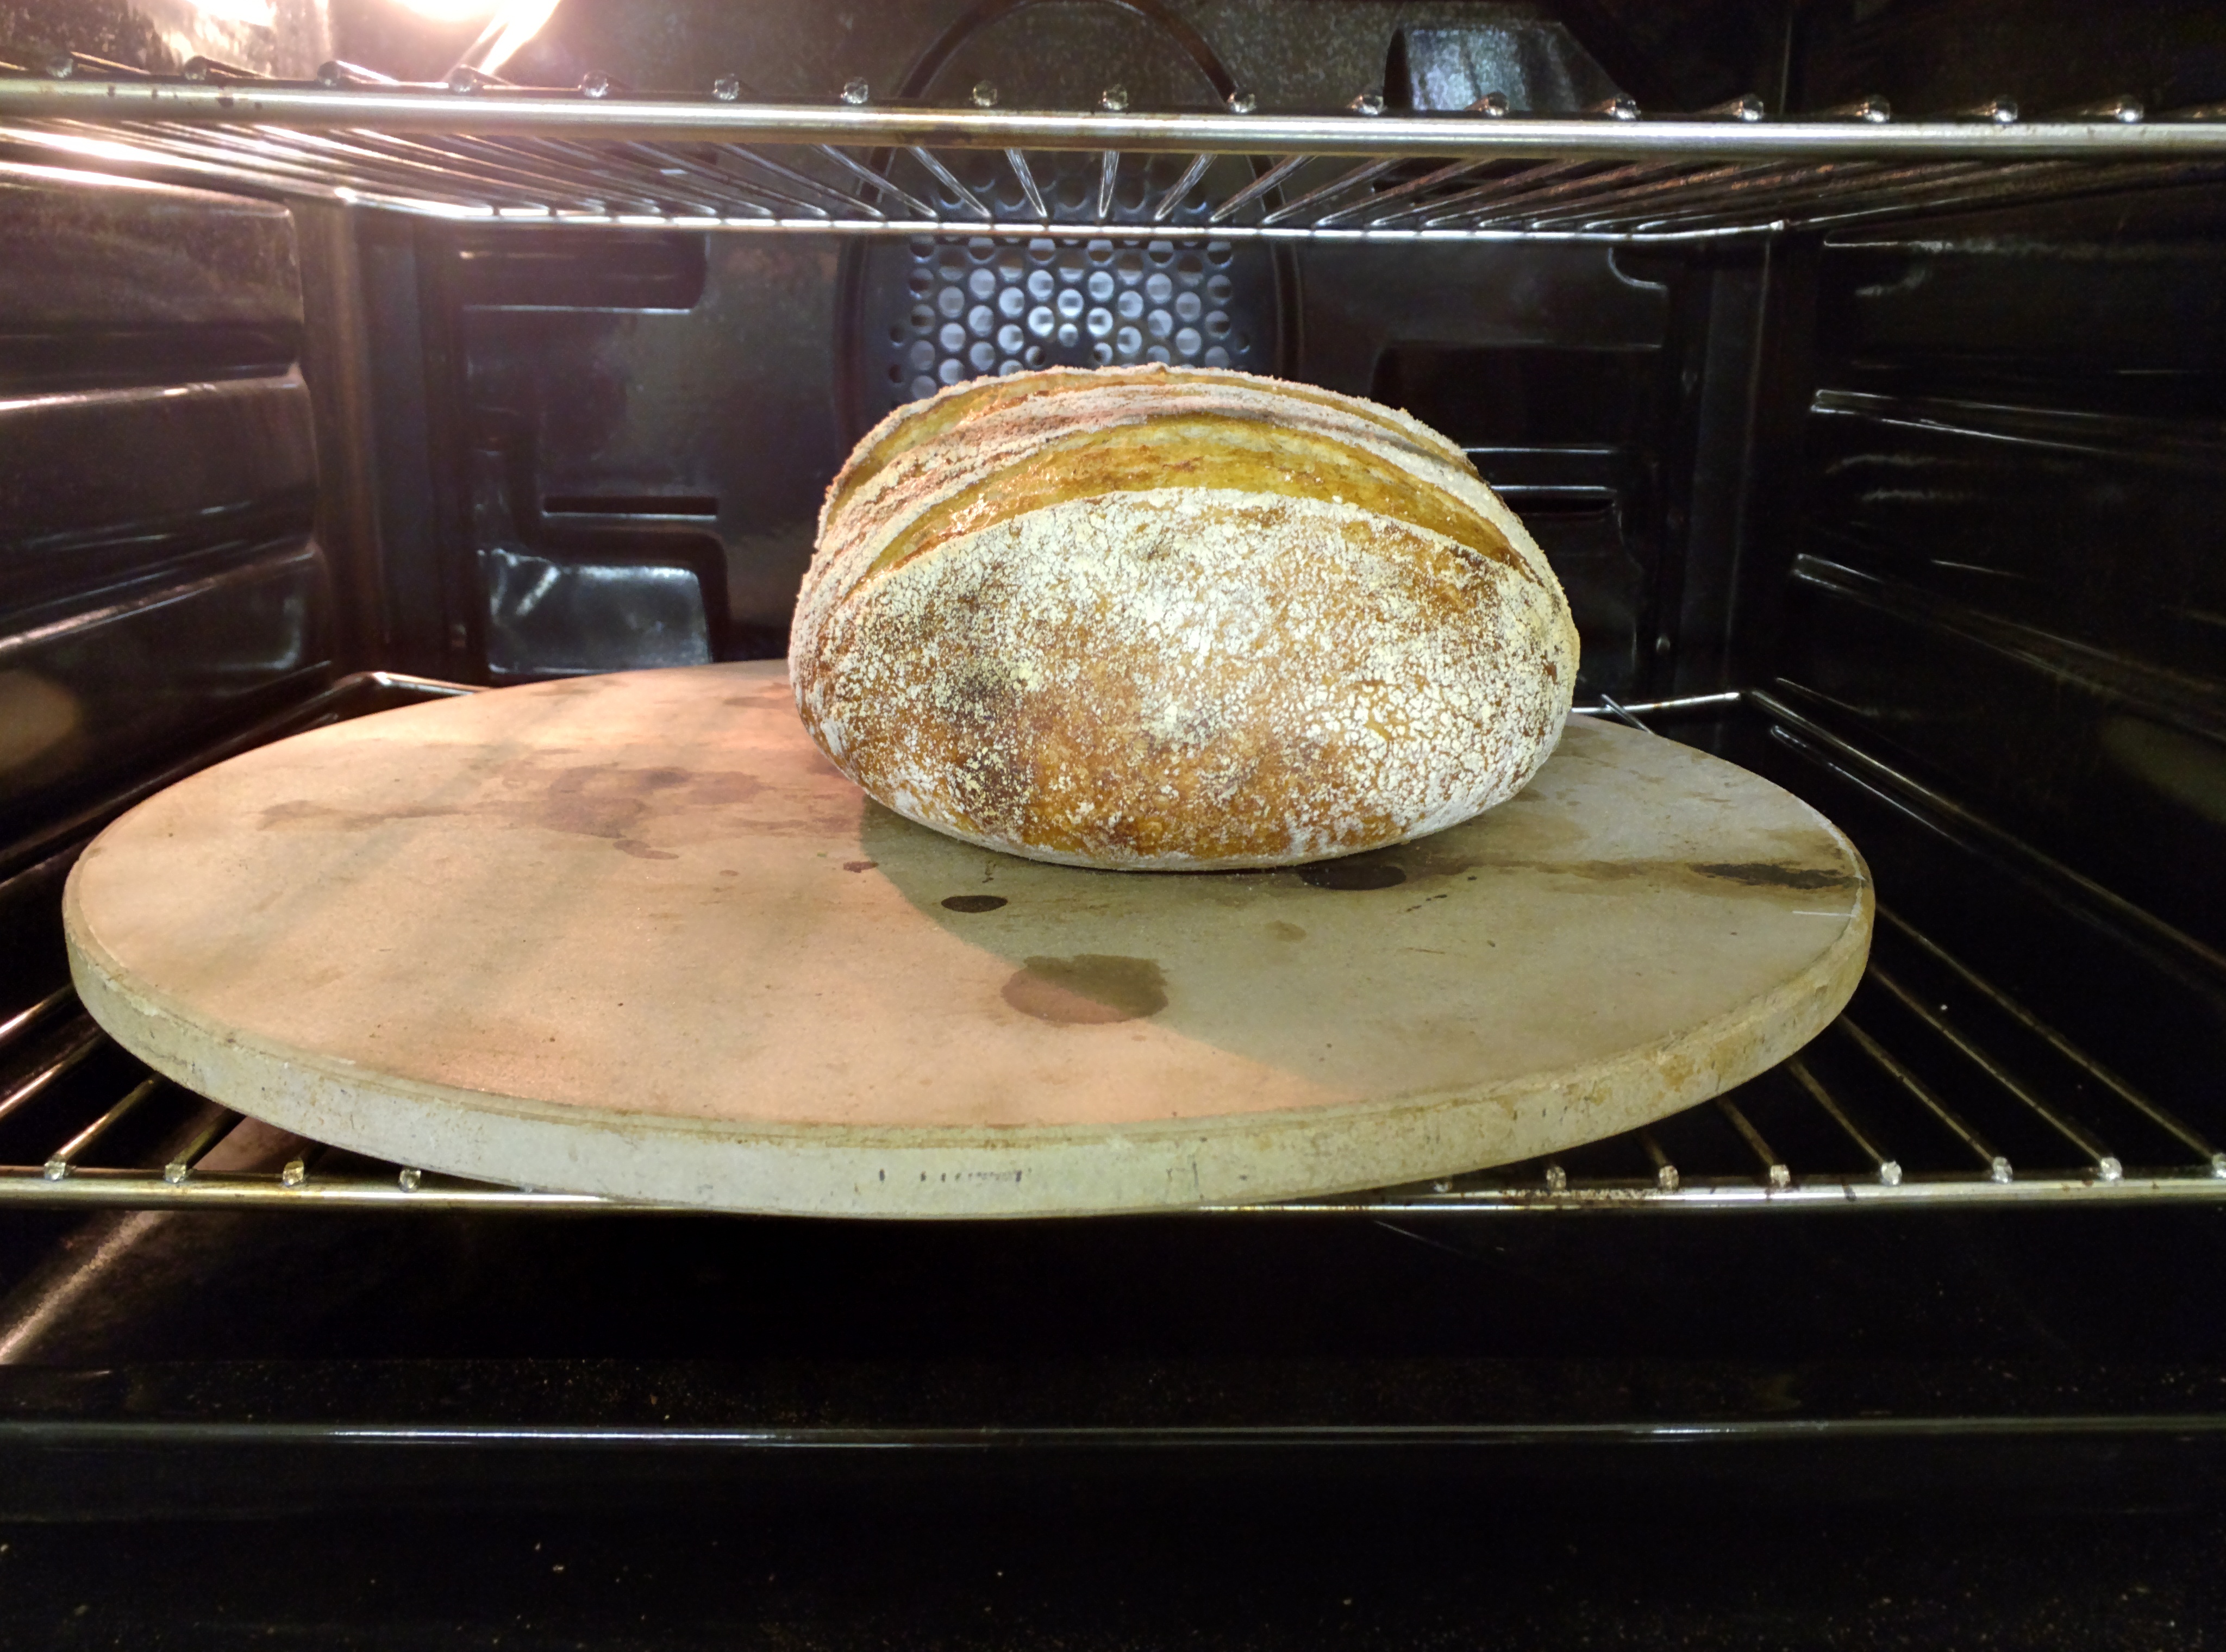
Close the door, turn the heat down to 210°C and leave it for another 24 minutes.
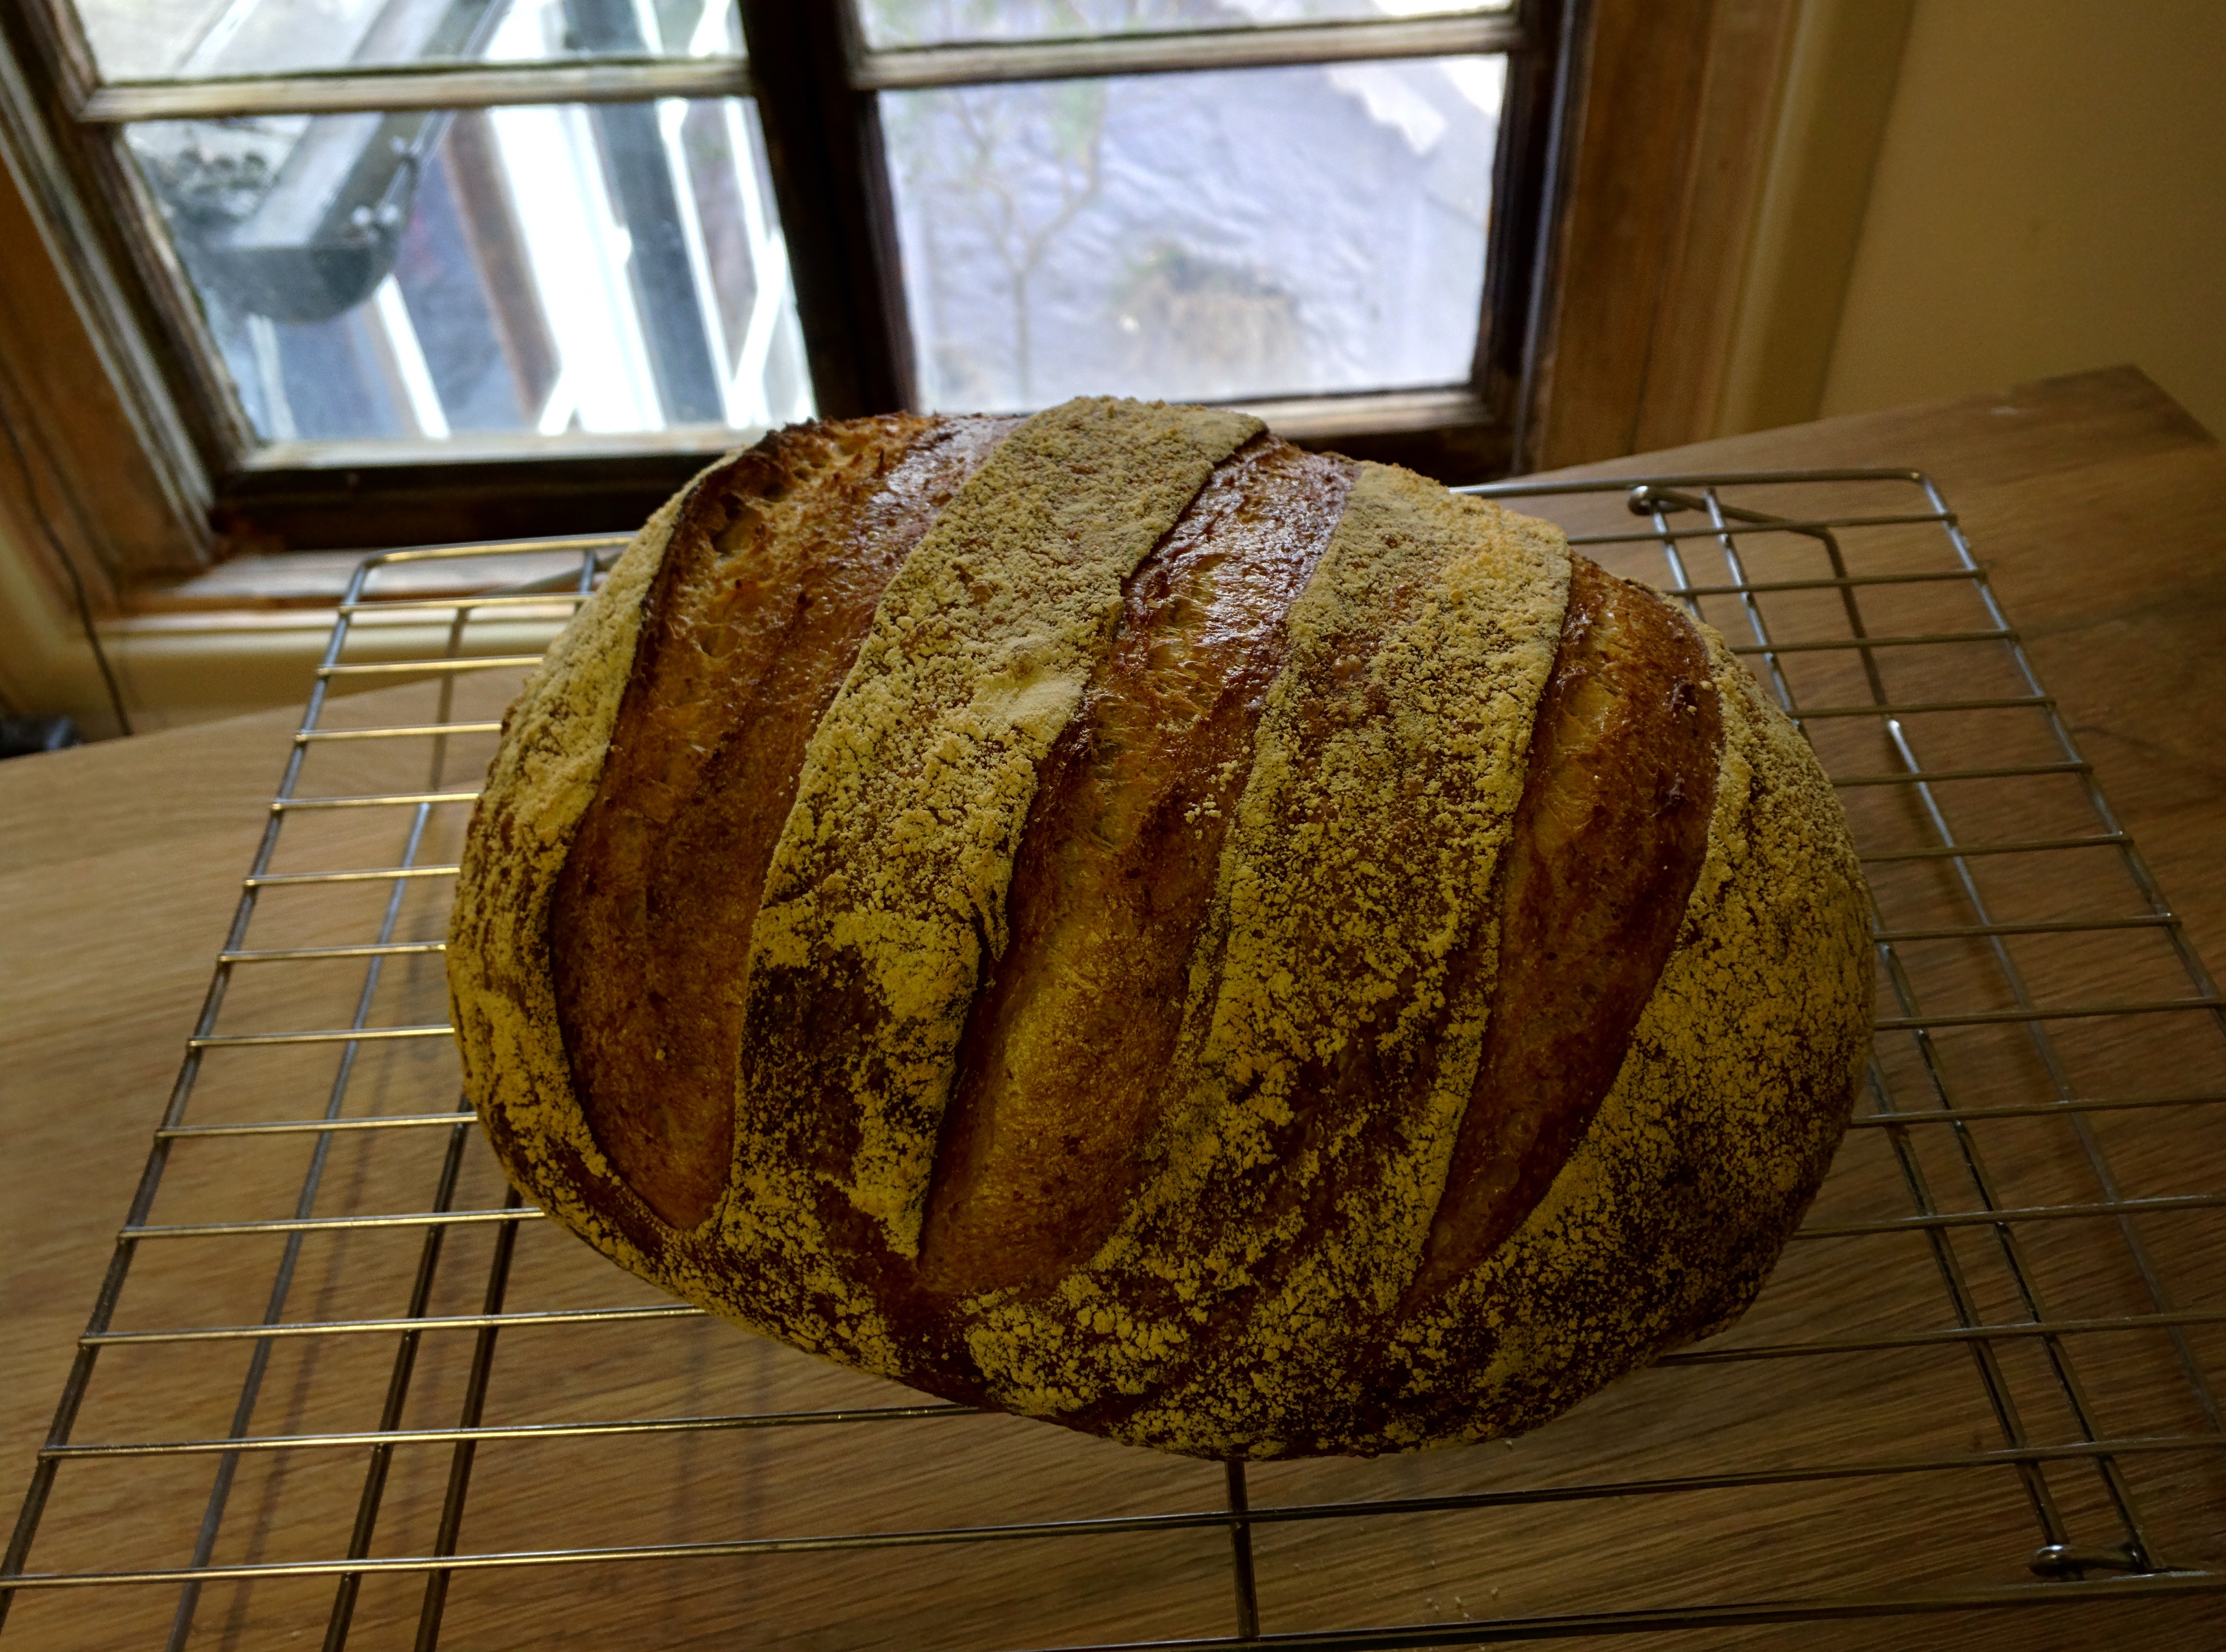
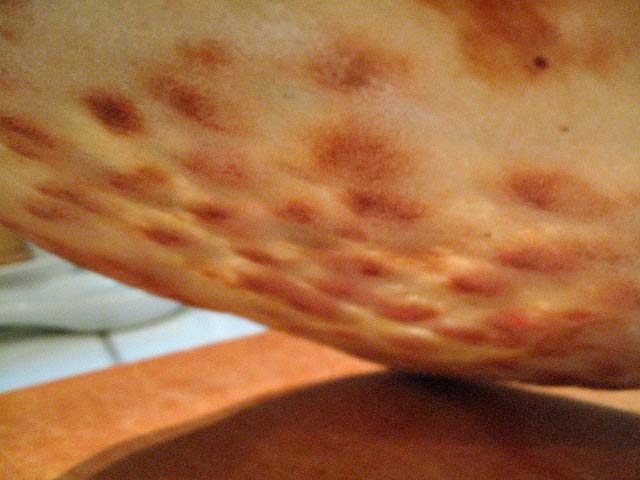
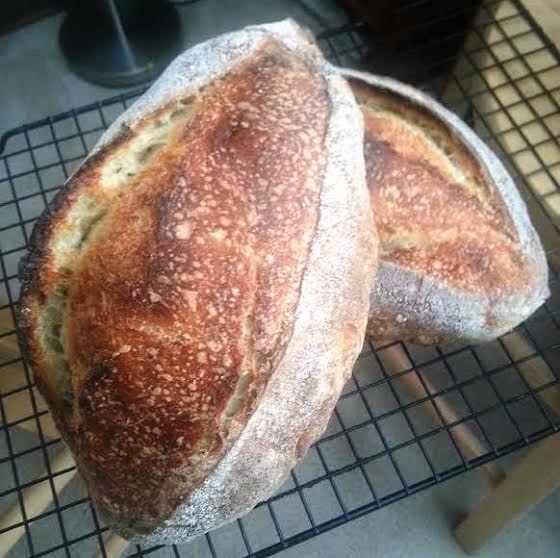
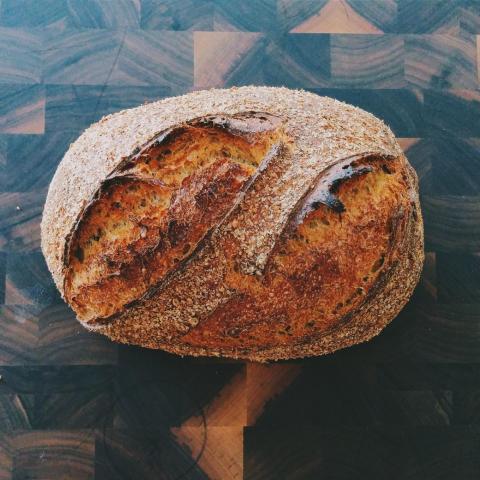
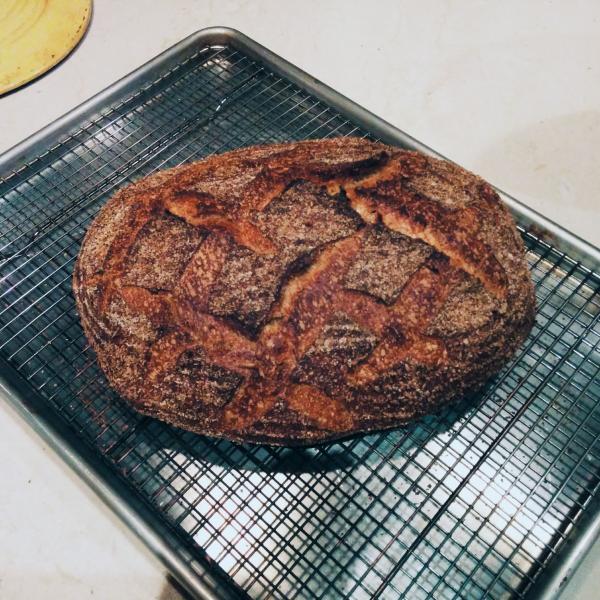
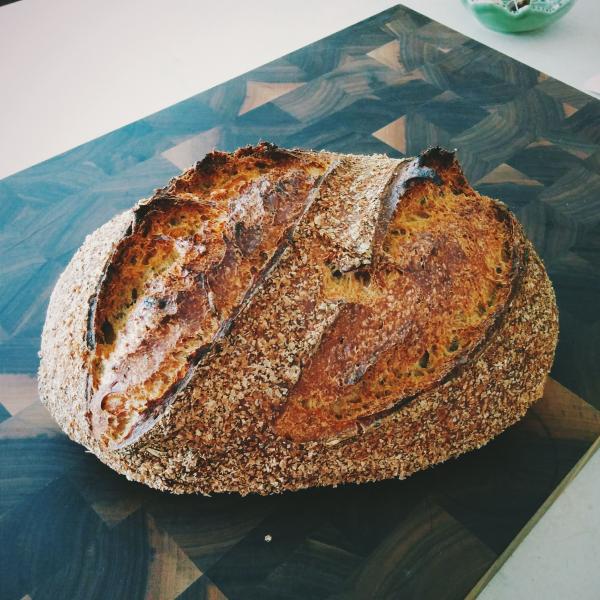
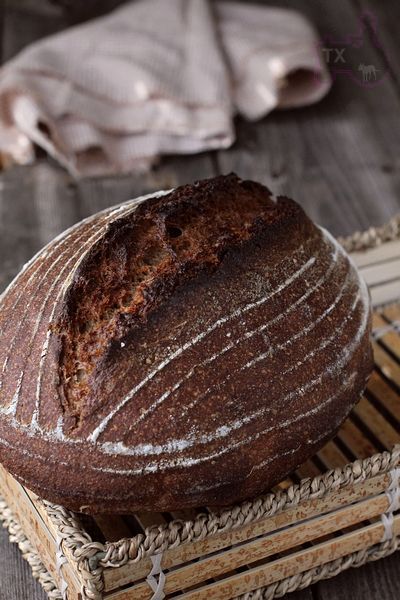
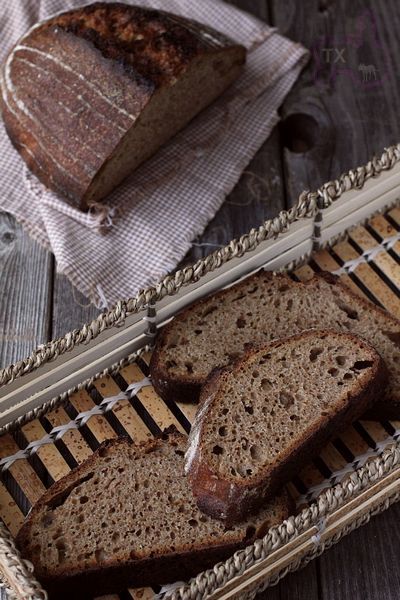
Baked loaf. Cooling down.
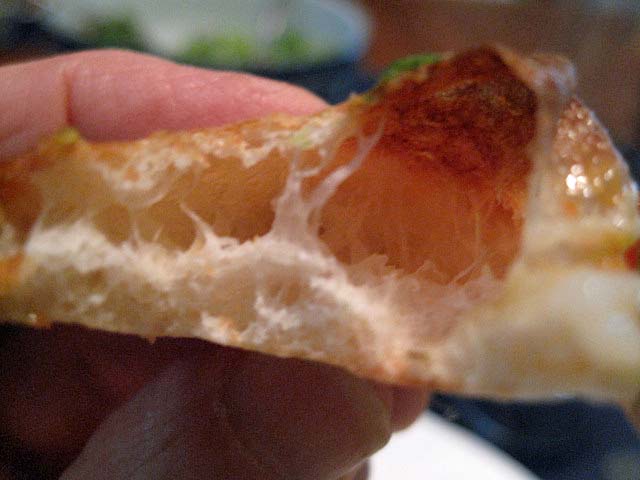
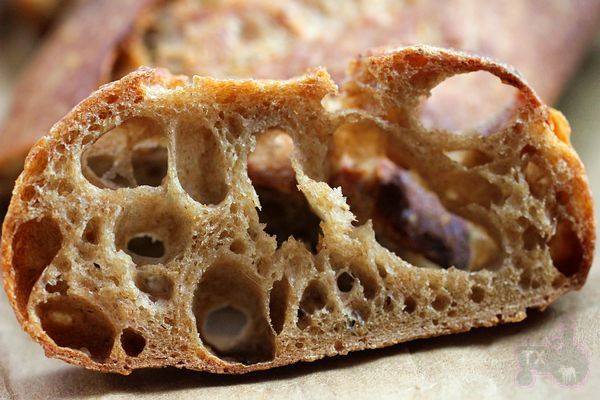
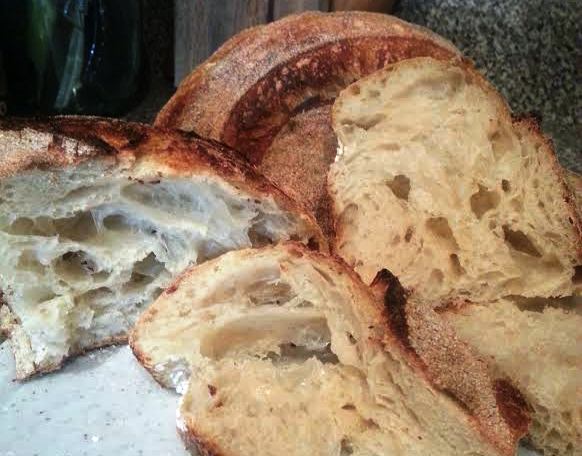
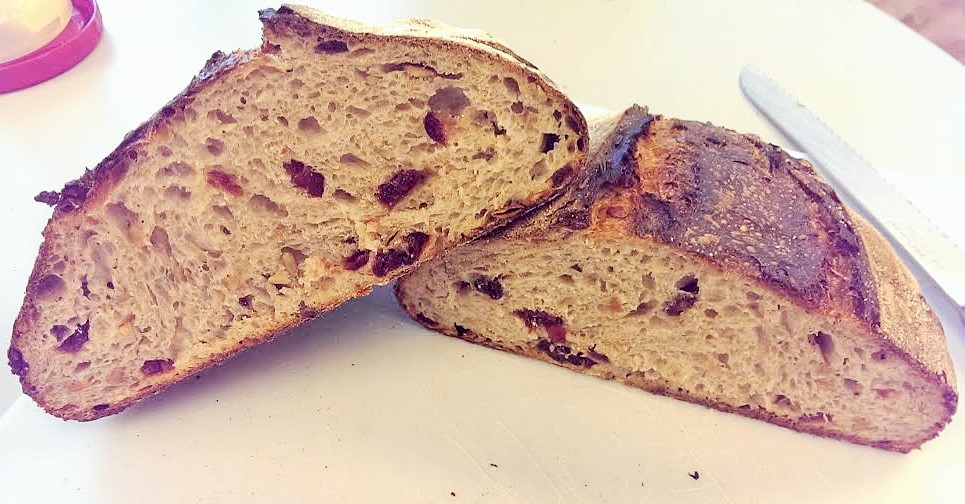
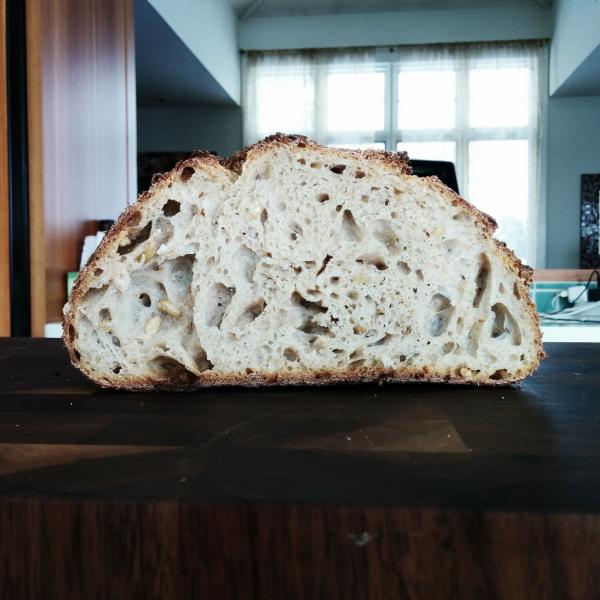
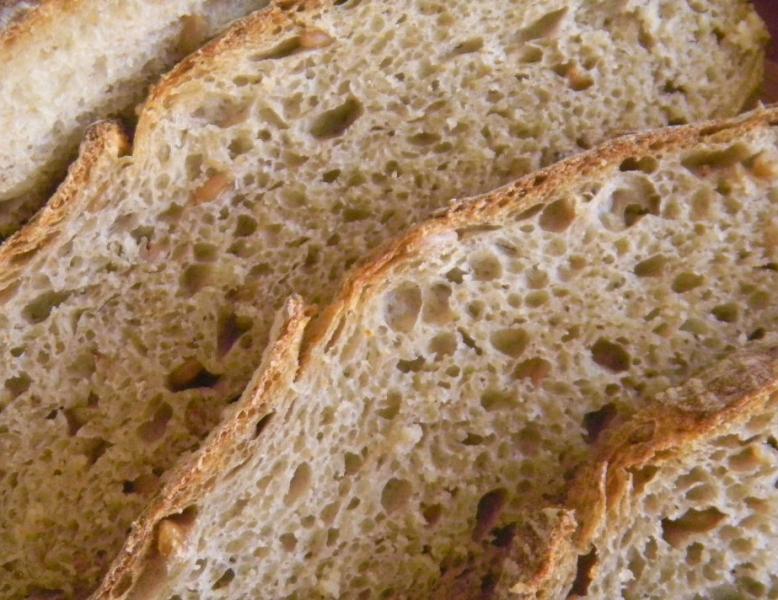
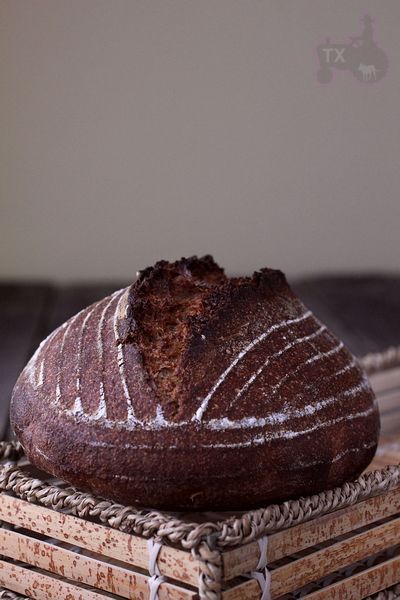
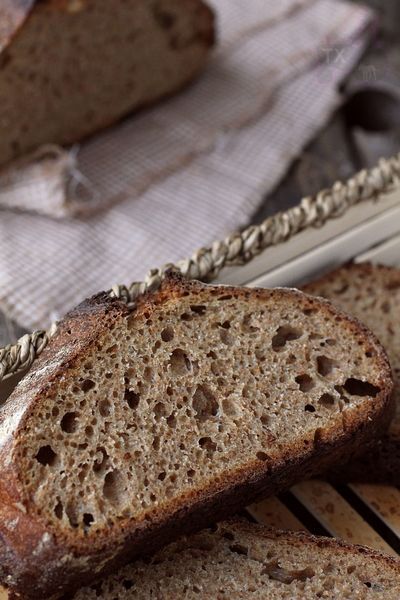
And of-course what you all want is the porn-shot - the crumb!
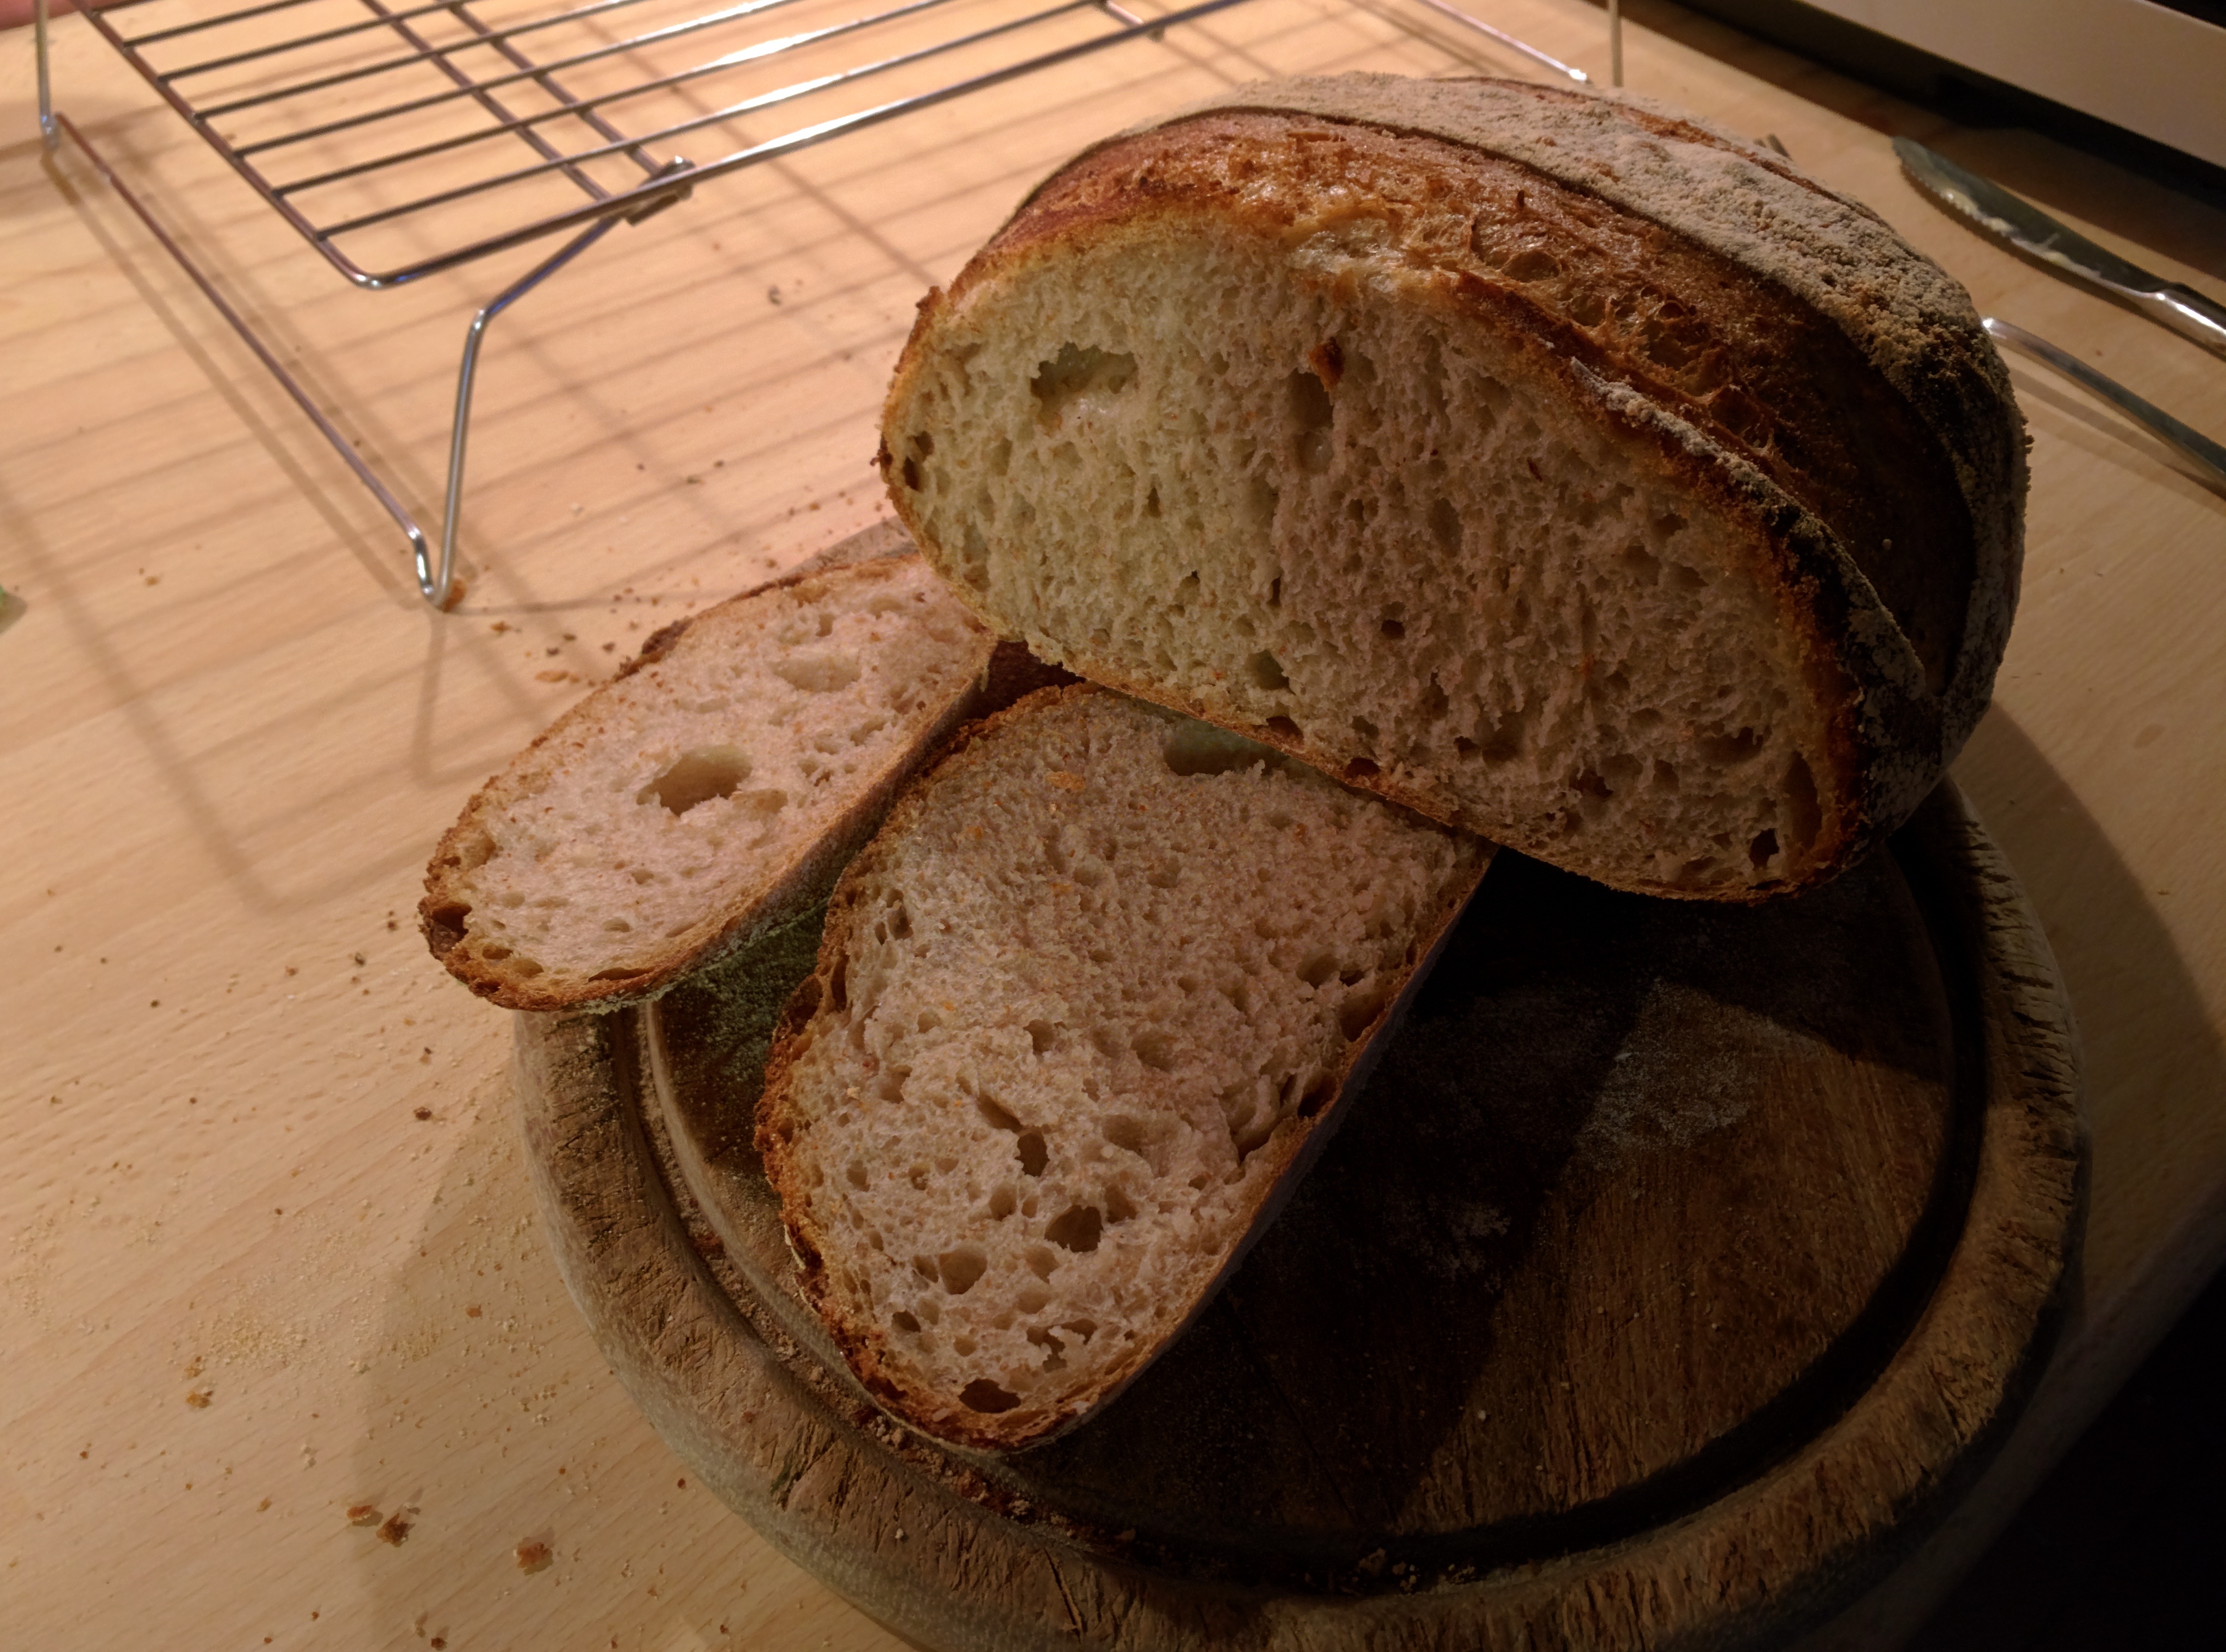
There it is.
There are are uneven holes - that's mostly due to lack of regular stretch and folds. Note also the holes are not big holes - big holes don't hold as much butter/jam/marmalade/honey. You want bigger glossy holes - well, add more water. (This recipe has an overall hydration of just 63%)
It's also not very sour - in-fact you might be hard pressed to tell. If you want it more sour then let it ferment longer (and prove longer, but you'll need to proof it in a cooler place) and/or build the starter over a longer period of time. I think the addition of wholemeal really makes a change to it too. It still looks like a white loaf though and passes the cold butter test - even fresh out of the oven as that was.
So there you go. The Buckfastleigh Sourdough - a good daily bread made with just 3 ingredients; flour, water, salt.
Hope you enjoy and are not feeling too disappointed if you though you needed a lifetime of arcane and esoteric knowledge required to make sourdough. It's just bread.
-Gordon


 Die besten Rezepte aus der Allgemeinen Bäckerzeitung - Brot, Brötchen & Snacks