Pizza made with Sourdough Starter Discard

Pizza made with Sourdough Starter Discard
February 14, 2014
I ended up this week with even more sourdough starter discard than usual and a craving for pizza and no activated starter and it's Valentine's Day and my wife loves pizza and so I made pizza with the sourdough starter discard.
| Wt (g) |
Sourdough starter from fridge (firm) | 241 |
Water 85 dF | 153 |
AP flour | 298 |
Instant yeast | 2 |
Salt | 6 |
Total | 700 |
The starter discard was approximately 50% hydration, so this dough was 65% hydration.
Procedure
Put the water and the starter in the bowl of a stand mixer and mix at low speed to disperse the starter.
Add the yeast to this mixture, then the flour and the salt.
Mix at low speed with the dough hook until the dough forms a ball on the hook. Add a small amount of water or flour to achieve a medium-consistency dough.
Mix at Speed 2 until you get an early window pane (about 7 or 8 minutes).
Transfer the dough to an oiled bowl. Cover it tightly.
Ferment at room temperature until the dough volume has about doubled (2-4 hours).
Divide the dough into two equal pieces. Shape as balls and place in Ziploc bags with 1 Tablespoon of olive oil.
Refrigerate for at least two hours or up to 3 days.
Before using, take the dough out of the refrigerator and warm at room temperature for an hour.
Preheat the oven at its hottest setting with a baking stone in place.
Shape for pizzas and allow to proof for 30-60 minutes before topping and baking.
Bake to taste (in my oven, 10 minutes).
I preheated my oven at 500 dF for an hour before baking the pizzas.
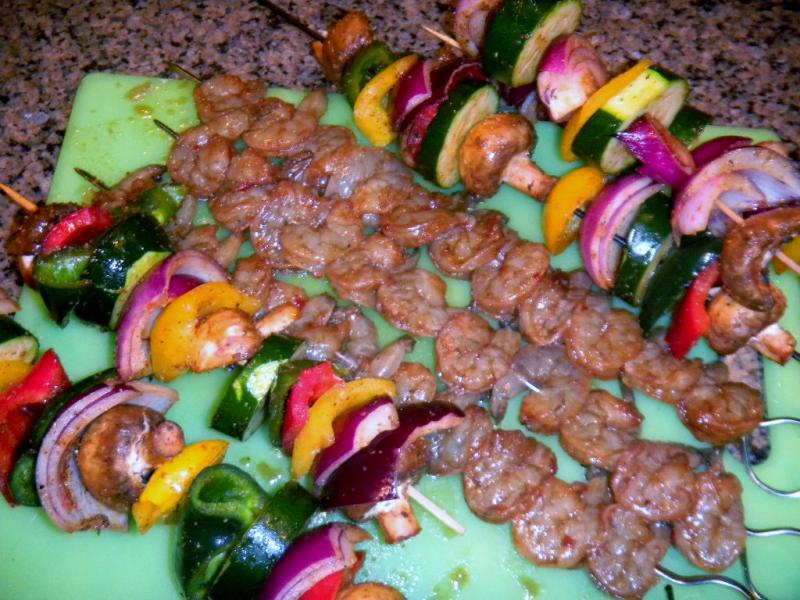
My toppings were (in the order put on the dough):
EVOO brushed all over.
Finely chopped fresh rosemary sprinkled over dough (1 tsp/pizza).
Thinly sliced fresh garlic (2 cloves/pizza).
Hot red pepper flakes sprinkled to taste.
- Oil-cured olives, pitted and sliced.
- Fresh broccoli cut into small florettes (about 3/4 cup/pizza).
- Fresh mushrooms, sliced (about 1.5 cups/pizza).
- Yellow onion, sautéed in EVOO until golden, then moistened with one Tablespoon of balsamic vinegar (2-3T/pizza).
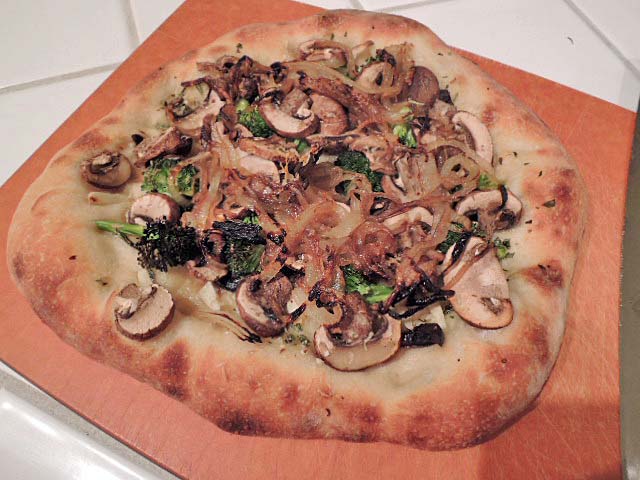
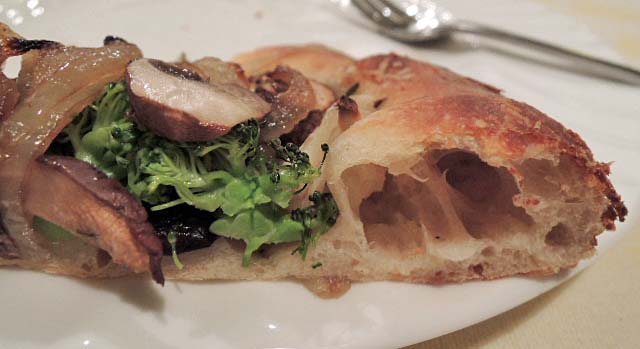
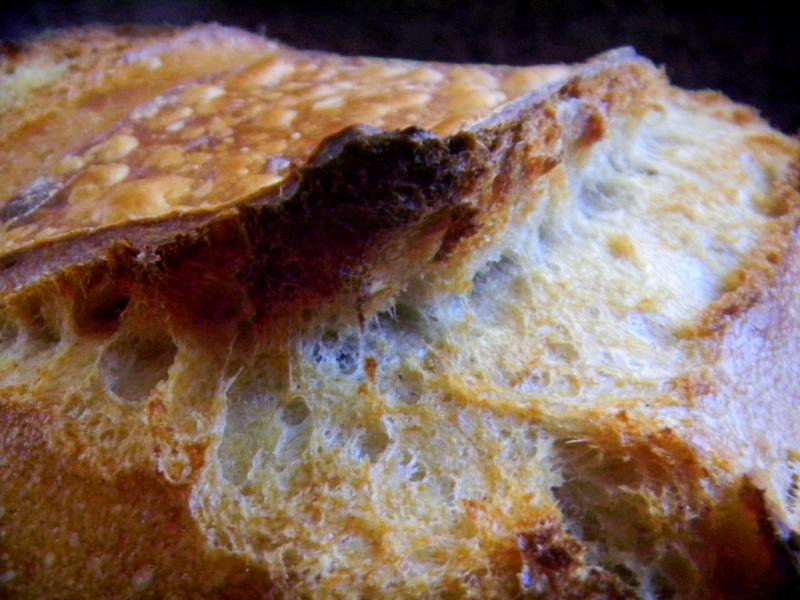
The pizza was pretty good. It wasn't as good as the ones I made with the Ken Forkish formula. But it was crisp on the outside and chewy on the inside. It was thin, yet firm enough to support itself. It was nice tasting with no hint of sourdough tang, interestingly enough.
I'm happy to know I can make very good pizza dough in a few hours and that I have a really good way of using starter discard besides pancakes.
David


 brush flour off of dough as you roll

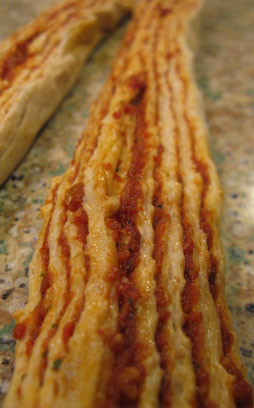
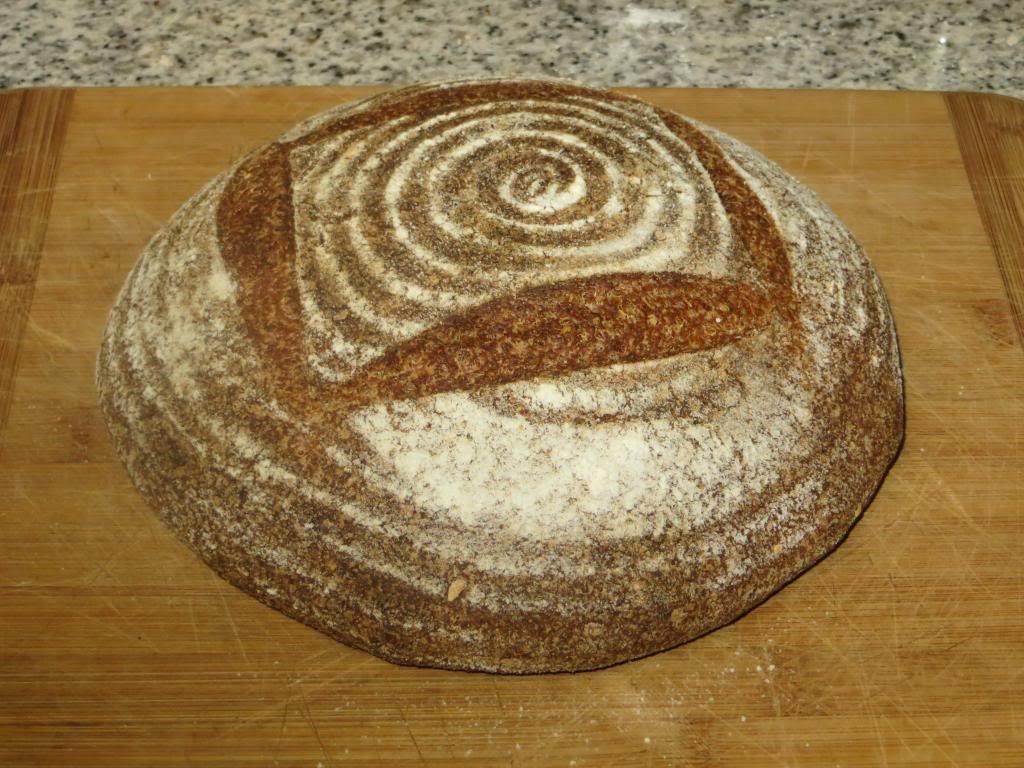
 Coil the rope to form the rose

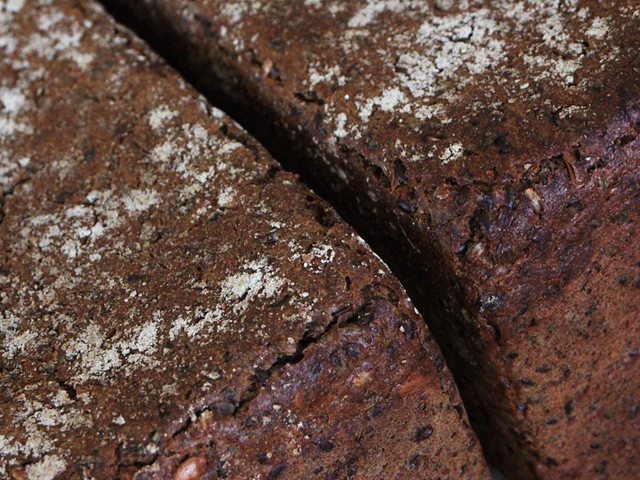
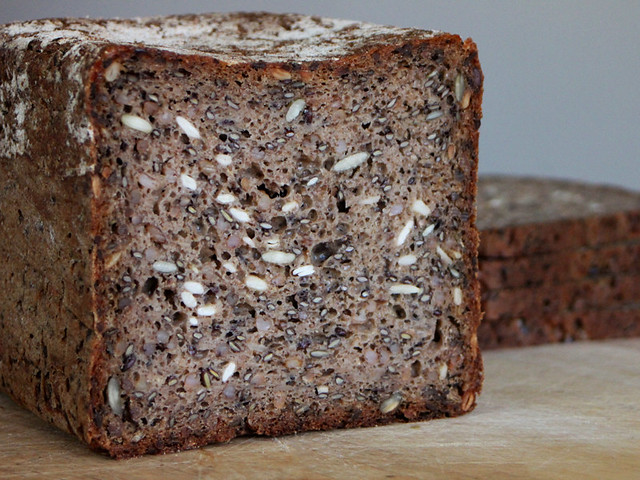
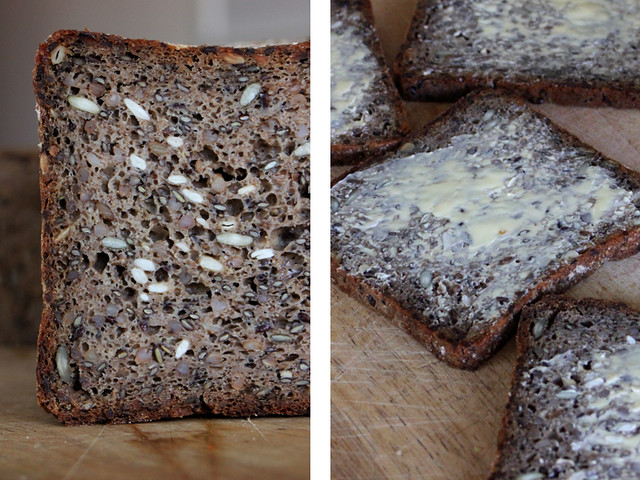
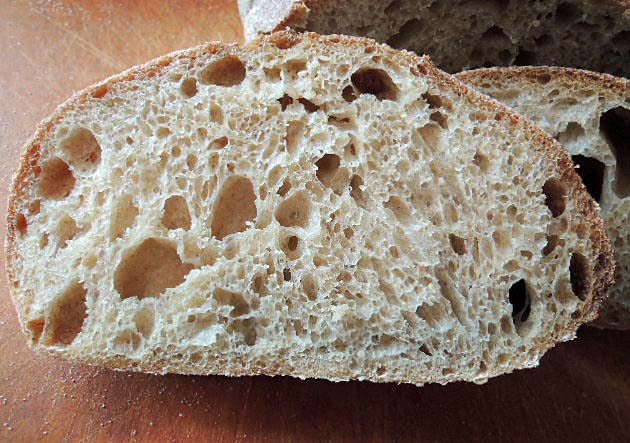
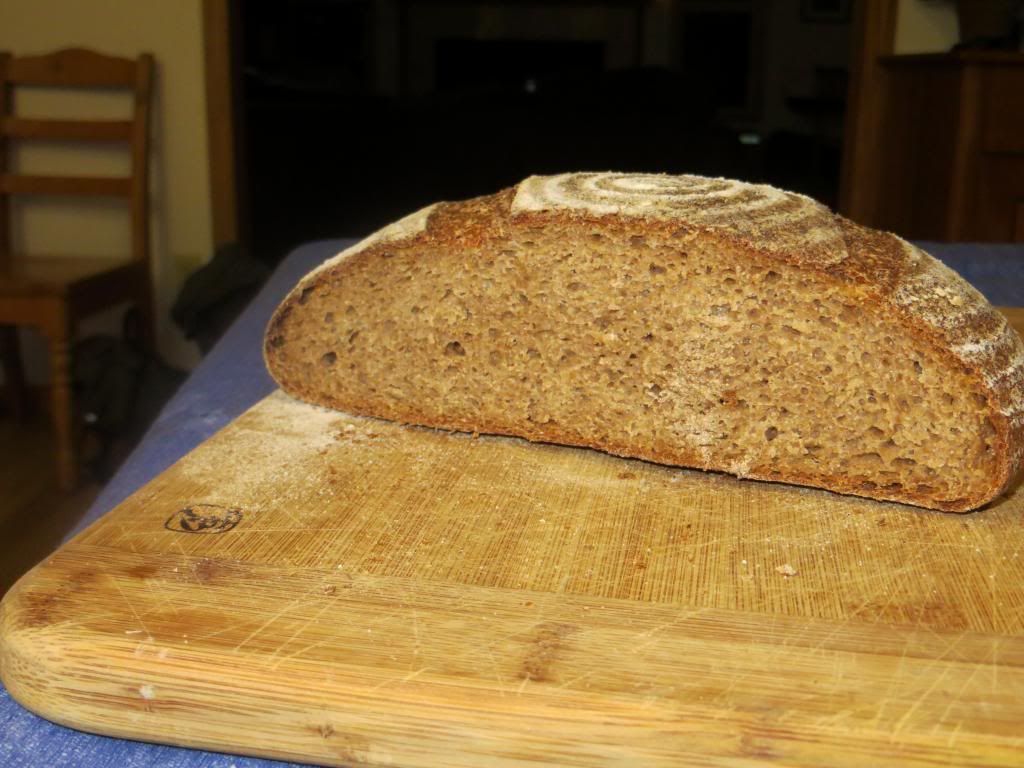
 a colorful, flavorful crumb! :^)