Previous Blog: http://www.thefreshloaf.com/node/20032/1-little-2-little-3-little-chia-rye-loaves
Have your ever felt that the expression "Couldn't see the forest for the trees." applied to you?
I think that this may be a case where it really applied to me <Blush>
When I first read Shiao-Ping's blog on making a sourdough banana bread - Banana Pain au Levain (see link)
http://www.thefreshloaf.com/node/14432/banana-pain-au-levain
I thought what a great gift such loaves would make for some of my friends. It certain was different from the usual gift. But, by the time I had finished the article, I found I was a bit concerned over two things that the author had experienced; first the hydration surprises she had encountered, and secondly, what she said about the slowness of the rising:
"dough appeared very sluggish. It was almost as if my starter was finding it tough adjusting to bananas, "
Well, I went off and pursued other interests. However, I found my thoughts kept coming back to bananas, and to those two points that Shiao-Ping had raised. Checking on Google quickly revealed that the amount of water in bananas was closer to 75% than the 65% which she had initially assumed - base upon pumpkin percentages. Returning to the original blog, I found two others had already reported somewhat similar findings. Well, good. Most likely that cleared up the hydration issues, but what about my second issue - the slow rise?
Did the wee yeasty beasties really have problems with the addition of bananas in their diet? The more I consider this, the more interesting that question became for me. If you think I get interested in odd subjects, that's okay, others have mentioned that before.
I have spent a great amount of time studying my sourdough cultures and I have a very well establish baseline data set on my primary White Levain, which data I often use for comparisons. Suppose I take seed from that levain and build a variant levain, a Banana Flour Sour, at the same test hydration level that I used in establishing my baseline reference plots. Yes, I decided that was a clean way to get an initial handle on this slow rising point.
A Comparison
So, I took a seed from my primary White Levain (WL) and did a build/refresh containing as much banana as could be used while still maintaining the 100%HL . Maintaining that hydration level was necessary to match the WL reference data. The table below provides details.

Table 1. Compositional breakdown of the 200 gram batches used on Day 0 through Day 8 of Banana Flour Sour at 100%HL testing
As soon as the refresh was mixed, the 200g test batch was place within my homemade temperature controlled chamber. The TC was set to maintain 80ºF (26.6ºC) +- about 1ºF. The level of the top edge of the levain was then recorded, and for every 15 minutes thereafter until the peak of the rise had been reached/passed, ending the Growth Phase.

Figure 1. Comparing Average Rise of my Reference White Levain with the same WL Seed and a 67% Banana Puree + 33% AP Flour Refresh.
Certainly, at first reading of the data, Shiao-Ping's observation that "dough appeared very sluggish" was validated in the rise-time difference between the reference Lag and Growth Phases and those of the test Banana Flour Sour (BFS) culture.
One could argue that a good portion of the BFS Lag Phase could be explained by a difference between the average starting temperatures of the two cultures at test start, and I fully agree. However, that would not explain the difference in the Growth Phase slopes.
The temperature difference, just mentioned, resulted as follows. Both the WL reference and the BFS started from seed stock consisting of 200g of culture, which had undergone refreshment 24 hours prior, had been monitored through rise until the peak (Stationary Phase) had been reached, and then been returned to the refrigeration. The difference occurs in the refreshment temperatures. The WL was fed room temperature AP Flour and room temperature water, whereas, the BFS was feed 33% room temperature AP Flour (APF), plus refrigeration temperature banana puree (B) for the remaining 67% of its refreshment. There is no question that this difference would result is a longer Lag Phase for the BFS build. Hindsight is usually 20-20. But, this was not intended as a NASA grant application, and sliding the BFS curve to the left 30 or 45 minutes would affect the elimination of the "sluggish" nature of the rise slope.
A Bit of Back-slopping
Alright, there appeared to be less than euphoria on the part of the culture's beasties to feed on fruit - banana - rather than grain - wheat flour. Now, was this just a "fact-of-life", or could the culture's behavior shift if it were played with. To me, it seemed that the final height of the Growth Phase indicated that the banana was being used as material to created the CO2 desired, just at a slower rate. I have read the sugar, like salt, slows the growth rate. Certainly there was a lot more sugar in the new refreshment than the old.
If I simply repeated taking 100g of WL seed stock and adding the same 33% APF and 67% B (banana = B) as the refreshment, reasonably, I could expect pretty much the same curve, and that wasn't very informative. Whereas, back-slopping introduced two opposing factors. First, by using a portion of the previous build to act as the seed for the next build I could expect a lowering in the vigor of the BFS culture if B wasn't a viable food, and alternatively, I could expect an adaptation to the use of the B as a major food source if some of the beasties could handle it better than others - sort of a survival of the banana eaters. If B was really not a food for all the beasties, then the BFS culture should go downhill even faster, since, for the next several refreshments, the total % of B in each build would be increasing - Day 0 had a seed that was a pure water/APF composition, to which the 33% APF and 67% B was fed. Day 1 would have a seed that was a 100g of the residual of Day 0, to which the 33% APF and 67% B would serve as its refresh. So, each day would shift to a slightly higher % of B, until it peaked at a level 67% B total.
It looked as if the BFS culture had to go downhill if B was a poor food source for the beasties, and, on the other hand if it were a population mix, then I should see preferential growth of the B-eaters and resulting improvement in the rise slopes of the tests. Or at least, that was how it seemed to me.

Figure 2. The Rise Plots for Day 0 and 8 Days of Back-slopping with a Banana Flour Sourdough Culture.
Now, if one takes the starting temperature handicap that was mention earlier into account, it would appear that the BFS Day 7 and 8 are essentially equal to the reference WL data. I thought that this made it reasonable to think of the culture as now being happy to fed on either and both flour &or banana. In fact, after nine days of taking readings every 15 minutes, I was very eager to do a bread baking test, although, the addition of the BFS "disposable" daily 100g of culture, mix in with some a couple of white levains and a rye made for interesting and great sourdough waffles, and let me note that the wee yeasty beasties did not get all of the banana sugars. There was a lot of B-sugar that went into my waffles, as well (º0º)
The Banana Flour Sour Bake
In my usual fashion, I made one batch of dough, 1285g and split it into three, 428g parts. It took me time to bake the 3 loaves, just over a period of a week, in fact. The first and third loaves were done in a Dutch oven, with only their internal moisture for the steam. The second loaf was with steam and on parchment paper on the oven stones, but the temperatures match those given below for the DO loaves.
The two done in Dutch oven had preheated DO to near 500ºF (260ºC) and dropped to 410ºF (210ºC) as soon as the loaf was in the DO. After 20 minutes, the lid was removed, loaf turned out and replaced in the oven directly on the stones. The temperature was set down to 350ºF (177ºC) for 10 minutes and then turned off totally, while the door was cracked about ¼ inch (6mm) and the loaf left in for 10 addition minutes. The instant internal temperatures were ~ 207ºF (97ºC).

Table 2. Formula for Banana Flour Sour 3 Loaf Bakes Total of Banana 9% [ 6% water, 3% solids ]
The White Levain, BFS Levain and water were combined. Then the 2 flours mixed in and covered for 20 minutes. Total turned out into large bowl where the salt was added and worked in with 30 S&F followed with 30 minutes rest and another 2 sets of 30 S&F. At that point it was a bit over 2 hours and the dough was divided into 3 parts of 428g each in their individual 1L/1Qt oiled and covered plastic containers and placed in fridge. One loaf was used the next morning. Shaped and given 5 hours rise time and baked in a DO. Treatment of the third loaf was about the same 6 days later. The other loaf was made 3 days later, but shaped and formed in cloth-lined, clay loaf form.

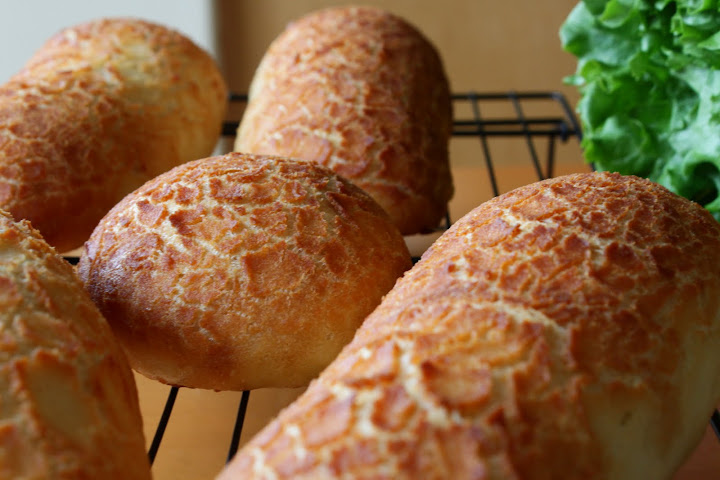
First Dutch Oven Boule from WL+BFS Levains.

First Dutch Oven Boule's Crumb.

Second Boule - Steam & Stone from WL+BFS Levains.

Second Boule's Crumb

Third Loaf, A Dutch Oven Boule - A Small Amount of Chia on Top.

Third Loaf's Crumb.
Yes, But.....
Baking each of the loaves went well. The crumb was fine, crusts great. The taste fine, with a slightly different flavor. Ah, but I would really be stretching the facts to say that I could taste anything that I would consider a banana flavor ! Well, there was only about 9% banana total in the loaves, and 6% of that was water. I guessed I'd just expected to much after eating those waffles with their great banana flavor, and that flavor coming only from the discards of the levain builds, and also being mix with a lot of other sourdough discards in the same batter.
The way I figured it, Shiao-Ping's Banana-Pain-au-Levain had about 38% banana in it. So, did I really expect 9% to overpower my little loaves?
Alright, how could I really load in the banana and still use my new found banana loving culture. If I added more banana, the hydration level (HL) was going to have to go above 100%HL, and a total banana based levain would have 25% solids (let that equal "flour") and the remaining 75% of the banana was water. A 75:25 ratio, or just plain 300%HL -WOW !!!

Table 3. Details of the Five Builds to Reach Maintenance Level Pure Banana Starter 300%HL
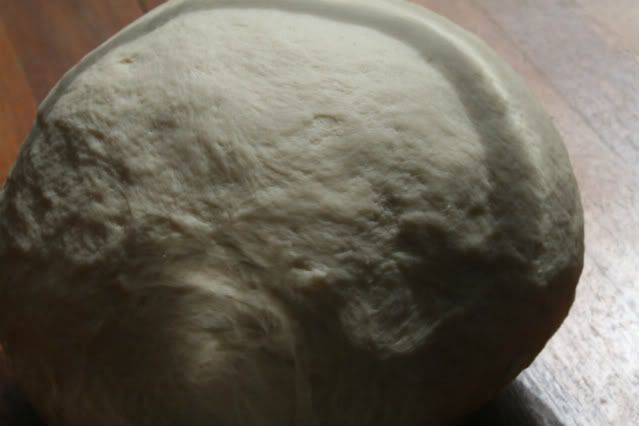
A series of five builds gave a progression of hydration levels, starting at 100%HL, then 233, 285, 297, 299 and finally got me to a maintenance level of a Pure Banana Levain with 300%HL. This Pure Banana Levian seemed more viscous than I had expected. It even tripled on a rise and did not collapse, as a 100%HL flour levain would do. I found I enjoyed eating the discards directly with a spoon. The taste is like banana with a touch of vodka added to it.

Table 3. Formula for Bread Using 49% Starter, where the Starter was Pure Banana Levain @ 300%HL
Of course, I made a new bread ASAP. The method was a close match to the one Shiao-Ping gives for her Banana-Pain-au-Levain. I calculated her loaf as having 38% banana (solids plus water), and this formula yields a loaf the is 49% banana (solids plus water).
The mixing, shaping and baking all went as expected.

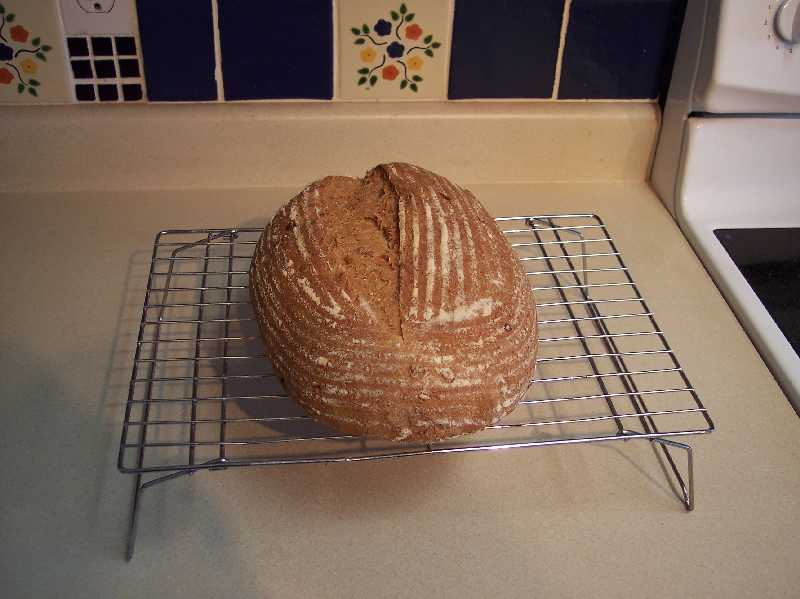
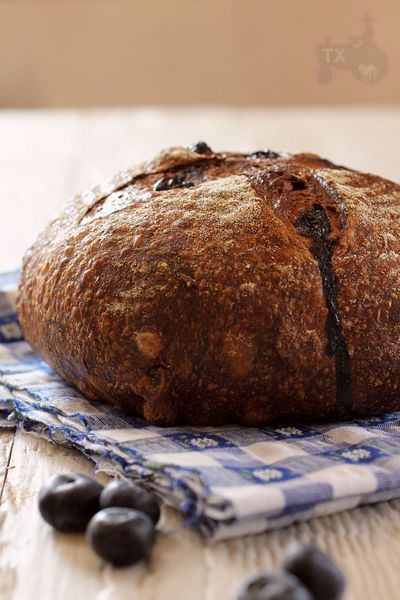
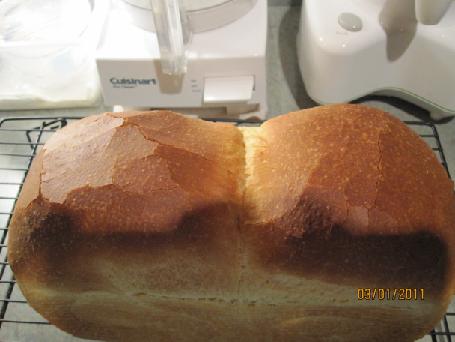
The 49% Banana Loaf Made with Pure Banana Levain @ 300%HL

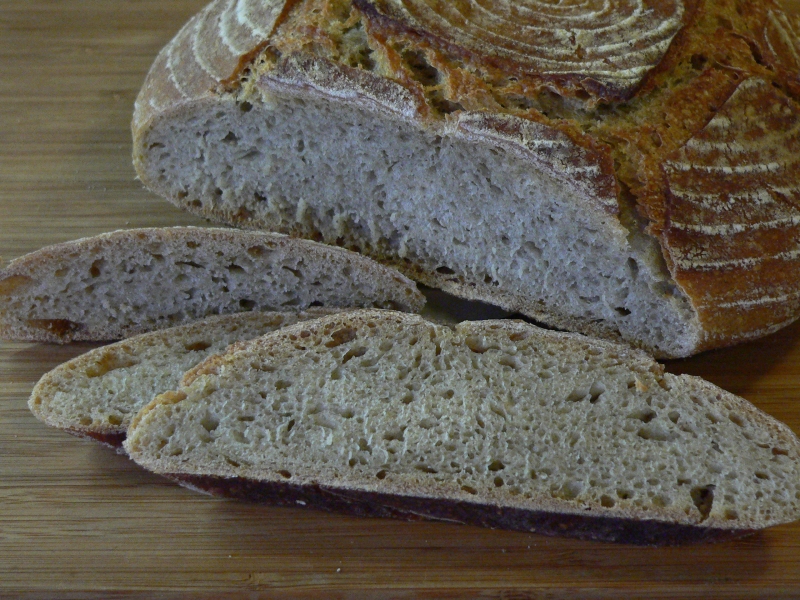
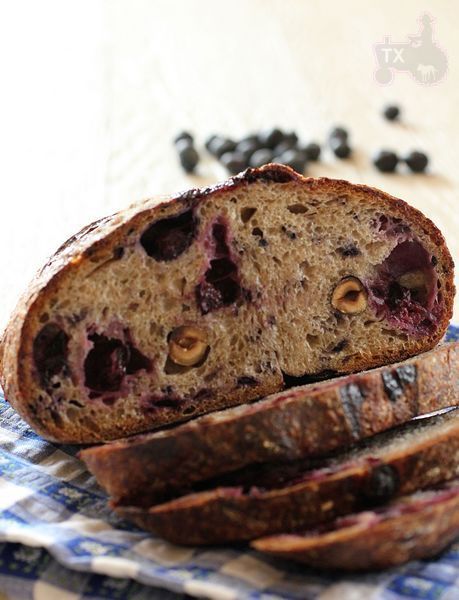
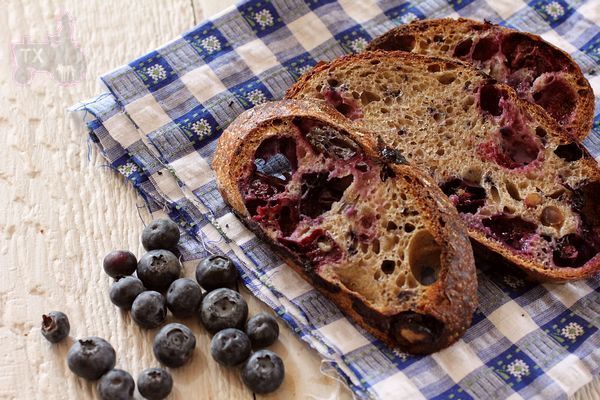
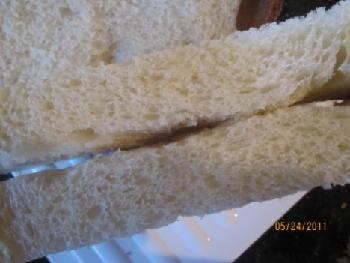
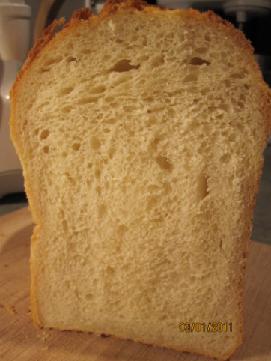
The crumb of 49% Banana Loaf
It was unbelievable! There was no discernible banana flavor, as least none that I could detect. It was a fine loaf, tasted fine. It did stay moist longer than most sourdough loaves. The crumb and crust were certainly in an acceptable range and the flavor was a bit different, but more towards the taste of rye than anything else.
As must be evident by this point in my "banana saga", this whole banana thing was getting to me. So, what to do next. I already had worked out a formula that would use no additional water, other than that from bananas. It had a Baker's % of 81.5% banana, all of which was in the form of Pure Banana Levain #300%HL. But, I decided that until I had a better handle on where had all the flavor gone, I could see little point in proceeding. What had Shiao-Ping done that I was missing? Well, the best way to attempt an answer to that was to bake her loaf as given in her blog. Something I no doubt should have done in the beginning - a fact now not lost upon. :-(

Shiao-Ping's Banana Pain au Levain Formula Recast with the Levain Build

Repeat of Shiao-Ping's Banana Pain au Levain

The crumb from the Repeat of Shiao-Ping's Banana Pain au Levain
Guess what.... No banana flavor that I could detect. I could not believe it. I followed the posted formula and methods as close as anyone could expect. I knew I was missing something, but WHAT !!!
Lacking any better idea, I went back to the original posting, intending to read ever word again. There it was - it hit me like one of the trees had fallen on me - in that forest I had never noticed for all of the trees... The second sentence - "... the bananas in my house have gone sesame (ie, growing freckles) ..." I have been using fresh bananas. Generally, they still even had some green at their stems.
Well, my next attempts will need to wait, until the bananas I have just purchased, have gone beyond sesame!
In my own very weak defense of missing the obvious, let me say that the only use I have ever made of bananas in baking had been in a 70 year old banana cookie recipe that I came across some time ago. In making those, I take fresh bananas, slice them into 1/4" thick rounds, and freeze them for a day, and then let them thaw in the fridge. They turn into a dark brown mush that a simple hand-held blender with single whisk-like blade can whip into a smooth mush. So, I carried this method over into this pursuit of the elusive (for me) banana flavored loaf.
It has actually been a worthwhile endeavor, I have new waffle alternatives, and a most unusual "Banana foaming levain desert" as a result, of my explorations. I also certainly have lots of new information to think about. There is one thing I am sure of, and that is that I will bake a banana flavored bread - no matter how long it takes.... LOL
RonRay
****************************************** Appended 101116 The Banana Saga Concluded長篇故事
Yesterday, the bananas had been aging for 2 weeks, since purchased. Even within the thin plastic grocery bag I could smell the strong banana scent fairly well. As I removed the plastic, two of the eight bananas fell off their common stem. They were “well passed ripe”. I made 484g of banana puree with them, and no water was required to make it, so there was 40g of water, that I was temped to drop from the formula for this batch of dough. I mentally chastised myself for that thought. I would make the closest match I could to the original Banana Pain au Levain in Shiao-Ping's blog. And that is exactly what I did.

A Simple Restating of Shiao-Ping's Formula with the 75%HL Build Combined.
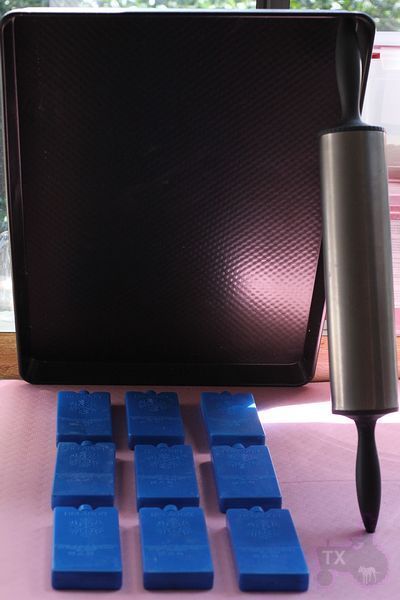
While I did stick to the formula values, and essentially the same procedures, I did differ in the baking method. Some of teketeke's experimenting with alternatives to Dutch Ovens had interested me (See link) http://www.thefreshloaf.com/node/20460/banana-saga-%E9%95%B7%E7%AF%87%E6%95%85%E4%BA%8B#comment-143159 and other entries in the thread below. So, when I saw a sale on turkey baking pans / turkey ovens, I bought one.
I have a 2 quart cast iron Dutch Oven and an Emerilware Enameled Cast Iron 6-Quart Trinity Pot. The 2 quart is perfect for most of my boules, but the Emerilware 6-Quart is both too deep and too heavy for me to safely throw in and out of a screaming hot oven. Also, being as deep as it is, makes turning out a high hydration dough from a brotform into such a deep drop does too much damage to be practical. Lurking over Mini, Daisy and Akiko's posts gave me an idea, which I wanted to try and this 864g loaf, now rising in a brotform, was just the thing to try the idea out on. I cut the handle off of an old Teflon frying pan that was destine for recycling, so that it would fit within the turkey pan/oven. This would hold the loaf and there was room outside of it to add a small amount of boiling water just before closing the lid.

Turkey Oven and Lid with Old Frying Pan - Less Handle Inside

Risen Loaf in Brotform about to be placed into Handel-less Old Frying Pan

Loaf in Frying Pan in Turkey Oven - Ready for about 90g of boiling water in Turkey Pan

Finished Banana Bread Loaf
 Crumb of Banana Bread Loaf
Ah, banana scent floating from the baking bread.... At last ;-) And old, old bananas was all it needed...
Crumb is rather moist, but very tasty. It was not as strong a banana flavor as I'd expected from the heavy scents that came off the puree and again during the mixing, rising or the baking, but it surely is enough, and would well and pleasantly do for now. I found it a nice bread to add to the increasingly long bake list. An a happy ending for the conclusion of my Banana Saga.
Ron
======== 101118 Note:
**********You might enjoy checking out the forum topic of Wild Yeast at:
http://www.thefreshloaf.com/node/20693/culturing-growing-and-baking-range-wild-yeasts
Ron 雷朗
Next Loaf Baking: http://www.thefreshloaf.com/node/20693/culturing-growing-and-baking-range-wild-yeasts#comment-143857


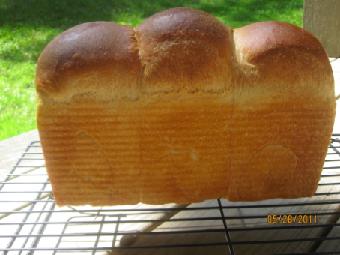
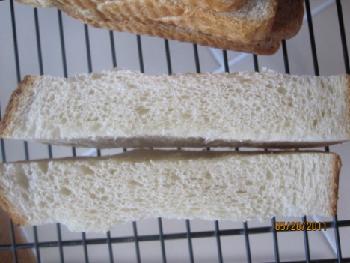
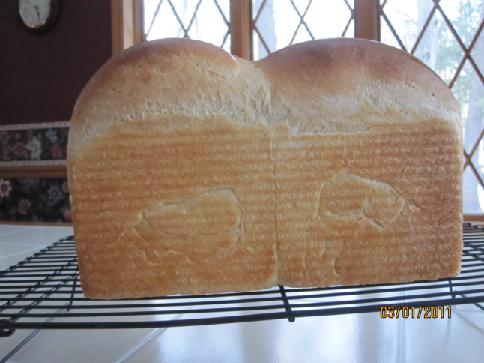
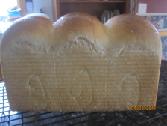 This side looks pale.
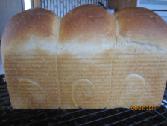 This side is fine.