
Salt in sourdough cultures
Sometimes people here on The Fresh Loaf have wanted to favor yeast growth/activity in their sourdough cultures. A particular scientific study of the effects of process conditions such as temperature and salt concentrations on lactic acid bacteria and yeast has been discussed numerous times in this context and others. Gänzle’s 1998 publication reported on studies of two strains of Lactobacillus sanfranciscensis and one strain of Candida milleri yeast, each in isolation. These were in grain-free liquid culture. 4% NaCl inhibited the growth of the Lactobacilli, while the yeast was more tolerant at that concentration and up to 8% NaCl. These findings have been of interest to some here.
Can it be extrapolated to actual dough, particularly diverse sourdough cultures, and lactic acid bacteria (LAB) or yeast strains besides these three? Gänzle’s 2004 follow-up study (with Brandt and Hammes) on a combination of LAB and yeast in rye sourdough was largely consistent with their earlier data from varying salt concentration.
What I think may have escaped notice here is that 4% and 8% salt values are "w/vol" solution percentages (aka solution = solute/solvent = g/100ml = g/100g water), NOT baker's percentages.
The conversion factor from % solution to baker’s percentage is the hydration. A 4% solution is 4 x .75 = 3 in baker’s%. To convert the other way is the inverse: 2% salt (baker’s %) at 75% hyd is 2 / .75 = a 2.67% solution.
In practical terms, to reach the lactobacillus growth-inhibitory 4% solution, one needs 3% salt at 75% hydration or only 2% salt at 50% hydration. So a typical 2% salt in the total dough at 80% hydration is already a 2.5% solution.
For the visually inclined, I made this table of NaCl solution percentages at a given Baker’s percentage and hydration level. [color code 0-3.9, 4-7.9, and 8+ ranges]

As I posted elsewhere, I've been salting my starters for about a month now and haven't seen much of an effect on the speed to maturity, though this process has seemed to have improved the flavor of my sourdough breads since then. In their chapter in "Handbook on Sourdough Biotechnology," 2013, Gänzle and Gobbetti point out two other strains of lactobacilli that have been found to grow at up to 6% salt.
Wondering if I had selected for particularly salt-tolerant LAB, I did a short experiment to test whether my starter could now grow at higher salt concentrations. I set up small portions of dough using all-purpose flour at 75% hydration, with salt at 3%, 4%, 5%, and 6% solution. These equate to 2.25%, 3%, 3.75%, and 4.5% baker's percentages. Seed was 10% pre-fermented flour in a 70% hydration whole wheat starter kept at 2.2% baker's percentage salt, 3.25 solution percentage. I compensated for the seed water and salt, accordingly, so the above were final percentages.
 Here they are after 20 hours at room temperature:
 3% solution had somewhat larger gas bubbles, but 4-6% looked very similar with numerous small bubbles developing (may be hard to see in the photo). This was consistent with primarily yeast being active from 4-6%. To check the effect on flavor, I afterwards doubled the amount of flour and water, added salt at proportions necessary to equalize all four at 2.25% baker's percentage, and microwaved them into bread. Fermentation at 3% salt resulted in mildly sour flavor, and above that the bread was not sour but still had a nice flavor reminiscent of Italian bread.
What seems clear, then, is that salt has the potential to shift the balance between different strains of bacteria and yeasts. In my limited survey of the literature, the first statements that I found about whether that would actually be advantageous were in a section of Neysens and De Vuyst's 2005 publication. They cite at least a few known precedents of the use of NaCl in traditional sourdough processes. (They don't mention what I suppose is another precedent, the pâté fermentée / old dough method)
Neysens and De Vuyst refer to a sourdough patent from 1973, which states, "An important ingredient in the liquid starter is salt (NaCl) which we found has the critical effect of maintaining the yeast and bacteria growth rates in the proper relationship. Because the starter of the invention contains a much higher proportion of water than the conventional sponge, there is a tendency for bacterial growth to outstrip yeast growth. The addition of salt counteracts this tendency by preferentially accelerating yeast growth. To attain this desirable effect when the liquid starter of the invention is made up, one includes about 1 to 3% of salt, based on the amount of flour." https://patents.google.com/patent/US3734743A/en
Experiments by Simonson et al. showed skew towards yeast by decreased competition with LAB in certain ranges of NaCl, such that they identified dramatically different ratios of LAB to yeast after culture at different salt concentrations.
Salt-containing sourdough cultures are also reported to favor lactic acid production over acetic acid production at some concentrations.
All this to say, salt is another tool that we can use strategically to influence fermentation in our breads. I hope more of us will give it a try.
--Tom
P.S.
I’m not sure how to make use of this. I feel confident that wild yeast-driven bread can be made this way, but because we don’t want the salt to high in the final product, it takes dilution by additional water or dough. A high PFF bread like ciabatta seems the obvious application, since the low hydration allows higher salt concentration. Two big questions in my mind are: 1) How quickly will the LAB retake the yeast during BF and proof? Dunno the LAB growth rates but E. coli can grow with a doubling time of 20 minutes at their preferred 37 deg C. It calls for another try. 2) Can a yeast-dominated 5-6% (solution) salt starter be maintained long-term without encroachment of bad bugs? If it’s not getting sour, seems like other bacteria and molds should be able to grow. The salt would help, at least.
REFERENCES:
Ganzle et al., "Modeling of Growth of Lactobacillus sanfranciscensis and Candida milleri in Response to Process Parameters of Sourdough Fermentation," Applied and Environmental Microbiology, 1998.
Brandt et al., "Effects of process parameters on growth and metabolism of Lactobacillus sanfranciscensis and Candida humilis during rye sourdough fermentation," 2004.
Gänzle and Gobbetti (editors), "Handbook on Sourdough Biotechnology," 2013.
Neysens and De Vuyst, "Kinetics and modelling of sourdough lactic acid bacteria," Trends in Food Science & Technology, 2005. Simonson et al., “Response of wheat sourdough parameters two temperature, NaCl and sucrose variations,” Food Microbiology, 2003.


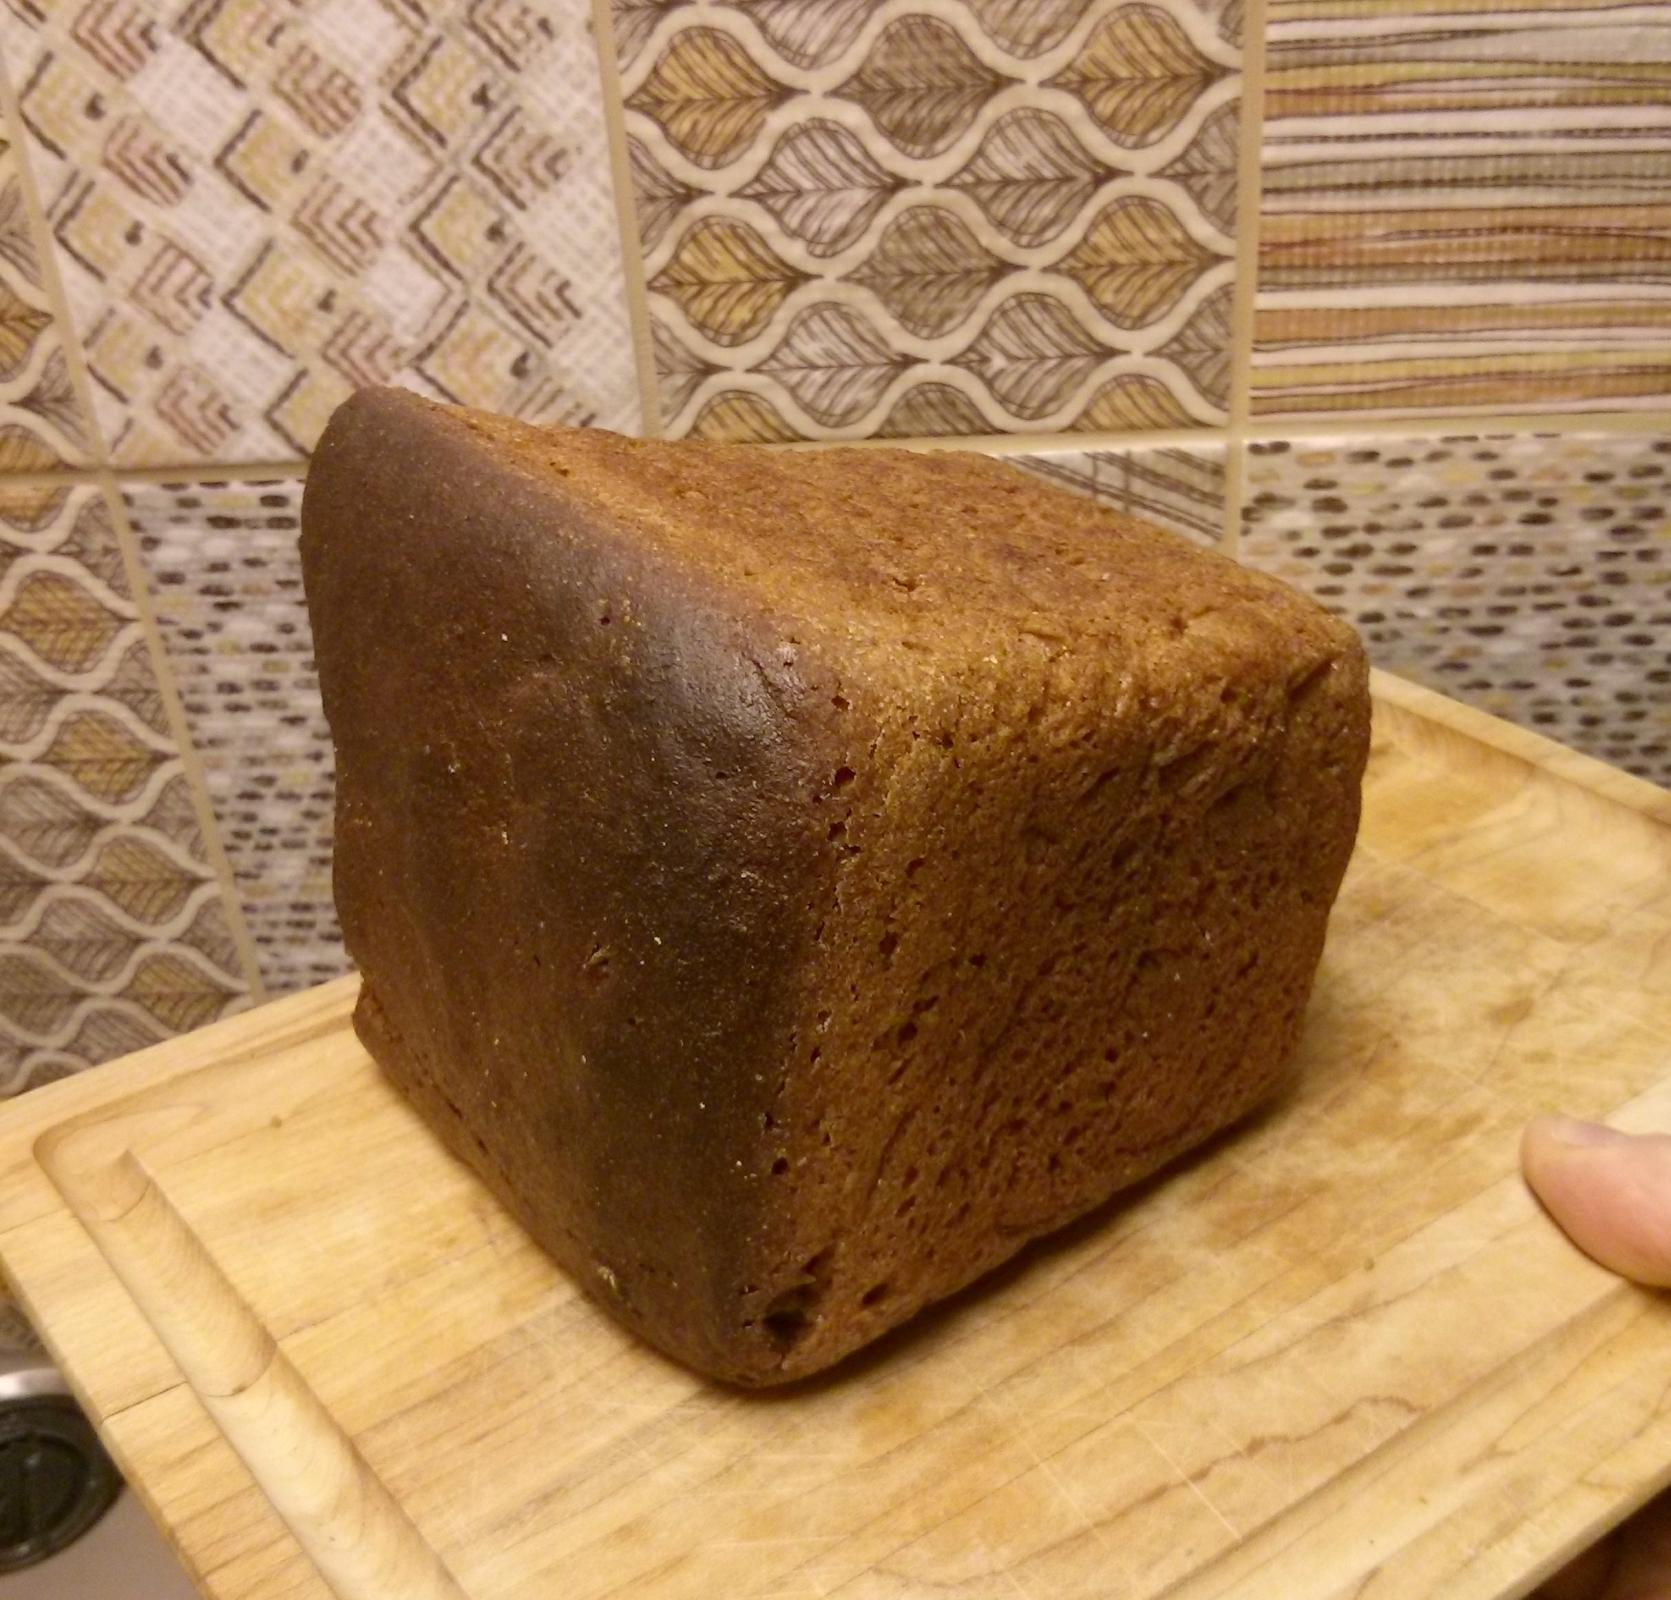


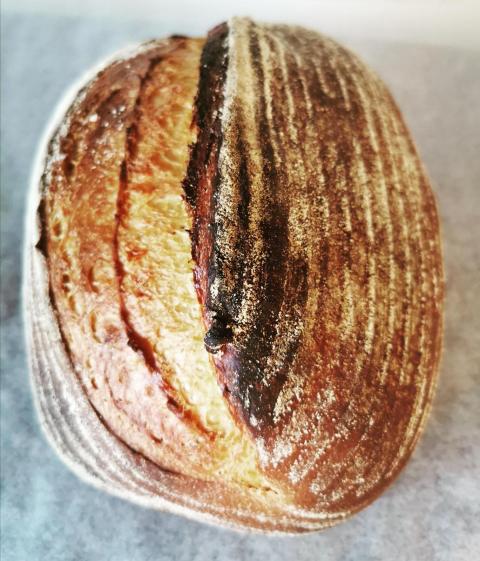
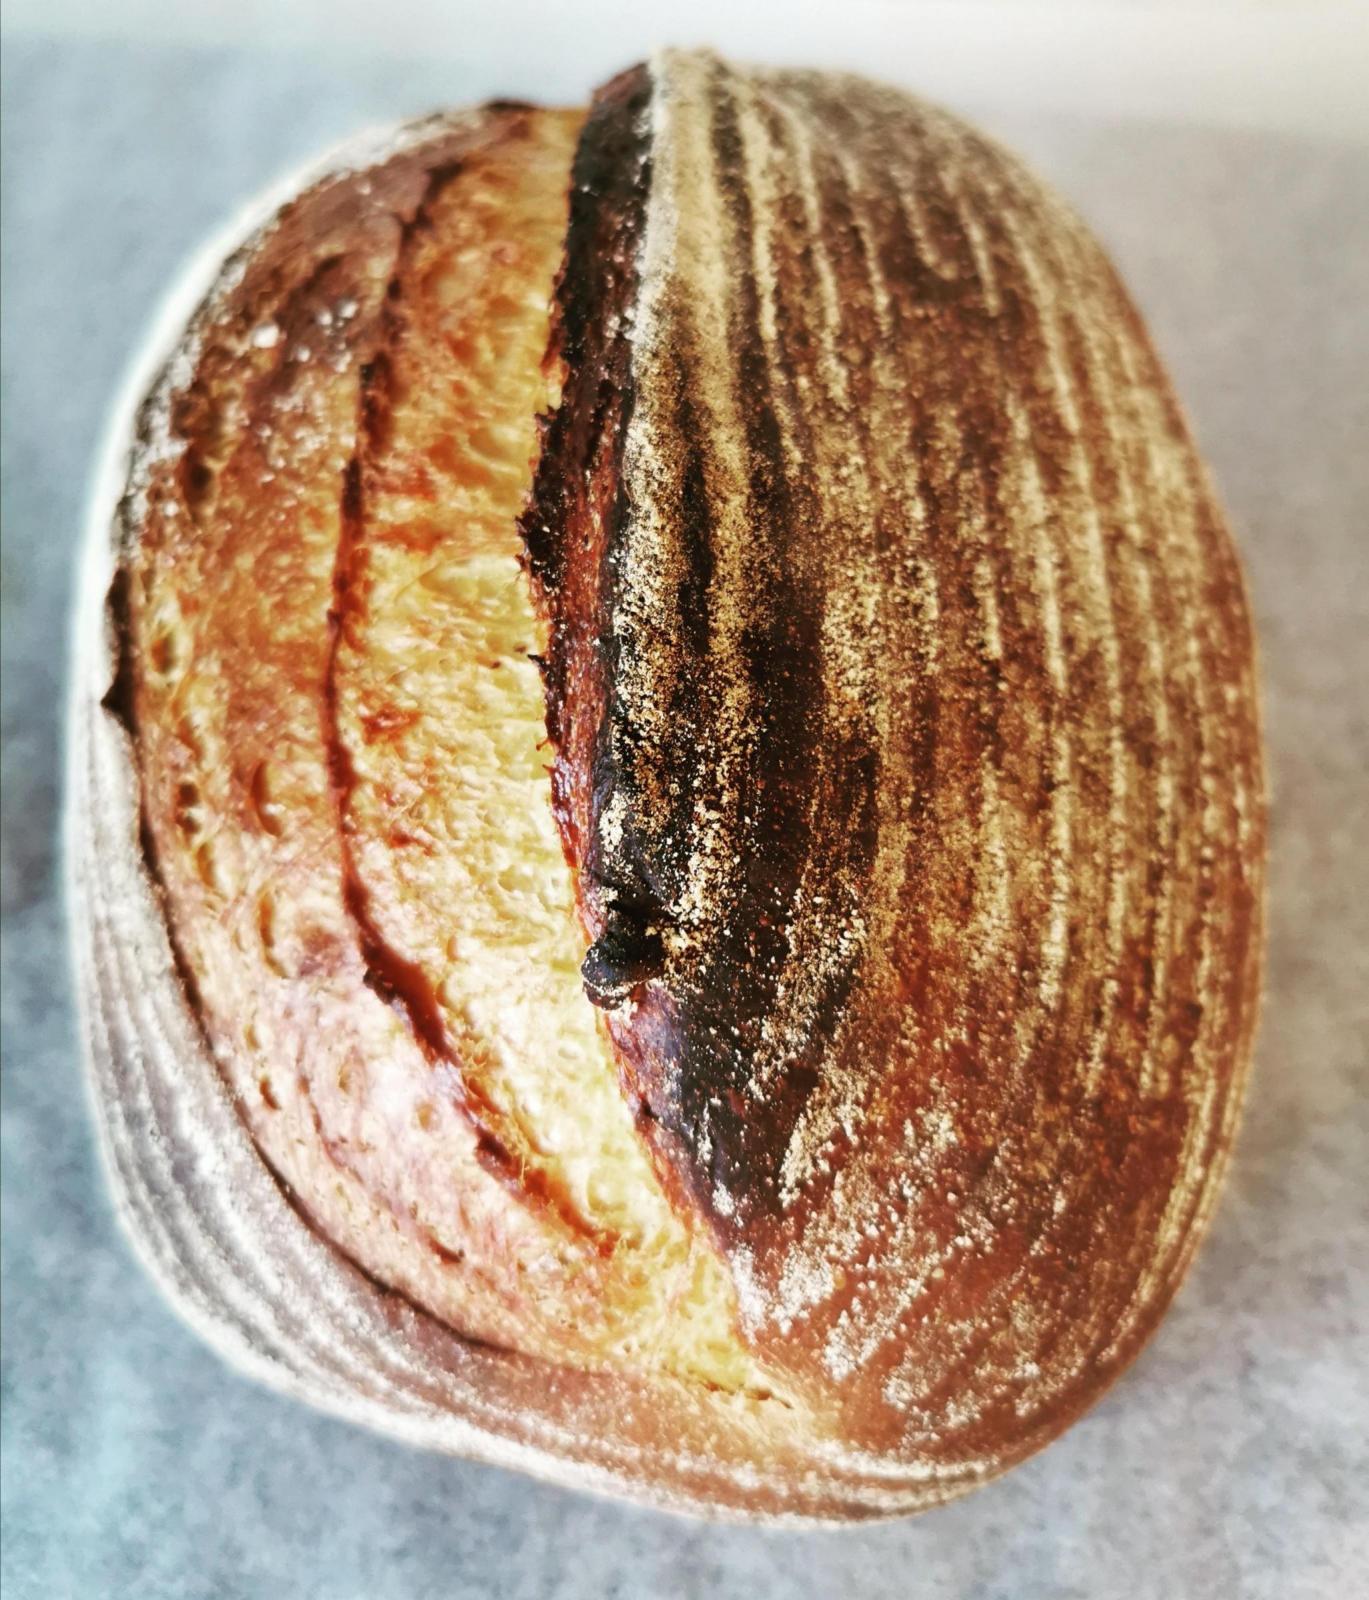
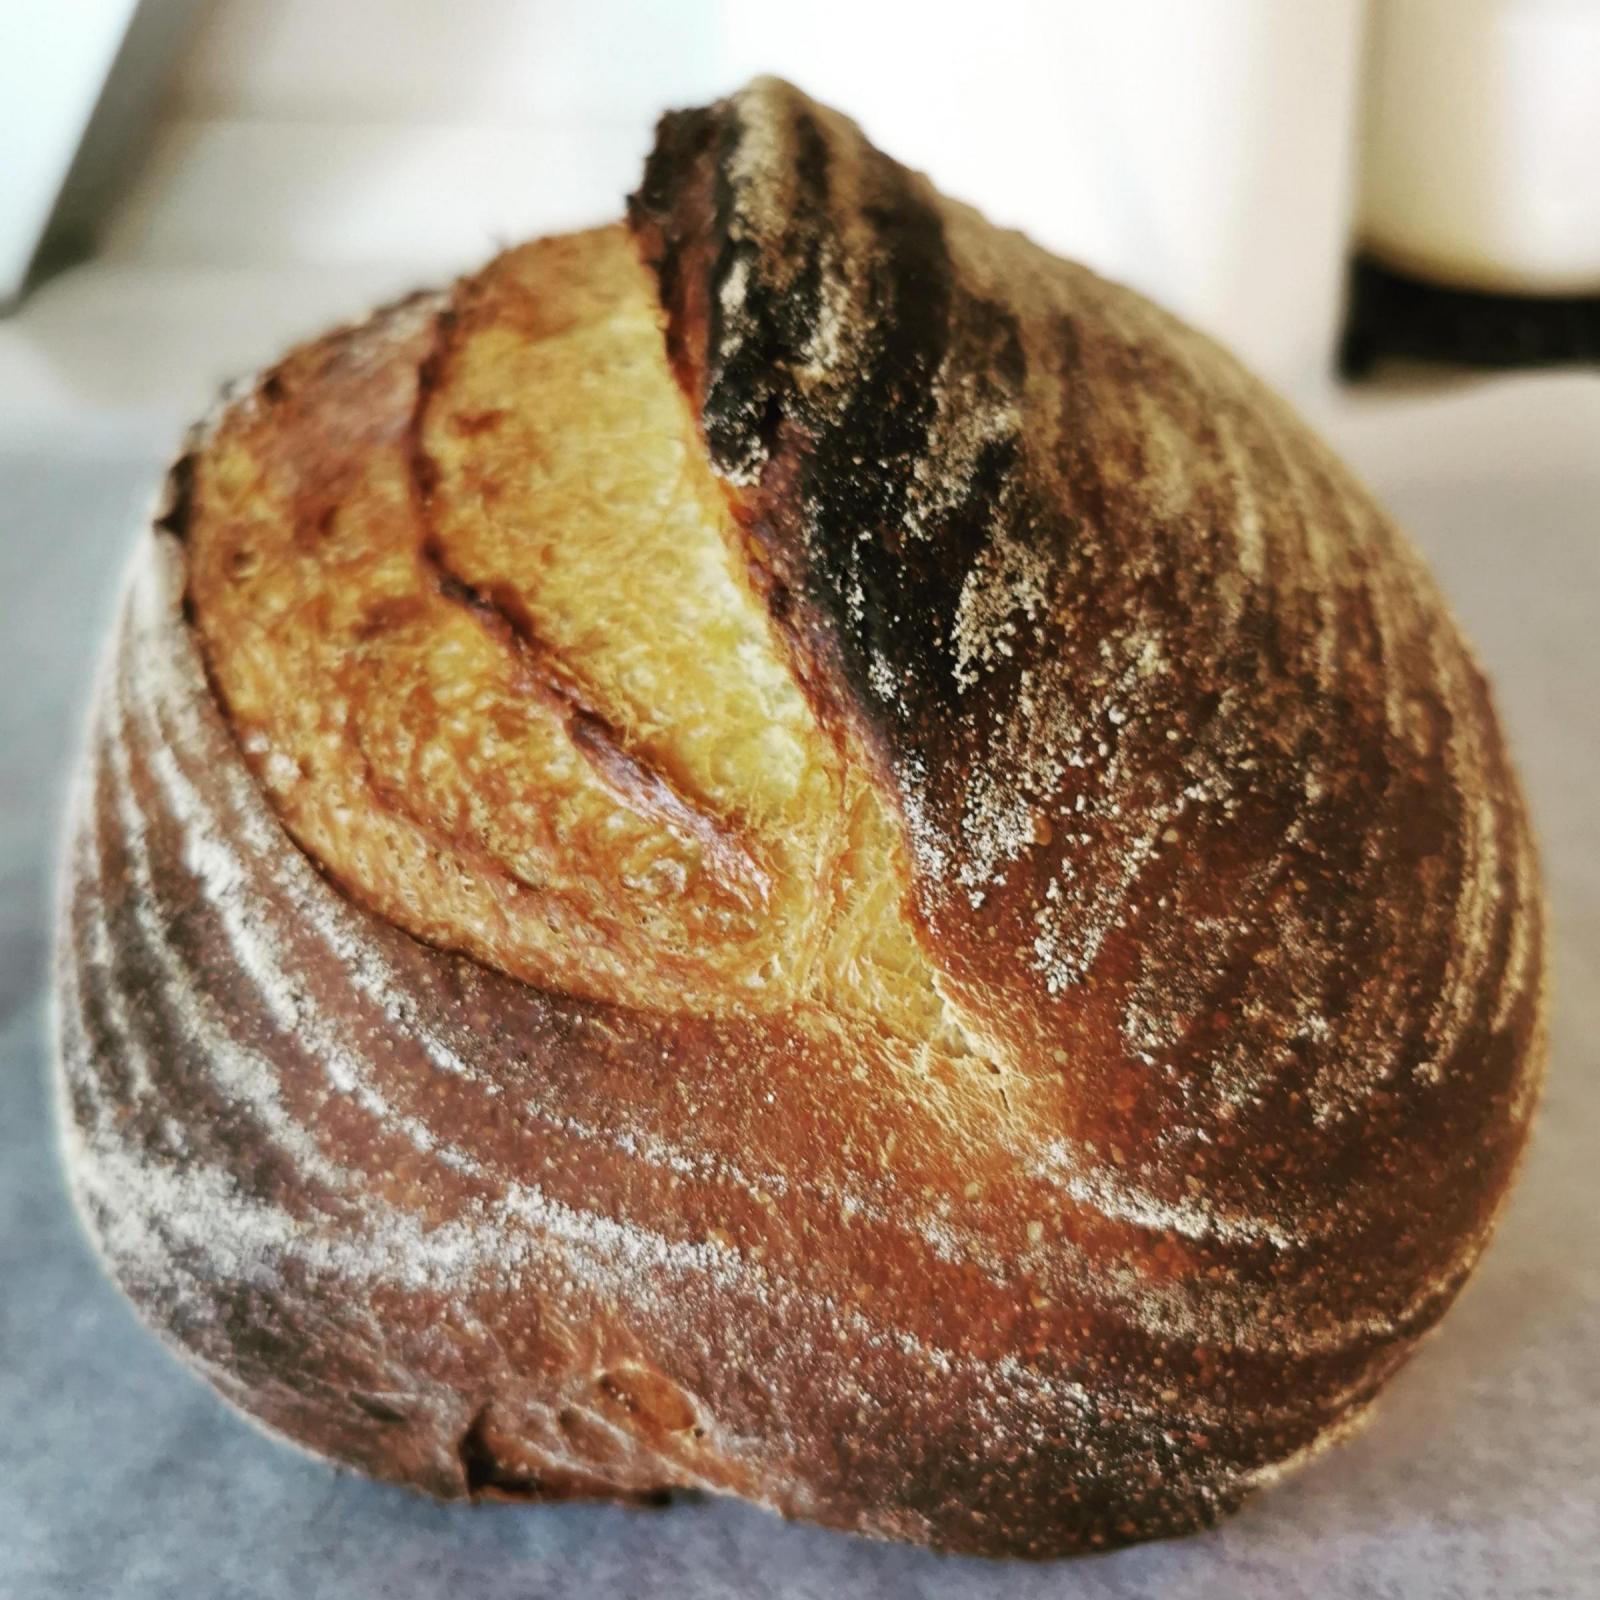
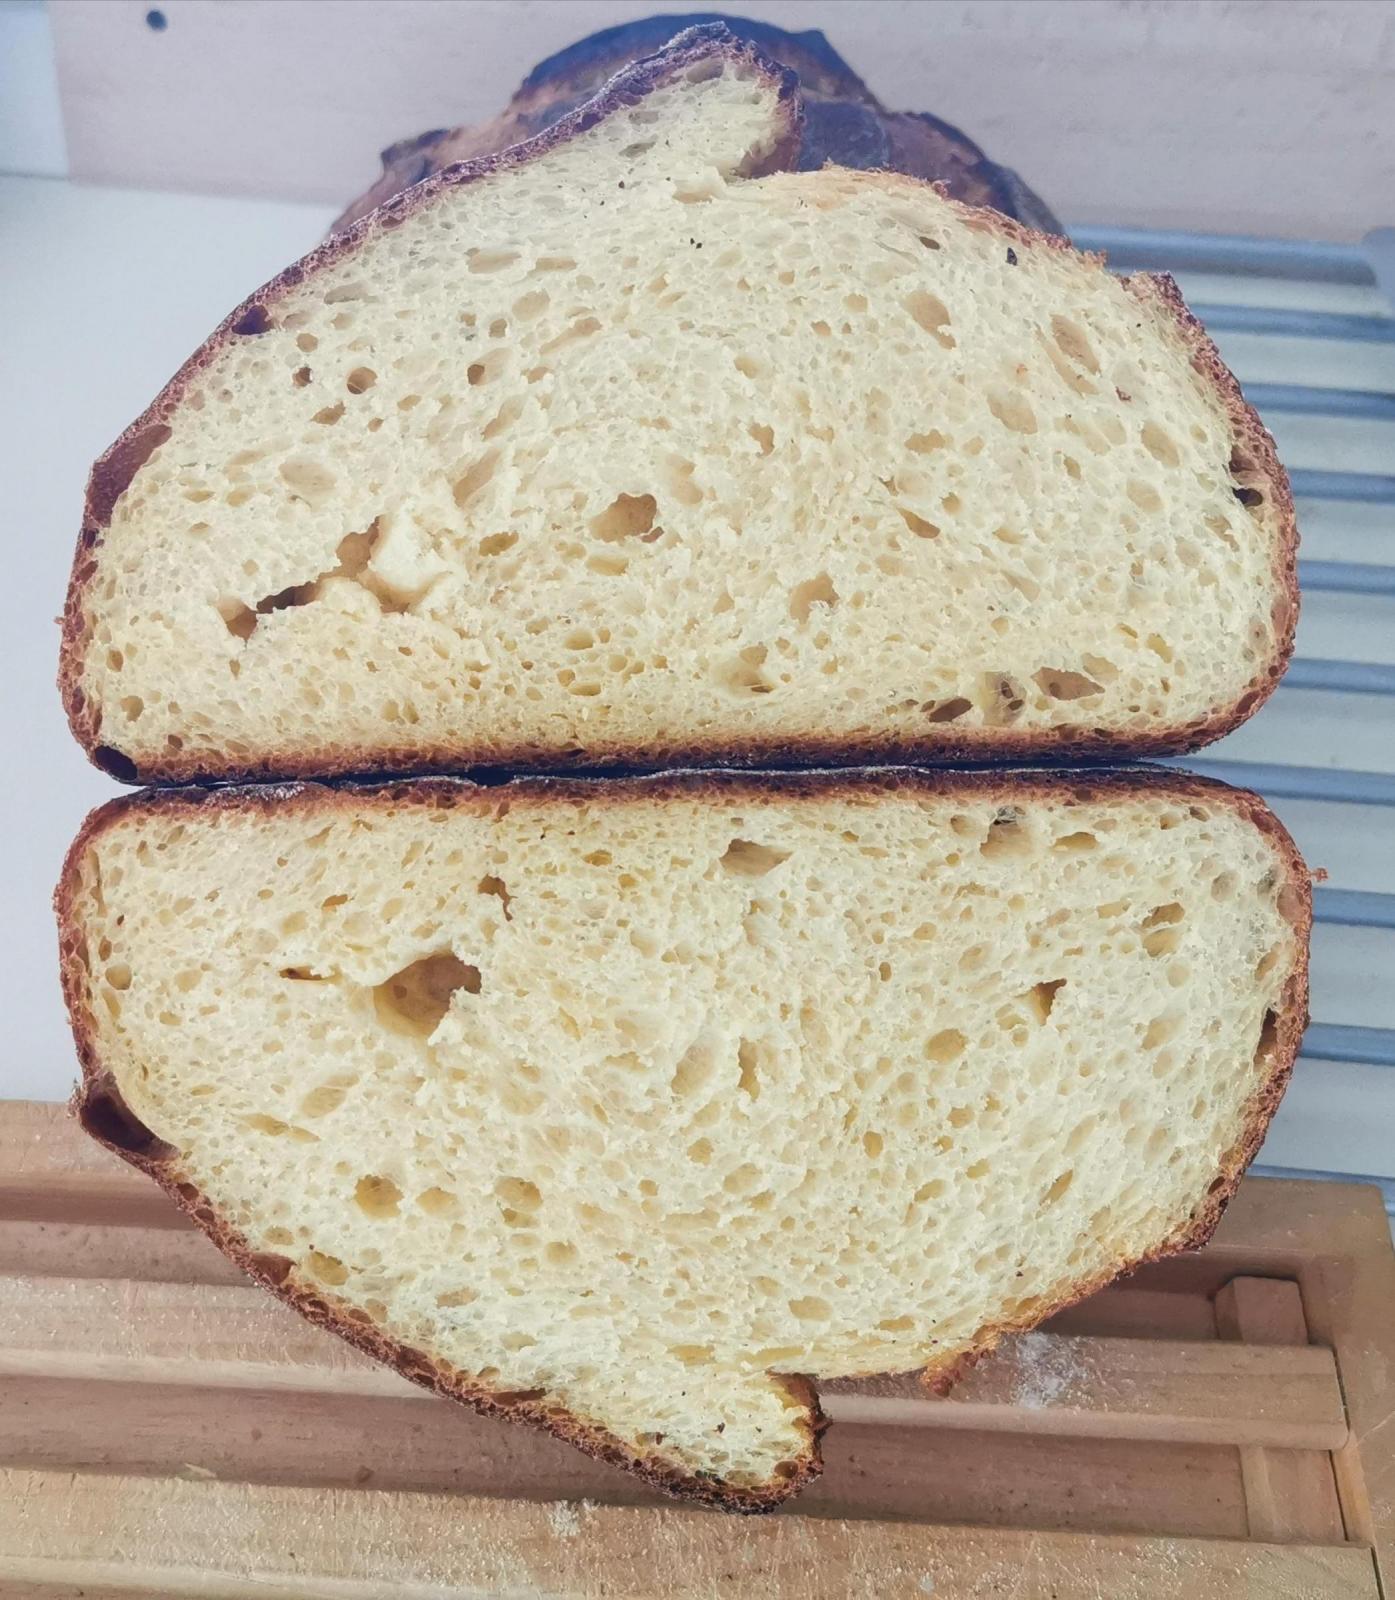
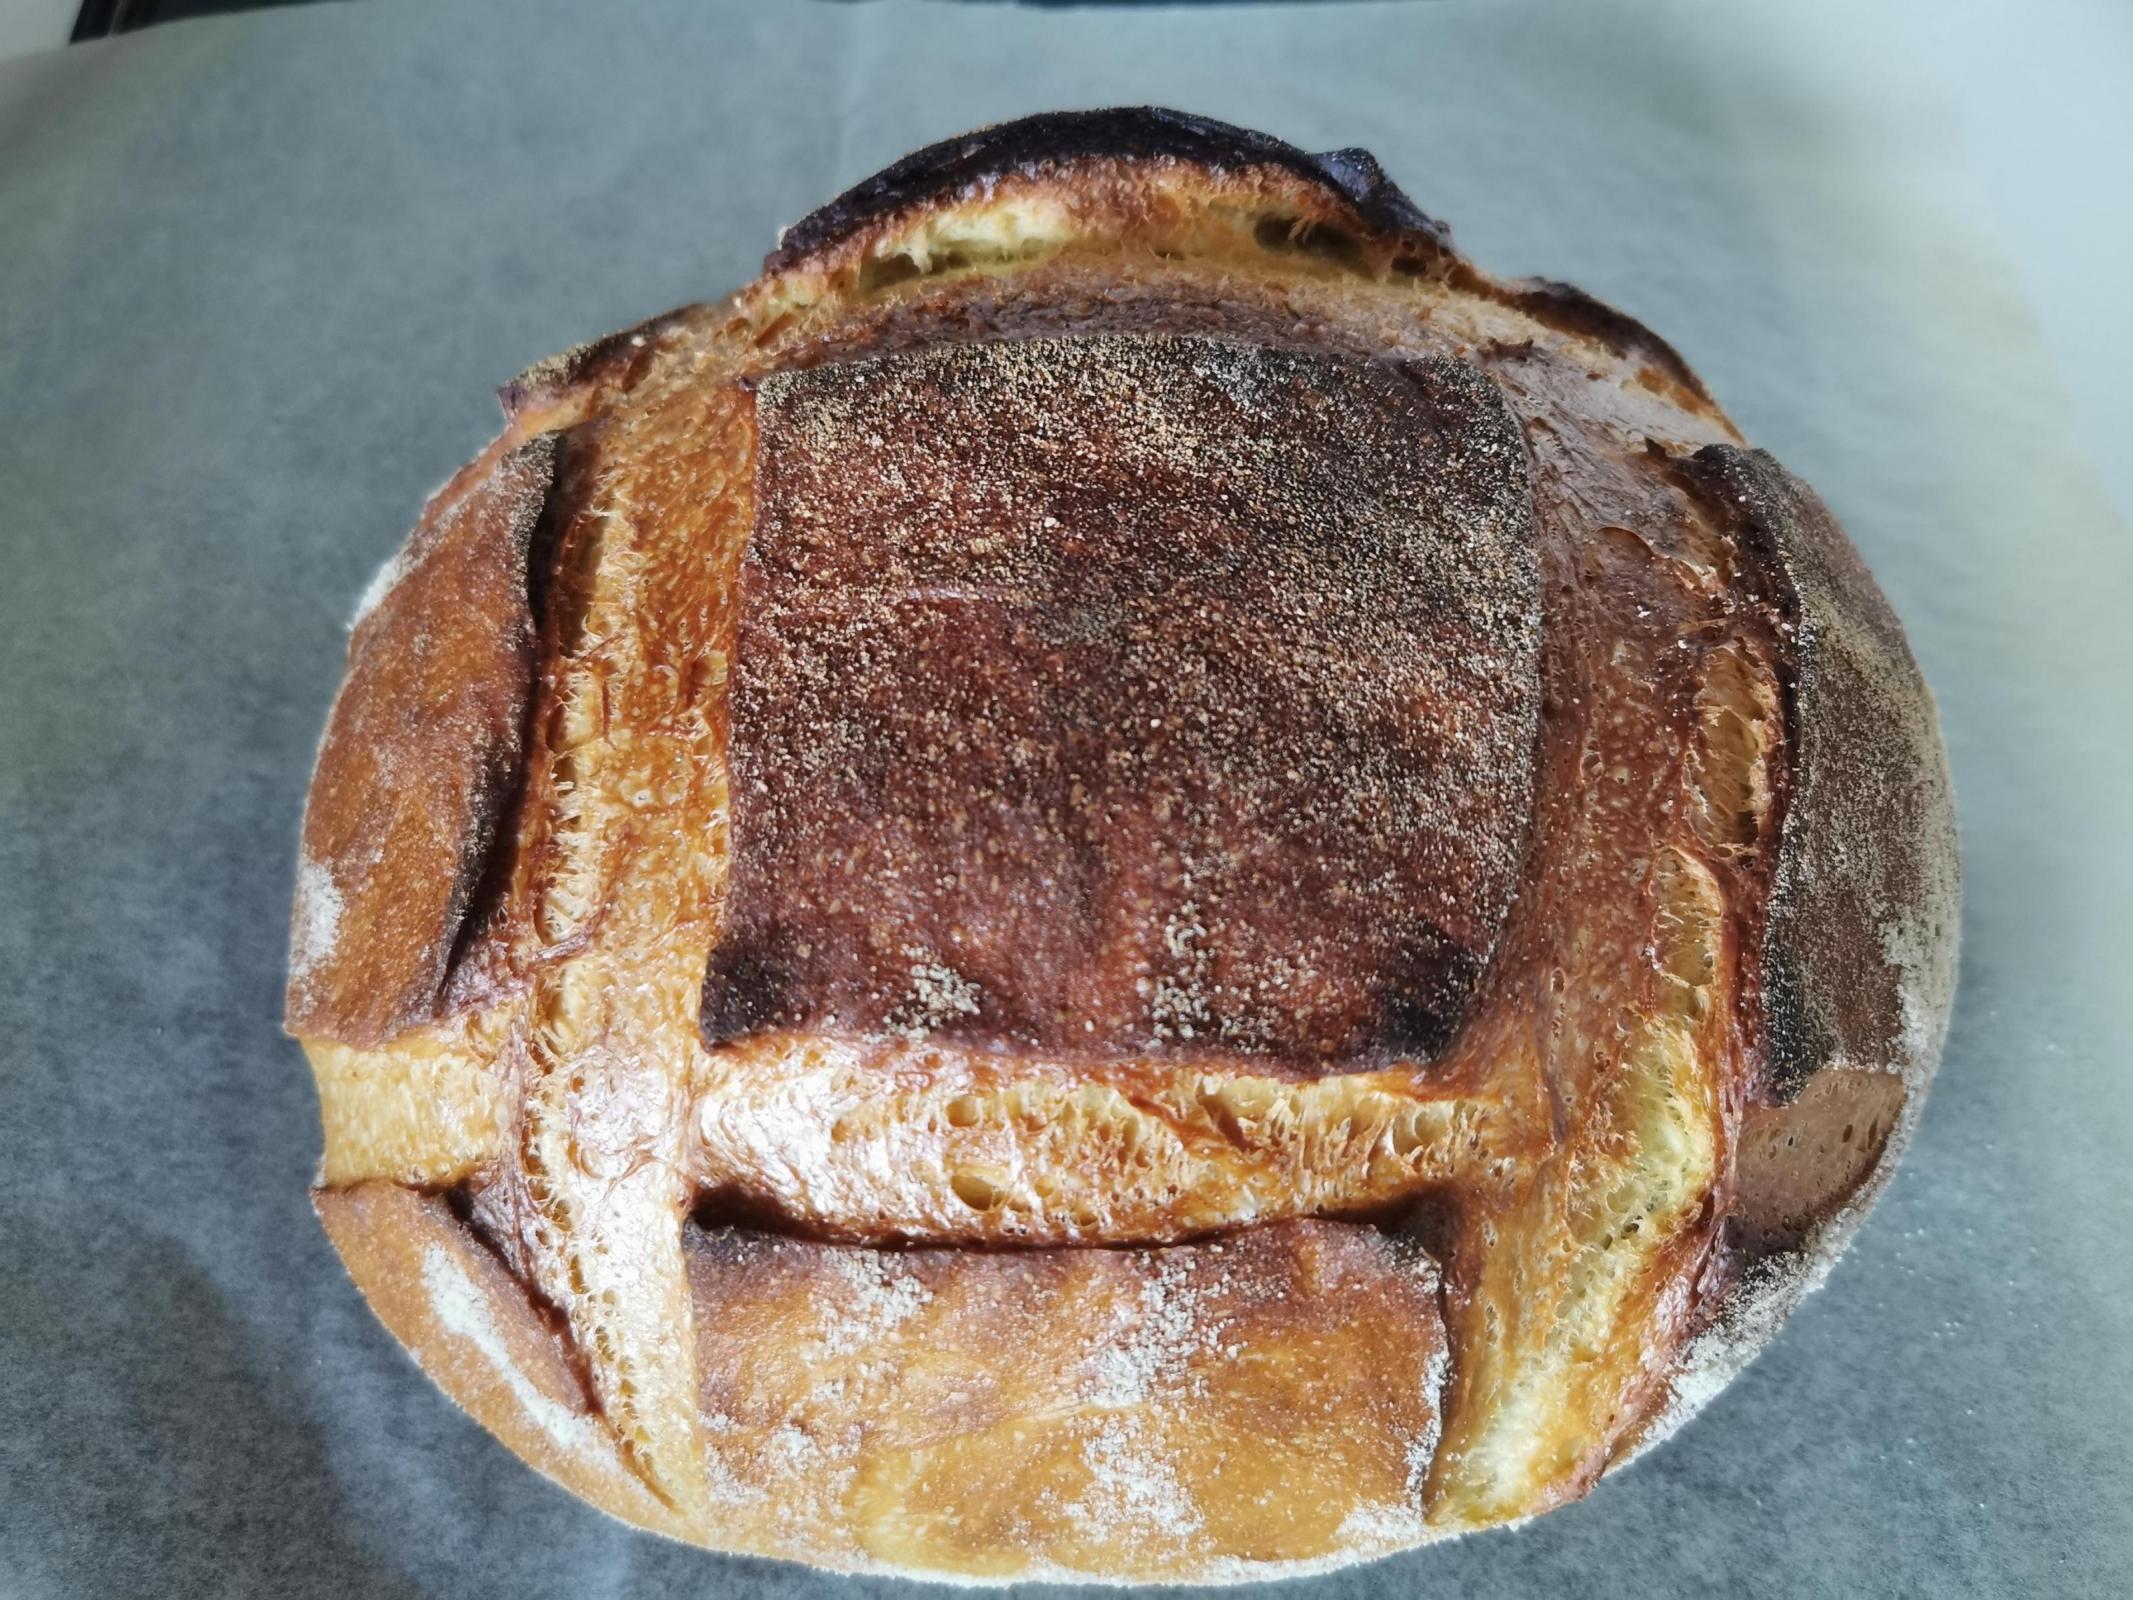


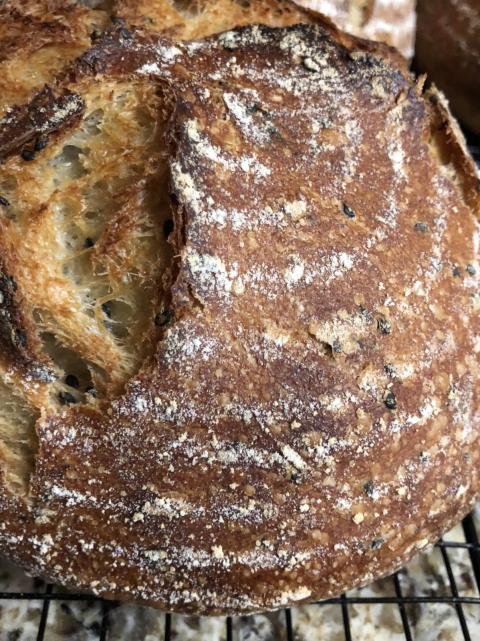
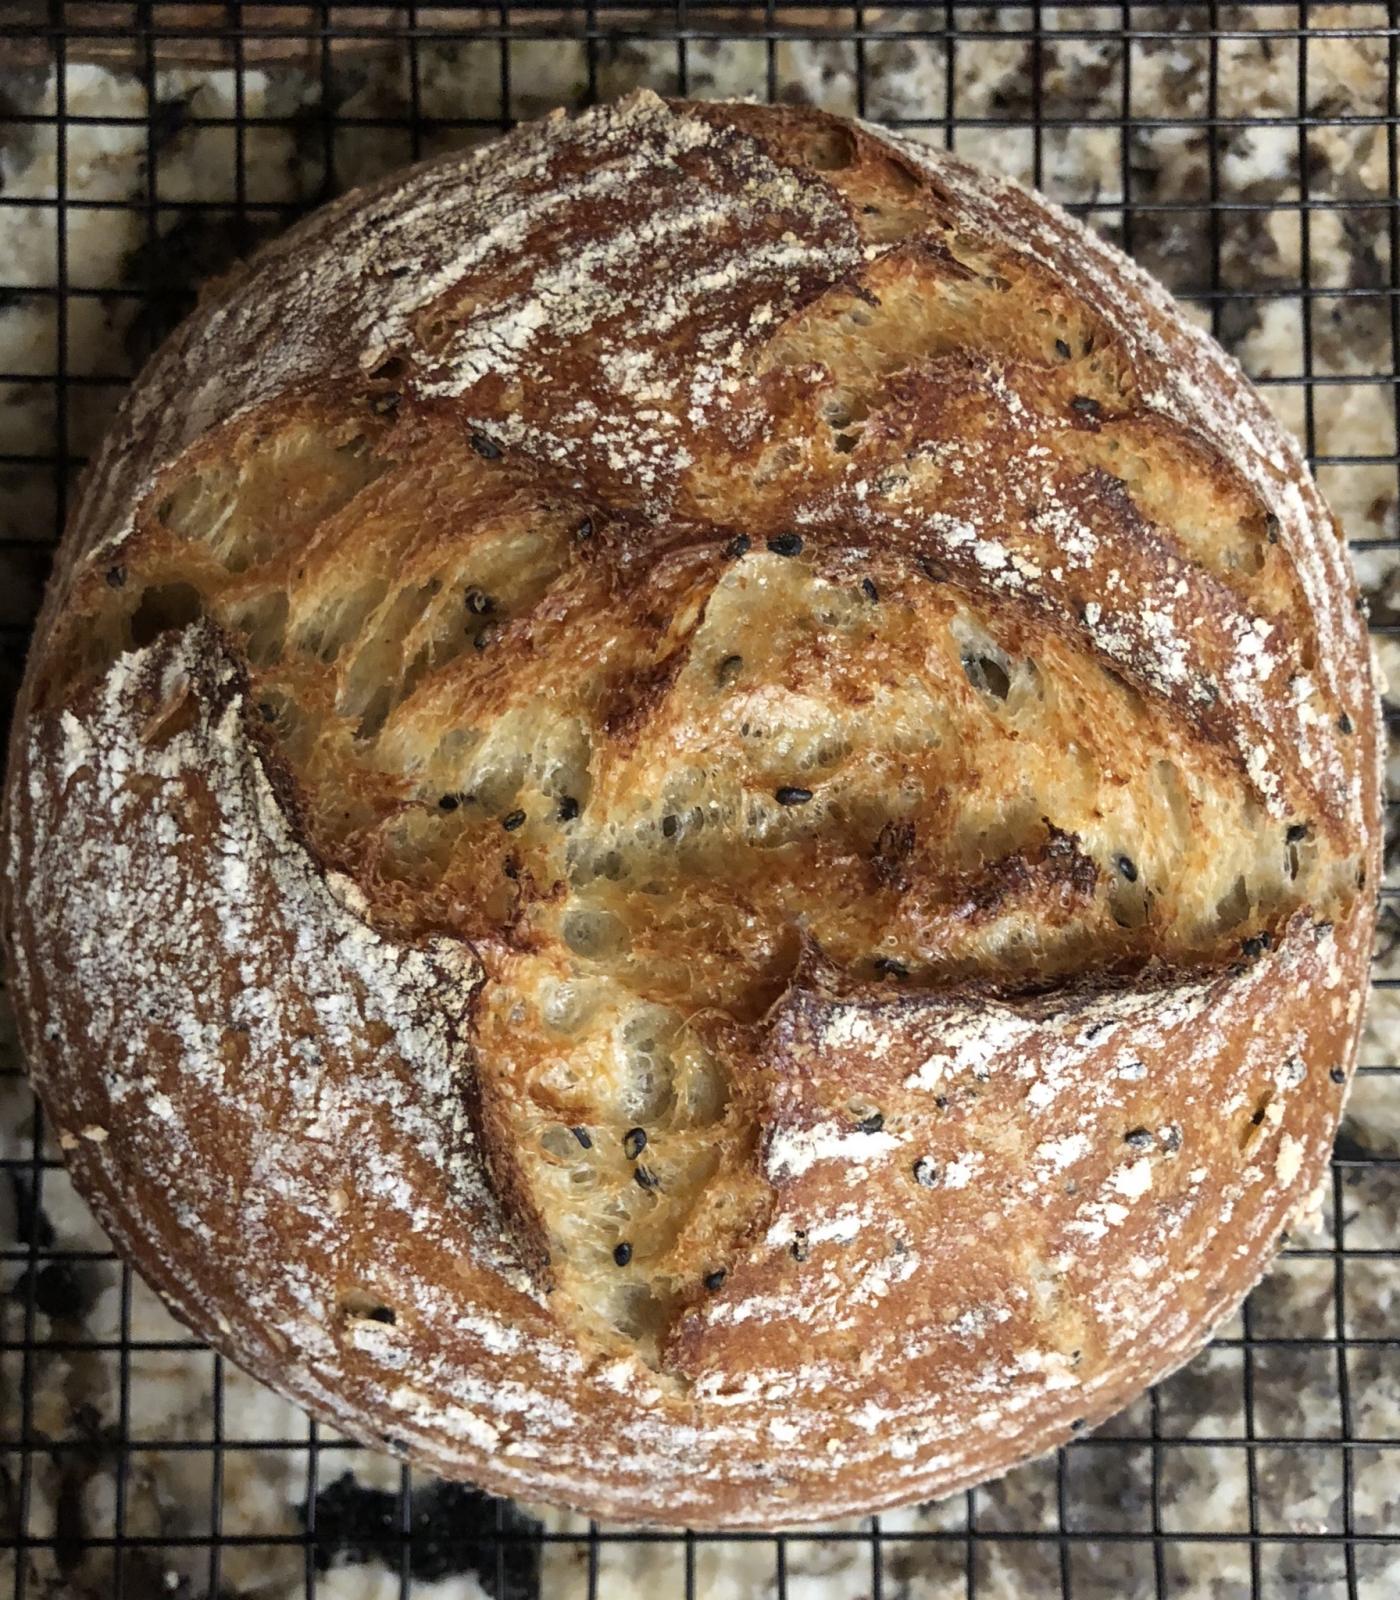 I finally got the oven spring I was hoping for! Getting up at 3 am to bake the silly things was totally worth it! ?