A TFL user know as "Del" graciously offered this formula with instructions. As far as I know, Del’s original post is no longer on the forum. Del lived in Hawaii near a bakery that was famous for this bread. His instructions are elaborate and very detailed, but if you follow his instructions you are certain to succeed. Please don't let the lengthy instructions dissuade you. You may have to improvise on one or more techniques. For example, I used the dough hook instead of the paddle for the final mix. IMO, the formula his formula is perfected. The bread is out of sight...
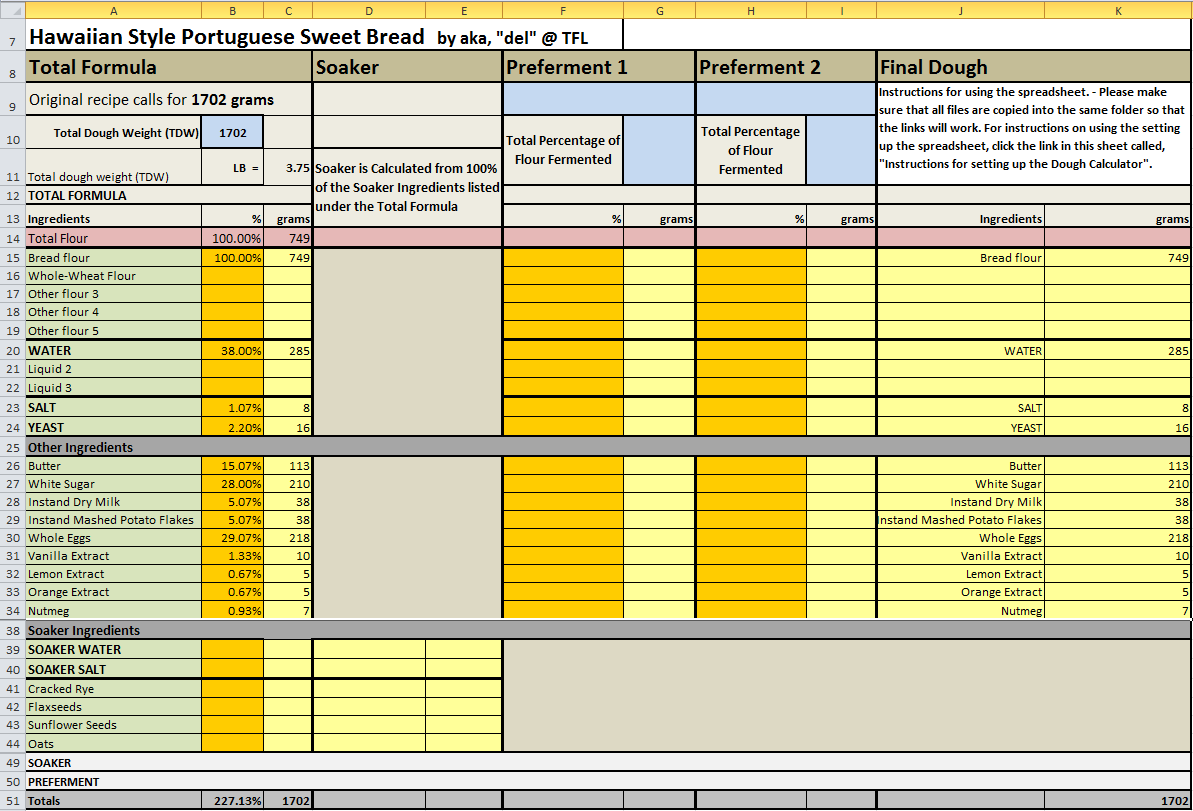
Below is a screen shot of the spreadsheet detailing the baker's percentages and weights in grams.
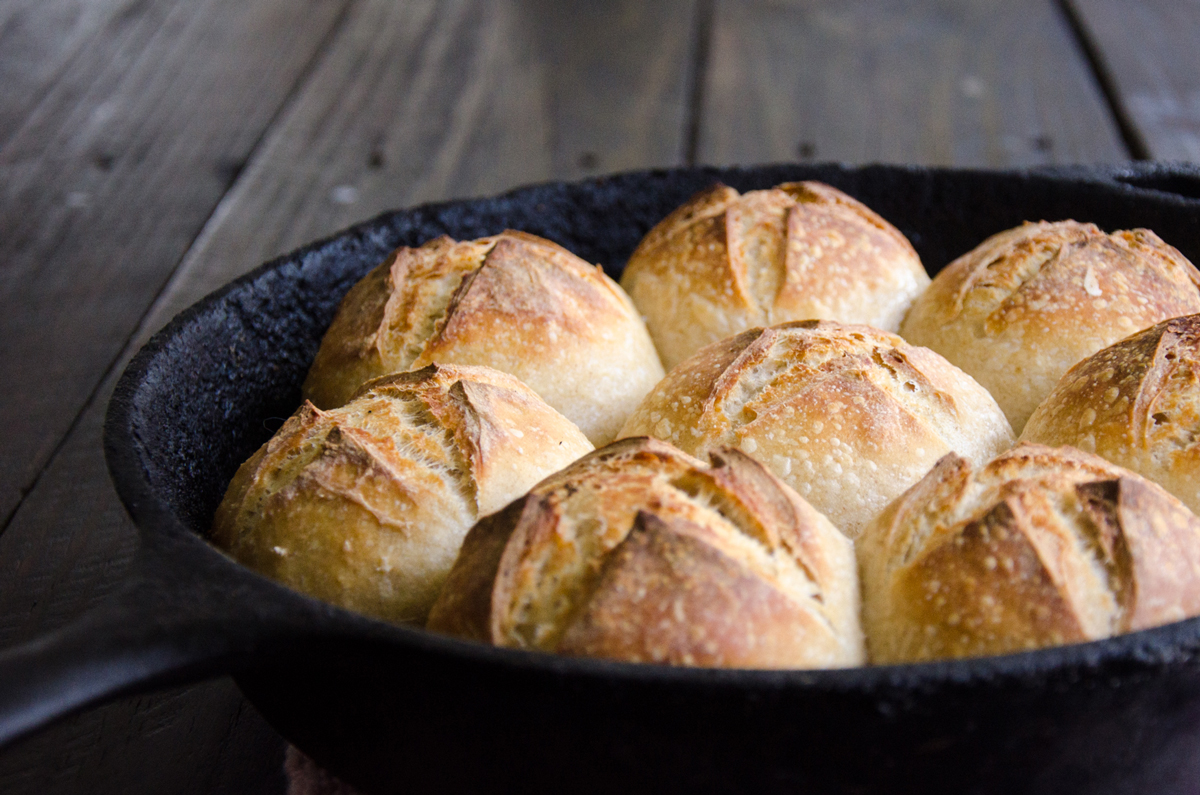
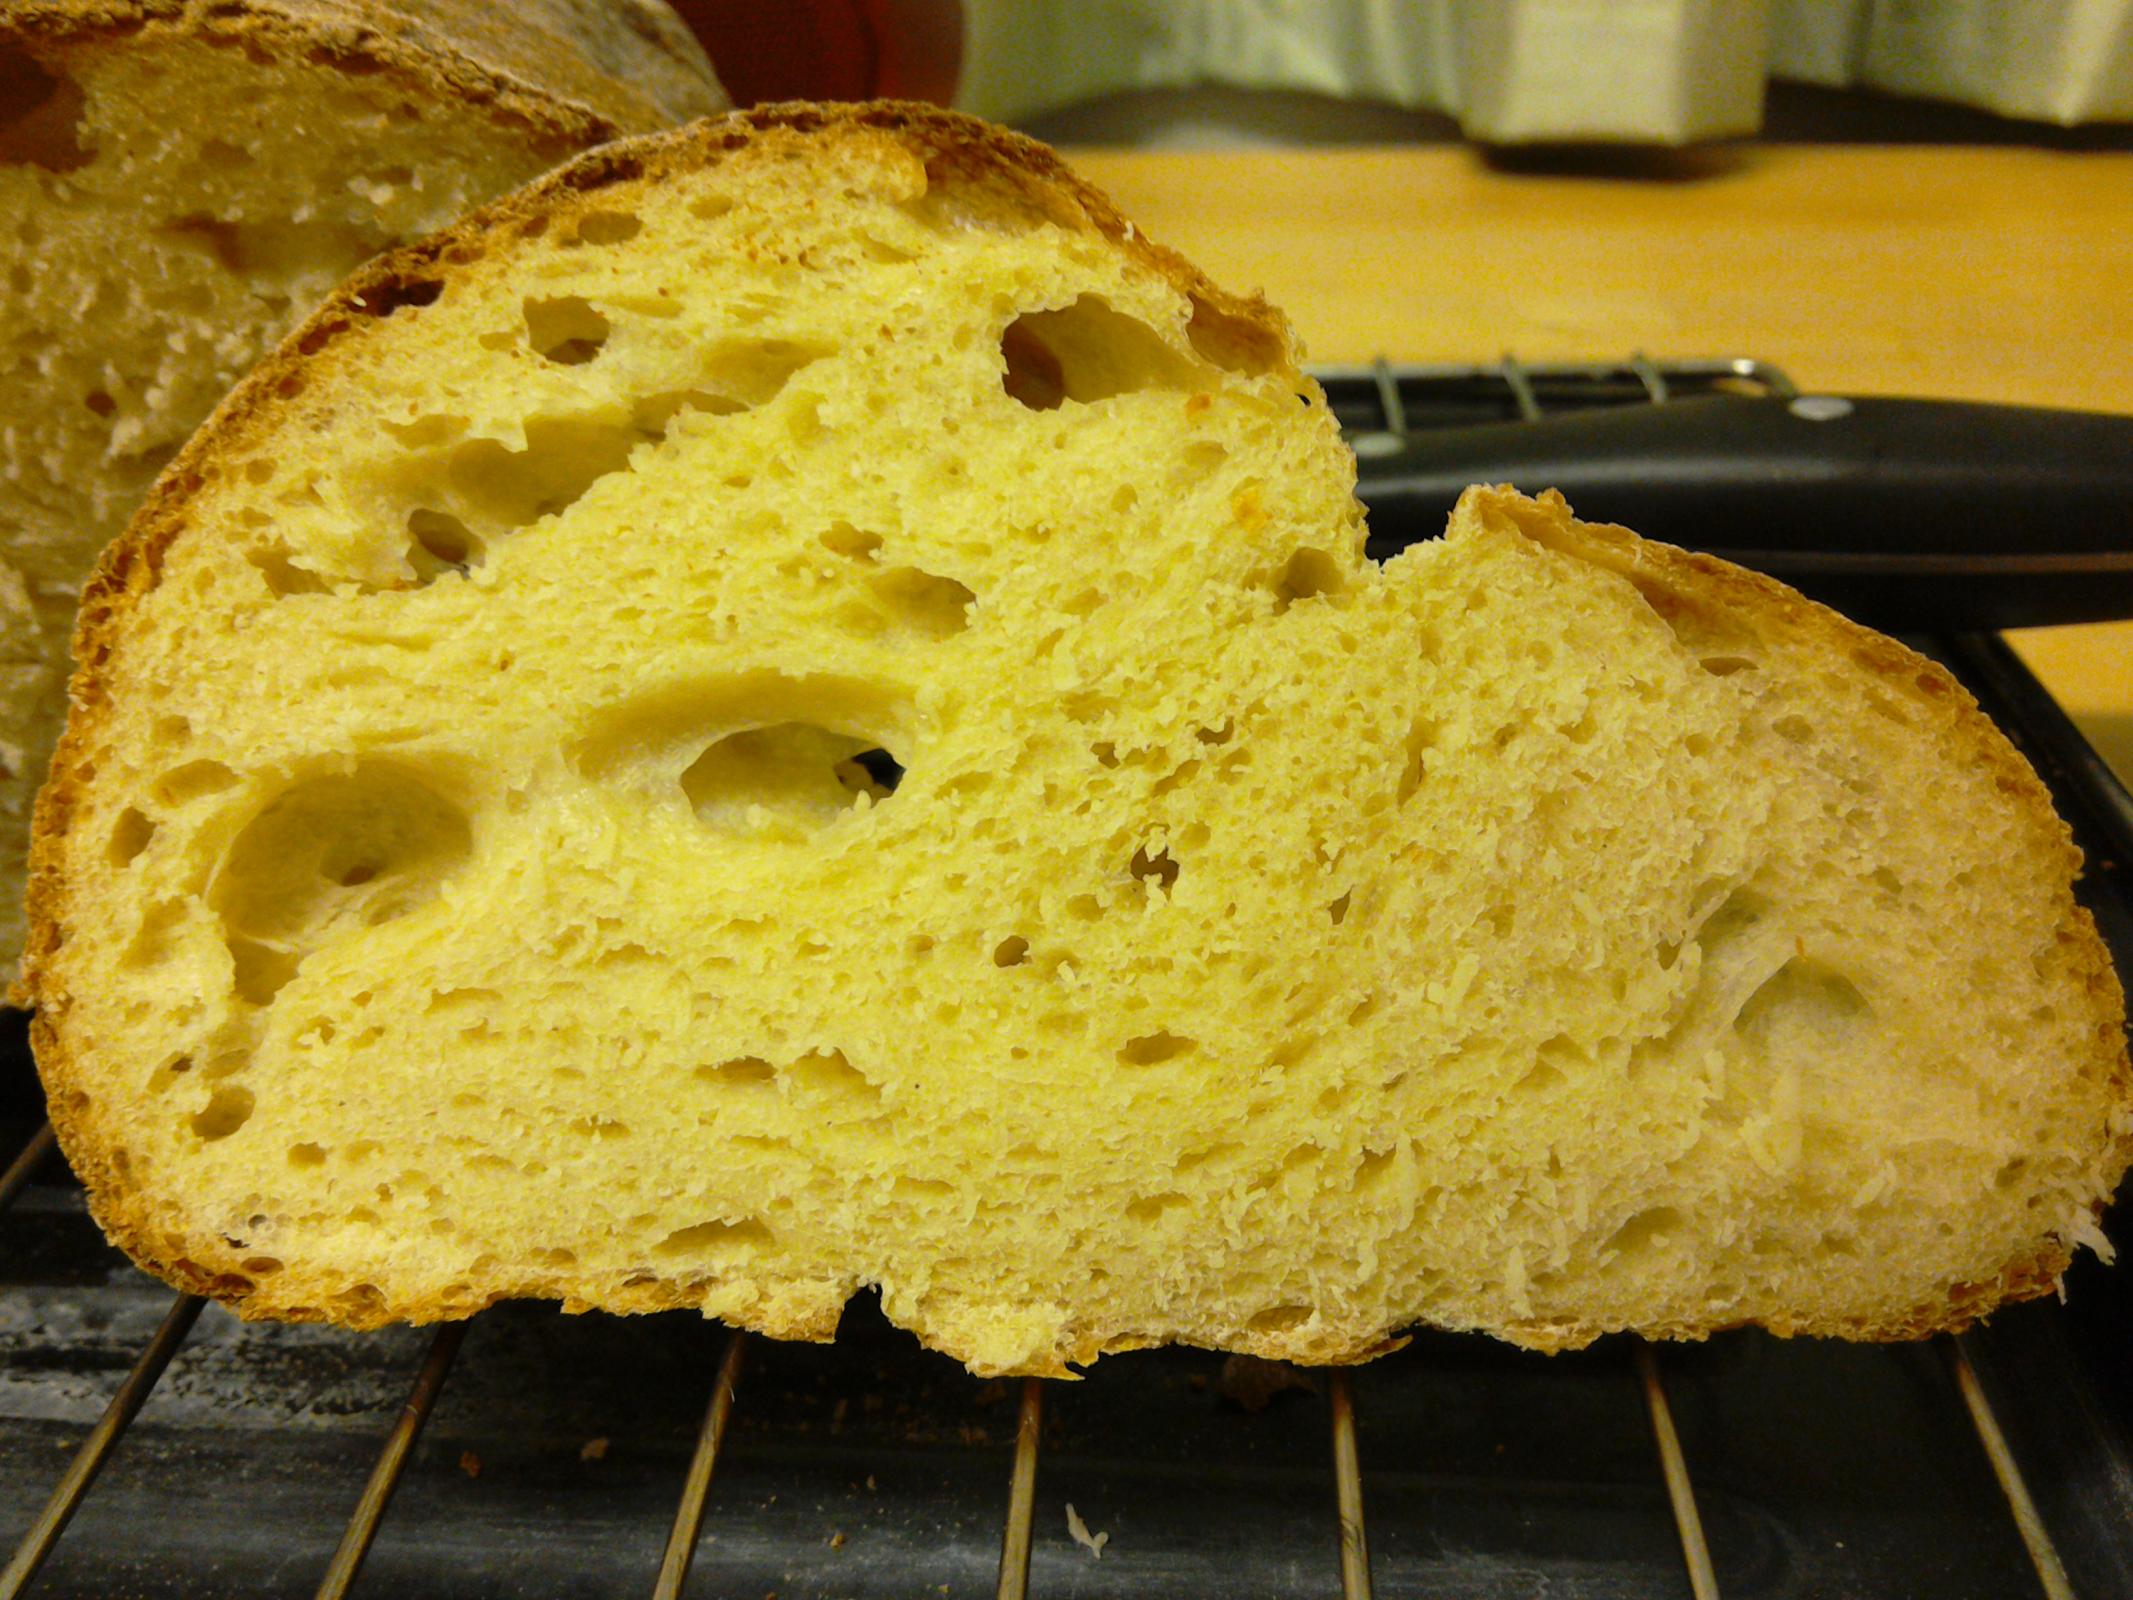
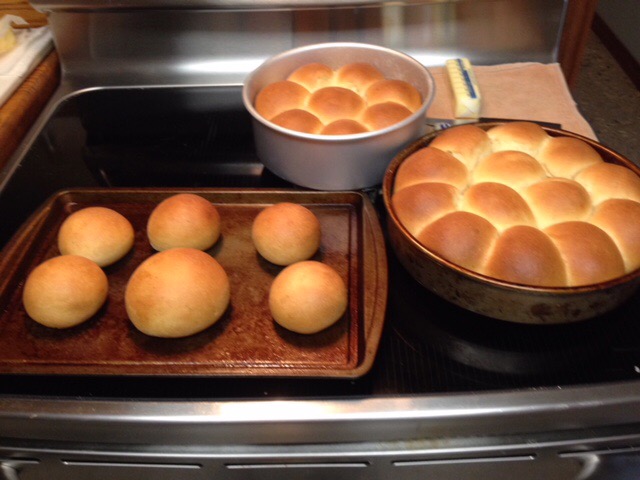
They make killer hamburger and hot dog buns.
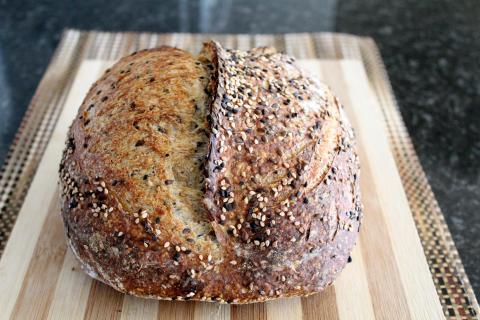
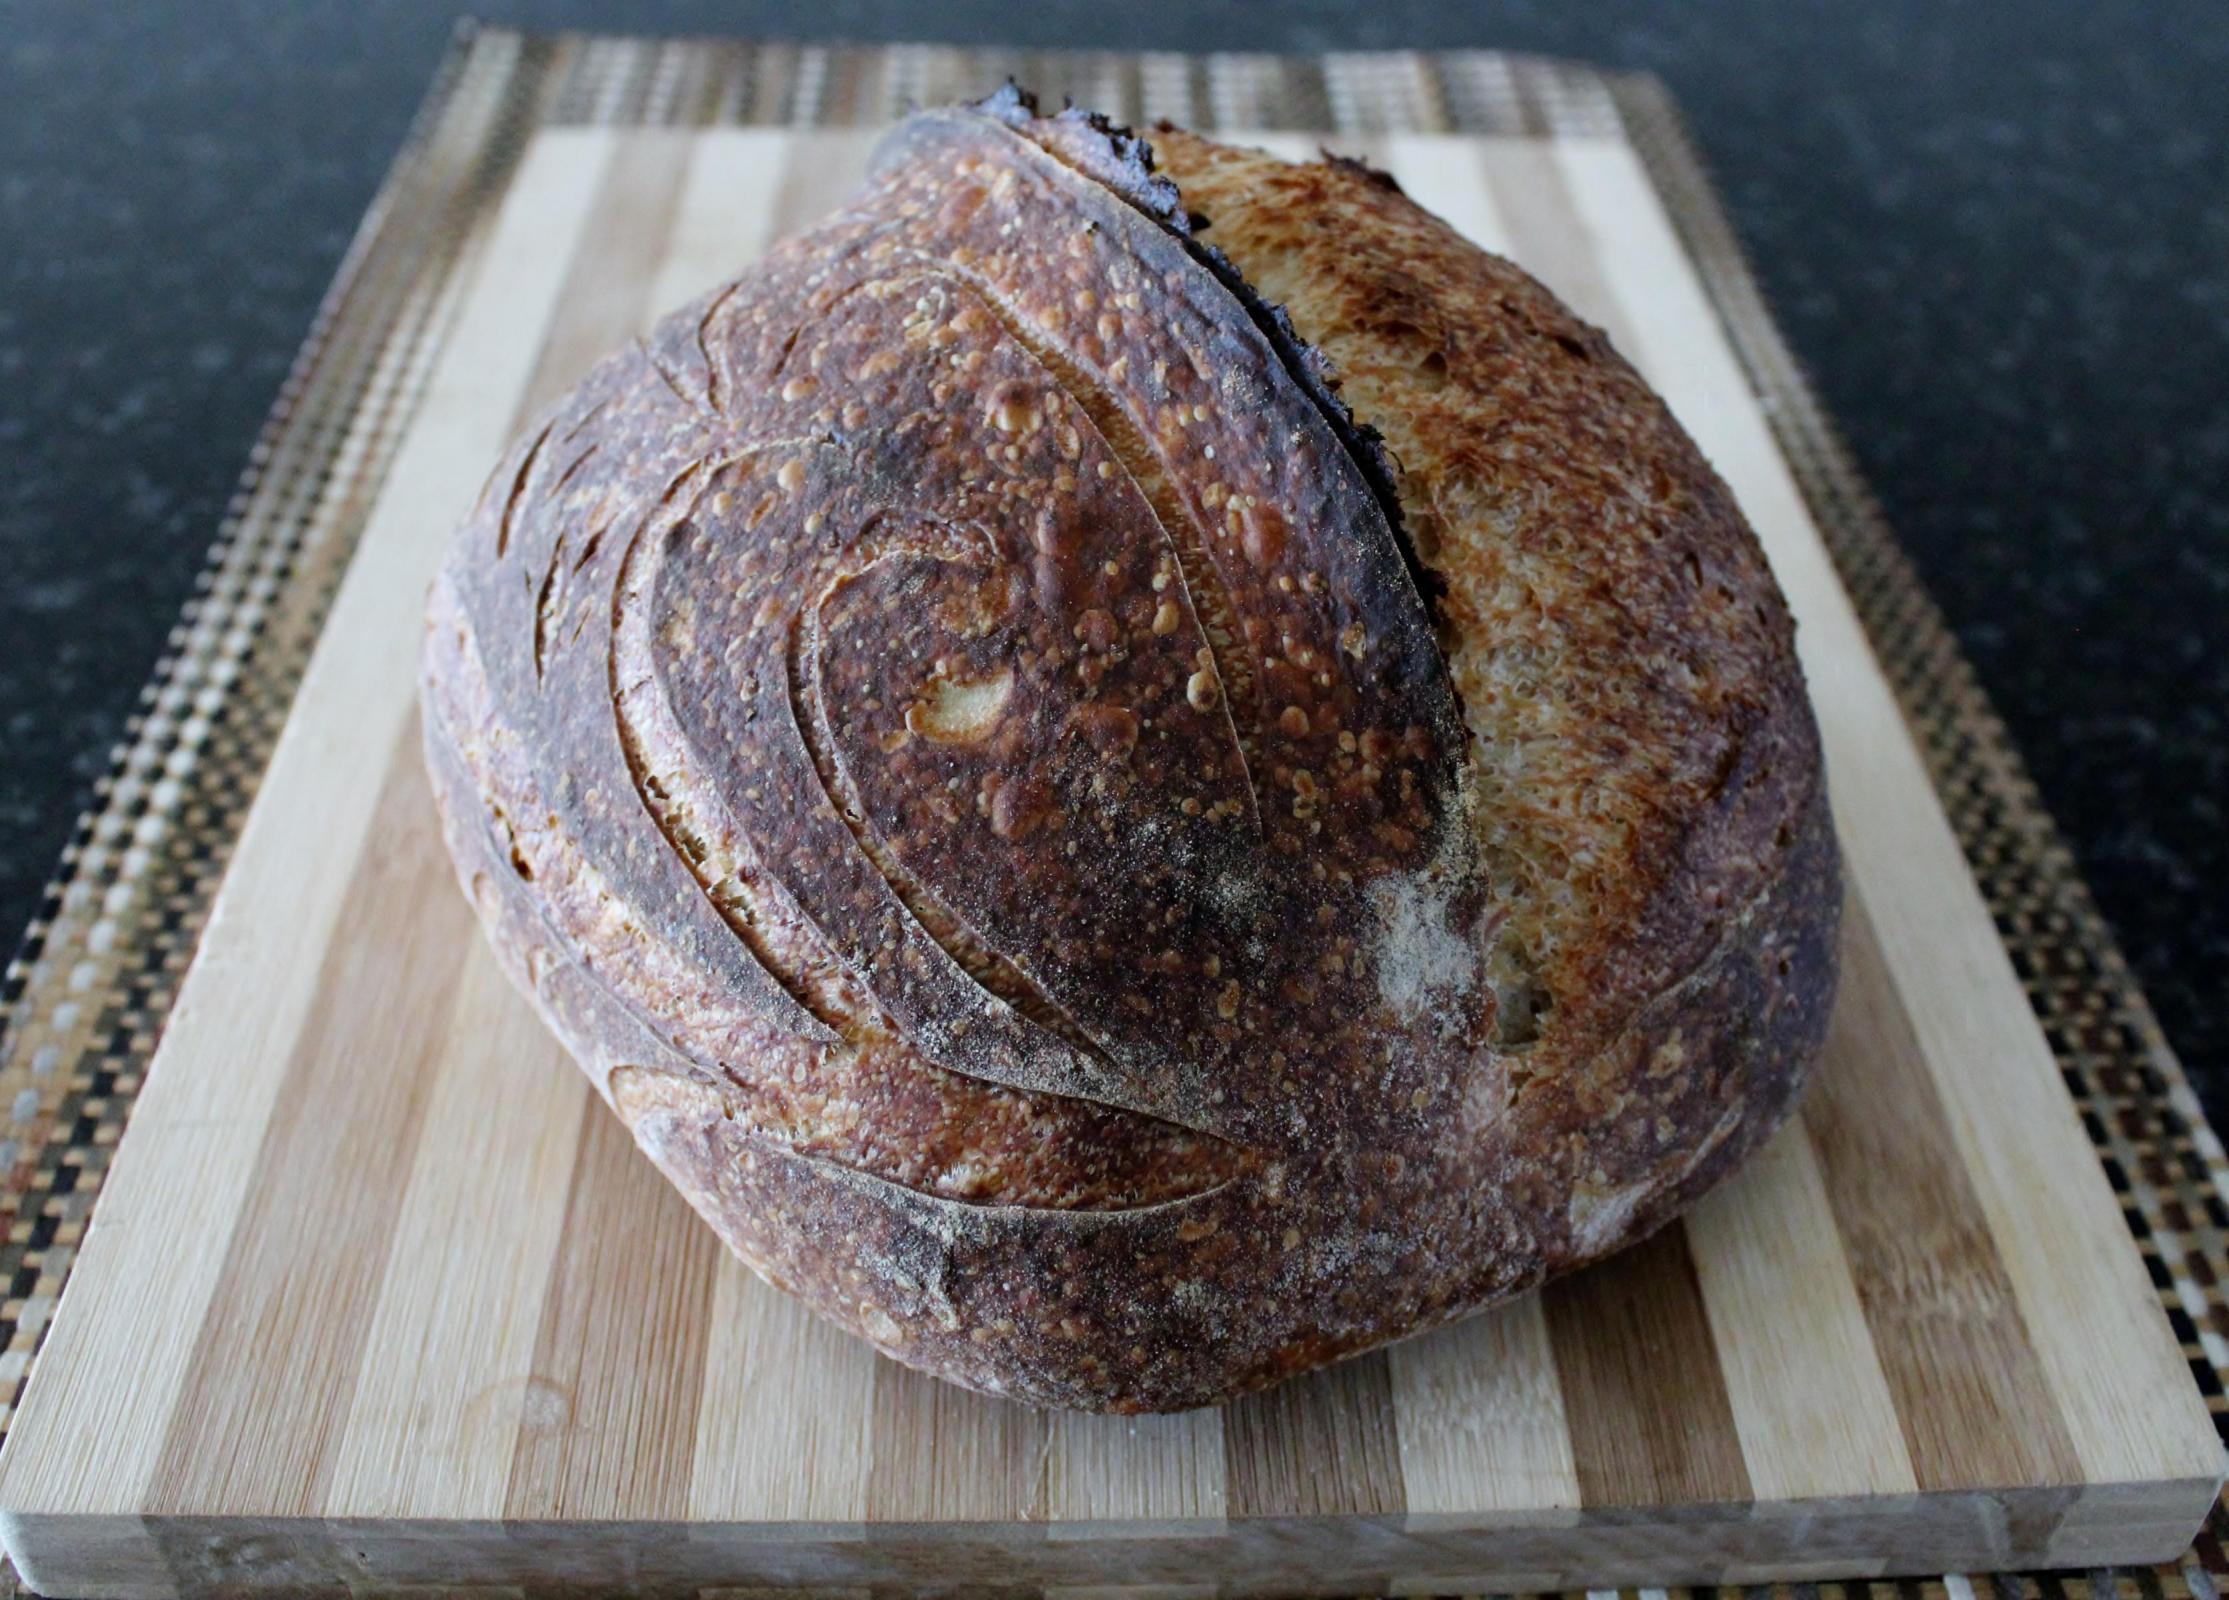
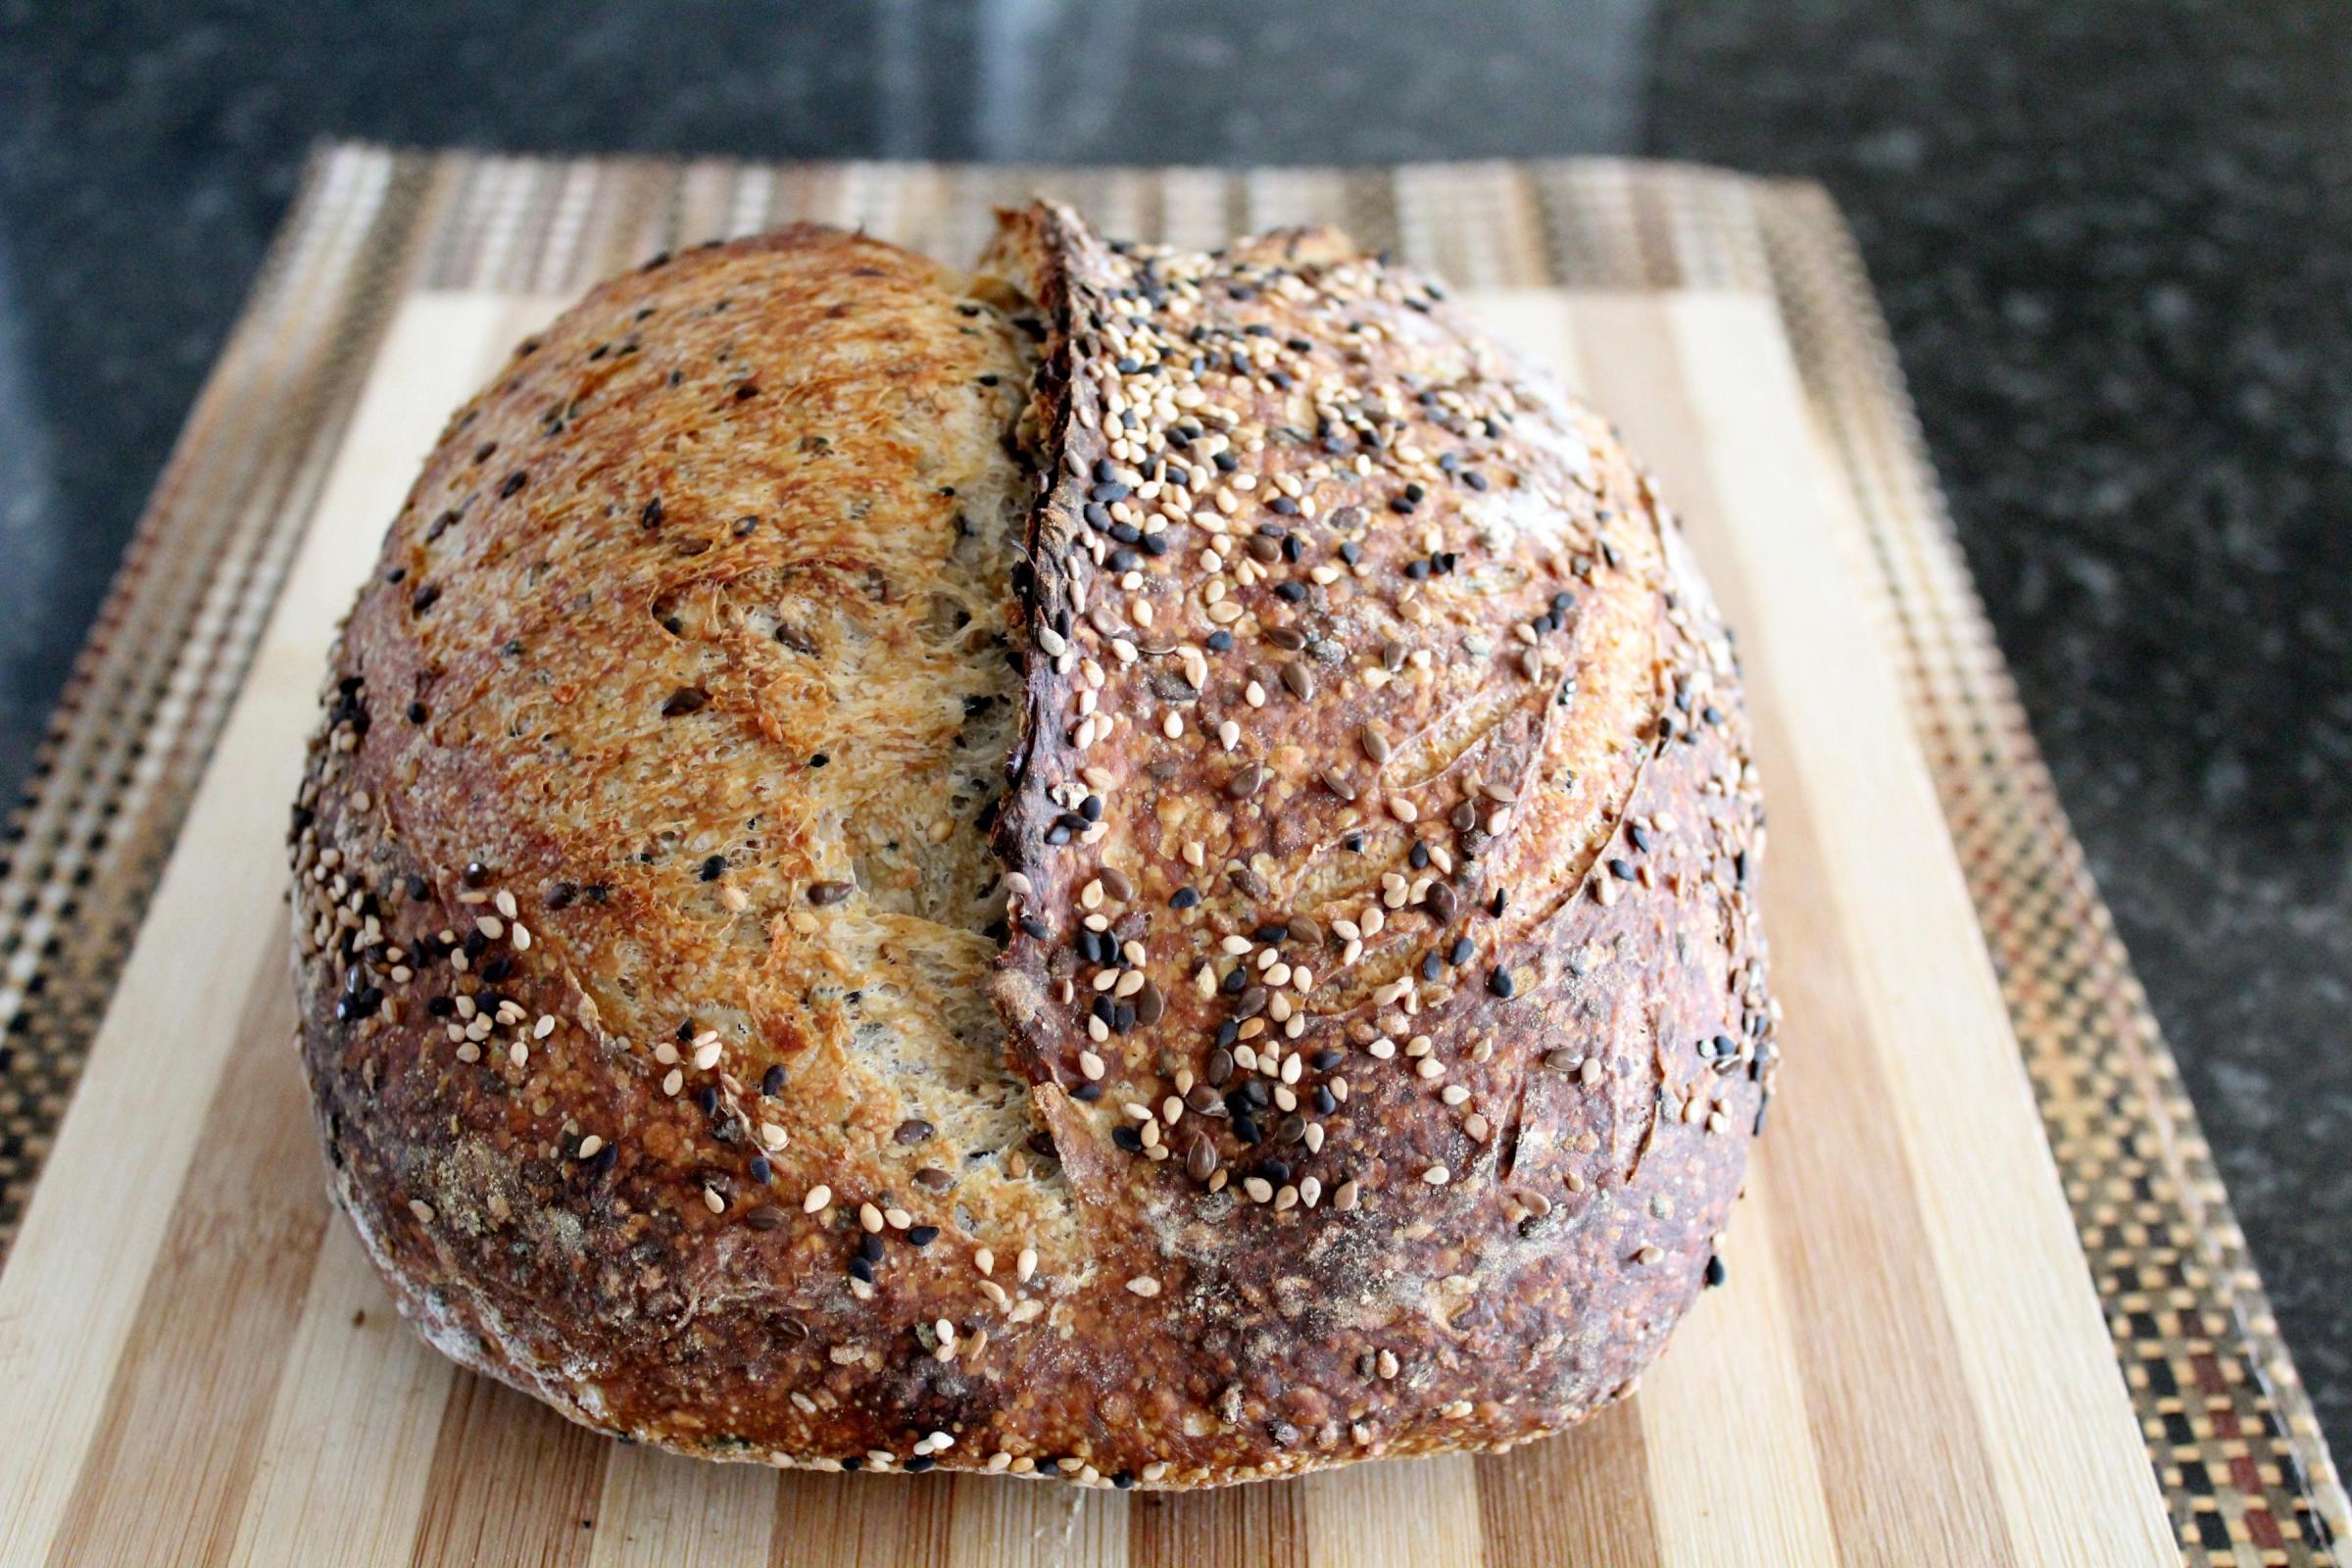
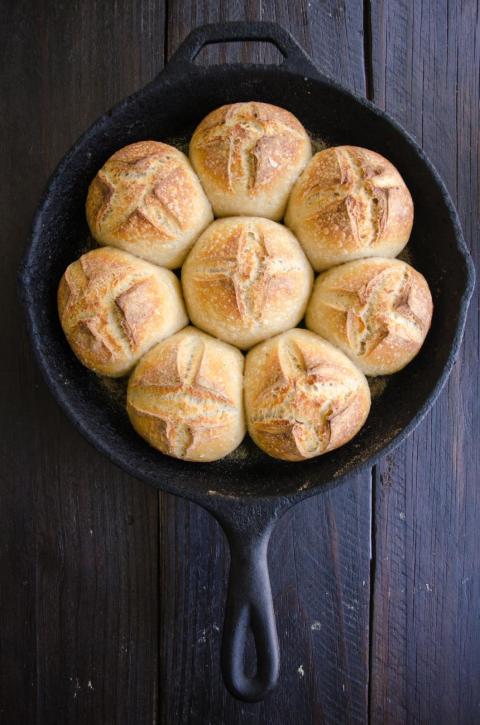
Hawaiian Style Portuguese Sweet Bread
Instructions copied from Del
1. Yeast - You will need to get osmotolerant yeast. I use SAF-Instant in the Gold Package.
2. You will need plastic bags for these loaves after they finish cooling. It is really important to bag your loaves to prevent drying out the bread. (Hydration pre-baked is around 67 %.)
3. The weights given will make three loaves of 20oz. (569 grams) each pre-baked. This comes out to around 1 lb. baked per loaf. The whole process takes 3 1/2 hours start till eating.
4. KitchenAid (KA) Mixer speeds are given as actual speeds --- like the first speed is when it comes on, and the second speed is what follows etc. I don't use the KA's speed numbers printed on the mixer because they don't make sense to me. There are eight "real" speeds on my KA mixer. It was difficult to mix in my KitchenAid. I plan to use an Ankarsrum next time. Ankarsrum worked very well. The KA worked but it labored too much for me.
1 egg (optional for egg wash) set out on counter to come to room temperature
113 grams Unsalted Butter (15%)
210 grams White Sugar (28%)
If you want to egg wash, then leave an egg out on the counter for later on.
In your mixer bowl, cream the butter and sugar together with a paddle attachment at the 3rd KA speed until about doubled in volume. I just keep my mixer running constantly while I proceed thru this recipe. Also I am lazy and just take my bulk butter out of the refrig and plunk it in the mixer chopped up and ice cold. The mixer bowl will start to sweat on the outside (condensation) but this won't harm anything. If you decide to warm up your refrigerated cold butter, the butter must be bendable (yes BENDABLE like clay) in order to cream with sugar correctly. If your butter is soft then it simply won't cream right. Using it straight out of the refrig insures things go right as the butter warms up while creaming with sugar. The Ankarsrum didn’t cream well with the roller and scraper, so I’m using the whisk now.
285 grams BOILING water (38%) I boil more water than needed then measure the use that amount or pre-boiled
38 grams Instant Dry Milk (5%)
38 grams Instant Mash Potato Flakes (5%)
In a small sauce pan, boil the water. Once it is rolling boiling, add in the dry milk and whisk. THEN remove from heat and whisk in the instant mash potato flakes till everything is nicely blended.
218 grams Whole Eggs, Ice Cold straight from refrigerator (29%) - about 4 or 5 medium eggs
10 grams Vanilla Extract (1.3%) or 2 Teaspoon
5 grams total Lemon/Orange Extract (0.6%) Optional but then again so is Caviar in Life...
(The extracts come out to 2 teaspoon of Lemon only, or 1 teaspoon each of Lemon/Orange extract, or 2 teaspoon of Orange only --whatever you got available)
Hand whisk the ice cold eggs into the hot potato/milk mixture. The coldness of the eggs should bring down the temperature of the mixture to a safe level for your yeast additions later on. No need to temper eggs. Whisk in the extracts. Set aside. You can also wish in the creamed sugar at this time.
300 grams BREAD flour (40%)
15 grams Osmotolerant Yeast like SAF GOLD (2%) --this is around 1 ½ Teaspoon of yeast
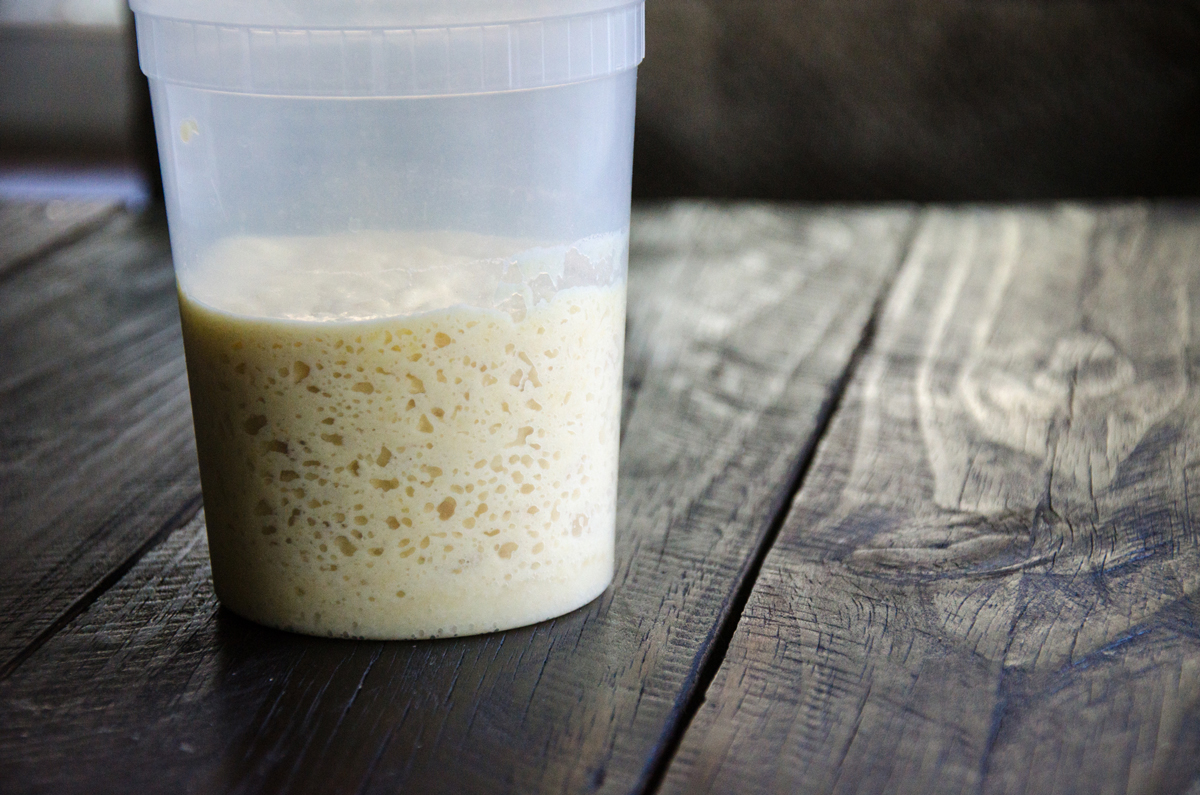
Stop your mixer that is running creaming the butter and sugar. By this time, it should have doubled in volume and be almost pure white in color. Tare and then add in your flour and then put the SAF GOLD yeast on top. Using the same paddle attachment, mix at a lower 2nd KA speed till well blended. Now, while the mixer is still on, add in the now lukewarm (if it's not, then wait for it to cool down some) mixture from your saucepan (milk/potato/egg/extract mix) all at once into the mixer bowl. It will all be extremely soupy. Slowly increase the speed of the KA mixer to the highest speed that will not splatter the soupy mixture out of the bowl. You will be slowly increasing the speed as you see the gluten developing. Overall mixing time is 5 minutes. When I do it, I can almost get to the 8th KA speed by the time 5 minutes is up.
This is my lazy man's "sponge" method. Again, your gluten development will allow you to increase the speed of the KA mixer higher and higher and this is so important!
450 grams BREAD flour (60%)
7 grams Nutmeg, finely ground (1%) Optional. Comes out to 1 Tablespoon. Or just skip adding nutmeg altogether.)
Place the flour and optional finely ground nutmeg on top of your lazy man's sponge you just created. Now using the detached paddle attachment that you have in your hand, work this flour into the soupy mixture completely. If you don't do this then you risk splattering flour all over your kitchen when you first turn on the mixer! Place paddle attachment back on mixer and then knead for 5 minutes at the 3th KA speed. Yes, use a paddle attachment, not the kneading hook at this point (faster). NOTE; I now use an Ankarsrum to mix and it does fine with scraper & roller.
7 grams salt non-ionized (1%) --about 1 Tablespoon
Odd as it sounds, NOW ADD THE SALT on top of the dough. Scrape down the sides of the mixer bowl and off the paddle with a spatula. Replace paddle with a dough hook and knead for 5 minutes at a slower 2nd KA speed
Place the dough in a large plastic bowl and use your hands to briefly knead into a nice ball (boule) in the bowl. If you've done everything right, the dough WILL NOT STICK to the plastic bowl at all.
Cover and let rest for 1 hour in a warm place till about doubled in size. Then divide into 3 equal sizes of around 19 ounces each (540 grams) or (makes great rolls or buns @ 2 oz. each and hoagies @ 3.5 oz or 100g) and then pre-shape into loose balls. Bench rest for 20 minutes.
Preheat oven to 350 degree F. (177 degree C.) And setup steam at this time
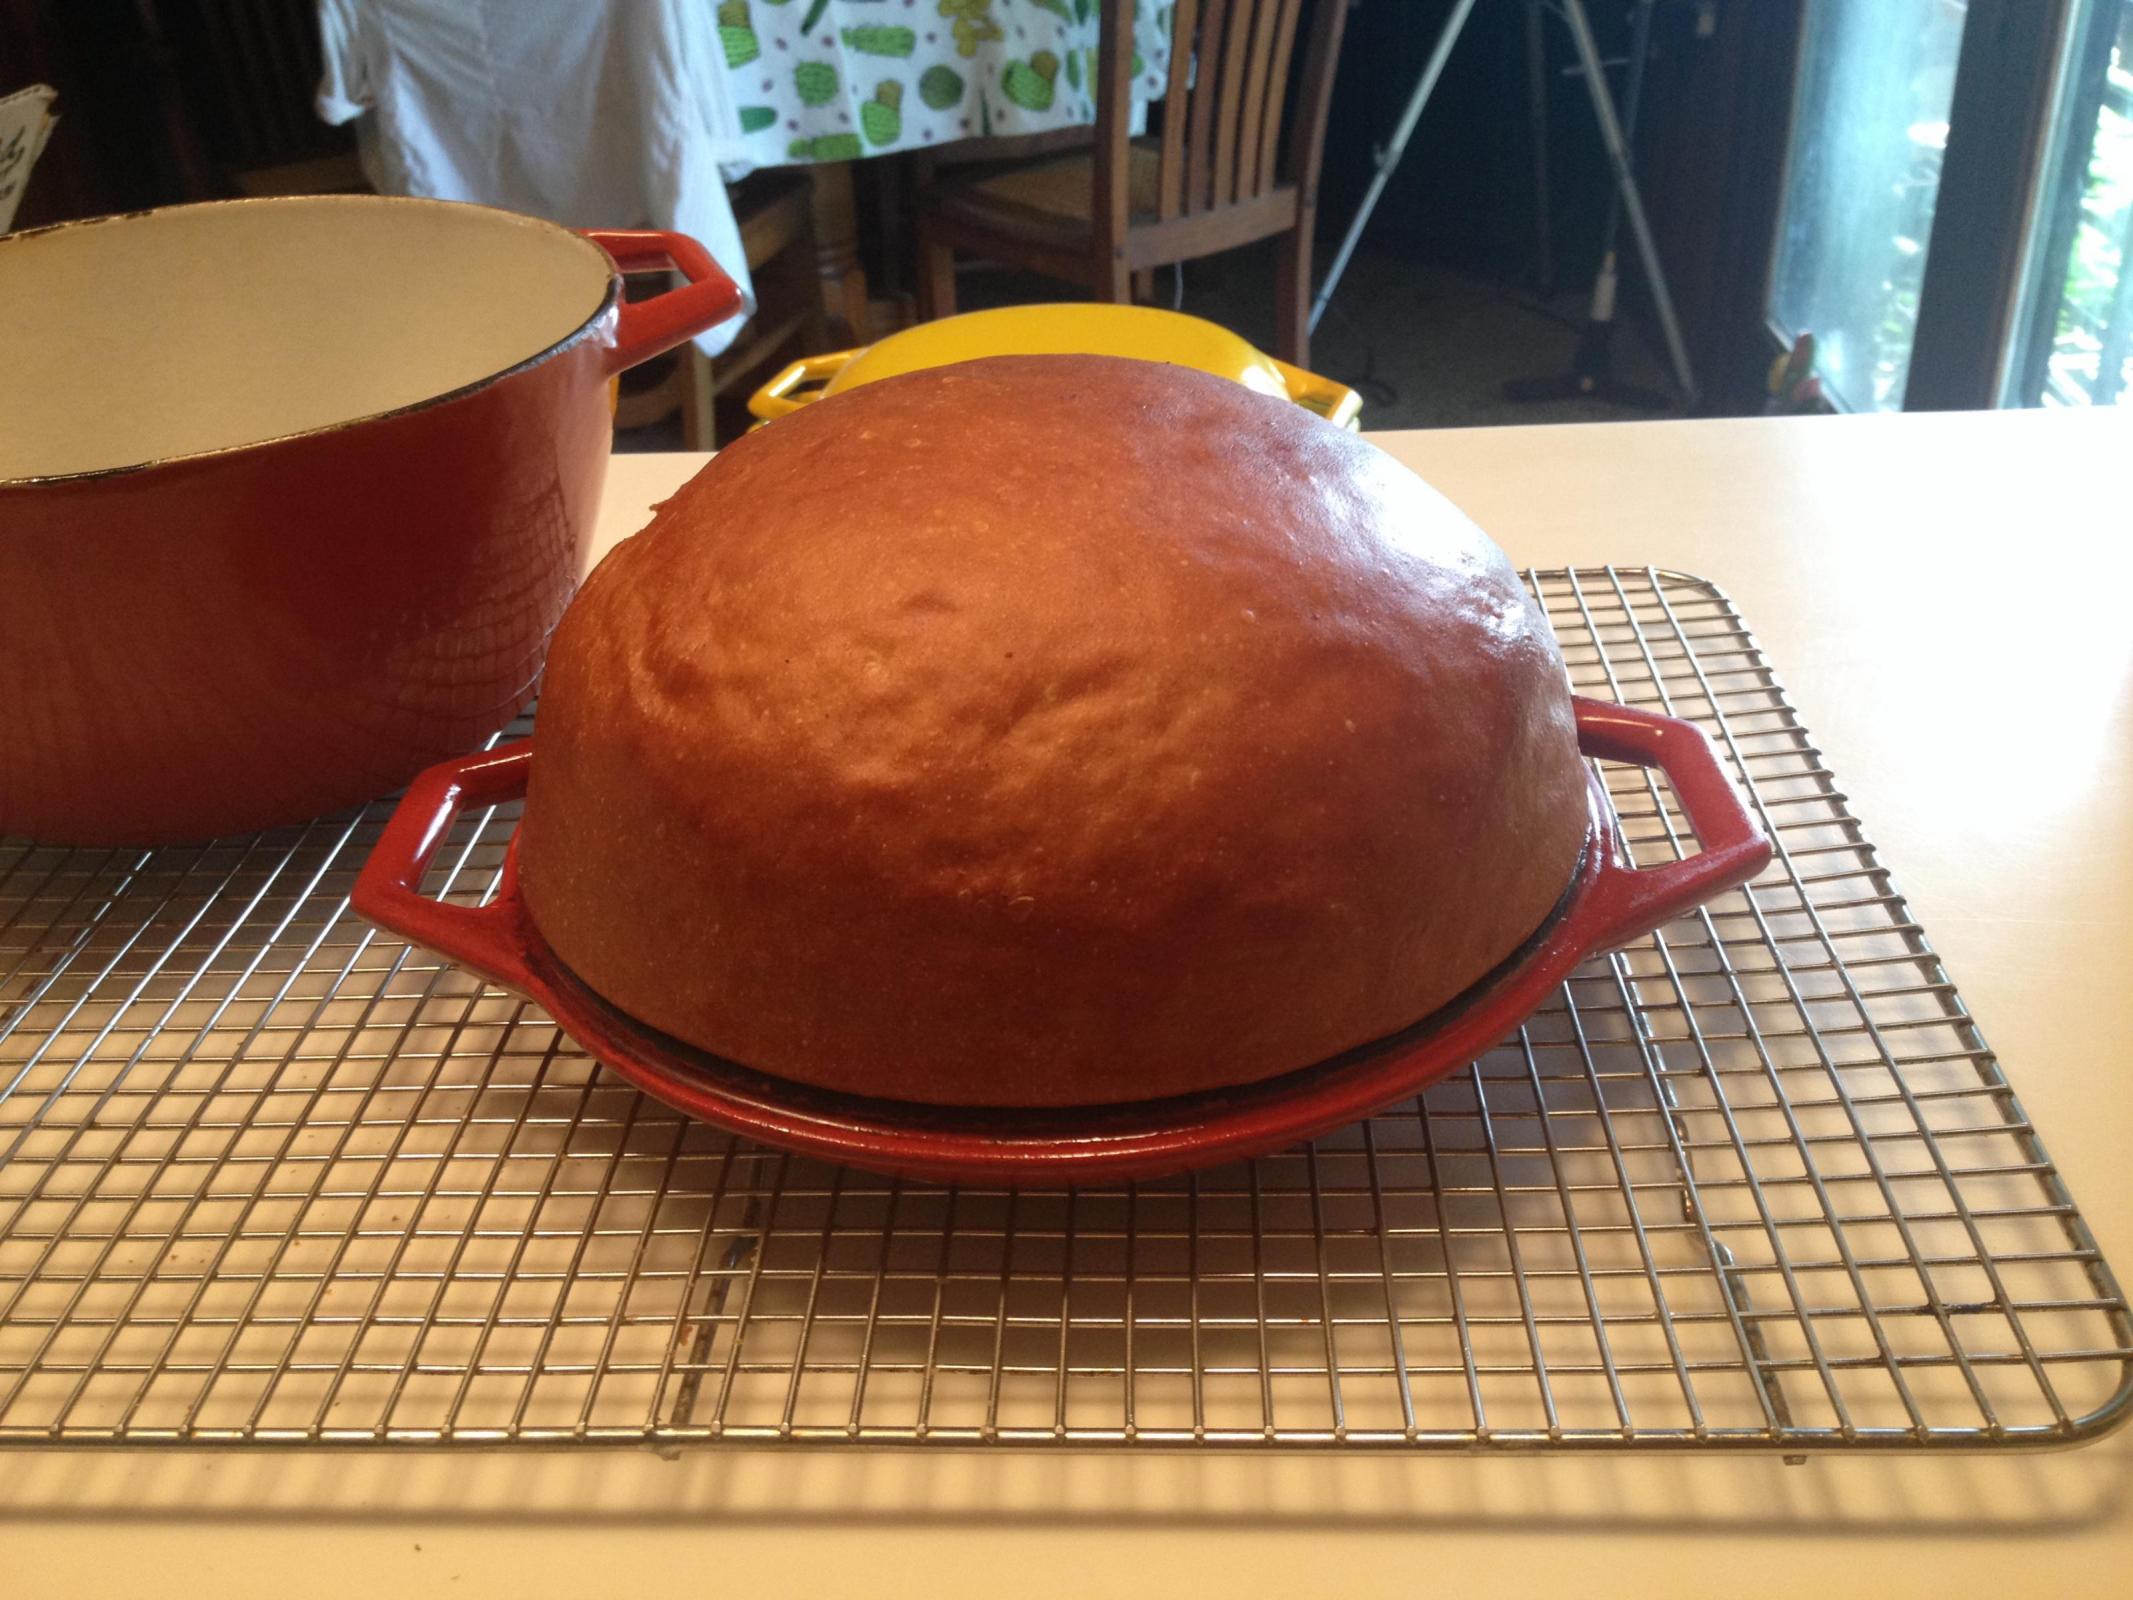
Final shape into taut balls/boules and place each into an oil sprayed 9 inch pie pan tin. Cover each with an overturned large plastic bowl for about one hour (check at 40 minutes dough may over proof) until dough is just touching the sides of the 9 inch pie pan (dough may be more than doubled in size at this point).
Optional Step:
Take your room temperature egg and whisk completely. Egg wash the tops of the balls/boules being extremely careful not to let any egg wash drip into the pie pan itself as this will bake into a hard unappetizing mess. I use my hands to do the egg wash. Again do not drip any egg wash into the pie pan!
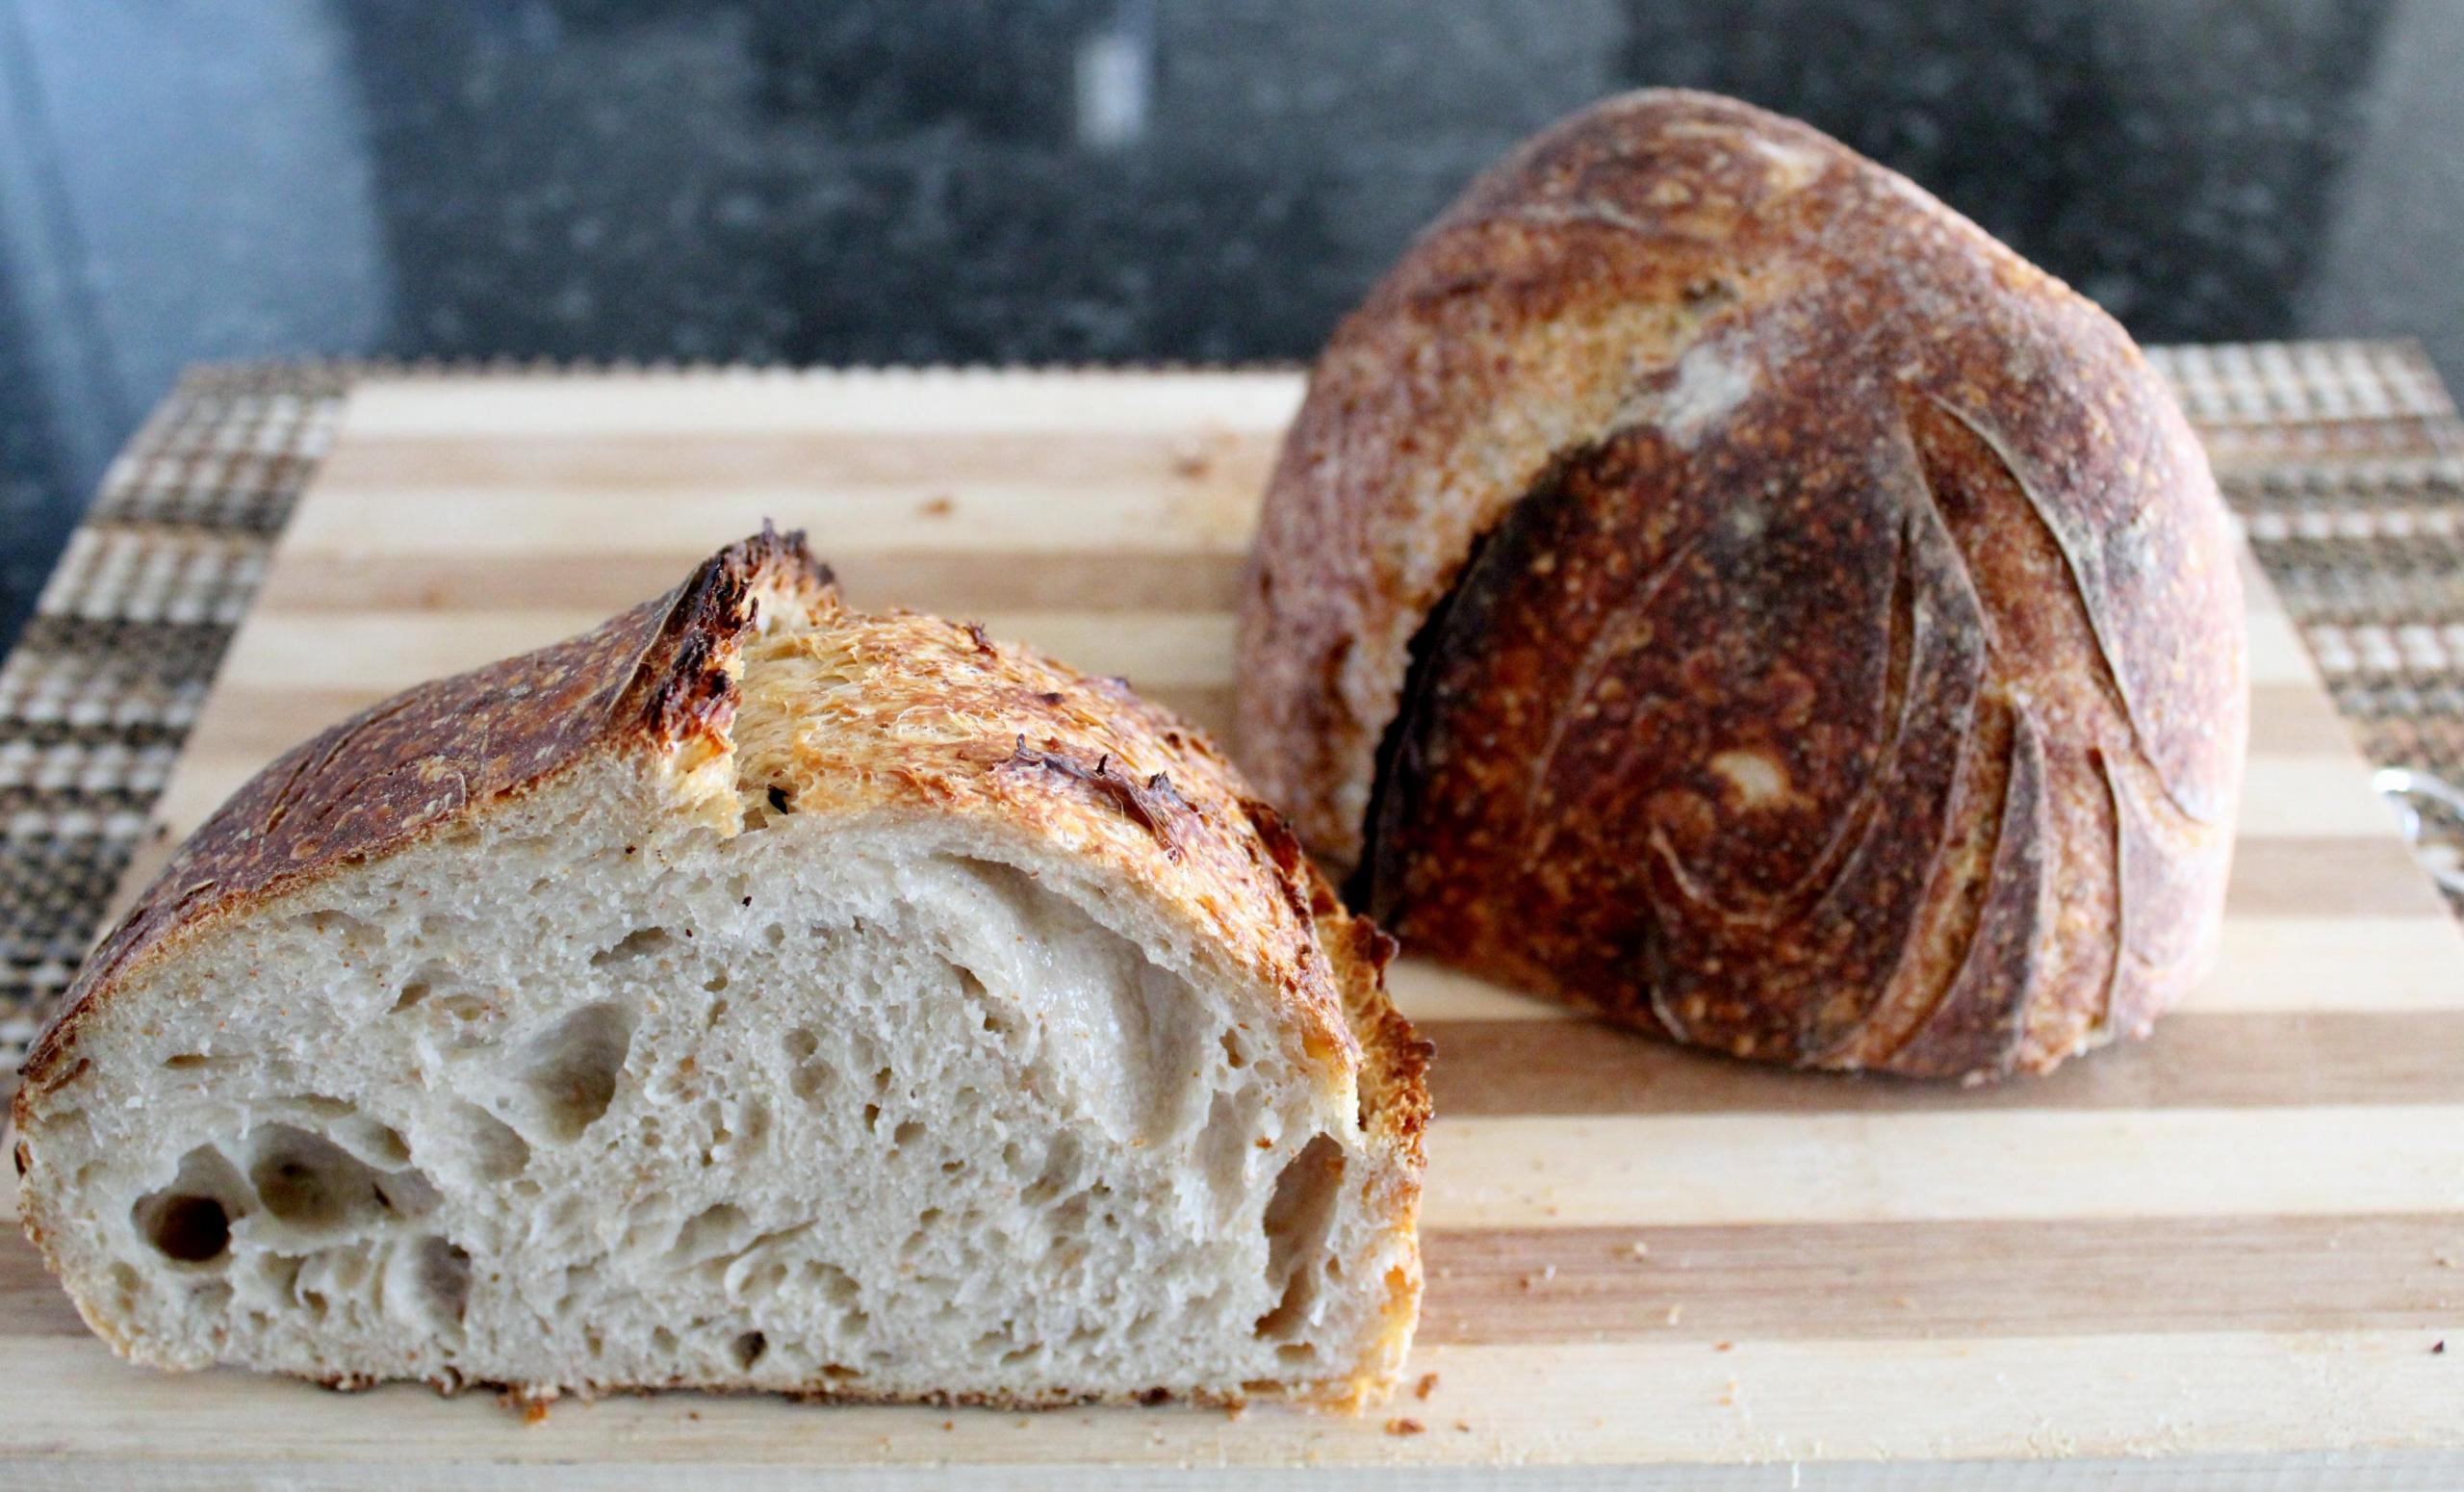
Once oven is heated correctly and the dough is just touching all sides of its 9 inch pie pan, place the pans on the upper rack in your oven (baking on lower racks may burn the bottoms). I’ve been baking at 335° convection for 38 minutes culminating with a bread temperature of 190°. I also used the middle rack. Do not dry out by over cooking. You are looking for a graduated colored crust with dark brown at the top and lightening to almost a pale yellow near the bottom of the loaf next to the pie pan. This graduated coloring has good eye appeal and also insures that the bread itself is not over baked. Because of the high sugar content watch the bread for over browning.
Cool in pie pans for at least 45 minutes then remove round loaf from pie pan. Immediately place in a plastic bag and seal lightly. I just turn under my overly long bag beneath my loaf. If you notice excessive condensation inside the bag, simply open up the bag until it evaporates then reseal immediately.
It is important that you don't let the loaves just sit out. You need to bag the breads to insure a pillow softness texture to the breads that Hawaiian Style Portuguese Sweet Bread is known for. After ripping off a piece of bread (really best way to eat it), replace loaf back in bag and seal to retain moisture and freshness.
You will be amazed at how these loaves turn out. Only use SAF GOLD yeast. Bag the cooled bread.
Ingredients
1 egg (optional for egg wash)
113 grams Unsalted Butter (15%)
210 grams White Sugar (28%)
285 grams BOILING water (38%)
38 grams Instant Dry Milk (5%)
38 grams Instant Mash Potato Flakes (5%)
218 grams Whole Eggs, Ice Cold straight from Refrig (29%) Approximately 4 – 5 medium eggs
10 grams Vanilla Extract (1.3%) or 1 Teaspoon
5 grams Lemon extract (.66%) or 1/2 Teaspoon
5 grams Orange extract (.66%) or 1/2 Teaspoon
300 grams BREAD flour (40%)
16 grams Osmotolerant Yeast like SAF GOLD (2%) --this is around 2 Tablespoon of yeast
450 grams BREAD flour (60%)
7 grams Nutmeg, finely ground (1%) Optional, comes out to 1 Teaspoon
8 grams salt non-ionized (1%) --equals 1.41 Teaspoon
Baker’s Percentages
Unsalted Butter 15 %
White Sugar 28 %
BOILING water 38 %
Instant Dry Milk 5 %
Instant Mash Potato Flakes 5 %
Whole Eggs 29 %
Vanilla Extract 1.3 %
Lemon extract .66 %
Lemon extract .66 %
BREAD flour 40 %
SAF GOLD 2 %
BREAD flour 60 %
Nutmeg 1 %
salt non-ionized 1 %
Total Percentage = 226.62%